
Bangs can be a fantastic way to frame your face and refresh your look, but they can also have a mind of their own.
That perfect fringe you left the salon with can quickly turn into a frustrating, unruly mess. Whether they’re sticking straight up, parting in the wrong place, or curling awkwardly, stubborn bangs are a common struggle. The good news is that you don’t have to be at the mercy of your hair’s whims. With a little patience and the right techniques, you can actually train your bangs to lie exactly how you want them.
This guide on how to train bangs to lay flat will walk you through everything you need to know to tame your fringe for good.
What Will You Need?
To get started, you’ll need a few essential tools and products. You don’t need an entire salon, just a small kit dedicated to taming your fringe.
- A hairdryer with a nozzle attachment: The nozzle is key for directing airflow precisely where you need it.
- A small round brush: Choose one with boar bristles or a mix of boar and nylon for the best grip and smoothing power. A smaller diameter gives you more control over the shape.
- Clips: Duckbill clips or other flat clips are perfect for holding your bangs in place while they cool.
- Fine-tooth comb: For precise parting and detangling.
- Light-hold hairspray: To set your style without making your bangs stiff or crunchy.
- Styling cream or mousse: A small amount can provide hold and control before you even start blow-drying.
- Heat protectant spray: Always a must to keep your hair healthy when using heat tools.
10 Easy Steps on How to Train Bangs to Lay Flat
Step 1: Start with Damp Hair
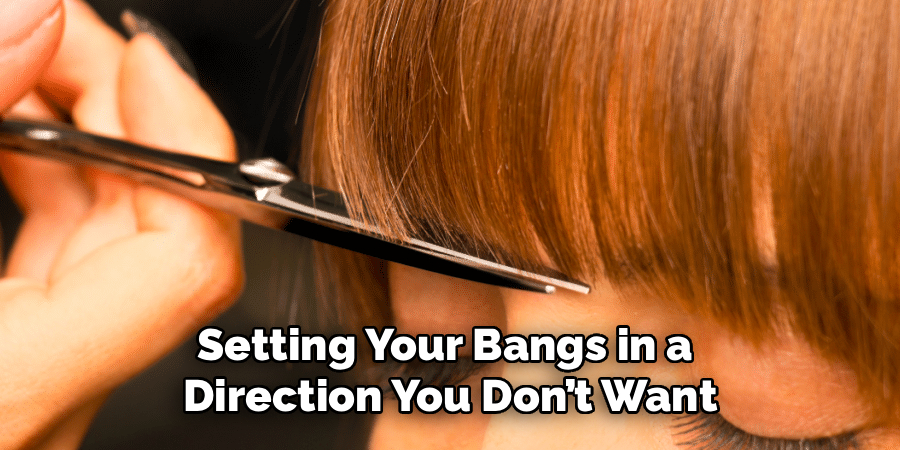
The most critical rule of styling bangs is to never let them air-dry on their own. When your hair dries naturally, your cowlicks and natural growth patterns take over, setting your bangs in a direction you don’t want. As soon as you get out of the shower, gently towel-dry your hair but leave your bangs damp. If you’re not washing your hair, use a spray bottle to wet your bangs and the roots thoroughly. This gives you a clean slate to work from and makes the hair pliable. Working with damp hair allows you to reshape the bonds within the hair strands before they set, which is the foundation of the entire training process.
Step 2: Apply a Styling Product
With your bangs still damp, it’s time to apply a product that will help with hold and manageability. A lightweight styling cream, smoothing serum, or a small dollop of mousse works well. Use a very small amount—about the size of a pea. Rub the product between your fingers and then work it through your bangs, making sure to get it close to the roots. This product will give your hair a bit of grip, making it easier to control with your brush and hairdryer. It also helps in fighting humidity and frizz throughout the day, ensuring your hard work lasts. Don’t forget to spritz a heat protectant at this stage to shield your delicate fringe from damage.
Step 3: Comb Your Bangs Forward
Before you grab your hairdryer, use a fine-tooth comb to bring all of your bangs straight down over your forehead. This step helps to detangle any knots and ensures that all the hairs are aligned in the same forward direction. It also helps you visually reset the hair, breaking up any natural parts or cowlicks that have started to form. By combing them forward, you are physically guiding the roots into the position you want them to hold. This simple action reinforces the direction you’re aiming for before you even apply heat.
Step 4: Begin Drying from Side to Side
Now, it’s time for the hairdryer. Attach the nozzle concentrator, as this will give you precise control over the airflow. Set your dryer to a medium heat and low speed. Instead of pointing the dryer straight down, hold it above your head and aim the airflow downwards onto your roots. Using your fingers or a flat brush, start by brushing your bangs first to the right, blow-drying them in that direction for a few seconds. Then, immediately brush them all the way to the left and blow-dry. Repeat this side-to-side motion several times. This technique is crucial for “confusing” the root of the hair, effectively breaking the memory of its natural growth pattern and neutralizing any stubborn cowlicks.
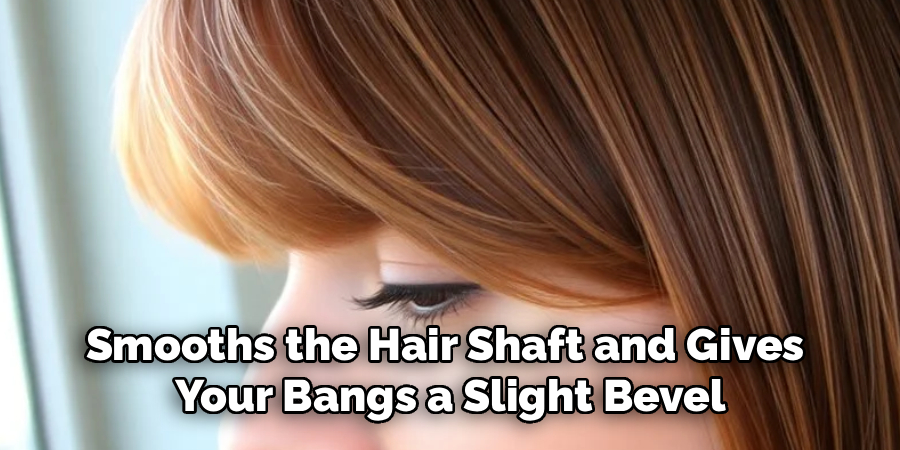
Step 5: Use a Round Brush for Tension
Once your bangs are about 80% dry from the side-to-side technique, switch to your small round brush. The goal here is to create tension, which is what smooths the hair shaft and gives your bangs a slight bevel at the ends. Place the round brush under your bangs at the root. As you pull the brush down through your bangs, follow it closely with the hairdryer, keeping the nozzle pointed down the hair shaft. This downward airflow helps to seal the cuticle, which results in smoother, shinier hair and less frizz. The tension you create with the brush is what really forces the hair to lay flat.
Step 6: Focus the Heat on the Roots
The direction your hair grows is determined at the scalp, so that’s where you need to focus your efforts. While using the round brush, concentrate the heat from the hairdryer directly at the roots for several seconds before pulling the brush through to the ends. You can even gently lift the roots with the brush and aim the heat there to ensure they are fully redirected. This step is what truly “trains” the hair follicles. By consistently applying heat and tension in the desired direction, you are slowly teaching the roots to grow forward and flat, rather than in their unruly natural pattern.
Step 7: Create a Slight Bend at the Ends
You want your bangs to lie flat, but you don’t want them to be stick-straight and lifeless. To create a soft, natural-looking finish, use the round brush to create a slight bend at the ends. As you pull the brush through the final few inches of your bangs, gently turn the brush under. This will give your fringe a subtle curve that helps it blend seamlessly with the rest of your hair and prevents it from looking too severe. It’s a finishing touch that makes a big difference in achieving a polished, salon-quality look.
Step 8: The Cool Shot is Your Best Friend
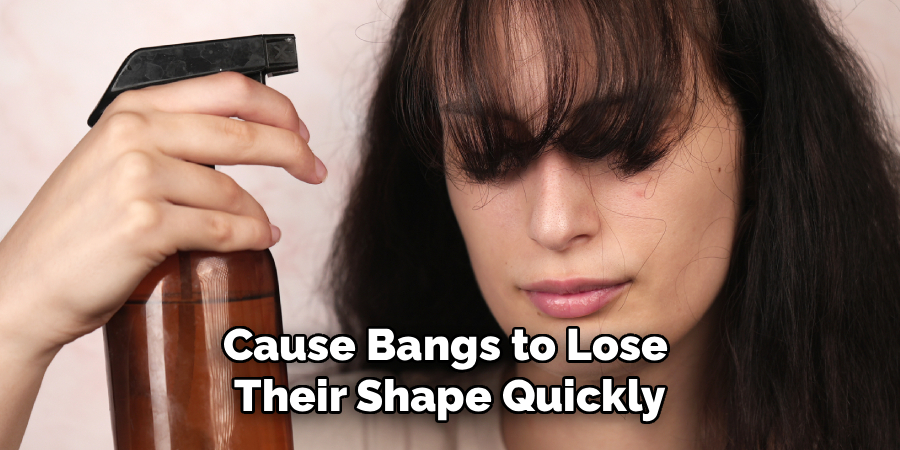
Heat styles your hair, but cool air sets it. Once you’ve achieved the desired shape, switch your hairdryer to the cool shot setting. Blast your bangs with cool air for about 10-15 seconds while they are still wrapped around the round brush or held flat with your fingers. This rapid cooling locks the hair bonds into their new shape, ensuring your style lasts all day. Skipping this step is a common mistake that can cause bangs to lose their shape quickly, especially in humid weather.
Step 9: Clip and Set
For extra insurance, especially if your bangs are very stubborn, you can clip them in place while they finish cooling completely. After using the cool shot, remove the brush and use your fingers to position your bangs perfectly. Take a flat duckbill clip and slide it in to hold the bangs flat against your forehead. You can also place a tissue or a piece of cardstock between the clip and your hair to prevent any creases. Let your bangs sit like this for 5-10 minutes while you do your makeup or finish getting ready.
Step 10: Finish with a Light Hairspray
The final step is to lock everything in place. Choose a flexible, light-hold hairspray. You don’t want your bangs to be stiff or sticky, just controlled. Hold the can about 8-10 inches away from your face and give your bangs a quick, light mist. For a more targeted application that avoids getting spray on your face, you can spray a little onto your fingertips and gently smooth it over your bangs. This will tame any remaining flyaways and provide a final layer of protection against the elements.
5 Things You Should Avoid
- Letting Your Bangs Air-Dry: This is the number one mistake. It allows your natural hair pattern and cowlicks to take control, setting them in an undesirable position before you can style them.
- Using Too Much Product: Overloading your bangs with heavy creams or serums will weigh them down, making them look greasy and flat in the wrong way. A pea-sized amount is usually enough.
- Touching Your Bangs Throughout the Day: The oils from your fingers can transfer to your hair, making your bangs separate and appear oily. Try to keep your hands off.
- Using High Heat: Bangs are more fragile than the rest of your hair. Excessive heat can cause damage, breakage, and frizz. Stick to medium heat settings.
- Sleeping with Wet Hair: If you shower at night, make sure your bangs are completely dry and styled before you go to bed. Sleeping on wet bangs will set them in all sorts of strange directions.
Conclusion
Taming unruly bangs doesn’t have to be a daily battle.
By incorporating these steps into your routine, you can train your hair to cooperate and achieve that perfectly styled fringe you’ve always wanted. It all comes down to the right tools, a bit of technique, and most importantly, consistency.
Hopefully, the article on how to train bangs to lay flat has provided you with useful tips and tricks to make your morning hair routine a breeze. Don’t give up if it doesn’t work perfectly the first time; practice makes perfect!
About the Author
Jane Hubbard is a passionate beauty expert with a wealth of experience in makeup, hair, and overall beauty techniques. After years of working as a hairdresser specialist, she followed her entrepreneurial spirit and started her own consultancy business.
Jane has always been driven by her desire to help others feel confident in their own skin, and she does this by sharing her knowledge, experiences, and practical beauty tips. Through her consultancy, she empowers individuals to embrace their unique beauty, offering tailored guidance that boosts both self-esteem and personal style.
Professional Focus
- Specializes in makeup, hairstyling, and beauty consulting.
- Provides personalized beauty advice, tips, and techniques to help individuals feel confident in their appearance.
- Dedicated to staying up-to-date with the latest industry trends and developments.
- Passionate about creating a comfortable and empowering experience for every client.
Education History
- University of Craft and Design – Bachelor of Fine Arts (BFA) in Woodworking and Furniture Design
- Woodworking Apprenticeships – Extensive hands-on training with skilled craftsmen to refine carpentry and furniture making techniques
- Online Courses & Masterclasses – Continued education in advanced woodworking techniques, design principles, and specialized tools
Expertise:
- Makeup artistry, hairstyling, and beauty consulting.
- Personalized beauty techniques to enhance confidence and self-expression.
- Educating clients on how to maintain their beauty routines at home.