
Cleansing cream is a game-changer for anyone seeking a gentle yet effective way to remove makeup, dirt, and impurities from their skin. Unlike harsher cleansers that can strip away natural oils, a cleansing cream provides a nourishing experience, leaving your skin feeling soft, hydrated, and perfectly clean. It’s an ideal first step in any double-cleansing routine or a standalone product for those with dry or sensitive skin.
This guide on how to use a cleansing cream will walk you through everything you need to know about this skincare staple. We will explore its benefits, the simple tools required, and a detailed step-by-step process for application. By the end, you will understand how to incorporate cleansing cream into your routine for a healthier, more radiant complexion.
Understanding Cleansing Cream
A cleansing cream is a rich, emollient-based facial cleanser designed to dissolve impurities without disrupting the skin’s natural moisture barrier. Its formula typically contains a high concentration of oils, fats, and hydrating agents. This composition allows it to bind with oil-based substances on your skin, such as makeup, sunscreen, and excess sebum, lifting them away gently.
The primary benefit is its ability to clean thoroughly while simultaneously moisturizing. This makes it particularly suitable for individuals with dry, mature, or sensitive skin types who find traditional foaming cleansers too drying. Using a cleansing cream helps maintain skin suppleness, prevents tightness, and prepares your face for the next steps in your skincare regimen.
Tools and Materials You’ll Need
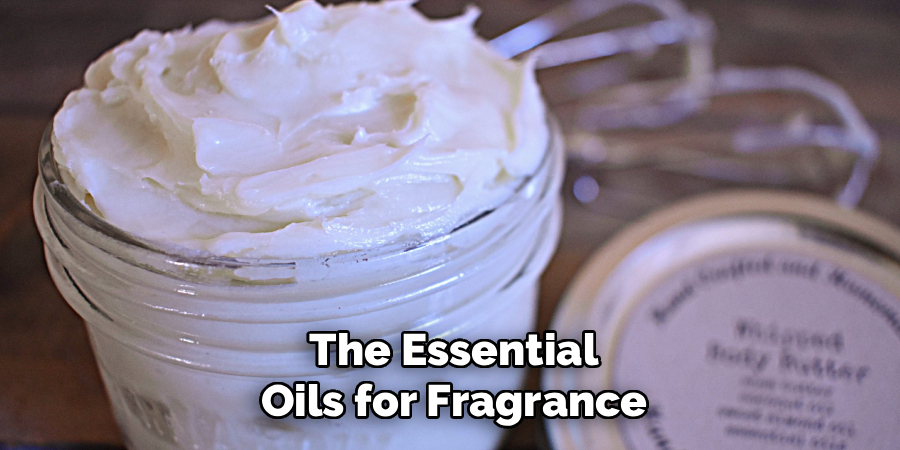
Cleansing creams are widely available in varying price points and formulations. However, if you’re interested in making your own natural cleansing cream at home, here are some essential tools and materials you will need:
- Double boiler or heat-proof bowl
- Measuring cups and spoons
- Whisk or hand mixer
- Sterilized jars with lids for storage
Ingredients:

- 1/4 cup almond oil (or other carrier oils such as jojoba, apricot kernel, grapeseed)
- 2 tablespoons beeswax pellets
- 1 tablespoon shea butter
- 1 teaspoon honey
- 10 drops of essential oils (optional)
7 Simple Step-By-Step Guidelines on How to Use a Cleansing Cream
Step 1: Cleanse Your Hands and Prepare Your Face
Before touching your face, it is essential to start with impeccably clean hands. Your hands accumulate bacteria, dirt, and oils throughout the day, and you want to avoid transferring these impurities onto your skin. Wash your hands thoroughly with soap and warm water for at least 20 seconds, making sure to clean under your fingernails and between your fingers. Once your hands are clean, pat them dry with a fresh towel. This simple but crucial first step ensures that your facial cleansing process is as hygienic as possible, preventing potential breakouts and irritation.
With your hands clean, prepare your face for the cleansing process. Use a headband, hair clips, or a hair tie to pull all of your hair back and away from your face. This prevents the cleansing cream from getting into your hair and ensures you can access your entire hairline, where makeup and sweat often accumulate. You should apply cleansing cream directly onto dry skin, over any makeup or sunscreen you are wearing. Do not wet your face beforehand, as the oils in the cream are most effective at breaking down impurities on a dry surface.
Step 2: Warm the Cleansing Cream
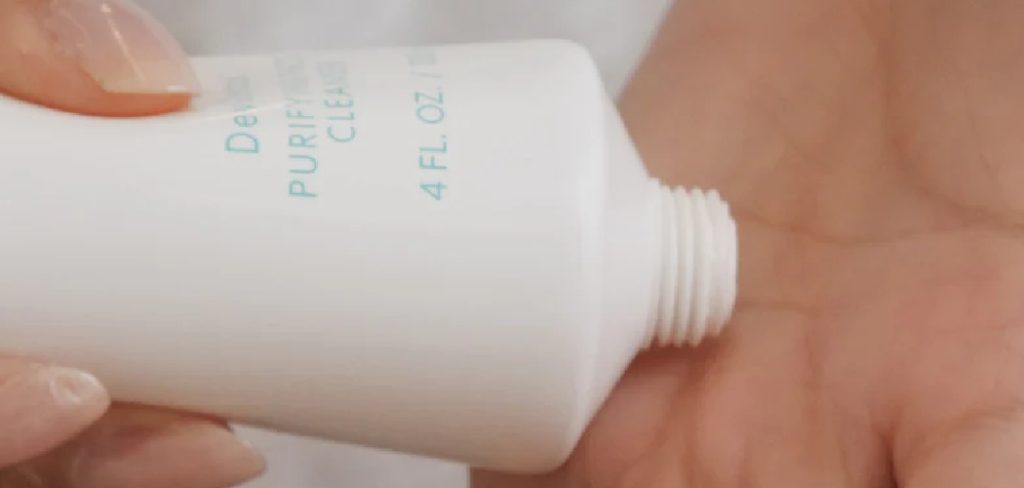
Scoop a small amount of cleansing cream from its jar or pump it onto your fingertips. A dollop about the size of a large pea or an almond is usually sufficient for the entire face and neck, but you can adjust the quantity based on the product’s consistency and how much makeup you need to remove. Avoid using too much product, as this can make it difficult to rinse off completely and may lead to residue being left behind. The goal is to have enough cream to create a thin, even layer that allows your fingers to glide smoothly across the skin without any pulling or friction.
Once you have the right amount of product, the next step is to warm it between your fingertips or in the palms of your hands. Rub your hands together gently for a few seconds. This process warms the cream, softening its texture and “activating” its emollient properties. A warmed cream spreads more easily and evenly across the face, and it feels more luxurious and comforting on the skin. This simple warming technique enhances the product’s effectiveness, allowing it to melt into the skin more readily and begin its work of dissolving makeup and impurities more efficiently.
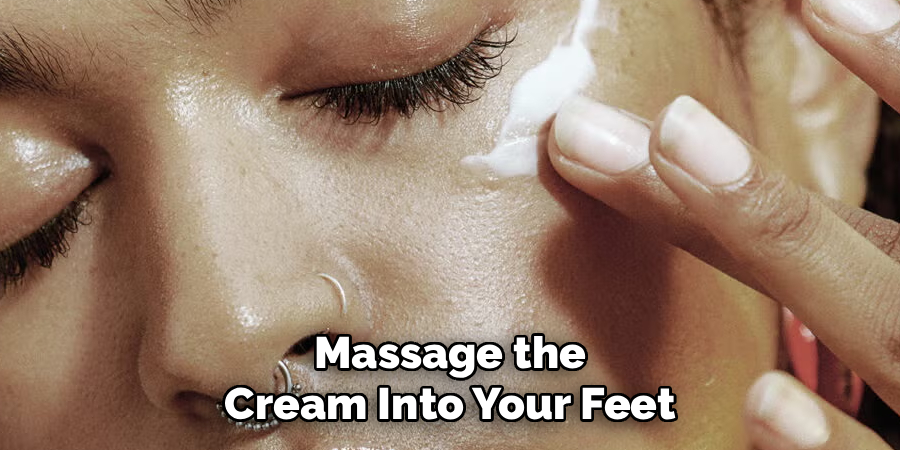
Step 3: Apply and Massage the Cream onto Your Face
Now that the cream is warmed, it’s time to apply it to your face. Gently dot the product onto your key facial areas: your forehead, cheeks, nose, and chin. Begin massaging the cream into your skin using gentle, upward, circular motions. Start from the center of your face and work your way outward. This massaging action is not just for spreading the product; it also stimulates blood circulation, which can promote a healthy, vibrant glow. Be thorough and take your time, ensuring you cover every part of your face, including often-neglected areas like along the hairline, around the nostrils, and down to the jawline.
This message is the core of the cleansing process. Spend at least one to two minutes working the cream into your skin. As you massage, you will feel the texture of the cream change as it breaks down makeup, sunscreen, and daily grime. Focus on areas where makeup is heaviest, like around the eyes and lips. Use your ring finger for the delicate eye area, as it applies the least pressure. The gentle friction and the oil-based formula work together to lift everything from the surface of your skin without harsh scrubbing, leaving your skin feeling supple and cared for.
Step 4: Pay Special Attention to the Eye Area
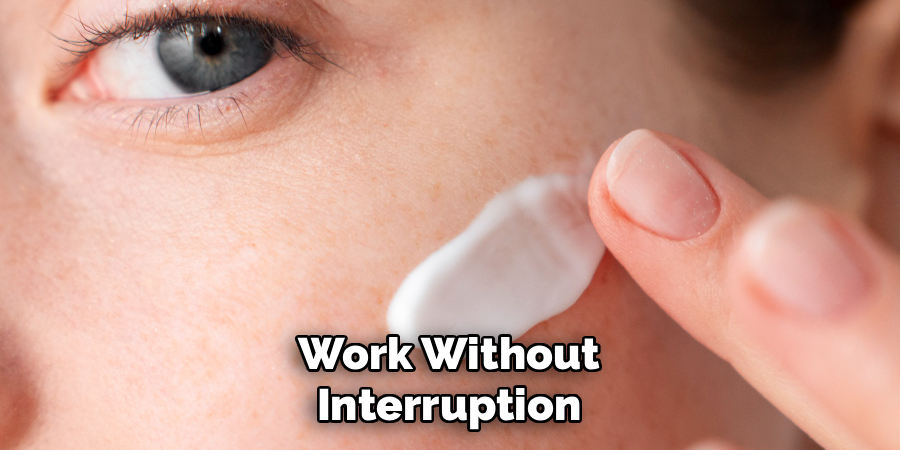
The skin around your eyes is the thinnest and most delicate on your entire face, making it prone to fine lines and irritation. When removing eye makeup, it’s crucial to be exceptionally gentle. Use your ring finger, which naturally has the lightest touch, to apply and massage the cleansing cream over your eyelids and under-eye area. Close your eyes and use soft, circular motions to dissolve mascara, eyeliner, and eyeshadow. Avoid any harsh rubbing or pulling, as this can stretch the delicate skin and contribute to premature aging over time.
Allow the cleansing cream to sit on your eye area for a few extra moments, giving it time to effectively break down stubborn, waterproof formulas without the need for force. You can gently press the cream onto your lashes and then sweep downwards to loosen mascara. You will feel the makeup melting away under your fingertips. This patient’s gentle approach ensures that all traces of makeup are removed completely while protecting the integrity of the fragile skin and lashes in this sensitive zone. It’s a much kinder alternative to vigorous rubbing with a cotton pad.
Step 5: Emulsify the Cream with Water
After you have thoroughly massaged the cleansing cream into your skin and dissolved all impurities, the next step is to emulsify it. This process involves adding a small amount of warm water to your face, which transforms the oily cream into a milky, lighter consistency. Wet your fingertips with warm—not hot—water and begin massaging your face again. As you work the water into the cream, you will see and feel it turn into a thin, milky lotion. This transformation is key to a clean rinse.
Emulsifying the cream helps to lift the dissolved makeup and dirt away from your skin, preparing it to be washed off easily. Continue massaging for about 30 seconds, ensuring the entire face is covered in the milky substance. This step prevents the rich, oily residue from clinging to your skin, which could otherwise clog pores. It ensures that when you rinse, you are removing not just the cream itself, but also all the impurities it has captured. This makes the removal process far more effective than simply trying to wipe or splash off the thick cream directly.
Step 6: Remove the Cleansing Cream
Once the cream has been emulsified, it’s time to remove it completely. The best method for this is using a clean, soft washcloth or muslin cloth dampened with warm water. Wringing out the excess water, gently drape the warm cloth over your face for a few seconds. The warmth helps to further loosen the emulsified cream and provides a mini-facial experience. Then, using gentle, sweeping motions, wipe the cream off your face. Start from the center and move outwards, rinsing the cloth as needed to ensure you are using a clean section for each part of your face.
Be methodical in this step to ensure no residue is left behind, paying close attention to the hairline, jaw, and the crevices around your nose. Avoid scrubbing your skin with the cloth; a light touch is all that is needed. Alternatively, if you prefer not to use a cloth, you can rinse your face thoroughly with splashes of lukewarm water, but this may require more effort to remove all traces of the cream. Using a cloth provides gentle exfoliation and ensures a more complete removal, leaving your skin perfectly prepped for the next steps.
Step 7: Follow Up with Your Skincare Routine
After successfully removing the cleansing cream, your skin is clean, soft, and ready to absorb subsequent products. If you practice double cleansing, this is the point where you would use your second cleanser, typically a water-based gel or foam wash. This step ensures an even deeper clean, removing any remaining residue and water-based impurities like sweat. Lather your second cleanser and wash your face as you normally would, then rinse thoroughly and gently pat your skin dry with a clean towel.
Whether you double-cleanse or not, the final step is to proceed with the rest of your skincare regimen. Your freshly cleansed skin is now a perfect canvas. Immediately apply your toner, serums, and moisturizer to lock in hydration and deliver active ingredients. Because the cleansing cream has left your skin’s moisture barrier intact, these follow-up products can penetrate more effectively. Completing your routine promptly helps to seal in the benefits of the cleanse, leaving your skin hydrated, balanced, and radiant.
Following these steps on how to use a cleansing cream can greatly improve the overall health and appearance of your skin.
Tips for Beginners
If you are new to using cleansing creams, start by incorporating one into your evening routine to remove the day’s accumulation of makeup and pollutants. Don’t be afraid of the oily texture; it’s designed to attract and dissolve other oils on your skin. Remember that a little goes a long way, so begin with a small amount and add more only if needed. Always apply it to a dry face for the best results.
Take your time with the massage—at least a full minute—to truly let the product work its magic and to give yourself a relaxing facial massage. If your skin feels greasy after rinsing, try using a slightly warmer washcloth for removal or follow up with a gentle foaming cleanser.
Common Mistakes to Avoid
One of the most frequent errors is applying cleansing cream to a damp or wet face, which dilutes the product and reduces its effectiveness at breaking down oils. Another common mistake is rushing the massage process; you need to give the cream time to dissolve makeup and grime.
Using water that is too hot can strip the skin, while using cold water may not effectively remove the rich cream. Also, avoid aggressive rubbing, especially around the eyes, as this can cause irritation and damage delicate skin. Finally, failing to remove the cream completely can lead to clogged pores and breakouts.
Frequently Asked Questions
Q1: Can I Use Cleansing Cream Daily?
A1: Yes, you can absolutely use a cleansing cream daily. In fact, it is gentle enough for twice-a-day use, both in the morning and at night. It is particularly beneficial as a daily evening cleanser to effectively break down sunscreen, makeup, and environmental pollutants that have accumulated on your skin throughout the day. For those with very dry or sensitive skin, using a cleansing cream as your sole cleanser can help maintain the skin’s moisture barrier and prevent the tight, stripped feeling that other cleansers might cause.
Q2: Is Cleansing Cream Suitable for Oily or Acne-Prone Skin?
A2: It may seem counterintuitive, but cleansing cream can be very beneficial for oily and acne-prone skin types. The principle of “like dissolves like” means the oils in the cream are highly effective at breaking down and removing excess sebum from your pores. This can help prevent the clogged pores that lead to breakouts. The key is to choose a non-comedogenic formula and to ensure you remove it thoroughly, preferably by following up with a gentle, water-based cleanser (the double-cleanse method). This ensures no oily residue is left behind.
Conclusion
Mastering the use of a cleansing cream is a simple yet powerful step toward achieving healthier, more radiant skin. This gentle method effectively removes impurities while respecting your skin’s natural balance, leaving it clean, soft, and hydrated rather than tight and dry. By following the detailed steps on how to use a cleansing cream—from warming the product to the final rinse—you can transform your daily cleansing into a nourishing ritual.
We encourage you to embrace this skincare staple, especially if you have dry, sensitive, or mature skin. With the right technique, a cleansing cream can significantly improve your skin’s texture and appearance. Give it a try and discover the difference a gentle, thorough cleanse can make in your daily routine.
About the Author
Jane Hubbard is a passionate beauty expert with a wealth of experience in makeup, hair, and overall beauty techniques. After years of working as a hairdresser specialist, she followed her entrepreneurial spirit and started her own consultancy business.
Jane has always been driven by her desire to help others feel confident in their own skin, and she does this by sharing her knowledge, experiences, and practical beauty tips. Through her consultancy, she empowers individuals to embrace their unique beauty, offering tailored guidance that boosts both self-esteem and personal style.
Professional Focus
- Specializes in makeup, hairstyling, and beauty consulting.
- Provides personalized beauty advice, tips, and techniques to help individuals feel confident in their appearance.
- Dedicated to staying up-to-date with the latest industry trends and developments.
- Passionate about creating a comfortable and empowering experience for every client.
Education History
- University of Craft and Design – Bachelor of Fine Arts (BFA) in Woodworking and Furniture Design
- Woodworking Apprenticeships – Extensive hands-on training with skilled craftsmen to refine carpentry and furniture making techniques
- Online Courses & Masterclasses – Continued education in advanced woodworking techniques, design principles, and specialized tools
Expertise:
- Makeup artistry, hairstyling, and beauty consulting.
- Personalized beauty techniques to enhance confidence and self-expression.
- Educating clients on how to maintain their beauty routines at home.