Are you tired of the endless cycle of shampooing and conditioning your curly hair? Cowashing may be the perfect solution for you.
Taking care of curly hair can be a unique and rewarding experience. One of the most effective methods for managing and nourishing curls is co-washing—a cleansing technique that skips traditional shampooing in favor of using conditioner or a specialized cleansing conditioner.
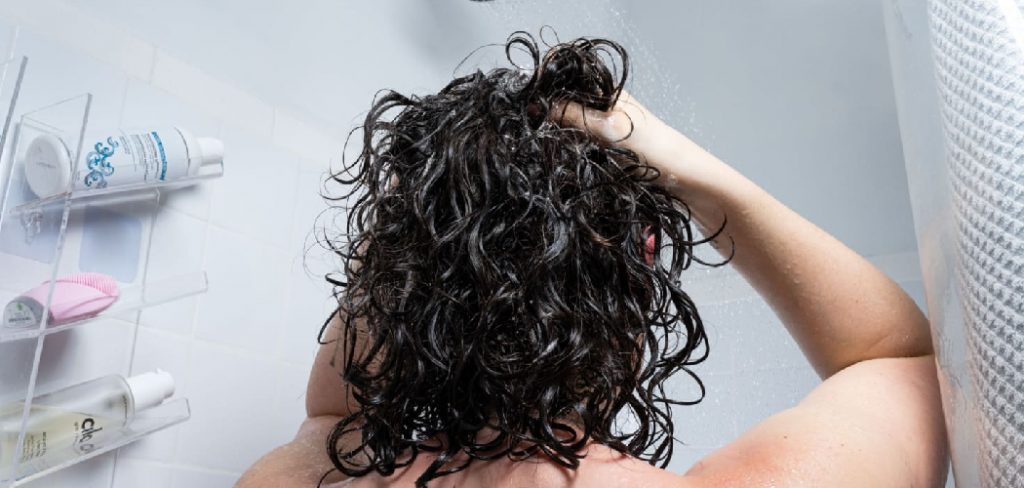
This method helps maintain moisture and prevent the drying effect often caused by sulfate-laden shampoos, crucial for preserving curl definition and enhancing shine.
By incorporating cowashing into your hair care routine, you can achieve bouncy and healthy curls while keeping your hair hydrated and frizz-free. This guide will walk you through the steps on how to use a cowash curly hair, ensuring your curls remain vibrant and well-loved.
What Will You Need?
To get started, you will need a few products designed explicitly for cowashing curly hair. Here are the essentials:
- Cowash Cleanser: This is a specialized or cleansing conditioner that replaces traditional shampoo in the cowashing process. Look for one that is sulfate-free and contains moisturizing ingredients like coconut oil, shea butter, and jojoba oil.
- Leave-in Conditioner: It is essential to replenish moisture after cleansing your hair with a co-wash cleanser. A leave-in conditioner will help lock in moisture and hydrate your curls throughout the day.
- Wide-Tooth Comb or Detangling Brush: Curly hair tends to tangle easily, so having a wide-tooth comb or detangling brush is essential for removing any knots and distributing the product evenly.
- Microfiber Towel or Cotton T-Shirt: Regular towels can cause frizz and disrupt curl patterns, so opt for a microfiber towel or cotton t-shirt instead. These materials are gentler on curls and help absorb excess water without creating friction.
- Diffuser Attachment (Optional): For those with thicker or coarser curls, using a diffuser attachment on your blow dryer can help enhance the natural shape of your curls while reducing drying time.

10 Easy Steps on How to Use a Cowash Curly Hair
Step 1. Wet Your Hair Thoroughly:
Begin by soaking your hair thoroughly with water. This initial step is crucial as it prepares the hair to absorb the cowash cleanser fully. Ensure the water is not too hot to avoid stripping your hair of its natural oils. Gently massage your scalp with your fingers to loosen any dirt or debris.
This will help distribute the cowash product evenly later on. Spend a few minutes ensuring your curls are thoroughly saturated to create a suitable base for the cleansing process. This thorough wetting also aids in opening the hair cuticles, which allows for better absorption of moisturizing ingredients from the cowash cleanser.
Step 2. Apply the Cowash Cleanser:
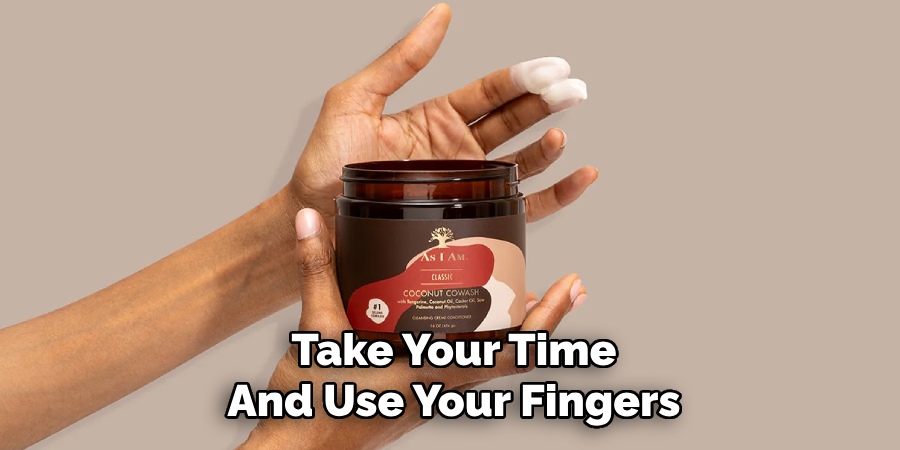
Once your hair is fully wet, take an ample amount of cowash cleanser and apply it evenly throughout your hair. Focus on the roots and scalp first, massaging gently in a circular motion to break down any dirt and distribute the product. Ensure you cover the length of your strands by smoothing the cleanser down to the tips.
It’s essential to use enough product to coat your hair entirely, as this will aid in detangling and nourishing your curls. Allow the cowash cleanser to sit for a few minutes so the moisturizing ingredients can penetrate the hair shaft effectively.
Step 3. Work Through Tangles:
With the cowash cleanser still in your hair, it’s time to gently work through tangles. Start by using a wide-tooth comb or detangling brush, beginning at the ends of your hair and gradually working your way up to the roots. This method helps prevent breakage and minimizes stress on your hair.
If you encounter any stubborn knots, take your time and use your fingers to gently work them out before continuing with the comb or brush. The slip provided by the cowash product should make this process easier, allowing the comb to glide smoothly through your curls. Detangling while the cleanser is still in your hair helps distribute the product evenly and ensures that each strand receives the necessary moisture.
Step 4. Rinse Thoroughly:
After detangling your hair, it’s time to rinse out the cowash cleanser. Use lukewarm water to remove all traces of the product from your hair, taking care to thoroughly rinse your scalp and strands. Ensure the water runs clear to ensure all dirt, buildup, and product residues are washed away.
This step is crucial as it prevents leftover cleanser from weighing down your curls or causing scalp irritation. As you rinse, gently massage your scalp to stimulate circulation and help release any remaining impurities.
Step 5. Apply Leave-In Conditioner:
With your hair still damp, it’s time to apply a leave-in conditioner to lock in moisture and nurture your curls. Dispense a generous leave-in conditioner and work it through your hair, focusing on the lengths and ends where dryness is most common. If your leave-in conditioner comes in a spray bottle, evenly mist it over your curls. Use your fingers to distribute the product from roots to tips for creams or lotions.
This step is essential for maintaining hydration and ensuring your curls remain soft, frizz-free, and well-defined throughout the day. After applying the leave-in conditioner, gently scrunch your curls toward your scalp to encourage their natural pattern and enhance bounce.
Step 6. Dry Your Hair Gently:
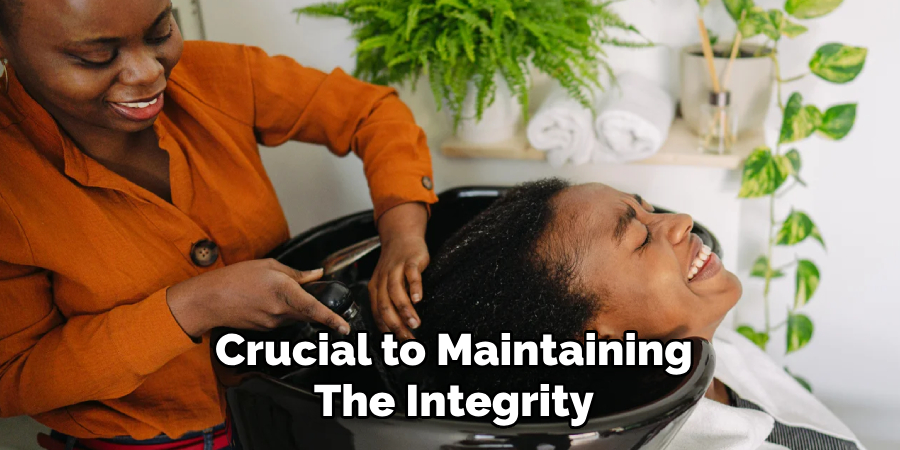
Gently drying your hair is crucial to maintaining the integrity and definition of your curls. Start by carefully using a microfiber towel or a soft cotton t-shirt to blot excess water from your hair. Avoid using a regular bath towel, as its rough texture can cause frizz and disrupt your curl pattern. Instead of rubbing, gently squeeze sections of your hair to help soak up moisture without causing damage.
If you prefer to air dry, simply let your hair down and let it dry at its own pace, which can help minimize heat damage. Use a blow dryer with a diffuser attachment on a low, relaxed setting for those needing quicker drying time or more volume. Hold the dryer close to your scalp and scrunch your hair with your fingers to lift the curls, enhancing their shape and preventing flatness.
Step 7. Style with Curl Cream or Gel:
Now that your hair is dry or nearly dry, it’s time to enhance and define your curls with styling products. Choose a curl cream or gel that suits your hair texture and desired hold. Begin by taking a small amount of product in your hands and distributing it evenly throughout your hair.
Focus on the mids and ends to enhance curl definition and reduce frizz. You can flip your head upside down while applying the product for added volume. Scrunch your curls gently to encourage their natural shape and elasticity. If needed, you can add more product until you’re satisfied with the look and feel of your curls. Styling products will help to set your curls, providing structure, hold, and shine throughout the day.
Step 8. Protect Your Curls at Night:
Protecting your curls while you sleep is vital to maintaining their definition and minimizing frizz. Begin by gathering your hair into a loose bun or pineapple on top of your head, securing it with a soft scrunchie or hair tie. This technique keeps your curls stretched and prevents them from being squished.
Sleeping on a satin or silk pillowcase can significantly reduce friction, helping preserve your curl pattern. If necessary, wrap your hair in a satin scarf or bonnet to shield it from friction against your bedding. Taking these precautions ensures your curls stay bouncy and vibrant, ready to style the next day without any touch-ups.
Step 9. Refresh Your Curls:
To keep your curls looking fresh and vibrant between washes, refresh them each morning. Begin by lightly misting your hair with water or a curl refresher spray to rehydrate and reactivate the products already in your curls.
To address any frizzy or flat areas, apply a small amount of curl cream or gel to your hands, then scrunch the product into the sections that need extra definition. Use your fingers to reshape any curls that have lost their form overnight. You can gently flip your head over and scrunch to lift the roots for added volume. R
Step 10. Trim Your Curls Regularly:
Regular trimming is essential to maintaining healthy curls and promoting hair growth. Schedule a trim every 6 to 8 weeks to remove split ends and prevent breakage. By keeping your ends intact and healthy, your curls will look fresh, vibrant, and more defined.
Trimming also helps manage the shape of your curly hairstyle, preserving its bounce and movement. When trimming, ensure you’re working with a stylist who understands curly hair dynamics and can expertly shape your curls while maintaining their natural texture.
By following these ten steps, you can master the art of cowashing and achieve beautiful, healthy curls.

Conclusion
How to use a cowash curly hair can transform your hair care routine, providing moisturizing benefits while keeping your curls healthy and vibrant.
This method helps retain the natural oils in your hair, which is essential for managing dryness and frizz commonly associated with curly textures. By following a structured regimen that includes detangling, applying the right products, and using gentle drying techniques, you can enhance the natural beauty of your curls.
Consistently protecting and refreshing your curls will maintain their definition and bounce from wash to wash. Moreover, regular trims contribute to curl health and improve hair growth.
Embracing cowashing as part of your hair care routine ensures that your curls are beautiful, well-nourished, and resilient against environmental stressors.
About the Author
Jane Hubbard is a passionate beauty expert with a wealth of experience in makeup, hair, and overall beauty techniques. After years of working as a hairdresser specialist, she followed her entrepreneurial spirit and started her own consultancy business.
Jane has always been driven by her desire to help others feel confident in their own skin, and she does this by sharing her knowledge, experiences, and practical beauty tips. Through her consultancy, she empowers individuals to embrace their unique beauty, offering tailored guidance that boosts both self-esteem and personal style.
Professional Focus
- Specializes in makeup, hairstyling, and beauty consulting.
- Provides personalized beauty advice, tips, and techniques to help individuals feel confident in their appearance.
- Dedicated to staying up-to-date with the latest industry trends and developments.
- Passionate about creating a comfortable and empowering experience for every client.
Education History
- University of Craft and Design – Bachelor of Fine Arts (BFA) in Woodworking and Furniture Design
- Woodworking Apprenticeships – Extensive hands-on training with skilled craftsmen to refine carpentry and furniture making techniques
- Online Courses & Masterclasses – Continued education in advanced woodworking techniques, design principles, and specialized tools
Expertise:
- Makeup artistry, hairstyling, and beauty consulting.
- Personalized beauty techniques to enhance confidence and self-expression.
- Educating clients on how to maintain their beauty routines at home.
