
The Beauty Blender is a revolutionary makeup sponge that has transformed the way makeup is applied. Its unique, teardrop shape and soft, latex-free material allow for seamless blending and a flawless, airbrushed finish. Whether you are applying foundation, concealer, or even powder, the Beauty Blender is a versatile tool that works well with a variety of products and ensures an even application with minimal product waste. In this blog post, we’ll walk you through the steps on how to use beauty blender so that you can get back to using it in no time! So grab your tools, and let’s get started!

What is a Beauty Blender?
A Beauty Blender is a popular cosmetic tool designed to help achieve a flawless makeup application. It’s most recognizable for its unique, egg-like shape and its soft, spongy texture, which allows for effortless blending of liquid, cream, and even powder products.
The Beauty Blender was created to minimize streaks and lines, offering a seamless, airbrushed finish that’s hard to achieve with brushes or fingers alone. Made with latex-free material, it’s safe for all skin types and designed to be used both wet and dry, depending on the desired outcome. This little sponge has revolutionized the way makeup is applied, becoming a staple in professional kits and personal routines alike.
Why Use a Beauty Blender?
The Beauty Blender tips are a must-have tool for anyone seeking a flawless makeup application. Its unique, egg-shaped design ensures precise application, allowing you to reach every contour and curve of your face effortlessly. Unlike traditional brushes, the sponge’s smooth, bounceable texture evenly distributes product, avoiding streaks and patchiness.
Additionally, it reduces product wastage by absorbing minimal amounts of makeup when used damp, maximizing the efficiency of your favorite foundation or concealer. Whether you’re a beginner or a professional, the Beauty Blender offers unparalleled ease and results, enhancing your makeup routine with a professional-quality finish.
Types of Beauty Blenders & Alternatives
Beauty blenders come in various shapes, sizes, and textures to cater to different makeup application needs. The classic teardrop shape is the most popular, ideal for applying foundation, blending concealer, and achieving an airbrushed finish. For more targeted applications, mini beauty blenders are perfect for hard-to-reach areas like under the eyes or around the nose. Additionally, there are sculpted beauty blenders with flat edges or angled sides designed for contouring and highlighting, allowing for more precise control.
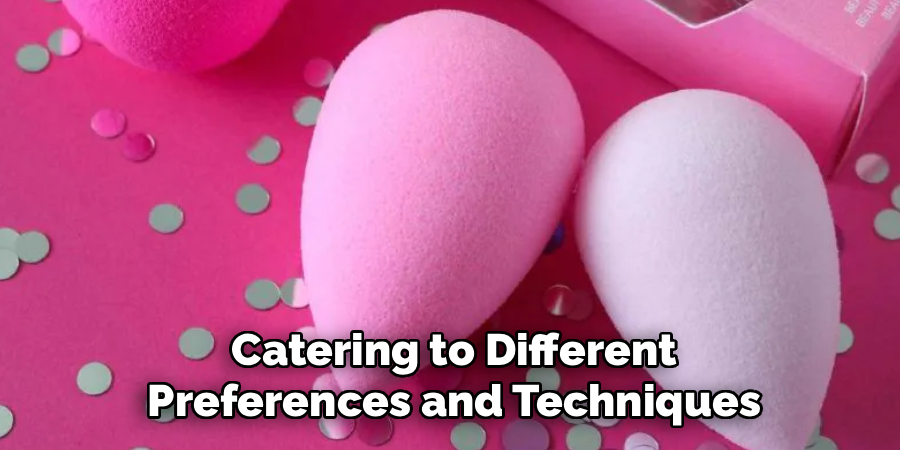
For those seeking alternatives, there are also silicone sponges, which do not absorb any product and are easy to clean, making them a hygienic option. Traditional makeup brushes, with their variety of shapes and densities, remain a go-to for precise application. Some even opt to use their fingertips, especially for cream-based products, as the warmth of the fingers can help blend the makeup seamlessly into the skin. Each tool has its own unique benefits, catering to different preferences and techniques.
10 Methods How to Use Beauty Blender
1. Always Dampen Before Use
The most fundamental rule when using a beauty blender is to dampen it before application. Run it under clean water and squeeze several times until it fully expands. Then gently squeeze out excess water and pat dry with a towel. A damp sponge allows makeup to sit on top of the sponge rather than getting absorbed, which conserves product and helps it blend more smoothly onto the skin. This technique also prevents streakiness and gives your foundation a hydrated, natural-looking finish.
2. Use the Bouncing Technique, Not Swiping
When applying makeup with a beauty blender, always use a bouncing or stippling motion instead of dragging or swiping. The gentle bouncing presses the product into your skin, allowing it to blend evenly while maintaining coverage. Swiping motions tend to smear makeup and can leave visible streaks. Whether you are applying liquid foundation or cream blush, bouncing the sponge ensures that the product adheres well to the skin and distributes evenly without looking cakey.
3. Apply Foundation Evenly
To apply foundation with a beauty blender, dot your liquid foundation onto your face using clean fingers or a foundation brush. Then use the round base of the damp beauty blender to gently bounce the product across your skin. Focus on the larger areas of the face first, such as the cheeks and forehead, then move to more detailed areas like the nose and jawline. This method ensures even distribution of foundation while minimizing the appearance of pores and fine lines.
4. Blend Concealer with the Pointed Tip
The pointed end of the beauty blender is ideal for applying concealer, especially around hard-to-reach areas like the corners of the eyes and the sides of the nose. After applying concealer under your eyes or over blemishes, use the tip of the sponge in a tapping motion to blend it into the skin. This precision technique allows you to build coverage without disturbing the underlying foundation, making your complexion look flawless and natural.
5. Use It for Cream Blush or Bronzer
Cream blushes and bronzers can sometimes be difficult to blend seamlessly with brushes or fingers. A damp beauty blender makes the process effortless. Dab the cream product onto the cheeks or the hollows of your cheeks, then use the side of the beauty blender to tap and blend it into the skin. The sponge diffuses the color naturally, eliminating harsh lines and giving your cheeks a soft, flushed appearance that mimics a real glow.
6. Set Makeup with Loose Powder
Though most commonly used with liquids and creams, a beauty blender can also be used to apply loose or setting powder. Dip the damp sponge into a small amount of translucent powder, tap off the excess, and press it gently onto the areas of your face that tend to get oily—such as the T-zone. This technique, often called “baking,” locks in makeup and helps prevent creasing, especially under the eyes. Using a beauty blender for powder ensures it melts into the skin rather than sitting on top.
7. Blend Highlighter and Contour Seamlessly
To create dimension in your makeup look, use your beauty blender to apply both cream contour and liquid highlighter. Start by placing contour under the cheekbones, jawline, and temples, and highlighter on the tops of the cheeks, nose bridge, and cupid’s bow. Use separate areas of the sponge to blend each product—preferably the broader sides for contour and the tip for highlighter. The soft, damp sponge ensures a gradient blend that looks natural and polished.
8. Fix Makeup Mistakes
If you’ve applied too much blush or foundation, your beauty blender can come to the rescue. Without adding more product, take the clean, damp sponge and gently bounce it over the area to absorb and diffuse the excess. This method softens overly intense application and prevents you from having to wipe off your makeup and start over. It’s also effective for blending out lines of demarcation, such as where foundation meets the neck or hairline.
9. Use It for Skincare Application
Though traditionally used for makeup, a clean beauty blender can also be used to apply skincare products such as moisturizers, serums, and primers. The sponge helps evenly distribute the product across your face and minimizes the risk of tugging or pulling the skin. Simply place a small amount of product on the back of your hand, dab the sponge in it, and press it gently into the skin. This technique ensures better absorption and a smooth canvas for makeup.
10. Clean After Every Use
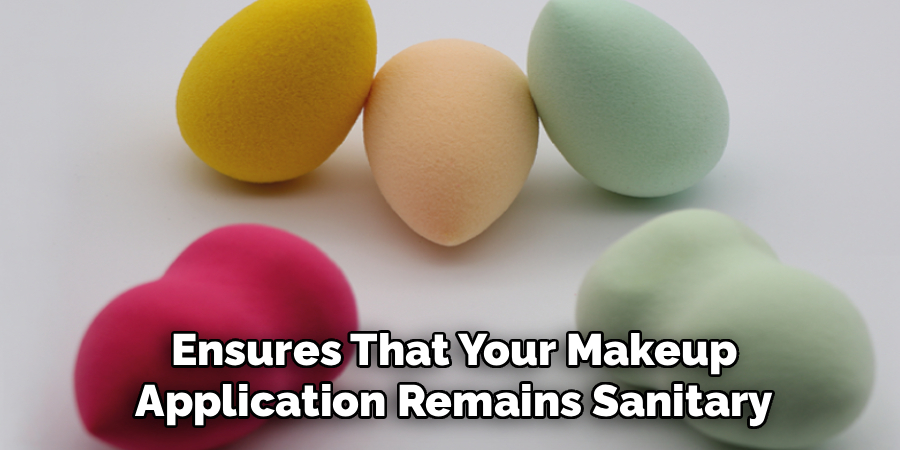
To maintain the effectiveness and hygiene of your beauty blender, clean it thoroughly after each use. Run the sponge under warm water, apply a gentle cleanser or baby shampoo, and massage it until the makeup is rinsed out. Squeeze repeatedly until the water runs clear. Let it air dry in a well-ventilated area. Regular cleaning prevents bacterial buildup, prolongs the life of the sponge, and ensures that your makeup application remains sanitary and smooth.
Troubleshooting Common Issues
Even with proper care, you may encounter some issues with your beauty blender. Here are a few common problems and how to resolve them:
- Sponge Tearing or Crumbling
If your beauty blender begins to tear, it may be due to excessive wringing or long-term wear. Always handle the sponge gently when washing or using it, and replace it every 3-6 months depending on usage.
- Lingering Stains
Persistent stains can occur when makeup isn’t removed thoroughly during cleaning. Use a dedicated sponge cleanser or soak the beauty blender in a mixture of warm water and a few drops of dish soap for a deeper clean.
- Odor Development
A musty or unpleasant smell may arise if the sponge isn’t dried properly. Always allow it to air dry in a well-ventilated space, away from enclosed or damp areas, to prevent mold or mildew.
- Uneven Makeup Application
If your makeup appears patchy or uneven, check that the beauty blender is dampened properly before use. A dry sponge absorbs more product and may not blend as smoothly.
- Falling Apart Too Quickly
Exposure to harsh cleansers or improper storage can degrade the sponge. Stick to gentle cleansers and store it in a breathable container to maintain its condition.
By addressing these issues proactively, you can extend the life of your beauty blender and ensure flawless results every time.
Conclusion
A beauty blender is more than just a makeup sponge—it’s a multi-functional tool that can dramatically improve the appearance and application of your makeup. Whether you’re blending foundation, applying highlighter, or setting powder, mastering the proper techniques makes all the difference. Now that you know how to use beauty blender, try it yourself today and feel good about completing such a big DIY job!
About the Author
Jane Hubbard is a passionate beauty expert with a wealth of experience in makeup, hair, and overall beauty techniques. After years of working as a hairdresser specialist, she followed her entrepreneurial spirit and started her own consultancy business.
Jane has always been driven by her desire to help others feel confident in their own skin, and she does this by sharing her knowledge, experiences, and practical beauty tips. Through her consultancy, she empowers individuals to embrace their unique beauty, offering tailored guidance that boosts both self-esteem and personal style.
Professional Focus
- Specializes in makeup, hairstyling, and beauty consulting.
- Provides personalized beauty advice, tips, and techniques to help individuals feel confident in their appearance.
- Dedicated to staying up-to-date with the latest industry trends and developments.
- Passionate about creating a comfortable and empowering experience for every client.
Education History
- University of Craft and Design – Bachelor of Fine Arts (BFA) in Woodworking and Furniture Design
- Woodworking Apprenticeships – Extensive hands-on training with skilled craftsmen to refine carpentry and furniture making techniques
- Online Courses & Masterclasses – Continued education in advanced woodworking techniques, design principles, and specialized tools
Expertise:
- Makeup artistry, hairstyling, and beauty consulting.
- Personalized beauty techniques to enhance confidence and self-expression.
- Educating clients on how to maintain their beauty routines at home.