
If you have ever wondered why your foundation looks streaky or cakey despite using high-end products, the issue might not be the makeup itself, but the tool you are using to apply it. For years, professional makeup artists have relied on specific techniques to achieve that coveted airbrushed finish, and now, those secrets are available to everyone. The right tool can completely transform your beauty routine, turning a patchy application into a seamless, glowing masterpiece.
Transitioning from brushes or fingertips to a sponge can feel intimidating at first, especially if you are unsure about the proper technique. However, once you master the basics, you will likely never go back to your old methods. In this guide, we will break down exactly how to use blending sponge correctly to ensure your base looks natural and skin-like. Whether you are a total beginner or just looking to refine your skills, this step-by-step tutorial will help you get the most out of your makeup collection.
A Step-by-Step Guide on How to Use Blending Sponge
Step 1: Choose the Right Sponge
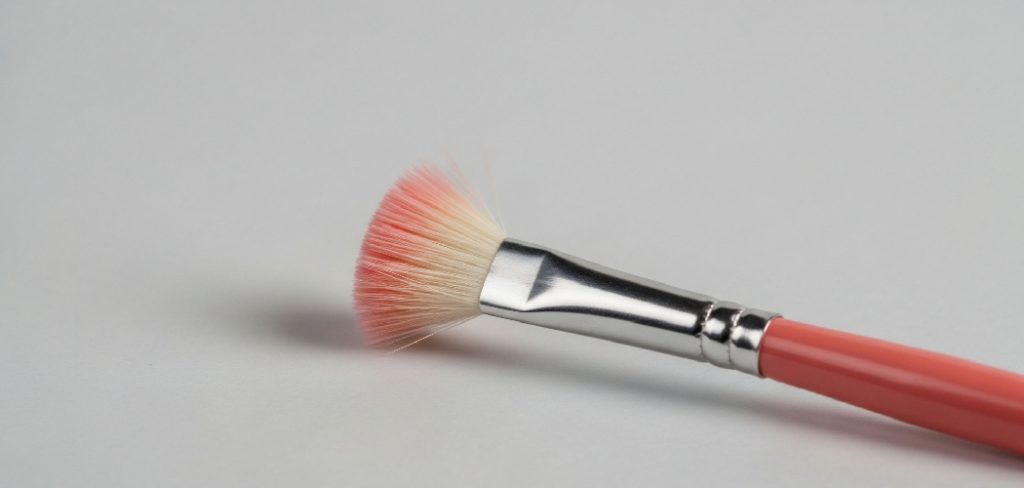
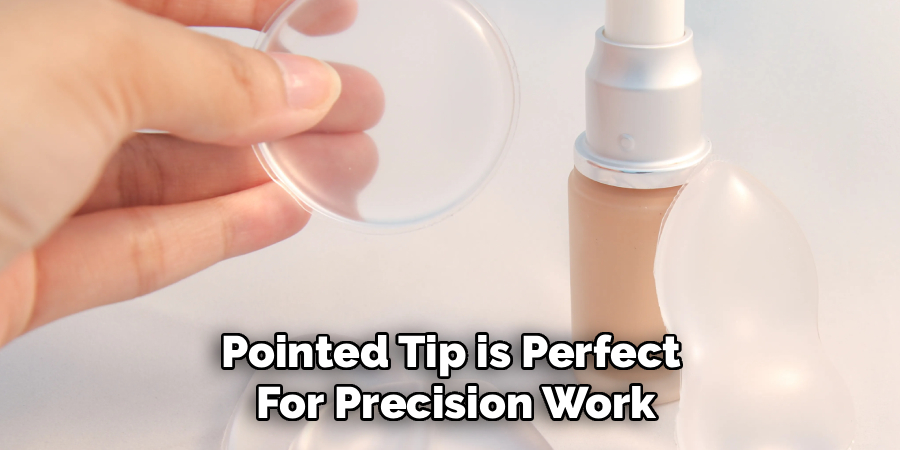
Before you even think about application, selecting the correct tool is paramount. The market is filled with sponges of various shapes, sizes, and materials, from the iconic egg shape to teardrop and beveled designs. A high-quality, latex-free sponge is often the best choice as it is less likely to cause irritation and tends to be more durable. The material should be soft and porous, designed to absorb water, not your expensive foundation. Consider a sponge with both a rounded end for larger areas like your cheeks and forehead and a pointed tip for precise application around the nose, eyes, and mouth.
Step 2: Wet the Sponge Thoroughly
This is the most critical step and the one most beginners skip. A dry sponge is highly absorbent and will soak up your liquid or cream makeup, leading to product waste and a patchy finish. To prepare it, hold the sponge under cool, running water and squeeze it repeatedly until it fully expands, often to about double its original size. This saturation ensures the sponge is filled with water, so your makeup sits on the surface instead of getting absorbed into it. Once it has fully expanded, you will have the perfect tool for a dewy, flawless application that blends seamlessly.
Step 3: Squeeze Out Excess Water
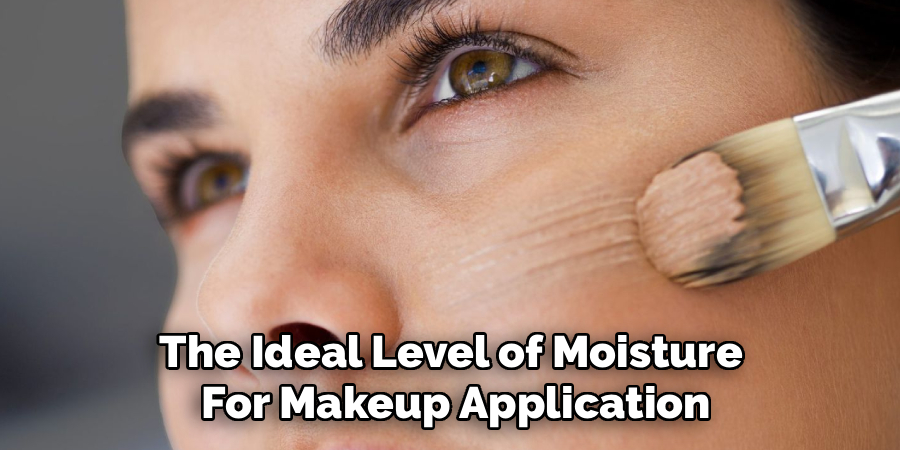
After your sponge has fully expanded, you need to remove the excess water. A waterlogged sponge will dilute your foundation and give you a sheer, watered-down coverage that may not be what you desire. The goal is to leave it damp, not soaking wet. Firmly squeeze the sponge in your hand to wring out as much water as possible. For an even better result, you can then roll or press the damp sponge into a clean towel or paper towel. This final press removes any remaining surplus liquid, leaving you with the ideal level of moisture for makeup application.
Step 4: Apply Product to Your Skin or Sponge
There are a couple of methods for getting the makeup onto your face, and the best one often comes down to personal preference. You can dot your foundation directly onto your forehead, cheeks, nose, and chin. Alternatively, you can apply the product to the back of your hand, which acts as a palette, and then dip the damp sponge into it. This second method gives you more control over how much product you pick up, preventing you from applying too much at once. For cream blushes or contours, applying them directly from the stick to your face before blending is often easiest.
Step 5: Master the Bouncing or Stippling Motion
The key to a flawless finish is the application technique. Instead of wiping or dragging the sponge across your skin, which only moves the product around and creates streaks, you should use a gentle bouncing or stippling motion. Lightly tap or press the sponge onto your skin, repeatedly bouncing it to blend the makeup seamlessly. This technique, often called “pouncing,” pushes the product into the skin for an airbrushed effect rather than letting it sit on top. Use the larger, rounded end for broad areas and the pointed tip for smaller, hard-to-reach spots.
Step 6:Concealer and Powder
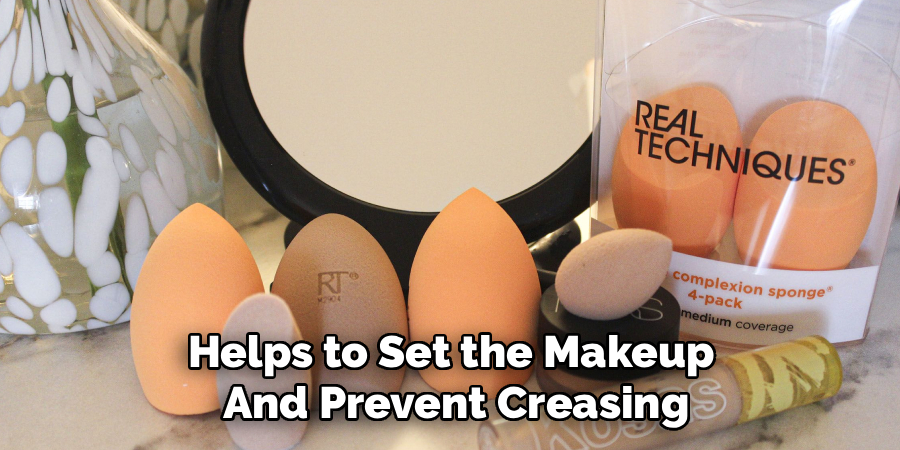
A blending sponge is a versatile tool that excels beyond foundation. To apply concealer, use the pointed tip to tap the product under your eyes and over any blemishes. The precise tip allows for targeted coverage without disturbing the foundation underneath. You can also use a damp sponge to apply setting powder, a technique known as “baking.” After applying your concealer, press a generous amount of loose powder onto the area with the sponge. Let it sit for a few minutes before dusting off the excess, which helps to set the makeup and prevent creasing for a long-lasting, matte finish.
Step 7: Sponge for Other Products
Your sponge’s utility does not end with your base makeup. It is also an excellent tool for applying cream blush, bronzer, and highlighter. Use the same stippling motion to gently bounce the color onto your cheeks for a natural, diffused glow that looks like it is coming from within the skin. If you ever feel you have applied too much blush or bronzer, the clean side of the damp sponge can be used to sheer out the pigment and blend the edges seamlessly. This multi-use capability makes the blending sponge an indispensable part of any makeup kit.
Step 8: Clean Your Sponge After Every Use
Maintaining the hygiene of your makeup tools is non-negotiable for healthy skin. After each use, your sponge is coated in makeup, skin oils, and bacteria. To clean it, wet the sponge and work a gentle soap, baby shampoo, or a dedicated sponge cleanser into it. Lather it up and squeeze repeatedly until the water runs clear. Make sure to rinse it thoroughly to remove all soap residue, as leftover cleanser can irritate your skin. Proper cleaning not only prevents breakouts but also extends the life of your sponge, ensuring a perfect application every time.
Step 9: Let it Air Dry Properly
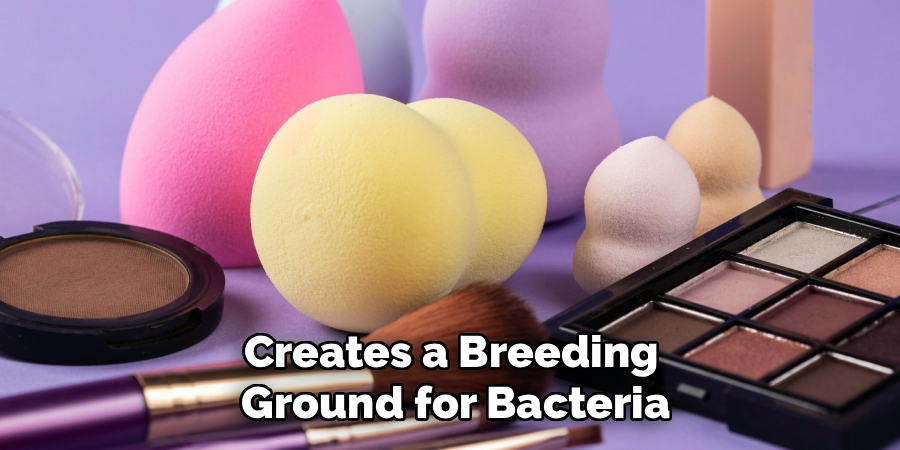
Once your sponge is squeaky clean, proper drying is essential to prevent mold and mildew from forming. Squeeze out all excess water and place it in a well-ventilated area to air dry completely. Many blending sponges come with a small stand or case designed to hold them while they dry. Avoid storing a damp sponge in an enclosed space like a makeup bag or drawer, as the lack of airflow creates a breeding ground for bacteria. Allowing it to dry fully ensures it is fresh and ready for your next flawless makeup application.
Frequently Asked Questions
How Often Should I Replace My Blending Sponge?
For hygiene reasons and to ensure optimal performance, it is best to replace your blending sponge every three to four months. Over time, the sponge can harbor bacteria and may start to break down or tear, which will affect how well it applies your makeup.
Can I Use a Blending Sponge Dry?
While you can technically use it dry, it is not recommended. A dry sponge will absorb a significant amount of your makeup, leading to waste and a potentially streaky or cakey application. Wetting it first ensures a smooth, seamless finish and saves you product in the long run.
What’s the Best Way to Clean a Stained Blending Sponge?
For stubborn stains, you can pre-soak the sponge in a bowl of warm water and cleanser for about 30 minutes before washing. You can also try using a solid cleanser and rubbing the stained areas directly onto the bar before lathering and rinsing it out completely.
Can I Use a Sponge to Apply Skincare?
Yes, a clean, damp sponge can be a gentle way to apply serums or moisturizers. The bouncing motion can help press the product into the skin. However, be sure to use a separate sponge for your skincare to avoid mixing it with makeup residue and causing breakouts.
Does the Shape of the Sponge Matter?
Different shapes offer different benefits. The classic egg shape is great for all-over application, while sponges with flat edges are ideal for contouring and baking. A pointed tip is perfect for precision work. The best shape ultimately depends on your personal preference and makeup routine.
Conclusion
Mastering the art of makeup application is a journey, and having the right tools makes all the difference. The blending sponge, once a professional secret, is now an accessible tool that can elevate anyone’s beauty routine. By following these simple steps—from wetting the sponge properly to using a gentle bouncing motion and keeping it clean—you unlock the potential for a truly flawless, airbrushed finish. You no longer have to settle for a streaky or uneven base.
We encourage you to embrace this technique and see the transformation for yourself. With a little practice, you will be able to apply foundation, concealer, and even powders like an expert. Now that you know how to use a blending sponge, you are well on your way to achieving that perfect, skin-like glow every single day.
About the Author
Jane Hubbard is a passionate beauty expert with a wealth of experience in makeup, hair, and overall beauty techniques. After years of working as a hairdresser specialist, she followed her entrepreneurial spirit and started her own consultancy business.
Jane has always been driven by her desire to help others feel confident in their own skin, and she does this by sharing her knowledge, experiences, and practical beauty tips. Through her consultancy, she empowers individuals to embrace their unique beauty, offering tailored guidance that boosts both self-esteem and personal style.
Professional Focus
- Specializes in makeup, hairstyling, and beauty consulting.
- Provides personalized beauty advice, tips, and techniques to help individuals feel confident in their appearance.
- Dedicated to staying up-to-date with the latest industry trends and developments.
- Passionate about creating a comfortable and empowering experience for every client.
Education History
- University of Craft and Design – Bachelor of Fine Arts (BFA) in Woodworking and Furniture Design
- Woodworking Apprenticeships – Extensive hands-on training with skilled craftsmen to refine carpentry and furniture making techniques
- Online Courses & Masterclasses – Continued education in advanced woodworking techniques, design principles, and specialized tools
Expertise:
- Makeup artistry, hairstyling, and beauty consulting.
- Personalized beauty techniques to enhance confidence and self-expression.
- Educating clients on how to maintain their beauty routines at home.