
Are you struggling to use brow powder as part of your makeup routine? Look no further! In this guide, we’ll discuss how to apply and blend brow powder for a natural-looking eyebrow look.
Achieving well-defined and natural-looking eyebrows is a crucial step in any makeup routine, and brow powder is a fantastic tool to help you get there. Brow powder is a versatile product that can fill in sparse areas, enhance the shape of your brows, and create a softer, more natural look compared to other brow products. Whether you’re aiming for bold, structured arches or a subtle, polished finish, learning how to use brow powder can elevate your makeup game and give you the perfect brows to frame your face.
Let’s dive deeper into the world of brow powder and explore its benefits, application techniques, and tips for achieving flawless brows.
What Are the Benefits of Using Brow Powder?
Brow powder has several benefits that make it a popular choice among makeup enthusiasts. Some of the key advantages include:
- Versatility: Unlike other brow products like pencils and gels, brow powder can be used to create different looks, ranging from natural to bold. It offers more control and precision in shaping your brows.
- Natural Look: As mentioned earlier, brow powder creates a softer, more natural look compared to other products. This makes it perfect for everyday wear and for those who prefer a subtler makeup look.
- Easy to Apply: Brow powder is easy to apply and blend, making it suitable for both beginners and professionals.
- Long-lasting: When applied correctly and set with a brow gel, brow powder can last all day without smudging or fading.
What Will You Need?
To achieve perfectly defined and shaped brows using brow powder, you will need the following:
- A good quality brow powder in a shade that matches your hair color. This can be a single shade or a combination of shades for more dimension.
- An angled brow brush with stiff bristles to apply the powder with precision.
- A spoolie brush to blend and soften any harsh lines.
- Optional: A clear or tinted brow gel to set the powder and keep your brows in place throughout the day.
10 Easy Steps on How to Use Brow Powder
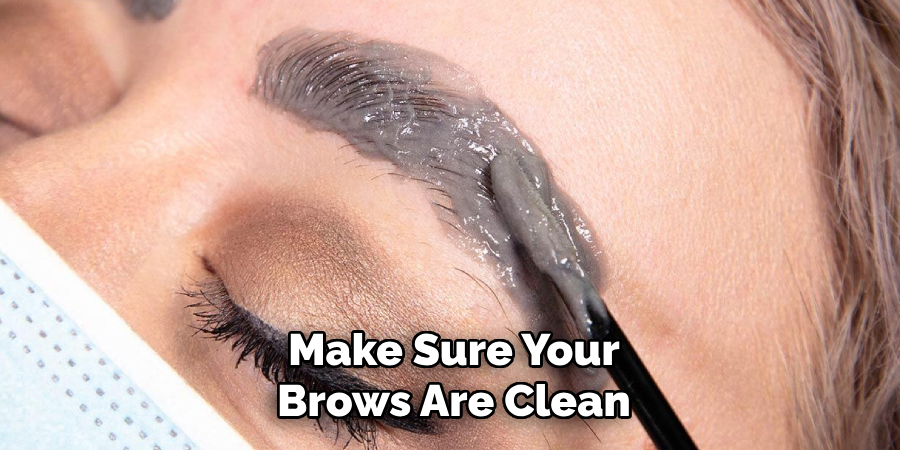
Step 1. Start with Clean Brows
Make sure your brows are clean and free of any makeup, oil, or excess product buildup. Begin by gently cleansing your brow area with a mild cleanser or micellar water to remove any residue that might interfere with the application of the brow powder.
Pat the area dry with a clean towel and ensure the skin around your brows is completely dry before proceeding. This step helps create a smooth and even surface for the brow powder, ensuring better adherence and a more polished look. Starting with clean brows also makes it easier to see your natural brow shape, serving as a guide for where to apply the powder effectively.
Step 2. Brush Your Brows
Use a spoolie brush or a clean eyebrow brush to gently comb through your brows, following the natural direction of hair growth. Brushing your brows not only helps to tame unruly hairs but also separates them, making it easier to identify sparse areas that need filling.
For a more defined look, brush the hairs upward and outward, allowing you to see the natural arch and the overall shape of your brow. This step is crucial as it ensures that the brow powder is applied evenly and blends seamlessly with your natural brow hairs, creating a soft and natural finish.
Step 3. Pick the Right Shade
Choosing the right shade for your brows is essential to achieve a natural and polished look. When selecting a brow powder or pencil, aim for a shade that closely matches your natural brow color or is just slightly lighter.
For individuals with blonde or light-colored hair, a shade one or two tones darker than their natural hair color works best to define without appearing too harsh. Similarly, if you have dark hair, opting for a shade that is slightly lighter can help soften the overall look and prevent the brows from appearing too heavy or overpowering.
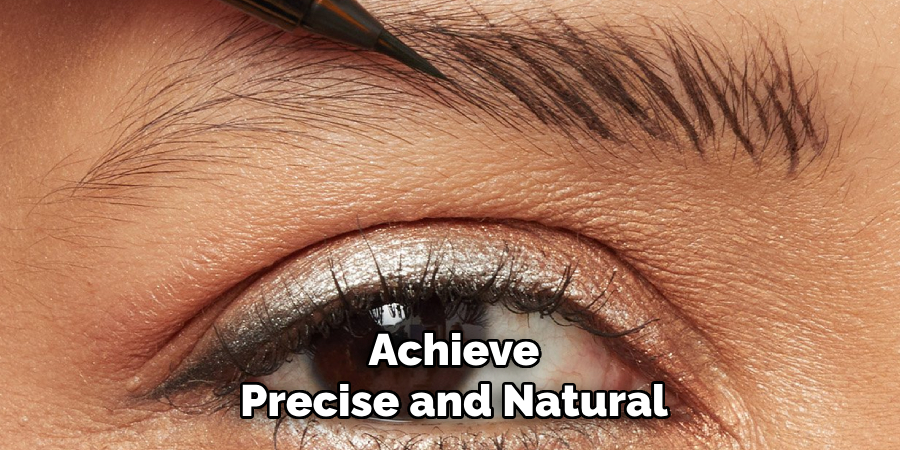
Step 4. Load Your Angled Brush
To achieve precise and natural-looking brows, the tool you use is just as important as the product itself. An angled brush is ideal for this job because its slanted bristles allow for better control and help mimic the appearance of individual brow hairs.
Dip your angled brush lightly into your chosen brow product, whether it’s a powder, cream, or pomade. To ensure even application, tap off any excess product or wipe the brush gently on the back of your hand to avoid applying too much at once. Remember, it’s easier to build up the color gradually than to correct over-applied product. A properly loaded brush ensures smoother application and a more polished, professional finish.
Step 5. Start Filling From the Arch
When filling in your brows, it’s best to begin at the arch, as this area typically requires the most definition and can serve as a focal point for structuring the rest of the brow.
Using short, light strokes, mimic the natural direction of hair growth to create a softer, more realistic appearance. Gradually work your way outward toward the tail of the brow, where the hairs tend to be thinner and lighter. Be mindful to use a lighter touch as you approach the tail to avoid an overly harsh or blocky look.
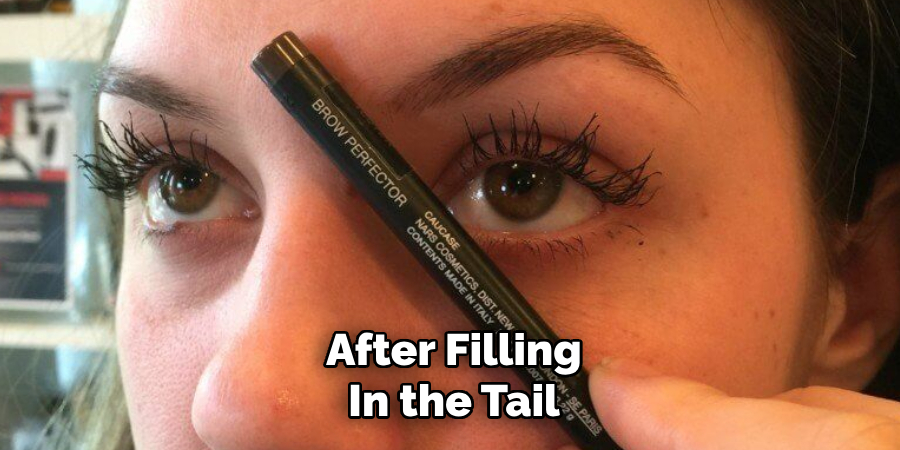
Step 6. Fill in the Tail
After filling in the tail, step back and assess the overall balance of the brows. The tail should taper naturally, maintaining a soft and seamless transition from the arch. Use a clean spoolie brush to gently blend the product throughout the brow, ensuring there are no harsh lines or overly concentrated areas.
This step helps to create a polished and natural finish while keeping the brows looking well-defined. If necessary, use a concealer or highlighter beneath the brow bone to sharpen the shape further and enhance the arch, adding a subtle lift to the brows.
Step 7. Fill in the Front
When filling in the brows, it’s essential to work with a light hand to maintain a natural appearance. Begin by drawing fine, upward strokes that mimic the growth direction of your natural brow hairs.
This technique helps to create a realistic look without making the front of the brows appear too heavy or blocky. Focus on gradually building up color, ensuring the density matches the natural progression of your brow shape. Avoid applying too much product at once, as it can be difficult to correct later on.
Step 8. Blend with a Spoolie
Using a clean spoolie brush, gently comb through your brows to blend the product and soften any harsh lines. Start at the inner corner of your brow and work outward in the natural direction of hair growth. This step ensures that the product is evenly distributed, creating a seamless and polished appearance.
Blending also helps to diffuse any areas where the color may appear too concentrated, giving your brows a more natural, feathered look. Take your time with this process, as blending is key to achieving a professional finish.
Step 9. Perfect the Shape
Using a clean spoolie brush or a fine-tipped brow tool, refine the edges of your brows to perfect their shape. Gently comb through the hairs, aligning them neatly while ensuring that the lines remain soft yet defined. Pay special attention to the tail and arch of the brow, as these areas can significantly enhance your overall look when shaped precisely.
If needed, use a small amount of concealer along the edges of your brows to sharpen and clean up any uneven lines. Lightly blend the concealer with a flat brush or your fingertip for a polished finish that highlights the shape without appearing harsh.
Step 10. Set with Brow Gel
Setting your brows with a clear or tinted brow gel is the final step to lock everything in place and ensure your brows stay flawless throughout the day. Use a spoolie wand applicator to comb the gel through your brows in small, upward strokes, following the natural direction of the hairs.
This step not only holds the shape you’ve curated but can also add a subtle, polished shine to the brows. If you’ve chosen a tinted brow gel, this can enhance the fullness of your brows by adding an extra layer of depth and color, complementing your previous work with the pencil or powder. Be careful not to overload the wand to avoid clumps. If needed, use a clean spoolie to smooth out any excess product.
By following these steps, you’ll achieve beautifully defined brows that look natural and stay flawless throughout the day!
Conclusion
How to use brow powder is an excellent way to achieve soft, natural-looking brows with a well-defined shape.
The key to success lies in selecting a shade that matches your natural brow color and applying the product in light, feather-like strokes. Begin by filling in any sparse areas, focusing on building a gradual depth and blending thoroughly for a seamless look. Remember to use an angled brush for precision and finish by setting your brows with a clear or tinted brow gel to ensure your look stays in place all day.
With practice and the right tools, brow powder can become a go-to product for achieving polished, professional-looking brows effortlessly.
About the Author
Jane Hubbard is a passionate beauty expert with a wealth of experience in makeup, hair, and overall beauty techniques. After years of working as a hairdresser specialist, she followed her entrepreneurial spirit and started her own consultancy business.
Jane has always been driven by her desire to help others feel confident in their own skin, and she does this by sharing her knowledge, experiences, and practical beauty tips. Through her consultancy, she empowers individuals to embrace their unique beauty, offering tailored guidance that boosts both self-esteem and personal style.
Professional Focus
- Specializes in makeup, hairstyling, and beauty consulting.
- Provides personalized beauty advice, tips, and techniques to help individuals feel confident in their appearance.
- Dedicated to staying up-to-date with the latest industry trends and developments.
- Passionate about creating a comfortable and empowering experience for every client.
Education History
- University of Craft and Design – Bachelor of Fine Arts (BFA) in Woodworking and Furniture Design
- Woodworking Apprenticeships – Extensive hands-on training with skilled craftsmen to refine carpentry and furniture making techniques
- Online Courses & Masterclasses – Continued education in advanced woodworking techniques, design principles, and specialized tools
Expertise:
- Makeup artistry, hairstyling, and beauty consulting.
- Personalized beauty techniques to enhance confidence and self-expression.
- Educating clients on how to maintain their beauty routines at home.