
Are you looking to achieve a beautiful, long-lasting manicure? If so, then brush-saver dip powder is the perfect solution for you! Dip powder allows your nails to look glamorous and stay strong without putting too much stress on them. It also lasts longer than traditional nail polish or gel and protects against damage. Unlike classic nail polishes and gel manicures, this form of nail enhancement is incredibly durable and provides several other advantages.
Whether you’re a beginner or a professional, Brush Saver’s dip powder can help you achieve the perfect style without sacrificing the health of your nails. Additionally, styling with brush-saver dip powder is relatively easy once you get the hang of it. In this blog post, we’ll dive into all the details about how to use Brush Saver dip powder for a salon-worthy manicure at home! So, if you’re ready for salon-level results from home, keep reading!
Necessary Items
Before we jump into the process of using Brush Saver dip powder, let’s first go through all the necessary items you’ll need to achieve a perfect manicure.
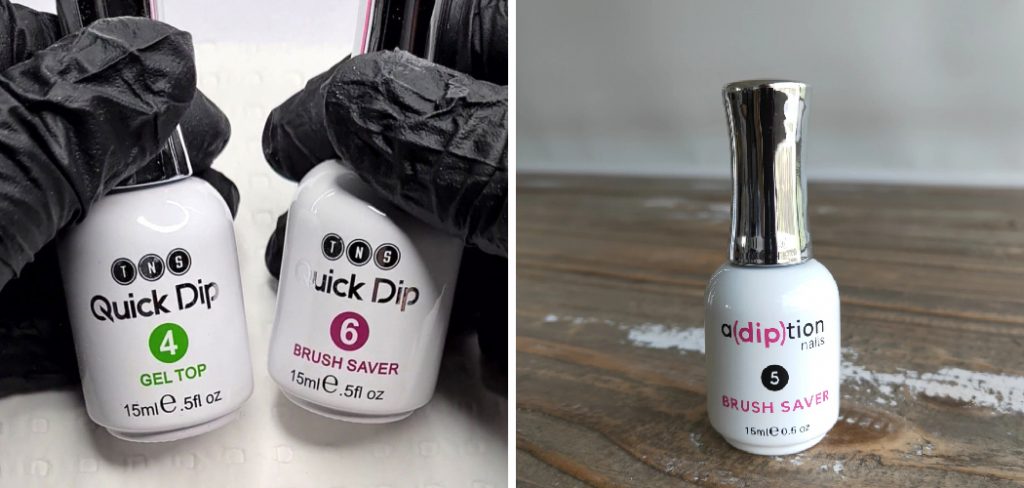
- A brush saver dip powder kit: This will include a base coat, activator, top coat, and brush restorer.
- Dip powder colors of your choice: Brush Saver offers a wide range of colors, so pick your favorites!
- A brush-saver dip powder brush: This unique brush is designed specifically for dip powder application and always ensures an even coating.
- Nail file and buffer: These tools will help prep your nails for the dip powder application.
- Cuticle pusher: Use this tool to gently push back your cuticles for a neat and clean look.
- Lint-free wipes or paper towels: These will be useful for cleaning up any excess dip powder during the application process.
10 Steps on How to Use Brush Saver Dip Powder
Step 1: Prep Your Nails
Before you start applying the dip powder, it’s essential to prep your nails properly. Begin by removing old nail polish and gently pushing back your cuticles with a cuticle pusher. Then, use the nail file to shape and buff your nails, so they’re smooth and free of oils or debris.
Step 2: Apply Base Coat
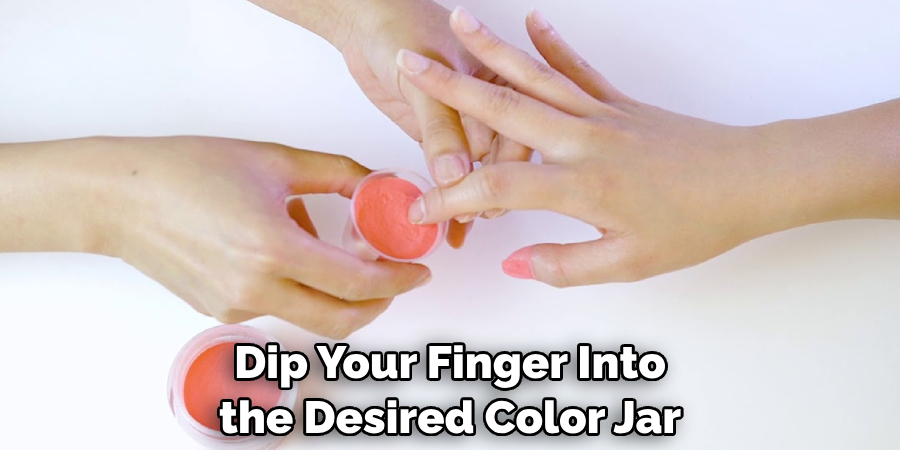
After prepping your nails, it’s time to apply the base coat. Start by applying a thin layer of brush saver dip powder base coat on one finger at a time. Make sure to avoid getting any product on your skin or cuticles. Then, dip your finger into the desired color jar at a 45-degree angle and tap off any excess powder.
Step 3: Repeat for All Nails
Continue applying the base coat and dipping process to each nail until all ten nails are coated. If you’re using more than one color, use a new base coat for each color.
Step 4: Apply Activator
After all ten nails are coated, it’s time to apply the activator. This essential step helps the dip powder harden and bond to your nails. Gently brush on the activator and wait 1-2 minutes before moving on to the next step.
Step 5: File and Shape
Now that your nails are dry, you can remove any excess dip powder using a nail file. Gently file the edges of your nails to shape them according to your preference.
Step 6: Repeat Base Coat and Dip Process
To ensure full coverage, repeat the base coat and dip process on all ten nails. Remember to remove any excess powder and avoid getting it on your skin.
Step 7: Second Activator Coat
After all ten nails are coated for the second time, apply the activator again. This will help seal in the powder and protect your nails from chipping or lifting.
Step 8: File and Buff
Once the activator has dried, use a nail file and buffer to smooth out rough edges and give your nails a glossy shine.
Step 9: Apply Top Coat
Next, apply the top coat to each nail for added shine and protection. Let it dry for 1-2 minutes before moving to the final step.
Step 10: Brush Restorer
After completing all the steps, use the brush restorer to clean your dip powder brush. This will help maintain the quality and longevity of your brush.
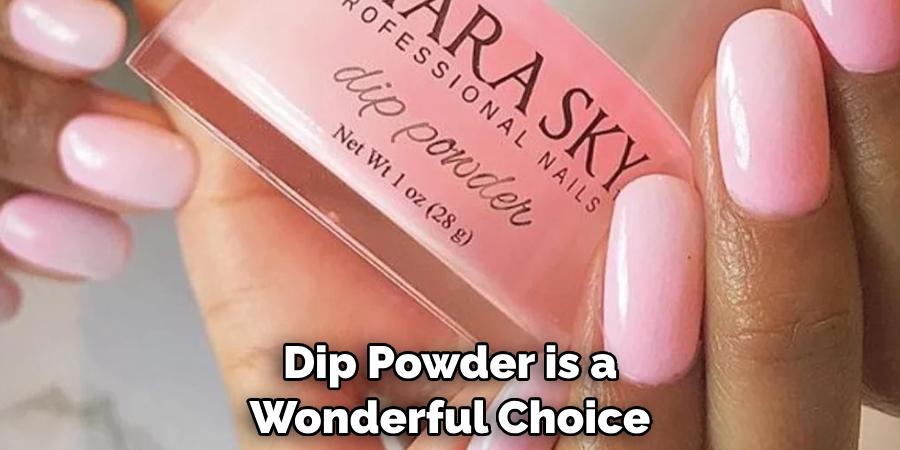
As you can see, dip powder is a wonderful choice for those looking to add glamour to their nails in an affordable yet safe way. This method produces beautiful results without drying out the nails and drastically cuts down the number of tools necessary for a perfect manicure. With practice and patience, your at-home dip powder nail design will shine!
8 Tips for Long-Lasting Dip Powder Manicure
1. Prep and File Your Nails Properly
As mentioned earlier, properly prepping and filing your nails is crucial for a successful dip powder manicure. This will ensure that the powder adheres to your nails and lasts longer.
2. Avoid Getting Dip Powder on Skin or Cuticles
To achieve a clean and professional look, avoid getting dip powder on your skin or cuticles. Use a small brush or toothpick to clean up any mistakes quickly.
3. Apply Thin Layers
Applying thin layers of dip powder and activator is key to avoiding clumping and achieving a smooth, even finish.
4. Allow Enough Drying Time
Each step of the process requires some drying time, so be patient and give your nails enough time to dry before moving on to the next step.
5. Keep Hands Dry for at Least an Hour After Applying.
To avoid smudging or damaging your manicure, avoid getting your hands wet for at least an hour after applying the top coat.
6. Reapply Top Coat Every Few Days.
For added protection and shine, consider reapplying the top coat every few days to keep your manicure looking fresh.
7. Avoid Harsh Chemicals:
avoid using harsh chemicals or exposing your nails to extreme heat, as this can cause chipping and lifting of the dip powder.
8. Use Cuticle Oil Daily
Keeping your cuticles hydrated is essential for overall nail health, so make sure to use cuticle oil daily to nourish and strengthen your nails.
Brush Saver dip powder can give you salon-level results in the comfort of your home. With proper prep and application, you can achieve a long-lasting and beautiful manicure that will turn heads! So why wait? Get your Brush Saver dip powder kit today and create stunning nail looks! So, if you’re ready for salon-level results from home, keep reading and try Brush Saver dip powder. You won’t be disappointed!
Frequently Asked Questions
Can I Use Regular Nail Polish on Top of the Dip Powder?
You can use regular nail polish on top of the dip powder. Just apply a top coat and allow it to dry completely before adding additional products.
How Long Will a Dip Powder Manicure Last?
A dip powder manicure can last up to 3-4 weeks, depending on how well you maintain it. Touch-ups may be needed if any chipping or lifting occurs.
Can I Use Brush Saver Dip Powder on Acrylic or Gel Nails?
Brush Saver dip powder can be used on acrylic and gel nails. However, properly prep and file your nails before applying for the best results.
Is a Brush Restorer Necessary?
While not necessary, using the brush restorer can help maintain the quality of your dip powder brush, ensuring a longer lifespan. So why wait? Get your Brush Saver dip powder kit today and create stunning nail looks!
So, if you’re ready for salon-level results from home, keep reading and try Brush Saver dip powder. You won’t be disappointed! Remember to follow the steps and tips mentioned in this guide for the best results. Happy dipping! So why wait? Get your Brush Saver dip powder kit today and create stunning nail looks!
Conclusion
In conclusion, dip powder manicures are a great alternative to traditional gel or acrylic nails. You can achieve salon-level results at home with the right tools and techniques. Remember to properly prep and file your nails, avoid getting dip powder on your skin or cuticles, and apply thin layers for the best outcome. Follow our eight tips on how to use brush-saver dip powder for a long-lasting manicure and use the brush restorer to maintain the quality of your dip powder brush. Using brush-saver dip powder is a straightforward way to give your nails a long-lasting, strong, and beautiful finish without needing time-consuming visits to the salon.
With the help of this blog post as a guide, you can now confidently start your journey into this relatively new nail treatment option! Not only will it leave you with stronger and longer-lasting nails, but it will also provide cost-saving from paying those expensive salon fees! As a final reminder, always pay close attention to the instructions with your brush-saver dip powder product, as it is important to ensure that you get the maximum benefits! So why not try it today and see how beautiful your nails could be? With Brush Saver dip powder, you can quickly create beautiful and durable nails!
About the Author
Jane Hubbard is a passionate beauty expert with a wealth of experience in makeup, hair, and overall beauty techniques. After years of working as a hairdresser specialist, she followed her entrepreneurial spirit and started her own consultancy business.
Jane has always been driven by her desire to help others feel confident in their own skin, and she does this by sharing her knowledge, experiences, and practical beauty tips. Through her consultancy, she empowers individuals to embrace their unique beauty, offering tailored guidance that boosts both self-esteem and personal style.
Professional Focus
Specializes in makeup, hairstyling, and beauty consulting.
Provides personalized beauty advice, tips, and techniques to help individuals feel confident in their appearance.
Dedicated to staying up-to-date with the latest industry trends and developments.
Passionate about creating a comfortable and empowering experience for every client.
Education History
University of Craft and Design – Bachelor of Fine Arts (BFA) in Woodworking and Furniture Design
Woodworking Apprenticeships – Extensive hands-on training with skilled craftsmen to refine carpentry and furniture making techniques
Online Courses & Masterclasses – Continued education in advanced woodworking techniques, design principles, and specialized tools
Expertise:
Makeup artistry, hairstyling, and beauty consulting.
Personalized beauty techniques to enhance confidence and self-expression.
Educating clients on how to maintain their beauty routines at home.