
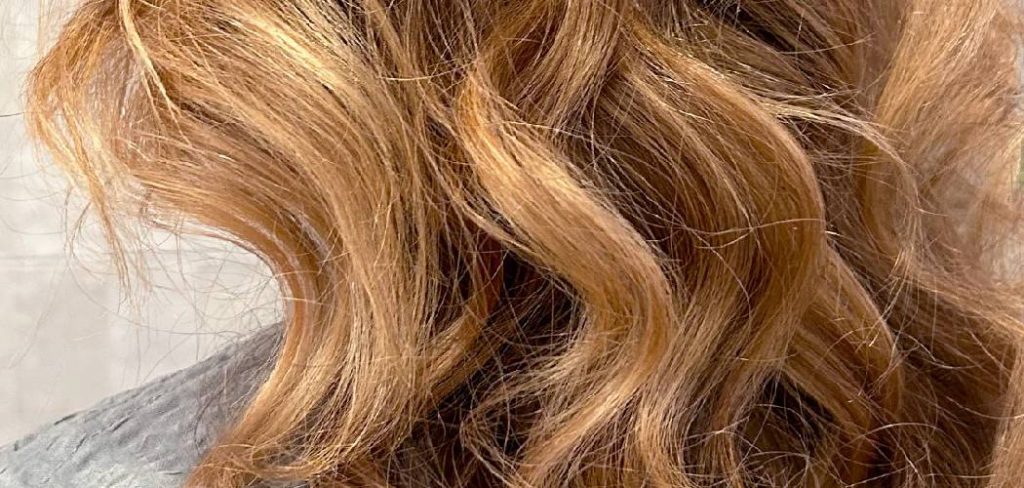
Are you looking for a way to enhance your wavy hair without using heat or damaging chemicals? Look no further! Cantu curling cream is the perfect solution for achieving defined, soft waves.
If you have wavy hair and want to enhance your natural texture and define your waves, Cantu Curling Cream is here to help. With its nourishing formula and styling benefits, Cantu Curling Cream is designed to bring out the best in your wavy locks.
In this guide on how to use cantu curling cream on wavy hair, we will walk you through the step-by-step process of using Cantu Curling Cream to achieve beautifully defined waves that last all day. Say goodbye to frizz and hello to effortlessly gorgeous wavy hair with Cantu Curling Cream. Let’s dive in!
What Are the Benefits of Using Cantu Curling Cream?
Before we dive into the how-to, let’s take a look at why Cantu Curling Cream is a great choice for wavy hair. Here are some of the key benefits:
- Hydrates and Nourishes: Cantu Curling Cream’s rich formula contains shea butter, coconut oil, and other moisturizing ingredients that deeply hydrate and nourish wavy hair, adding shine and preventing dryness.
- Defines Waves: Cantu Curling Cream has just the right amount of hold to define your natural waves without weighing them down or leaving them stiff.
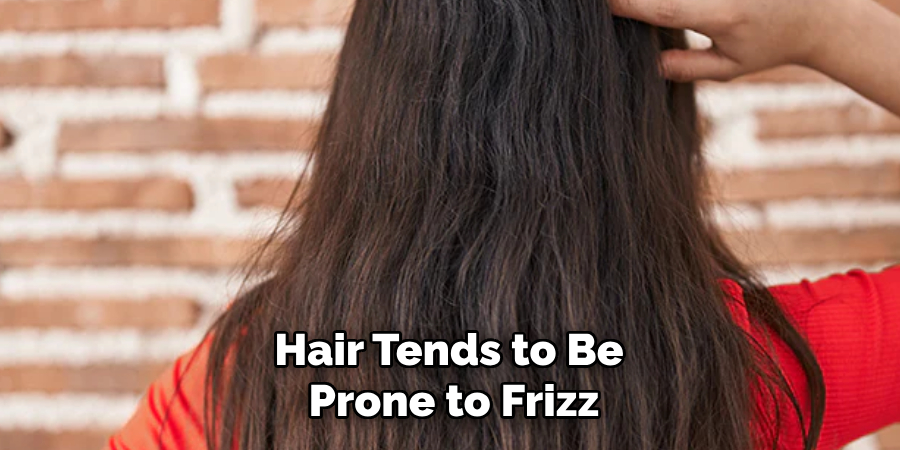
- Controls Frizz: Wavy hair tends to be prone to frizz, but Cantu Curling Cream helps tame frizz and flyaways, leaving you with smooth, defined waves.
- No Heat Required: Say goodbye to damaging heat-styling tools! With Cantu Curling Cream, all you need is your hands and some scrunching motion to achieve gorgeous wavy hair.
- Affordable: Compared to other curl-enhancing products on the market, Cantu Curling Cream is a budget-friendly option that doesn’t compromise on quality.
Now that we know the benefits of using Cantu Curling Cream on wavy hair let’s learn how to use it for optimal results.
What Will You Need?
Before you begin using Cantu Curling Cream, make sure you have the following items on hand:
- Cantu Curling Cream: Of course, you will need the star of the show – Cantu Curling Cream. You can find it at most drugstores or online.
- Wide-tooth Comb: A wide-tooth comb is essential for detangling and distributing the product evenly throughout your hair.
- Spray Bottle with Water: This will be useful if your hair needs extra moisture before applying the curling cream.
- Microfiber Towel/T-shirt: Avoid using a bath towel as it can rough up your hair and cause frizz. Instead, use a microfiber towel or t-shirt to squeeze excess water from your hair gently.
- Hair Clips: These will help you section off your hair and make the application process easier.
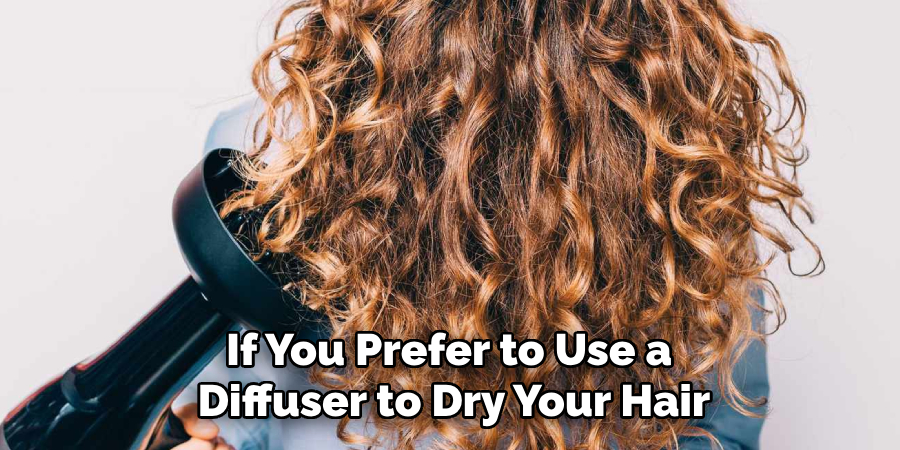
- Diffuser Attachment (Optional): If you prefer to use a diffuser to dry your hair, make sure you have the attachment ready.
Now that we have everything we need, let’s get started with the step-by-step guide on how to use Cantu Curling Cream on wavy hair.
8 Easy Steps on How to Use Cantu Curling Cream on Wavy Hair
Step 1. Prepare Your Hair
Before applying Cantu Curling Cream to your wavy hair, it’s essential to start with clean, freshly washed hair. Follow these steps to prepare your hair:
- Shampoo and Condition: Begin by shampooing your hair with a gentle, sulfate-free shampoo to remove any buildup or impurities. Follow up with a nourishing conditioner to add moisture and enhance the natural texture of your waves.
- Detangle with a Wide-Tooth Comb: While your hair is still wet and saturated with conditioner, use a wide-tooth comb to gently detangle your hair from the ends to the roots. This helps to minimize breakage and ensures even distribution of the curling cream.
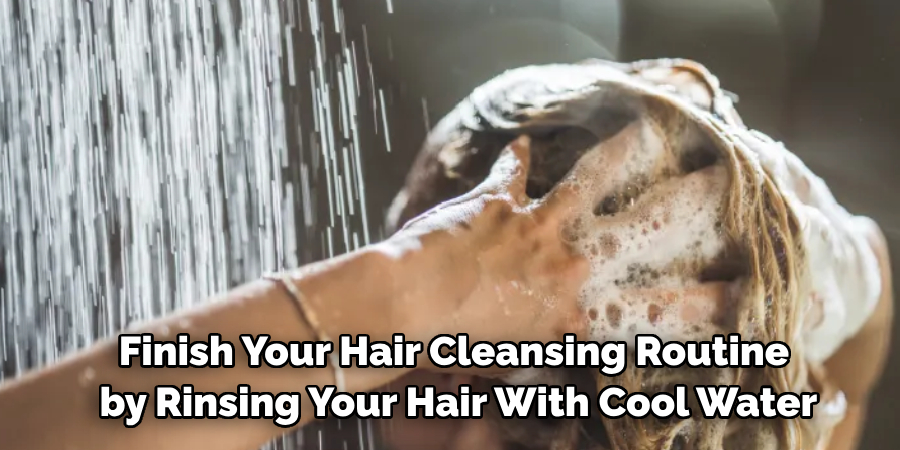
- Rinse with Cold Water: Finish your hair cleansing routine by rinsing your hair with cool water. This helps to seal the cuticles and enhance shine.
- Squeeze Out Excess Water: Use a microfiber towel or a soft t-shirt to squeeze out excess water from your hair gently. Avoid rubbing or twisting your hair, which can cause frizz and disrupt the natural wave pattern.
- Apply a Leave-In Conditioner (Optional): If your hair tends to be dry or lacks moisture, you can apply a small amount of leave-in conditioner to your damp hair for added hydration and to tame any frizz.
Properly preparing your hair creates the ideal foundation for applying Cantu Curling Cream and achieving defined, moisturized waves.
Step 2. Section Your Hair
Once your hair is prepped and damp, it’s time to section it to ensure it is even applied to the Cantu Curling Cream. Follow these steps:
- Divide into Sections: Using hair clips, divide your hair into 3-4 manageable sections. If your hair is thicker, you may need more sections; fewer sections will work for finer hair.
- Work from the Bottom Up: Start clipping the top layers of your hair upward, leaving the bottom sections loose to begin the application process.
- Keep Sections Neat: Keeping each section separate will make it easier to distribute the cream evenly and avoid missing any areas.
By sectioning your hair, you can ensure thorough coverage and definition for each strand, setting the stage for beautifully styled waves.
Step 3. Apply Cantu Curling Cream to Each Section
Now it’s time to apply the Cantu Curling Cream:
- Start with a Small Amount: Scoop a small, dime-sized amount of the curling cream into your palm. You can always add more later if needed, but starting with less prevents overloading your hair.
- Rub Between Hands: Rub the product between your hands to evenly distribute it before applying.
- Apply from Mid-Lengths to Ends: Focus on applying the cream from the mid-lengths to the ends of your hair, as these areas need more moisture and definition. Avoid putting too much on your roots to prevent weighing them down.
- Use a Scrunching Motion: Gently scrunch your hair toward your scalp to encourage the natural wave pattern. Repeat this process for each section until all your hair is coated.
This step is essential for achieving even wave definition, ensuring that each section of your hair receives the moisture and hold needed for gorgeous results.
Step 4. Enhance the Waves
After applying the curling cream, it’s time to define your waves further:
- Finger Coil for Definition (Optional): For extra definition, take small sections of hair and twist them around your fingers to create more structured waves.
- Flip Your Head Over: Flip your head upside down and scrunch your hair once more to encourage volume and wave formation.
- Reapply Water if Needed: If any sections of your hair have dried during the process, lightly spritz them with water from your spray bottle before scrunching to reactivate the product.
These techniques help amplify your natural wave pattern and ensure your waves are consistently defined from root to tip.
Step 5. Dry Your Hair
Drying is a crucial step to setting your waves:
- Air Dry: Allow your hair to air dry completely for the most natural and frizz-free results. Avoid touching your hair while it dries to prevent creating frizz or disrupting the wave pattern.
- Use a Diffuser (Optional): If you prefer to speed up the process, use a diffuser attachment on your blow dryer. Set it to a low or medium heat setting, and gently cup your hair with the diffuser while scrunching upward. Be careful not to over-dry or disturb the waves.

Once your hair is dry, Cantu Curling Cream will give you soft, defined waves with minimal frizz.
Step 6. Finishing Touches
Polish your final look with these tips:
- Separate Waves (Optional): If your waves are clumped together, gently separate them using your fingers to create a fuller, more natural look.
- Add Shine: Apply a small amount of lightweight oil to your ends to add shine and lock in moisture.
- Avoid Touching: Refrain from touching your hair throughout the day, which can cause frizz and disrupt the wave pattern.
With these finishing touches, your beautifully defined waves are ready to be shown off!
Step 7. Maintain Your Waves
To keep your waves looking their best, follow these tips:
- Refresh with Water: If your waves lose definition throughout the day, lightly spritz them with water and scrunch to reactivate the product.
- Reapply Cantu Curling Cream (Optional): You can reapply a small amount of Cantu Curling Cream to areas that have lost definition or moisture.
- Protect at Night: Before bed, use a satin or silk pillowcase or wrap your hair in a silk scarf to prevent frizz and maintain the shape of your waves.
Step 8. Experiment with Different Techniques
Everyone’s hair is unique, and finding the perfect method for your waves may take trial and error. Feel free to experiment with different techniques, products, and amounts until you find what works best for your hair type. Remember to have fun and enjoy the journey of discovering your beautiful, defined waves!
You can achieve gorgeous, defined waves with Cantu Curling Cream by following these steps and tips.
Conclusion
Creating the perfect waves takes time and effort, but you can achieve beautiful results with the right techniques and products.
Properly preparing your hair, sectioning it, and applying Cantu Curling Cream in a scrunching motion will give you defined and moisturized waves. To enhance your waves, finger coil or flip your head over to encourage volume. Let your hair air dry or use a diffuser before applying any finishing touches, such as separating waves, adding shine, and avoiding touching throughout the day.
Hopefully the article on how to use Cantu Curling Cream on wavy hair has provided you with helpful tips and tricks to achieve your desired wave look. Remember, every head of hair is unique, so don’t be afraid to experiment and find what works best for you. So go out there and rock those gorgeous waves with confidence. Happy styling!
About the Author
Jane Hubbard is a passionate beauty expert with a wealth of experience in makeup, hair, and overall beauty techniques. After years of working as a hairdresser specialist, she followed her entrepreneurial spirit and started her own consultancy business.
Jane has always been driven by her desire to help others feel confident in their own skin, and she does this by sharing her knowledge, experiences, and practical beauty tips. Through her consultancy, she empowers individuals to embrace their unique beauty, offering tailored guidance that boosts both self-esteem and personal style.
Professional Focus
- Specializes in makeup, hairstyling, and beauty consulting.
- Provides personalized beauty advice, tips, and techniques to help individuals feel confident in their appearance.
- Dedicated to staying up-to-date with the latest industry trends and developments.
- Passionate about creating a comfortable and empowering experience for every client.
Education History
- University of Craft and Design – Bachelor of Fine Arts (BFA) in Woodworking and Furniture Design
- Woodworking Apprenticeships – Extensive hands-on training with skilled craftsmen to refine carpentry and furniture making techniques
- Online Courses & Masterclasses – Continued education in advanced woodworking techniques, design principles, and specialized tools
Expertise:
- Makeup artistry, hairstyling, and beauty consulting.
- Personalized beauty techniques to enhance confidence and self-expression.
- Educating clients on how to maintain their beauty routines at home.