
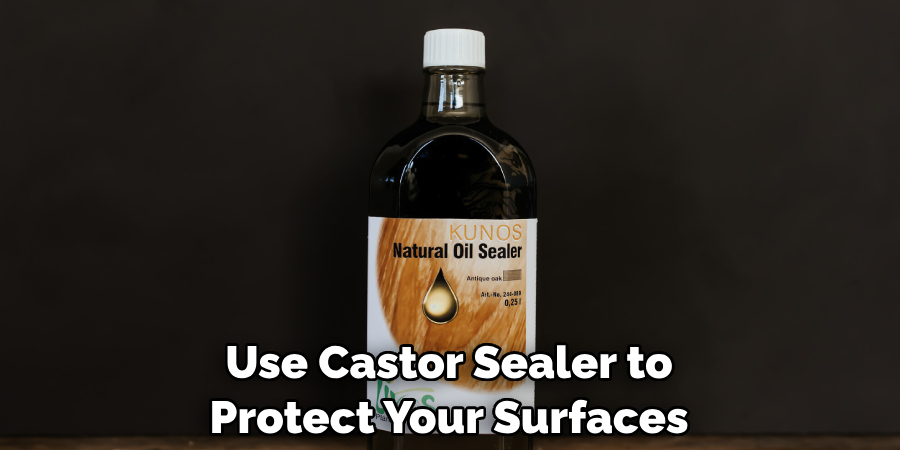
Are you looking for a long-lasting, cost-effective solution to protect your wood surfaces? Castor sealer is the perfect product for those seeking a powerful protective coating with superior durability. Its quick drying time and ease of application make it ideal for both indoor and outdoor woodworking projects. Plus, frequent use can increase the strength and water resistance of treated wood surfaces, ensuring they last longer and look better in any environment.
Castor sealer is an innovative product that can be used on almost any material, including wood, plastic, glass and metal. It’s perfect for outdoor furniture such as patio tables or garden chairs, but also works just as well inside the home – use it to seal mirrors in the bathroom or kitchen countertops! Not only will castor sealer keep your items safe from wear and tear, but it also adds a beautiful gloss finish that looks great in any setting. Read on to learn more about how to use castor sealer!
Why May You Want to Use Castor Sealer?
1 . To Protect Your Driveway
Castor sealer is an essential product that protects your driveway from weathering and damage. It acts as a barrier against water, oil stains, and UV rays, preventing them from penetrating the surface of your driveway. This helps to prolong the life of your driveway and keep it looking new for longer.
2 . To Increase Durability
Using a castor sealer can significantly increase the durability of your driveway. As it creates a protective layer on the surface, it helps to prevent cracks and chips from forming due to heavy traffic or extreme weather conditions.
3 . To Enhance Aesthetics
A clean and well-maintained driveway can enhance the overall look of your property. Castor sealer not only protects your driveway but also gives it a nice glossy finish, making it look more appealing. It can even help to restore the color of an old and faded driveway, giving it a fresh new look.
4 . To Save Money
Investing in castor sealer may seem like an added expense, but in the long run, it can save you a significant amount of money. By protecting your driveway and increasing its durability, it reduces the need for repairs or replacements, which can be costly.

How to Use Castor Sealer in 5 Easy Steps
Step 1: Prepare the Area
Before applying castor sealer, it is crucial to properly clean and prepare the surface. This will ensure that the sealer adheres well and provides maximum protection. Begin by sweeping away any debris, dirt or dust from the surface. For tougher stains, use a pressure washer or scrubbing brush with soap and water to thoroughly clean the area.
Step 2: Mix the Sealer
Once the surface is clean and dry, it’s time to mix the castor sealer. Follow the manufacturer’s instructions on how to properly mix the sealer. Typically, you will need to combine equal parts of both components (resin and hardener) in a separate container.
Step 3: Apply the Sealer
Using a brush or roller, apply the mixed sealer onto the surface in thin and even coats. Be sure to work in one direction to avoid any air bubbles from forming. For larger areas, you may need to use a sprayer for faster and more efficient application.
Step 4: Allow Drying Time
After applying the first coat of sealer, allow it to dry completely before applying a second coat. The drying time will vary depending on the type of castor sealer used, as well as environmental factors such as temperature and humidity.
Step 5: Final Touches
Once the final coat has dried, you can add any finishing touches such as decorative flakes or anti-slip additives. These can be sprinkled onto the wet sealer and then lightly troweled to ensure they are evenly distributed. Allow the sealer to cure for at least 24 hours before walking or driving on it.
By following these simple steps, you can effectively use castor sealer to protect your surfaces from damage such as stains, oil spills, and water penetration. Remember to always follow the manufacturer’s instructions and take proper safety precautions when handling the sealer.
Some Extra Tips to Use Castor Sealer
1 . Do Not Overapply
One of the most common mistakes people make when using castor sealer is overapplying it. While this may seem like a good idea to get better results, it can actually have adverse effects on your project. Overapplying castor sealer can lead to unsightly streaks and unevenness, which defeats the purpose of using the sealer in the first place. To avoid this, always follow the recommended amount and only apply a thin layer of sealer.
2 . Use a Quality Applicator
The applicator you use to apply castor sealer can make all the difference in achieving a smooth and flawless finish. Whether you choose a brush, roller, or sprayer, make sure it is of high quality and suitable for the type of sealer you are using. A low-quality applicator can leave behind bristles, lint, or other debris, which can ruin the overall look of your project.
3 . Apply in a Well-Ventilated Area
Castor sealer contains chemicals that can emit strong fumes, so it is important to apply it in a well-ventilated area. This will not only protect your health but also ensure the sealer dries properly and does not form bubbles or other imperfections. If possible, apply the sealer outdoors or in a space with open windows and proper ventilation.
4 . Follow the Drying Time
Castor sealer requires a certain amount of time to dry properly before it can be recoated or have any other products applied on top of it. Make sure to read the instructions carefully and follow the recommended drying time before applying a second coat or moving on to the next step in your project. Rushing this process can lead to unevenness, bubbles, or even damage to your project.
5 . Protect Your Skin and Eyes
When working with castor sealer, it is important to protect your skin and eyes. Wear gloves and safety goggles to prevent any accidental contact with the sealer, which can cause irritation or even burns. In case of contact, rinse thoroughly with water and seek medical attention if necessary.

Frequently Asked Questions
What Precautions Should I Take While Using Castor Sealer?
- Keep it away from heat and sparks.
- Wear proper personal protective equipment to protect your skin, eyes and respiratory system.
- Ensure that the area is well-ventilated while using the product.
- Do not eat, drink or smoke while handling Castor Sealer.
Can I Use Castor Sealer on Any Surface?
- Castor Sealer can be used on a variety of surfaces including wood, concrete, metal and masonry.
- It is important to note that the surface should be clean and free from dust, dirt or any other contaminants before applying the sealer.
How Do I Apply Castor Sealer?
- First, make sure the surface is properly prepared by cleaning and removing any debris.
- Apply a thin, even layer of Castor Sealer using a brush, roller or sprayer.
- Make sure to follow the recommended coverage rate for best results.
How Long Does It Take for Castor Sealer to Dry?
This will depend on the temperature, humidity and thickness of the applied layer. However, on average it takes about 2-4 hours for Castor Sealer to dry completely.
Can I Apply Multiple Coats of Castor Sealer?
- Yes, you can apply multiple coats if needed.
- It is recommended to wait at least 4 hours between coats to allow the previous layer to dry.
- For best results, it is recommended to apply 2-3 coats of Castor Sealer.
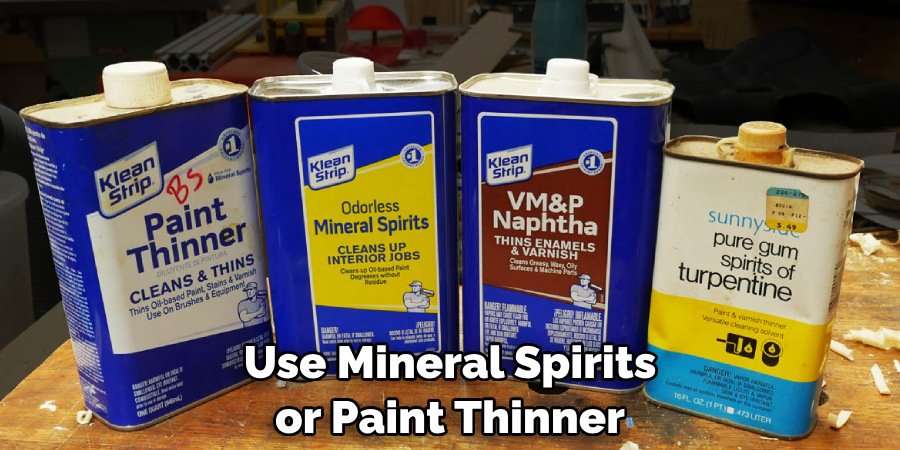
How Do I Clean Up After Using Castor Sealer?
- Clean up any spills or drips immediately with a cloth or paper towel.
- Use mineral spirits or paint thinner to clean any tools used for application.
- Once the sealer has dried, it can only be removed by sanding or using a chemical stripper.
How Often Do I Need to Reapply Castor Sealer?
- The frequency of reapplication will depend on the amount of foot traffic and exposure to elements the surface receives.
- It is recommended to reapply every 2-3 years for optimal protection.
Conclusion
In conclusion, taking the time to learn how to use castor sealer is not only time-saving but also cost-effective. By taking it upon yourself to create a strong bond between two materials, you create a lasting solution that can be relied on for years to come. Through our step-by-step guide above, we’ve shown you just how simple and straightforward this process can be. So, why wait? Get out there and get creating!
Now you know how to use castor sealer! Be sure to take safety precautions and exercise caution when applying castor sealer as improper application could lead to hazardous conditions. We believe in your ability to conquer any project with the right tools at hand. So fasten that Apron, grab your material of choice, and use castor sealer to form a strong connection!
About the Author
Jane Hubbard is a passionate beauty expert with a wealth of experience in makeup, hair, and overall beauty techniques. After years of working as a hairdresser specialist, she followed her entrepreneurial spirit and started her own consultancy business.
Jane has always been driven by her desire to help others feel confident in their own skin, and she does this by sharing her knowledge, experiences, and practical beauty tips. Through her consultancy, she empowers individuals to embrace their unique beauty, offering tailored guidance that boosts both self-esteem and personal style.
Professional Focus
- Specializes in makeup, hairstyling, and beauty consulting.
- Provides personalized beauty advice, tips, and techniques to help individuals feel confident in their appearance.
- Dedicated to staying up-to-date with the latest industry trends and developments.
- Passionate about creating a comfortable and empowering experience for every client.
Education History
- University of Craft and Design – Bachelor of Fine Arts (BFA) in Woodworking and Furniture Design
- Woodworking Apprenticeships – Extensive hands-on training with skilled craftsmen to refine carpentry and furniture making techniques
- Online Courses & Masterclasses – Continued education in advanced woodworking techniques, design principles, and specialized tools
Expertise:
- Makeup artistry, hairstyling, and beauty consulting.
- Personalized beauty techniques to enhance confidence and self-expression.
- Educating clients on how to maintain their beauty routines at home.