
Are you looking for a professional, shiny chrome finish on your nails? Look no further than chrome nail powder!
With its dazzling, mirror-like finish, chrome nail powder is a versatile and stunning product that can elevate your manicure to the next level. Whether you’re a nail art enthusiast or looking to try something new, applying chrome nail powder is an easy and rewarding process that produces professional-looking results.
This guide on how to use chrome nail powder will walk you through the steps to achieve the perfect chrome nails, from preparing your nails to sealing the final look. With a bit of practice, you can create a shiny, reflective effect that will leave your nails looking sleek and eye-catching.
What Are the Benefits of Using Chrome Nail Powder?
Before we dive into the steps, let’s talk about why chrome nail powder is worth adding to your nail routine.
- Versatility: With a wide range of colors and finishes, you can create endless unique looks with chrome nail powder. From metallic shades to holographic effects, there’s something for every style.
- Long-lasting: When applied correctly and sealed with a top coat, chrome nail powder can last up to two weeks without chipping or fading.
- Easy Application: Unlike other intricate nail techniques, using chrome nail powder doesn’t require any special skills or tools. Anyone can achieve a professional-looking finish with the right supplies and following the steps below.
What Will You Need?
To get started, you’ll need a few essential tools and materials:
- Base Coat
- Gel or Regular Nail Polish (in any color of your choice)
- Chrome Nail Powder
- Applicator Sponge
- Eye Shadow Brush
- Top Coat (designed explicitly for chrome nails)
Once you have everything gathered, it’s time to get started!
9 Easy Steps on How to Use Chrome Nail Powder
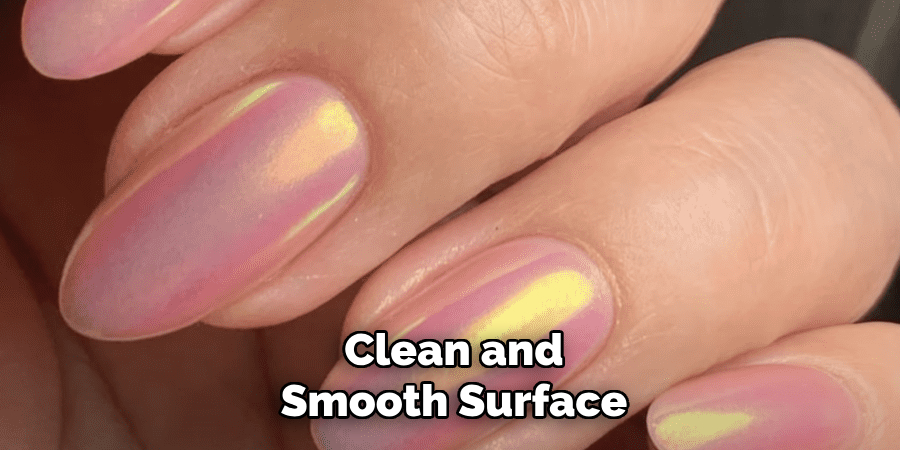
Step 1: Prep Your Nails
Start by preparing your nails to create a clean and smooth surface for the chrome nail powder application. Begin by removing any old nail polish with a non-acetone nail polish remover, ensuring your nails are residue-free. Next, trim and file your nails to your desired shape, whether it’s square, almond, or oval.
Use a buffer to gently smoothen the surface of each nail, as a smooth base helps the chrome powder adhere evenly. Finally, push back your cuticles or trim any excess using a cuticle pusher or nipper to give your nails a neat and polished appearance. Proper nail prep ensures that your manicure will last longer and look flawless.
Step 2: Apply Polish
After preparing your nails, it’s time to apply your nail polish. Start by using a base coat to protect your natural nails and create a smooth foundation for the color.
Allow the base coat to dry completely. Next, select a gel polish color that will complement the chrome effect. It’s important to note that darker shades like black or navy often produce a more dramatic chrome finish, while lighter colors can create a softer, pastel look.
Apply the first coat of gel polish evenly across each nail, and cap the edges to prevent chipping. Cure the layer under a UV or LED lamp per the polish instructions. Follow with a second coat of gel polish for complete, opaque coverage and cure that layer.
Step 3. Apply a No-Wipe Top Coat
Once the gel polish layers are fully cured, the next step is to apply a no-wipe top coat. This step is crucial, providing a smooth, tack-free surface to which the chrome powder can adhere. Using a no-wipe top coat ensures that there won’t be any sticky residue that could interfere with the application of the chrome powder.
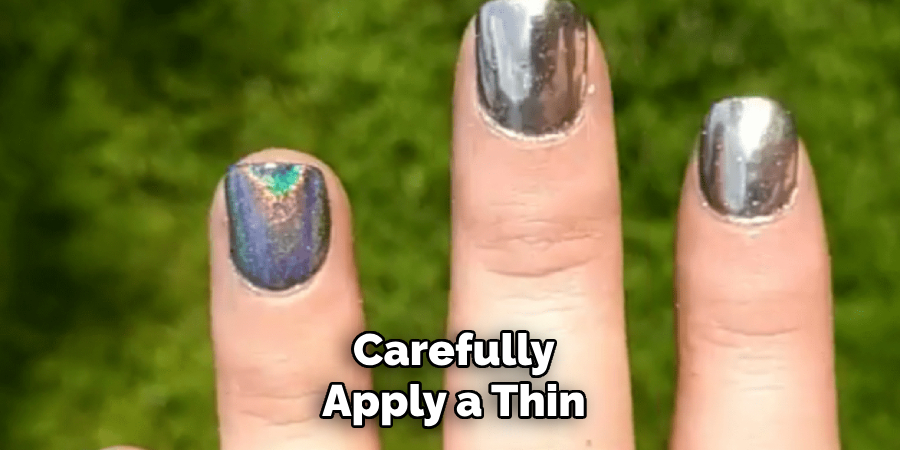
Carefully apply a thin and even layer of the top coat, making sure to avoid the cuticle and sidewalls of the nails to prevent any pooling. Capping the edges again is critical to seal in the color and enhance the durability of the manicure. After applying the top coat, cure it under a UV or LED lamp for the time specified in the product’s instructions. Ensuring that the top coat is cured to perfection is key, as it forms the foundation for a flawless chrome effect in the next step.
Step 4: Applying Chrome Nail Powder
Now, it’s time to get creative with chrome nail powder! Using an applicator sponge or eyeshadow brush, pick up a small amount of chrome powder and gently rub it onto your nail in circular motions until you achieve full coverage.
You can experiment with different amounts and techniques to create unique looks. Once finished, use a clean eye shadow brush to remove any excess powder around your nail and cuticle. Repeat this process on each nail, working one at a time.
Step 5: Burnish the Powder
Burnishing the powder is crucial to ensure a smooth, mirror-like chrome finish. After applying the chrome powder, gently rub it into the nail in circular motions using the foam applicator or brush. This process helps the powder bond with the cured top coat, enhancing the reflective effect.
Ensure even coverage by carefully inspecting each nail under good lighting and reapplying powder in areas needing a touch-up. Burnishing also helps to eliminate any loose particles, resulting in a sleek and seamless appearance. Take your time with this step, as the more thorough you are, the better the final result will appear.
Step 6: Seal the Chrome Effect
Sealing the chrome effect is the final and most crucial step to lock in the stunning, reflective finish and protect it from chipping or fading. Begin by applying a no-wipe gel top coat layer over the chrome powder, ensuring you cover the entire nail surface and cap the edges for added durability.
Use a steady hand to avoid disrupting the smooth chrome effect, as uneven application can distort the finish. Once applied, cure the top coat under a UV or LED lamp according to the manufacturer’s instructions.
Step 7: Final Touches and Maintenance
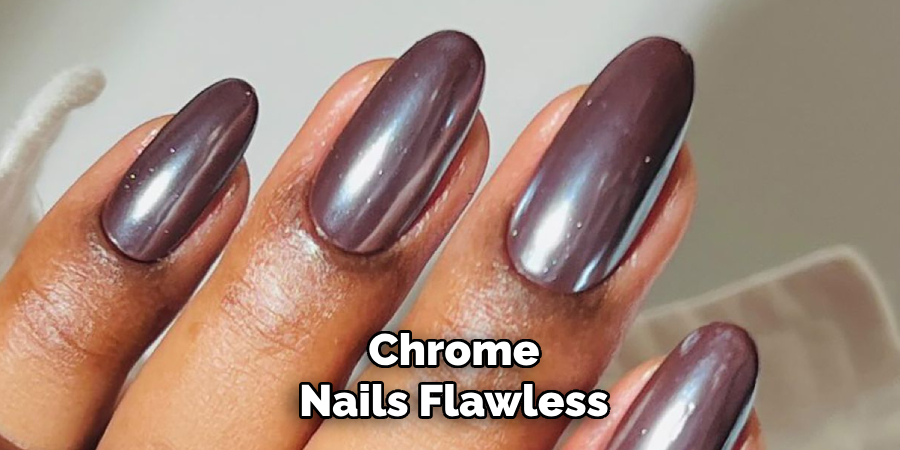
After sealing the chrome effect, take a moment to inspect each nail for any imperfections or missed spots. If necessary, gently clean around the edges with a lint-free wipe and rubbing alcohol to remove excess residue.
To keep your chrome nails flawless for as long as possible, avoid harsh chemicals and wear gloves when performing tasks that may cause damage. Regularly moisturize your cuticles and hands to maintain their overall appearance. With proper care, your stunning chrome nails can last for weeks, ensuring you enjoy their bold and reflective beauty.
Step 8: Removal Process
When it’s time to remove your chrome nails, it’s essential to do so gently to avoid damaging your natural nails. Begin by filling the surface of the chrome nails with a coarse nail file to break the top coat seal. Next, soak a cotton ball with acetone and place it over the nail, securing it with aluminum foil or a nail clip.
Allow the acetone to soften the gel layers for 10-15 minutes. Once softened, use a cuticle pusher or an orangewood stick to gently lift and scrape off the chrome and gel layers without forcing them. Finish by buffing your nails lightly and applying a nourishing cuticle oil to restore moisture.
Step 9: Post-Removal Nail Care
After removing your chrome nails, it’s essential to focus on post-removal nail care to maintain the health of your natural nails. Begin by washing your hands thoroughly to remove any remaining acetone residue. Gently file your nails to shape them and smooth out any rough edges.
Apply a hydrating nail strengthener or a nourishing base coat to protect and fortify your nails. Finally, massage high-quality cuticle oil into your nail beds and hands to replenish moisture and promote healthy growth. Incorporating these steps into your routine will keep your nails strong, healthy, and ready for your next stunning manicure!
By following these simple steps, you can achieve a beautiful and long-lasting chrome effect to elevate your nail game.
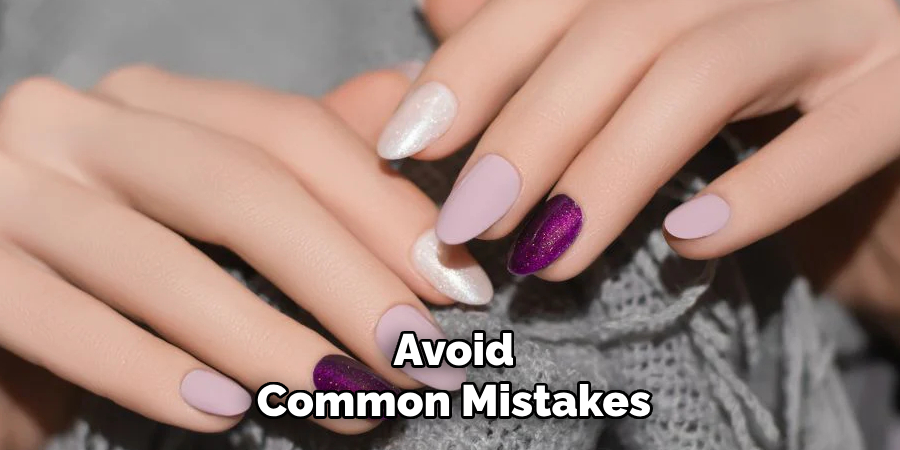
5 Things You Should Avoid
- Skipping the Base Coat: Always apply a good base coat before using chrome nail powder. Without it, the powder may not adhere well, leading to uneven application and chipping.
- Applying Too Much Powder at Once: Excessive chrome nail powder can result in a clumpy or streaky finish. It’s important to apply the powder in thin, even layers and build up gradually for a smooth effect.
- Using the Wrong Type of Top Coat: Not all top coats are compatible with chrome nail powder. Use a non-wipe gel top coat designed for chrome application to avoid smudging or dulling the metallic shine.
- Failing to Cure Properly: Insufficient curing time under a UV or LED lamp can lead to peeling or a lack of durability. Always follow your nail product’s recommended curing instructions for the best results.
- Overlooking Proper Tools: Using low-quality or skipping tools like sponge-tipped applicators can lead to uneven distribution. Investing in the right tools ensures a flawless finish.
Conclusion
How to use chrome nail powder can elevate any manicure with a sleek, metallic finish, but achieving the best results requires attention to detail and the right techniques.
You can avoid common mistakes and create a smooth, professional-looking result by properly preparing your nails, applying thin layers, choosing the correct top coat, curing thoroughly, and utilizing quality tools.
With practice and patience, mastering the application of chrome nail powder can bring a stunning, long-lasting shine to your nails.
About the Author
Jane Hubbard is a passionate beauty expert with a wealth of experience in makeup, hair, and overall beauty techniques. After years of working as a hairdresser specialist, she followed her entrepreneurial spirit and started her own consultancy business.
Jane has always been driven by her desire to help others feel confident in their own skin, and she does this by sharing her knowledge, experiences, and practical beauty tips. Through her consultancy, she empowers individuals to embrace their unique beauty, offering tailored guidance that boosts both self-esteem and personal style.
Professional Focus
- Specializes in makeup, hairstyling, and beauty consulting.
- Provides personalized beauty advice, tips, and techniques to help individuals feel confident in their appearance.
- Dedicated to staying up-to-date with the latest industry trends and developments.
- Passionate about creating a comfortable and empowering experience for every client.
Education History
- University of Craft and Design – Bachelor of Fine Arts (BFA) in Woodworking and Furniture Design
- Woodworking Apprenticeships – Extensive hands-on training with skilled craftsmen to refine carpentry and furniture making techniques
- Online Courses & Masterclasses – Continued education in advanced woodworking techniques, design principles, and specialized tools
Expertise:
- Makeup artistry, hairstyling, and beauty consulting.
- Personalized beauty techniques to enhance confidence and self-expression.
- Educating clients on how to maintain their beauty routines at home.