
Are you tired of the same old nail polish colors and looking for a new way to spice up your manicure? Look no further than chrome powder! This fun and versatile product can give your nails a unique, metallic finish to make them stand out.
With chrome powder nails, achieving a stunning, mirror-like finish on your nails is easier than you think. This popular nail trend has taken the beauty world by storm, offering a sleek, futuristic aesthetic that can transform any manicure into a show-stopping look. Whether you’re a nail art enthusiast or a beginner, applying chrome powder can be a fun and rewarding process.
By following a few simple steps on how to use chrome powder on nails, you can create professional-looking, eye-catching nails from the comfort of your own home.
What Are the Benefits of Using Chrome Powder on Nails?
There are several benefits to using chrome powder on nails, including:
- High Shine and Mirror-like Finish: Chrome powder creates a high-shine, reflective surface on the nails, giving it a glossy and metallic look.
- Versatile and Customizable: With various colors and finishes available, chrome powder allows for endless possibilities in creating unique nail designs.
- Long-lasting: When applied correctly and sealed with a top coat, chrome powder can last for up to two weeks without chipping or fading.
- Easy Application: Contrary to popular belief, using chrome powder can be relatively easy once you get the hang of it. It requires no special skills or techniques and can be applied using a regular nail polish brush.
- Affordable: Compared to other nail enhancement options like gel or acrylic nails, chrome powder is a budget-friendly alternative that still provides stunning results.
- Removable: Unlike other nail enhancements that require professional removal, chrome powder can easily be removed at home with acetone or nail polish remover.
What Will You Need?
To achieve the perfect chrome nails, you will need the following:
- A base coat
- A colored nail polish of your choice
- Chrome powder (available in a variety of shades)
- An applicator brush or sponge
- A top coat
- Rubbing alcohol or nail polish remover for cleanup
Once you have all your materials, follow these simple steps to achieve the perfect chrome nails.
8 Easy Steps on How to Use Chrome Powder on Nails
Step 1. Prepare Your Nails
Start by ensuring your nails are clean and free of old nail polish, oils, or debris. Use nail polish remover to clean your nails thoroughly and remove any residue. Trim and file your nails to your desired shape, and gently push back your cuticles using a cuticle pusher.
Buff the surface of your nails lightly with a nail buffer to create a smooth base for the polish to adhere to. This step is essential for achieving a flawless, long-lasting chrome finish. Once your nails are prepped, wash your hands to remove any dust from filing and buffing and dry them thoroughly before moving on to the next step.
Step 2: Apply a Base Coat
A high-quality base coat is crucial for creating a smooth, even surface for your chrome polish and ensuring it adheres well to your nails. Begin by selecting a base coat that complements the type of chrome polish you are using; some chrome finishes work best with specific formulations.
Apply a thin, even layer of base coat to each nail, starting from the center and working your way to the edges, making sure to cover the entire nail. Be careful not to get the base coat on your cuticles or skin, as this can cause the polish to lift or peel prematurely.

Allow the base coat to dry completely before proceeding to the next step, providing a strong foundation for the layers to come. Taking the time to perfect this step sets the stage for a professional-looking chrome manicure.
Step 3: Apply the Chrome Base Color Coat
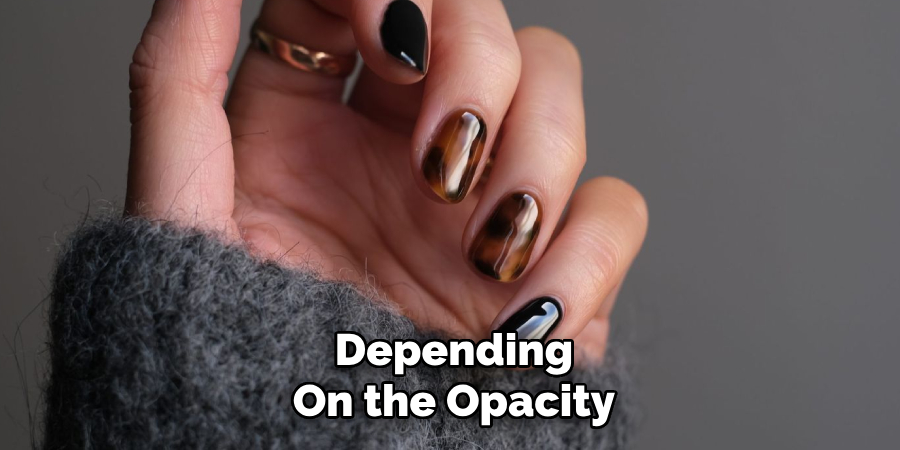
Once the base coat has dried completely, apply a thin, even layer of your chosen chrome base color coat. Begin at the center of the nail and work your way to the sides, ensuring smooth, streak-free coverage.
Depending on the opacity of the polish, you may need to apply a second coat for an even and vibrant finish. Be sure to allow each coat to dry thoroughly before moving on to the next step. This layer will enhance the reflective chrome effect and ensure a professional appearance.
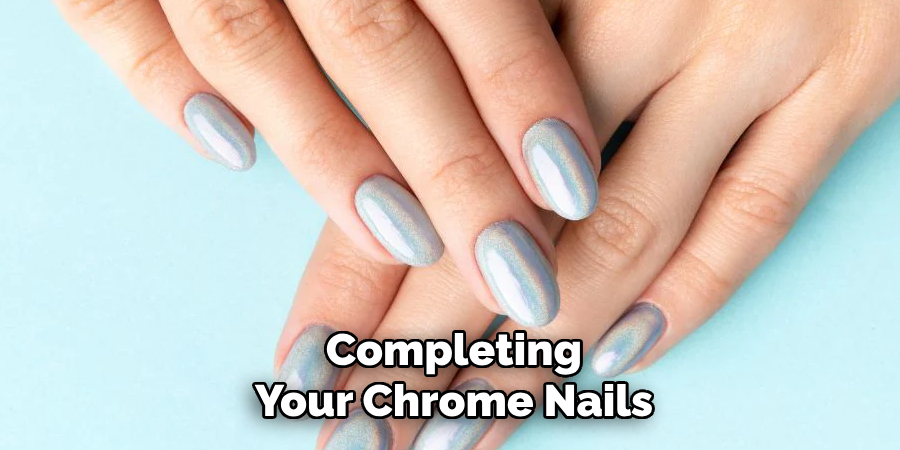
Step 4: Chrome Top Coat
Once the base color has dried completely, it’s time to seal the look with a chrome-specific top coat. This step is crucial for locking in the chrome finish and ensuring a long-lasting, chip-resistant manicure. Start by applying a thin, even layer of the top coat over the entire nail surface.
Use smooth, controlled strokes to avoid streaks or uneven texture. Pay extra attention to the tips of your nails, as this area is more prone to chipping and wear over time.
For the ultimate chrome effect, some top coats are specially formulated to interact with the pigments, enhancing the reflective properties and creating a mirror-like shine. Allow the top coat to cure under a UV or LED lamp for the recommended time as per the product instructions. This solidifies the chrome layer and provides a glossy, durable finish that catches the light perfectly.
Step 5: Final Touches and Maintenance
Once your chrome nails are complete, clean up any excess polish around the edges using a small brush dipped in acetone or nail polish remover. This will give your manicure a neat and professional look.
To maintain the shine and durability of your chrome nails, avoid harsh chemicals and wear gloves when performing chores that could damage the finish. With proper care, your stunning chrome nails can last for weeks while maintaining their mirror-like brilliance.
Step 6: Apply a Cuticle Oil
After completing your chrome nails, nourishing and hydrating your cuticles is important to support healthy nail growth and keep your manicure looking polished. Gently apply a small amount of cuticle oil along the base of your nails, massaging it into the skin and surrounding areas.
Cuticle oil not only keeps your cuticles soft and prevents them from drying out, but it also enhances the overall look of your manicure by adding a touch of natural shine to the nail bed area. Use a nutrient-rich cuticle oil with ingredients like vitamin E, jojoba oil, or almond oil for added skin benefits.
Incorporating this step into your routine will help maintain healthy, hydrated nails and ensure your chrome finish looks flawless for longer.
Step 7: Use a Peel-Off Base Coat
Adding a peel-off base coat to your nail care routine is a game-changer when removing chrome nails. This type of base coat creates a barrier between your natural nails and the chrome powder, making it easier to remove without damaging your nails.
To use a peel-off base coat, apply a thin layer onto clean and dry nails before proceeding with the rest of your manicure. Once you’re ready to remove your chrome nails, gently peel off the polish starting from the corners or edges. This will prevent any pulling or tugging on your natural nails, reducing the risk of breakage.
Step 8: Apply a No-Wipe Top Coat
After preparing your nails with the peel-off base coat and any desired polish color, apply a layer of no-wipe top coat. This is a crucial step for chrome nails, providing a smooth, tack-free surface for the chrome powder to adhere to effectively. Cure the top coat under a UV/LED lamp according to the product’s instructions to ensure it sets properly. This will give you the perfect base for achieving a flawless chrome finish.
By following the proper steps and using high-quality products, you can achieve long-lasting chrome nails that will turn heads.
5 Things You Should Avoid
- Skipping the Proper Base Coat: One of the most common mistakes is not applying a proper base coat before starting. A base coat ensures a smooth surface and helps the chrome powder adhere evenly, preventing patchy or uneven application.
- Using Too Much Chrome Powder: Overloading your applicator with chrome powder can result in a messy finish. Use a small amount and gently rub it onto the nail for a flawless, mirror-like effect.
- Choosing Low-Quality Products: Investing in cheap or low-quality powders, top coats, or tools can negatively impact your chrome nails’ final look and longevity. Always opt for reputable brands to ensure the best results.
- Not Sealing with a Top Coat: Skipping the top coat is a big no-no, as it locks in the chrome effect and prevents chipping. Apply a high-quality no-wipe top coat and cure it properly for a long-lasting finish.
- Skipping Proper Nail Prep: Ignoring nail preparation, such as buffing or cleaning, can lead to an uneven or bumpy surface. Proper prep is essential to achieve a smooth and polished chrome nail look.
Conclusion
How to use chrome powder on nails can elevate your manicure game to a truly professional level.
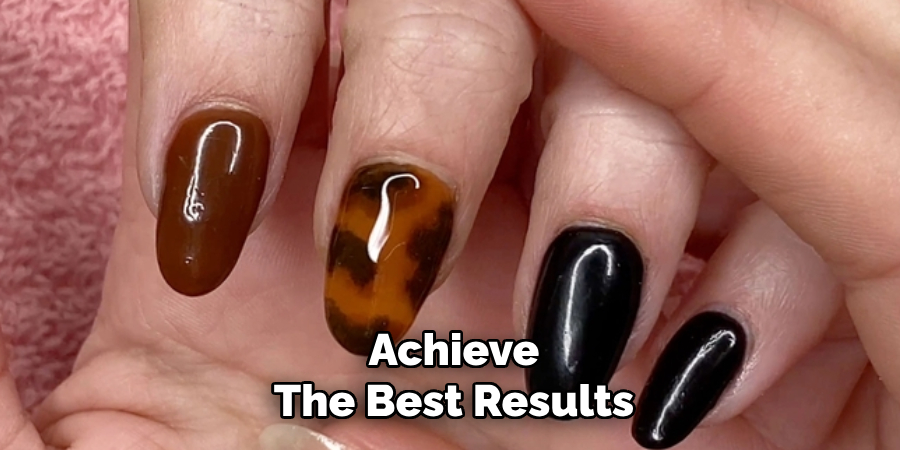
To achieve the best results, it is vital to follow the outlined steps meticulously—starting with proper nail prep, applying a smooth base coat, and ensuring a high-quality application of the chrome powder. Avoid common mistakes such as skipping curing steps or neglecting to seal the design with a top coat.
With patience, attention to detail, and practice, you can create stunning chrome nail designs that are long-lasting and vibrant.
About the Author
Jane Hubbard is a passionate beauty expert with a wealth of experience in makeup, hair, and overall beauty techniques. After years of working as a hairdresser specialist, she followed her entrepreneurial spirit and started her own consultancy business.
Jane has always been driven by her desire to help others feel confident in their own skin, and she does this by sharing her knowledge, experiences, and practical beauty tips. Through her consultancy, she empowers individuals to embrace their unique beauty, offering tailored guidance that boosts both self-esteem and personal style.
Professional Focus
- Specializes in makeup, hairstyling, and beauty consulting.
- Provides personalized beauty advice, tips, and techniques to help individuals feel confident in their appearance.
- Dedicated to staying up-to-date with the latest industry trends and developments.
- Passionate about creating a comfortable and empowering experience for every client.
Education History
- University of Craft and Design – Bachelor of Fine Arts (BFA) in Woodworking and Furniture Design
- Woodworking Apprenticeships – Extensive hands-on training with skilled craftsmen to refine carpentry and furniture making techniques
- Online Courses & Masterclasses – Continued education in advanced woodworking techniques, design principles, and specialized tools
Expertise:
- Makeup artistry, hairstyling, and beauty consulting.
- Personalized beauty techniques to enhance confidence and self-expression.
- Educating clients on how to maintain their beauty routines at home.