
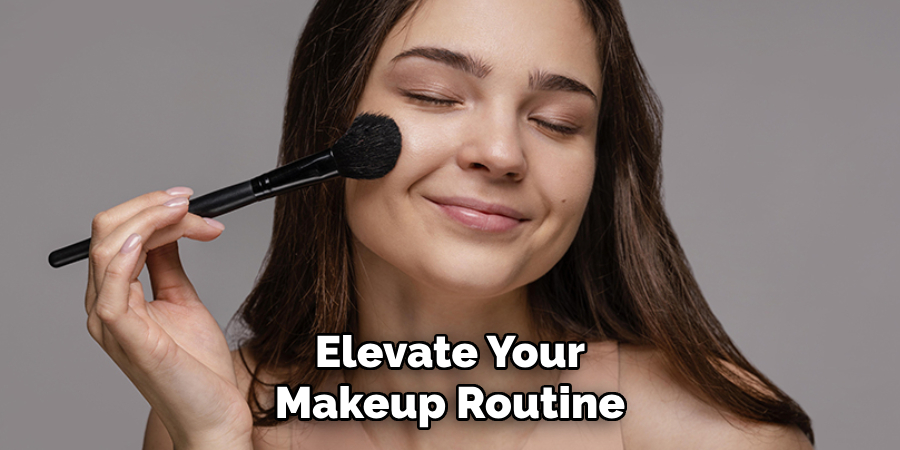
Are you tired of your makeup looking flat and one-dimensional? Look no further than cream contouring to add depth, dimension, and definition to your face.
Cream contour is a versatile makeup product that helps define and enhance your facial features, creating a sculpted and polished look. Whether you’re aiming for a subtle definition or a more dramatic effect, learning how to use cream contour can elevate your makeup game. Additionally, the cream contour is a great option for those with drier or more mature skin, as it blends seamlessly into the skin and doesn’t settle into fine lines and wrinkles like powder products can.
This guide will walk you through the basics, from selecting the proper shades to mastering the blending techniques needed to achieve flawless results. With some practice and the right tools, cream contouring can become an effortless part of your beauty routine.
What Are the Benefits of Cream Contour?
Before diving into the how-to, let’s first discuss why cream contouring has become such a popular makeup technique.
- Creates Natural-looking Definition: Unlike powder products, cream contour blends seamlessly into the skin for a more natural and realistic look.
- Versatile: Cream contour can define and sculpt various facial features, from cheekbones to jawlines to noses.
- Long-lasting: The creamy texture of cream contour allows it to adhere to the skin better than powder products, providing longer wear time.
- Great for Dry or Mature Skin: As previously mentioned, cream contour won’t accentuate fine lines and wrinkles like powder products can.
What Will You Need?
To get started with cream contouring, you will need a few essential tools and products:
- Cream Contour Palette: Look for a palette with shades specifically designed for contouring, highlighting, and bronzing. This will give you more versatility and options for creating different looks.
- Foundation: Apply your usual foundation as a base before starting the cream contour process.
- Beauty Sponge or Brush: A damp beauty sponge or angled brush works best for blending out the cream product.
- Setting Powder: Use a translucent setting powder to set the cream contour in place and prevent any creasing or fading throughout the day.
Once you have these items ready, it’s time to learn the techniques for applying cream contour.
9 Easy Steps on How to Use Cream Contour
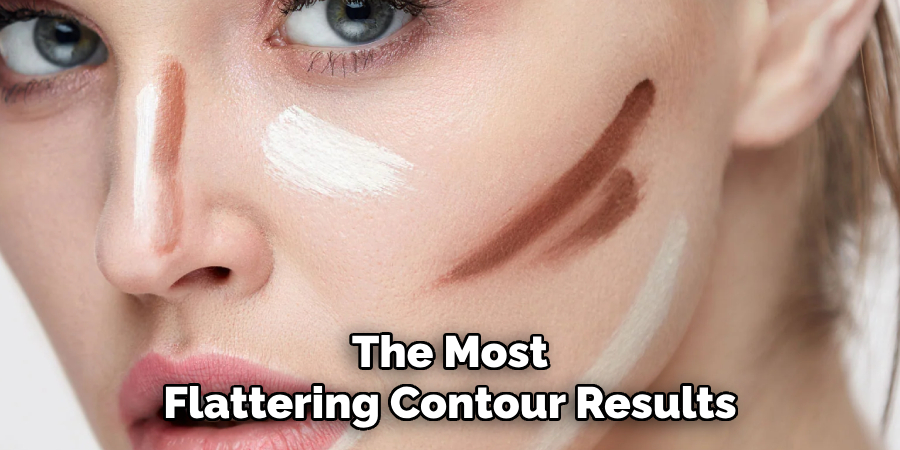
Step 1: Identify Your Face Shape
Understanding your face shape is crucial for achieving the most flattering contour results. The placement of contour and highlight products can vary significantly depending on whether you have a round, oval, square, heart, or long-shaped face. To identify your face shape, start by pulling your hair back and observing the outline of your face in the mirror.
Take note of your forehead width, the prominence of your cheekbones, and the shape of your jawline. For instance, a round face may benefit from contouring along the sides of the forehead and under the cheekbones to create more definition, while a square face might focus on softening the jawline. Once you’ve determined your face shape, you’ll be better prepared to apply cream contour strategically for a perfectly sculpted look.
Step 2: Choose the Right Cream Contour Products
Selecting the appropriate cream contour products is essential for achieving a seamless and natural look. Opt for a contour shade about 1-2 shades darker than your natural skin tone to create soft shadows and dimension. For highlighting, choose a product 1-2 shades lighter to emphasize the high points of the face.
Additionally, ensure the formula you select complements your skin type—matte or satin finishes work well for oily skin, while creamy, hydrating formulas are ideal for dry skin. Using high-quality, blendable products will make the application process smoother and improve the overall appearance of your makeup.
Step 3: Apply and Blend with Precision
Start by applying the contour product to areas where you want to create dimension, such as beneath the cheekbones, along the jawline, the nose’s sides, and the forehead’s perimeter. Next, apply the highlight to areas you want to bring forward, including the tops of the cheekbones, the bridge of the nose, the center of the forehead, and the chin.
Use a damp beauty sponge or a dense, synthetic brush to blend the products seamlessly into the skin. Focus on blending in soft, circular motions to avoid harsh lines and maintain a natural look. Take your time during this step, as proper blending is key to achieving a flawless finish.
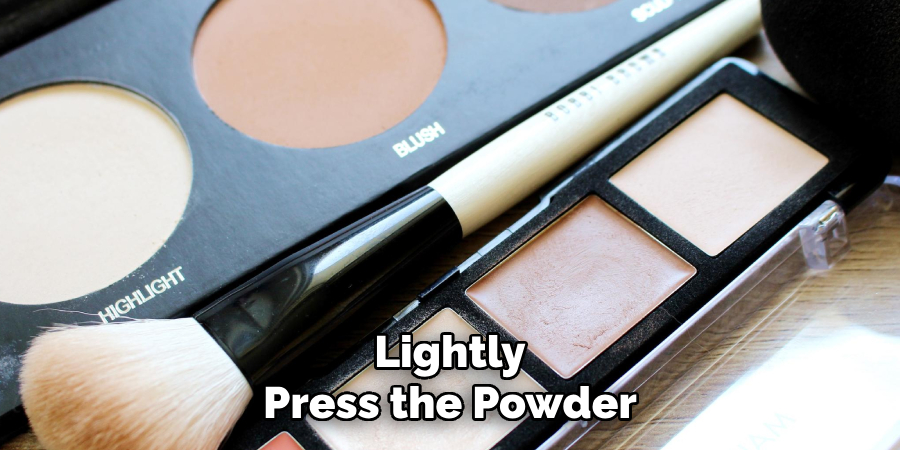
Step 4: Set Your Makeup
To ensure your contour and highlight stay in place throughout the day, setting your makeup properly is essential. Use a translucent setting powder or a powder that matches your skin tone to lock in the cream or liquid products.
Lightly press the powder onto the highlighted areas with a powder puff or a fluffy brush, avoiding excessive buildup. For the contoured areas, you can use a matte bronzer or contour powder to reinforce the shadows and add more depth.
Step 5: Add Blush
Blush adds a healthy and natural flush to your complexion, completing your makeup look. Choose a blush shade that complements your skin tone and opt for either a powder, cream, or liquid formula based on your preference.
Using a fluffy brush or your fingertips for cream formulas, apply the blush to the apples of your cheeks and blend it toward your temples. This technique helps lift and shape your face while adding a pop of color. Be sure to blend well to achieve a seamless, soft finish.
Step 6: Highlight
Highlighting enhances your features by adding a subtle glow to the high points of your face. Choose a highlighter with a finish that suits your style—whether natural or blinding.
Using a fan brush, fluffy brush, or even your fingertips for cream formulas, apply the highlighter to areas such as the tops of your cheekbones, the bridge of your nose, the cupid’s bow, and the inner corners of your eyes. Blend the product gently to avoid harsh lines, ensuring a luminous, radiant effect that complements your overall makeup look.
Step 7: Eyeshadow
Eyeshadow allows you to express creativity and enhance the shape of your eyes. Start by applying a primer or a neutral base shade across your eyelids to ensure the colors blend smoothly and stay in place. Choose a palette that complements your look, and begin with a transition shade to define your crease using a fluffy blending brush.
Add depth by applying a darker shade to the outer corners of your eyes, blending it inwards for a seamless gradient. For a pop of color or shimmer, use a lighter or metallic shade to the center of your eyelid or inner corners. Blend thoroughly to achieve a polished and balanced effect.
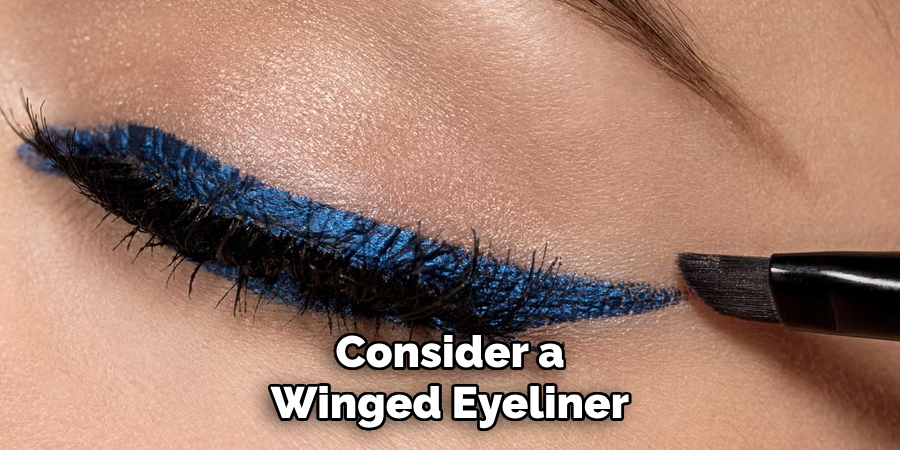
Step 8: Eyeliner
Eyeliner can define your eyes and create various looks, from subtle to dramatic. Begin by selecting the type of eyeliner that best suits your skill level and desired style, such as pencil, gel, or liquid. For a natural look, lightly line your upper lash line, staying as close to the lashes as possible.
Consider a winged eyeliner by extending the line slightly upward at the outer corners to create a more dramatic effect. Use small, steady strokes for precision, and clean any mistakes with a cotton swab dipped in makeup remover. Remember, practice and patience are key to mastering eyeliner application.
Step 9: Mascara
Mascara enhances your lashes by adding volume, length, and definition, making your eyes appear more open and expressive. Start by curling your lashes with an eyelash curler for added lift. Then, apply mascara by wiggling the wand at the base of your lashes and sweeping it upward in smooth motions.
For a more dramatic look, apply multiple coats, allowing each coat to dry before adding the next to avoid clumping. Don’t forget to apply mascara to your lower lashes for a balanced look, but use a lighter touch to prevent smudging. Choose a waterproof formula for long-lasting wear or when you anticipate humid conditions.
By following these steps, you’ll master the art of cream contour and create a flawless makeup look that enhances your natural beauty.
5 Things You Should Avoid
- Using the Wrong Shade: Choosing a cream contour that’s too dark or light for your skin tone can create an unnatural look. Always pick a shade one to two tones darker than your skin color for a subtle and realistic effect.
- Over-Applying Product: Too much contour cream can produce a heavy, cakey appearance. Start with a small amount and build up gradually if needed, blending thoroughly to achieve a seamless finish.
- Skipping Proper Tools: Using your fingers or the wrong brushes can lead to a patchy application. Invest in quality blending brushes or a makeup sponge to ensure smooth and even results.
- Neglecting to Blend: Harsh lines are a common mistake when using cream contour. Mix the product well into your skin to create natural-looking shadows and avoid a stark contrast.
- Contouring in Poor Lighting: Applying cream contour in dim or uneven lighting can lead to uneven application. Always use good lighting, preferably natural, to ensure your contour is applied evenly and looks flawless.
Conclusion
How to use cream contour can elevate your makeup routine by enhancing your natural features and creating a polished look.
To achieve the best results, always select the appropriate shade for your skin tone, and start with a light application to avoid a heavy finish. Use high-quality tools to blend thoroughly, ensuring a natural and seamless effect. Be mindful of your lighting conditions when applying, as it plays a key role in achieving an even and flawless appearance.
With practice and attention to detail, cream contour can become essential for achieving a sculpted and professional makeup finish.
About the Author
Jane Hubbard is a passionate beauty expert with a wealth of experience in makeup, hair, and overall beauty techniques. After years of working as a hairdresser specialist, she followed her entrepreneurial spirit and started her own consultancy business.
Jane has always been driven by her desire to help others feel confident in their own skin, and she does this by sharing her knowledge, experiences, and practical beauty tips. Through her consultancy, she empowers individuals to embrace their unique beauty, offering tailored guidance that boosts both self-esteem and personal style.
Professional Focus
- Specializes in makeup, hairstyling, and beauty consulting.
- Provides personalized beauty advice, tips, and techniques to help individuals feel confident in their appearance.
- Dedicated to staying up-to-date with the latest industry trends and developments.
- Passionate about creating a comfortable and empowering experience for every client.
Education History
- University of Craft and Design – Bachelor of Fine Arts (BFA) in Woodworking and Furniture Design
- Woodworking Apprenticeships – Extensive hands-on training with skilled craftsmen to refine carpentry and furniture making techniques
- Online Courses & Masterclasses – Continued education in advanced woodworking techniques, design principles, and specialized tools
Expertise:
- Makeup artistry, hairstyling, and beauty consulting.
- Personalized beauty techniques to enhance confidence and self-expression.
- Educating clients on how to maintain their beauty routines at home.