
If you’ve ever watched a makeup tutorial and marveled at the seamless, professional-looking eyeshadow, the secret weapon is almost always a good crease brush. This small, often-overlooked tool is the key to adding depth, dimension, and a beautifully blended finish to any eye look. For beginners, it can seem like just another brush in a confusing sea of options, but mastering it is a true game-changer. It’s designed specifically to fit into the contour of your eye socket, making application precise yet soft. This guide will provide clear, simple instructions on how to use crease brush, demystifying the technique so you can define your eyes with confidence.

Whether you’re new to makeup or already experimenting with advanced techniques, understanding the essentials is crucial for flawless results. The right tools can transform your routine, making application easier and elevating your skills. Among these, the crease brush often stands out as a must-have for achieving professional-quality eye makeup. Its unique shape and purpose allow for detailed work and seamless blending, making it a staple in any makeup collection. In this guide, we’ll delve into the crease brush’s features and benefits, as well as tips for choosing the perfect one for your needs.
What is a Crease Brush?
A crease brush is a makeup tool designed specifically for blending eyeshadow in the crease of the eye. The crease refers to the indentation between your eyelid and brow bone, where most people have a natural fold or “crease” in their skin. This area can be challenging to blend with larger or fluffier brushes, making a specialized tool like the crease brush essential for achieving precise and seamless results.
Typically, a crease brush has a small, tapered shape that allows for more control and precision when applying eyeshadow. The bristles are usually soft but firm enough to blend colors effectively without creating harsh lines. This makes it ideal for defining the crease, adding depth, or softly blending shades to create a gradient effect. Whether you’re going for a natural daytime look or a dramatic smokey eye, a crease brush is a versatile tool that can elevate your makeup application process.
7 Step-by-Step Guide on How to Use Crease Brush
Step 1: Choose the Right Crease Brush
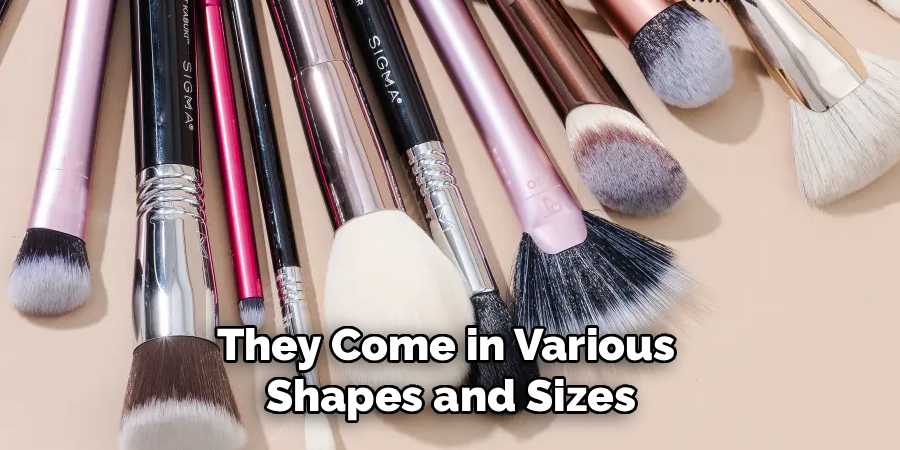
Not all crease brushes are created equal. They come in various shapes and sizes, each designed for a slightly different effect. A classic crease brush is typically fluffy, tapered, and dome-shaped, which is perfect for diffusing color softly. A more pointed or pencil-style crease brush offers greater precision for creating a sharp, defined cut crease. For beginners, a medium-sized, moderately fluffy brush is the most versatile option to start with. The softness of the bristles is also important; softer bristles will provide a more blended, blown-out look, while stiffer bristles will deposit more concentrated color.
Step 2: Pick Up the Right Amount of Eyeshadow
Once you’ve chosen your brush, it’s time to load it with product. Select a transition shade, which is typically a matte neutral color a few shades deeper than your skin tone. Dip the very tip of your crease brush into the eyeshadow pan. A common mistake is to saturate the entire brush head, which leads to a messy application. You only need a small amount of product on the tip. After dipping, gently tap the handle of the brush against your wrist or the edge of the palette to remove any excess powder. This crucial step prevents fallout and ensures a smooth, controlled application.
Step 3: Find Your Natural Crease
To apply the eyeshadow correctly, you first need to locate your eye’s natural crease. This is the indentation or socket where your eyelid meets your brow bone. The easiest way to find it is to look straight into a mirror with your eye relaxed. The fold you see is your target area. If you have hooded eyes where the crease is less visible, feel for the orbital bone just above your eyeball. You will apply the color just above your natural fold, onto the brow bone, to create the illusion of a deeper crease and more lid space.
Step 4: Apply the Eyeshadow
Now for the main technique. Hold the brush lightly toward the end of its handle for a softer, more controlled application. Place the tip of the brush at the outer corner of your eye, right in the crease. Using light pressure, sweep the brush back and forth along the natural curve of your eye socket, following the shape of your brow bone. This is commonly known as the “windshield wiper” motion. Continue this gentle sweeping movement to lay down an initial, soft wash of color. This creates the foundational shadow that will add dimension to your eyes.
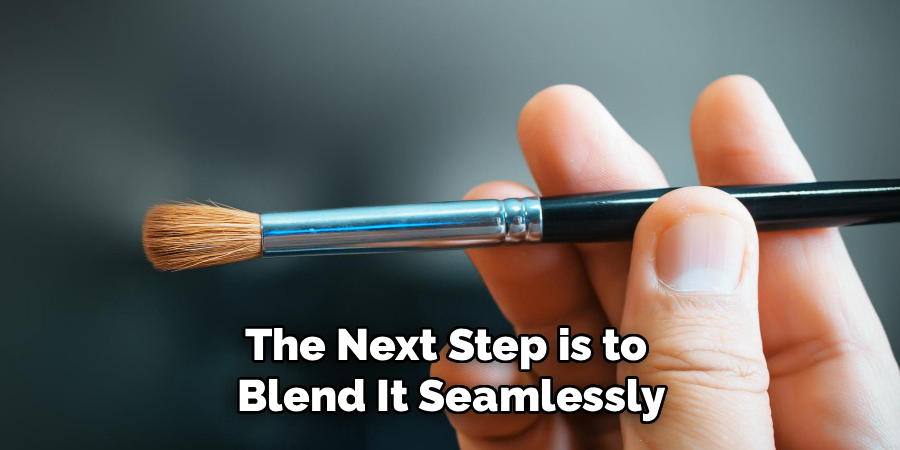
Step 5: Blend with Circular Motions
After you’ve applied the initial layer of color, the next step is to blend it seamlessly. Blending is what separates a beginner’s application from a professional one. To do this, use small, circular buffing motions with your crease brush, concentrating the movement where the color is most intense. You can also continue the windshield wiper motion, but with an even lighter touch. The goal is to soften any harsh lines and create a smooth gradient of color that diffuses upward toward the brow bone, with no obvious starting or stopping points.
Step 6: Build Depth with Darker Shades
Once your transition shade is beautifully blended, you can add more depth. Using the same crease brush or a slightly smaller, more tapered one, pick up a darker eyeshadow color. Again, tap off the excess. This time, concentrate the application on the outer third of your crease, often called the “outer V.” Use smaller, more controlled windshield wiper and circular motions, keeping the color focused in this outer corner. This technique adds dimension and a sultry, elongated shape to the eye without making the entire look too dark or heavy.
Step 7: Use a Clean Brush to Blend the Edges
The final, crucial step is to ensure everything is perfectly seamless. Take a clean, fluffy crease brush—one with no product on it—and gently go over the top edges of your eyeshadow. Use very light, sweeping motions to diffuse the uppermost edge of your transition color, making sure it melts into your skin tone. This step softens the entire look and corrects any areas where the color may have gone too high or looks too harsh. It’s the final polish that elevates your eyeshadow and ensures a truly professional-looking blend.
Common Mistakes to Avoid
- Skipping Primer: Many people overlook the importance of applying an eyeshadow primer. Without it, your eyeshadow may crease, fade, or not appear as vibrant as it could. Always start with a good primer to ensure longevity and color payoff.
- Using the Wrong Brushes: The type of brush you use makes a big difference. Avoid using brushes that are too stiff or lack the appropriate shape for blending. Opt for soft, fluffy brushes to make achieving a seamless blend easier.
- Applying Too Much Product at Once: Packing on too much eyeshadow in one go can lead to patchiness and difficulty blending. Build your colors gradually by gently adding product in layers.
- Neglecting to Blend: Harsh lines and uneven transitions are common mistakes. Always spend extra time blending between shades to create a smooth gradient.
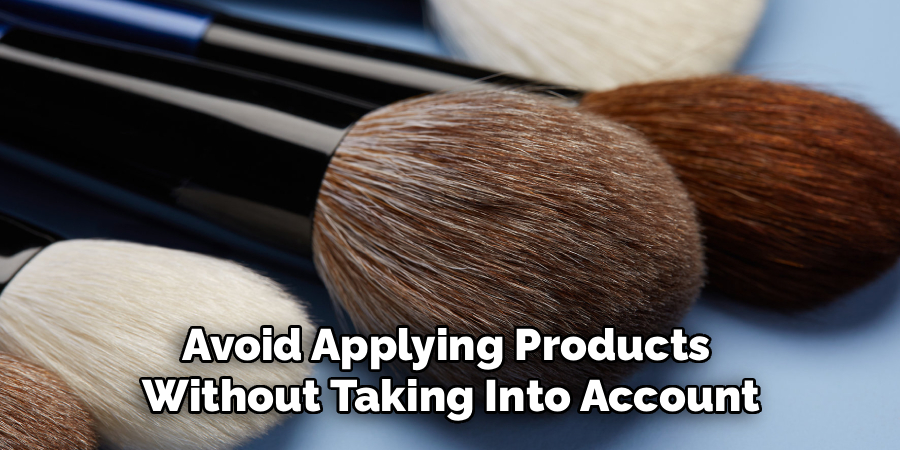
- Not Considering Your Eye Shape: A one-size-fits-all approach doesn’t work for eyeshadow. Avoid applying products without taking into account your unique eye shape, which can make certain techniques less effective.
By being mindful of these missteps, you can enhance your technique and create a flawless, professional-looking eyeshadow application every time.
Frequently Asked Questions (FAQs)
What Is the Difference Between a Crease Brush and a Blending Brush?
While their functions overlap, there is a key difference. A crease brush is typically smaller, denser, and more tapered or pointed, designed for precise application of color into the socket of the eye. A blending brush is usually larger, fluffier, and more dome-shaped, designed to diffuse and soften harsh lines over a wider area. Many people use a crease brush to both apply and blend color in the crease.
Can I Do My Whole Eye Makeup with Just a Crease Brush?
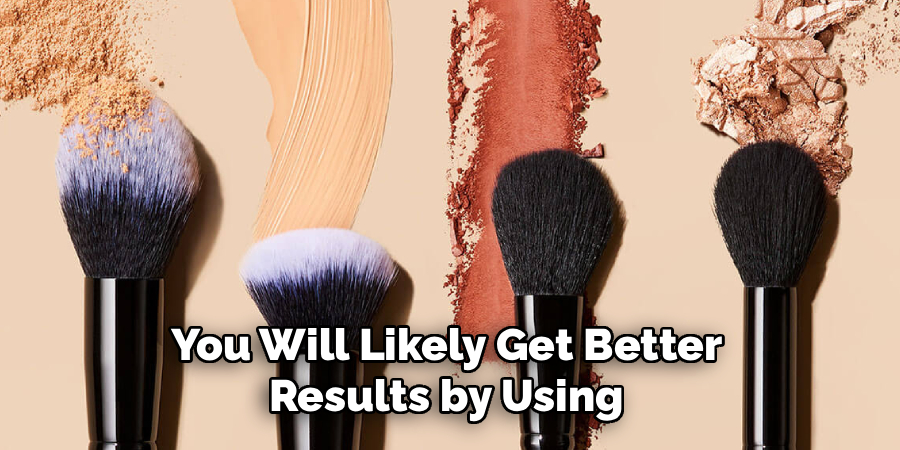
While a crease brush is very versatile, you will likely get better results by using a couple of different brushes. A flat shader brush is best for packing color onto the eyelid, while a small pencil brush is ideal for detail work along the lower lash line. However, in a pinch, you could use a crease brush to apply a soft wash of color on the lid and define the crease, making it a great multi-tasking tool for travel.
How Do I Use a Crease Brush on Hooded Eyes?
For hooded eyes, where the natural crease is hidden, the technique is slightly different. Instead of applying color into the fold, you should apply it slightly above the natural crease, onto the lower part of the brow bone. Look straight ahead into a mirror with your eyes relaxed and apply the shadow where you want the “new” crease to appear. This creates the illusion of depth and makes the eyes appear larger and more open.
What Kind of Eyeshadow Should I Use in the Crease?
Matte eyeshadows are almost always the best choice for the crease. The purpose of a crease shade is to create the illusion of a shadow and add depth, which is exactly what a matte texture does. Shimmery or glittery eyeshadows reflect light and will have the opposite effect, making the crease area look puffy and drawing attention to it in an unflattering way.
How Often Should I Clean My Crease Brush?
To prevent muddy-looking application and bacteria buildup, you should clean your crease brush regularly. For a quick clean between uses, you can use a color-switching spray or sponge. A deep clean with soap and water should be done at least once a week, especially for a brush you use so close to your eyes. A clean brush will always provide a smoother, more true-to-color application.
Conclusion
The crease brush is an indispensable tool in any makeup collection, holding the power to transform your eye makeup from flat to multi-dimensional. The secret lies not in complex techniques, but in a few simple motions: using a light hand, applying color with windshield wiper sweeps, and softening everything with circular blending. By choosing the right brush and building color gradually, you can create depth and definition effortlessly. Now that you have a clear understanding of how to use crease brush, you can step up to your vanity, grab your favorite palette, and start blending your way to a flawless, professional eye look.
About the Author
Jane Hubbard is a passionate beauty expert with a wealth of experience in makeup, hair, and overall beauty techniques. After years of working as a hairdresser specialist, she followed her entrepreneurial spirit and started her own consultancy business.
Jane has always been driven by her desire to help others feel confident in their own skin, and she does this by sharing her knowledge, experiences, and practical beauty tips. Through her consultancy, she empowers individuals to embrace their unique beauty, offering tailored guidance that boosts both self-esteem and personal style.
Professional Focus
- Specializes in makeup, hairstyling, and beauty consulting.
- Provides personalized beauty advice, tips, and techniques to help individuals feel confident in their appearance.
- Dedicated to staying up-to-date with the latest industry trends and developments.
- Passionate about creating a comfortable and empowering experience for every client.
Education History
- University of Craft and Design – Bachelor of Fine Arts (BFA) in Woodworking and Furniture Design
- Woodworking Apprenticeships – Extensive hands-on training with skilled craftsmen to refine carpentry and furniture making techniques
- Online Courses & Masterclasses – Continued education in advanced woodworking techniques, design principles, and specialized tools
Expertise:
- Makeup artistry, hairstyling, and beauty consulting.
- Personalized beauty techniques to enhance confidence and self-expression.
- Educating clients on how to maintain their beauty routines at home.