
Are you wanting to add a fluttery, eye-catching curl to your lashes? If so, an electric eyelash curler is the perfect tool for achieving that curled look with ease. Many people often shy away from using this type of curler out of fear or anxiety about potential risks.
However, with proper technique and safety measures in place, it’s totally safe and easy to use for beautiful results! In this blog post on how to use electric eyelash curler, we’ll break down exactly how to use an electric eyelash curler as well as discuss its benefits. By the time you’re done reading, you’ll be ready to boldly apply gorgeous curls like a pro!
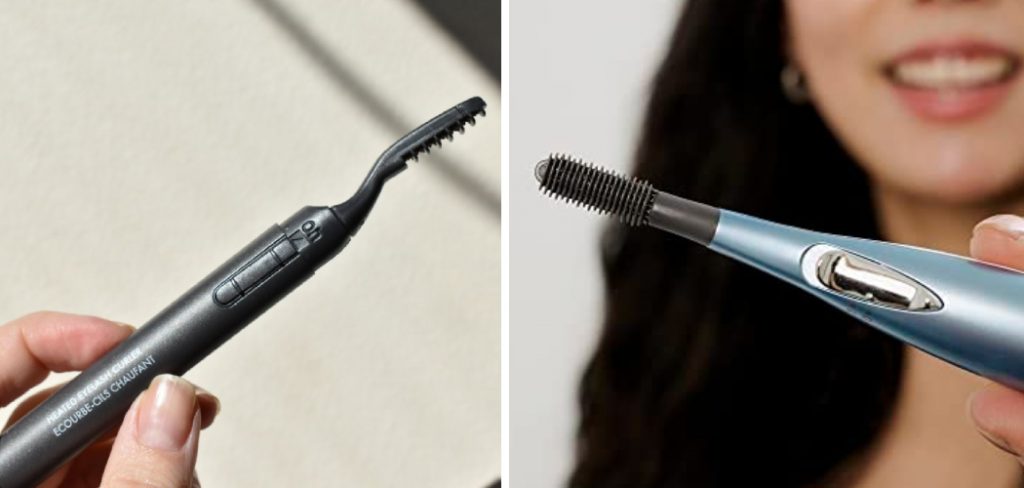
What is an Electric Eyelash Curler?
An electric eyelash curler is a device that uses electrical energy to heat up its metal plate, which in turn helps to make your lashes curl more easily and last longer. The device may look intimidating at first, but it’s actually very easy to use. It even has an adjustable temperature setting so you can adjust the amount of heat applied depending on the level of curl desired.
13 Step-by-step Guidelines on How to Use Electric Eyelash Curler
Step 1: Wash Your Face
The first step is to make sure that your face is completely clean and free of makeup or other product residue. If you have any eye makeup on, remove it before proceeding. This will help ensure that the heat from the eyelash curler doesn’t damage any delicate skin around your eyes. It also helps to reduce the risk of potential irritation or allergic reactions.
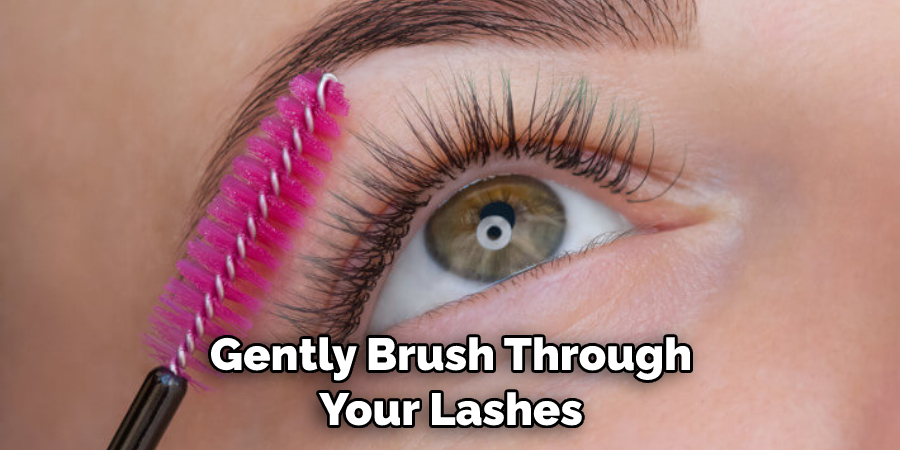
Step 2: Gently Brush Your Lashes
Gently brush through your lashes to remove any knots or tangles. This will help the electric eyelash curler apply a more even curl and prevent your lashes from sticking together. If you want an extra curl, you can use a pair of curved tweezers to give your lashes an extra lift.
Step 3: Set the Temperature
Next, adjust the temperature setting on the electric eyelash curler. If you’re new to using an electric device, it’s best to start with a lower temperature setting first and then increase it as needed for more curls. It’s also important to make sure that the metal plates are not too hot when they come into contact with your skin.
Step 4: Place Electric Eyelash Curler Close
Gently place the heated metal plate of the eyelash curler close to your lash line but not touching it directly. Make sure that all of your lashes are within reach of the heated surface before you begin. If you want an extra curl, you can even gently pull your lashes away from the heated surface before curling them. Thes will help to create a more dramatic and longer-lasting curl.
Step 5: Close the Electric Eyelash Curler
Once your lashes are in place, close the electric eyelash curler. Keep it closed for roughly 10-15 seconds or until you hear a beep indicating that the cycle is complete. If you don’t have an audible indicator, keep track of time yourself or use a timer for accuracy. This will help ensure that you don’t over-curl and damage your lashes.
Step 6: Reopen and Gently Lift
Once the cycle is complete, open the device and gently lift it away from your lash line. This step helps to ensure that all of your lashes have been evenly heated and curled into place. It’s also important to remember not to over-curl your lashes, as this can cause them to become brittle and break. It’s better to curl your lashes in multiple passes to get a more natural and longer-lasting result.
Step 7: Repeat as Needed
Repeat steps 4-6 until you achieve desired results. Depending on the type of curl you want and the strength of your lashes, this process may need to be repeated a few times. If you feel that your lashes are becoming too hot, switch to a lower temperature setting or take a break between cycles. This will help keep your lashes healthy and beautiful.
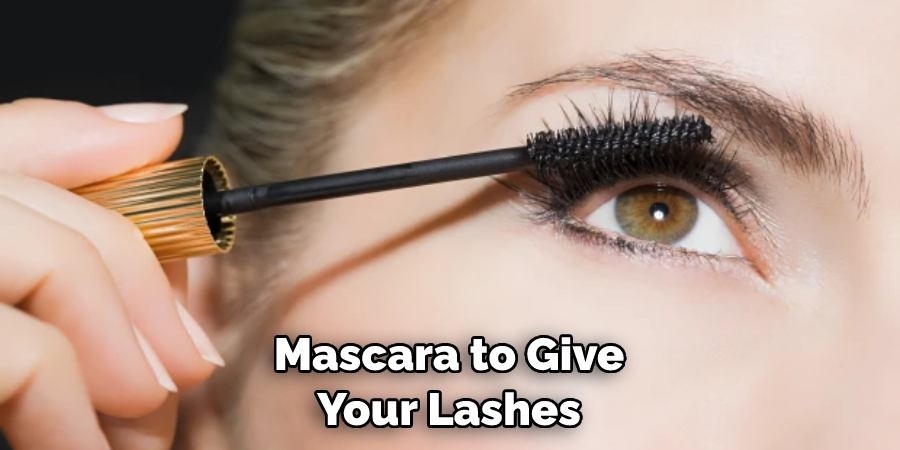
Step 8: Add Mascara for Volume
Once you’ve achieved your desired curl pattern, apply a coat or two of mascara to give your lashes added volume and length. This step can help make your curls look more dramatic and long-lasting. It’s also important to remember to let the curl cool down completely before applying mascara, as this can help prevent your lashes from becoming brittle.
Step 9: Let Your Lashes Set
After adding mascara, let your lashes set for a few minutes before applying additional makeup or styling products. This will help ensure that the mascara has time to dry completely without smudging or transferring onto other parts of your face. It will also help keep your eyelash curl in place for longer. This step is especially important if you plan on wearing your lashes all day.
Step 10: Style as Desired
Once your lashes have been set, it’s time to style them as desired. You can use an eyelash comb or brush to create a more defined look. If you’re using a mascara primer, this can be applied before the mascara for added volume and definition. You can also use an eyelash curler to help blend the mascara and keep your lashes looking fuller and longer. This will help ensure that your lashes stay in place all day long.
Step 11: Clean Up
Once you’re done curling and styling your lashes, make sure to clean up any excess product or mascara that may have been transferred onto your skin. Use a damp cotton swab or makeup remover wipes for the best results. It’s also important to clean and store the electric eyelash curler properly so that it is ready for your next use. If you follow these steps, you’ll have beautiful, natural-looking eyelashes that will last all day long.
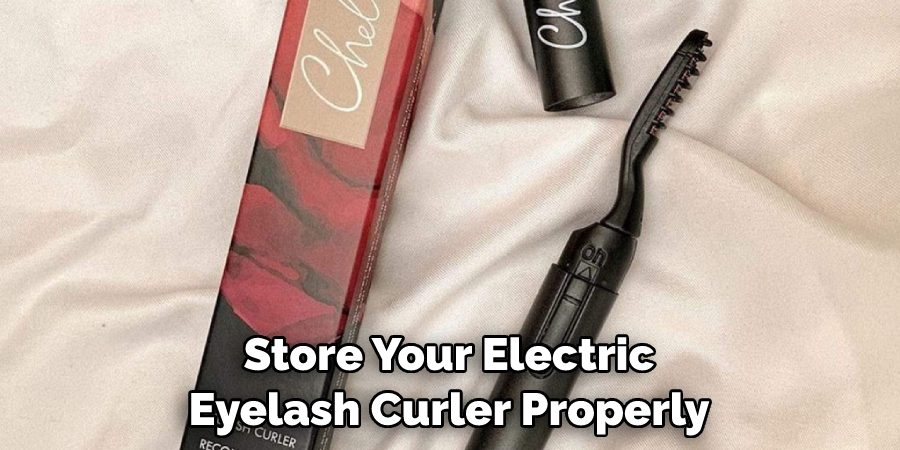
Step 12: Store Properly
After each use, make sure to store your electric eyelash curler properly. This will help ensure optimal performance and reduce the risk of potential damage due to improper storage. It’s also important to clean the device after each use so that your lashes always look their best. This will help maintain the quality and longevity of your device.
Step 13: Enjoy Beautiful Lashes
Last but not least, enjoy the beautiful curls created with your electric eyelash curler. With the right technique, you can create stunningly beautiful curls that last all day long! This is the perfect tool for creating stunningly long, voluminous lashes without the hassle of having to use a traditional manual eyelash curler. It’s fast and easy, and you’ll be amazed at the results. Enjoy your beautiful lashes!
By following these 13 step-by-step guidelines on how to use electric eyelash curler, you can achieve beautiful and long-lasting results in no time. With a little bit of practice, it’s easy to master this simple device and enjoy fluttery lashes all day long. So what are you waiting for? Give it a go today! You won’t regret it!
Frequently Asked Questions
Q: How Often Should I Use My Electric Eyelash Curler?
A: It’s best to use your electric eyelash curler every few days, or as often as needed. The best way to determine when you need to use it is by looking at the condition of your lashes and adjusting accordingly.
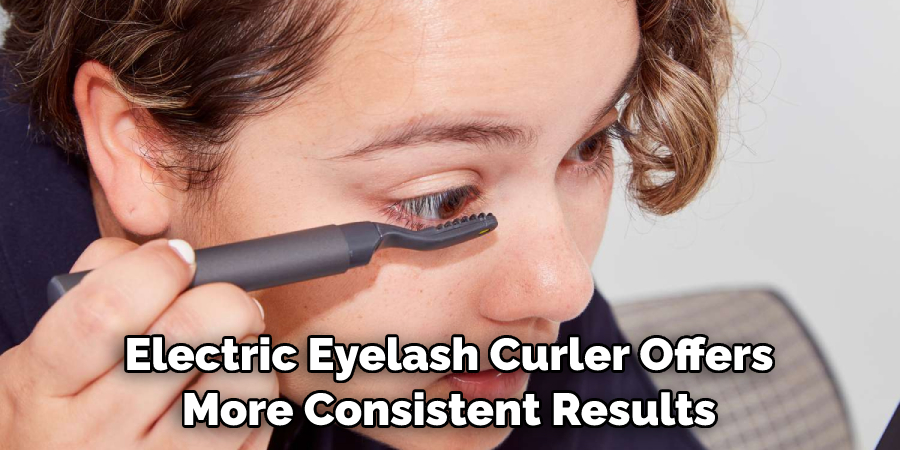
Q: Is an Electric Eyelash Curler Better Than a Manual One?
A: Yes! An electric eyelash curler offers more consistent results than a manual one, as it’s easier to use and more efficient. Plus, you don’t have to worry about your lashes becoming brittle or breaking since the electric curler is gentler on them.
Q: Are Electric Eyelash Curlers Safe To Use?
A: Yes! As long as you follow all of the safety instructions, electric eyelash curlers are safe to use. They are designed to be gentle on your lashes and won’t cause any damage if used properly. Just make sure to read the instructions carefully before using it for the first time.
Q: How Long Does Electric Eyelash Curl Last?
A: The results of an electric eyelash curler can last up to 24 hours. However, the curl will gradually start to relax after a few hours and may need to be touched up with a manual curler or mascara throughout the day.
Do You Need to Use Professionals?
No, you don’t need to use professionals when using an electric eyelash curler. However, if you’re new to the device or have never used one before, it can be helpful to consult with a professional makeup artist or esthetician who has experience with this type of product. They can give you advice on how to get the best results and ensure that you’re using it correctly.
Conclusion
Thanks for reading this article on how to use electric eyelash curler. Overall, electric eyelash curlers are an extremely user-friendly option for quick and beautiful curls. Learning how to use one correctly is admittedly a bit of a learning curve, as it requires time and effort to get the right button sequence down pat.
However, being familiar with the way you need to tilt your head and press the device will soon make your beauty routine noticeably faster. The convenience of being able to curl your lashes without having to wield a traditional metal or plastic device is hard to beat while still giving you satisfying results.
Whether you’re looking for a minimalistic approach or bold and long lashes, mastering the technique of this device is sure to give you the best of both worlds – fast and easy application with beautiful lashes that last all day!
About the Author
Jane Hubbard is a passionate beauty expert with a wealth of experience in makeup, hair, and overall beauty techniques. After years of working as a hairdresser specialist, she followed her entrepreneurial spirit and started her own consultancy business.
Jane has always been driven by her desire to help others feel confident in their own skin, and she does this by sharing her knowledge, experiences, and practical beauty tips. Through her consultancy, she empowers individuals to embrace their unique beauty, offering tailored guidance that boosts both self-esteem and personal style.
Professional Focus
Specializes in makeup, hairstyling, and beauty consulting.
Provides personalized beauty advice, tips, and techniques to help individuals feel confident in their appearance.
Dedicated to staying up-to-date with the latest industry trends and developments.
Passionate about creating a comfortable and empowering experience for every client.
Education History
University of Craft and Design – Bachelor of Fine Arts (BFA) in Woodworking and Furniture Design
Woodworking Apprenticeships – Extensive hands-on training with skilled craftsmen to refine carpentry and furniture making techniques
Online Courses & Masterclasses – Continued education in advanced woodworking techniques, design principles, and specialized tools
Expertise:
Makeup artistry, hairstyling, and beauty consulting.
Personalized beauty techniques to enhance confidence and self-expression.
Educating clients on how to maintain their beauty routines at home.