
The secret to achieving those perfectly fluffy, laminated-looking brows you see all over social media might be simpler and more affordable than you think. While brow gels and waxes have long been staples in makeup bags, a classic beauty hack has made a major comeback: soap brows. This technique creates a strong, all-day hold that lifts and separates each hair, giving you a full, feathery look that frames your face beautifully.
If you have been curious about this trend but feel intimidated by the process, you are in the right place. This guide will walk you through everything you need to know, from choosing the right products to mastering the application. We will break down exactly how to use eyebrow soap to achieve a flawless, long-lasting finish, turning this simple trick into your new favorite beauty step. Get ready to elevate your brow game with minimal effort and maximum impact.
Eyebrow trends have evolved over the years, but one thing remains constant—well-groomed brows can completely transform your look. Whether you love a bold and dramatic style or a natural, feathery finish, perfectly styled eyebrows enhance your features and frame your face effortlessly. The good news? Achieving professional-looking brows has never been easier, thanks to the rise of eyebrow soap. This game-changing product is a must-have for anyone looking to achieve that sculpted, long-lasting look with minimal effort.
Step-by-Step Guide: How To Use Eyebrow Soap
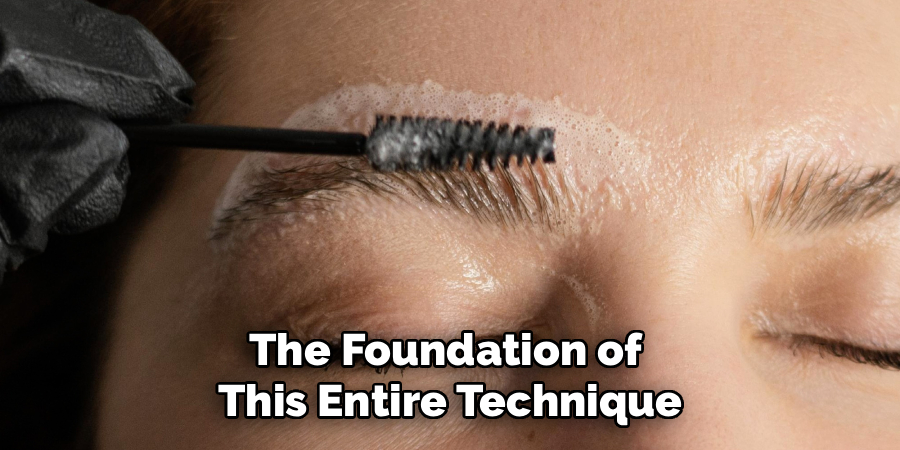
Step 1: Choose the Right Soap Product
Selecting the correct product is the foundation of this entire technique. You want to avoid opaque, white bars of soap because they will leave a chalky residue on your dark hair that looks like dandruff. Instead, look for a transparent styling soap or a specific brow styling soap that contains glycerin. Glycerin is a key ingredient because it adds shine and helps lock the hairs in place without drying them out excessively. The texture should be firm but yield slightly when wet. Avoiding heavily scented soaps is also wise, as the fragrance can sometimes irritate the sensitive skin around your eyes if worn for long periods throughout the day.
Step 2: Prep Your Tools and Spoolie
Before you begin applying anything to your face, you need to ensure your tools are ready for action. You will need a clean spoolie brush, which looks like a mascara wand, and a setting spray or water mist. If you use an old mascara wand, make sure it is thoroughly cleaned of any black residue to avoid staining your skin. Bend the head of the spoolie slightly at an angle; this ergonomic adjustment allows for better control and precision when you are brushing through the brow hairs. Having everything laid out in front of you ensures a smooth application process without scrambling for items while the product dries on your brush.
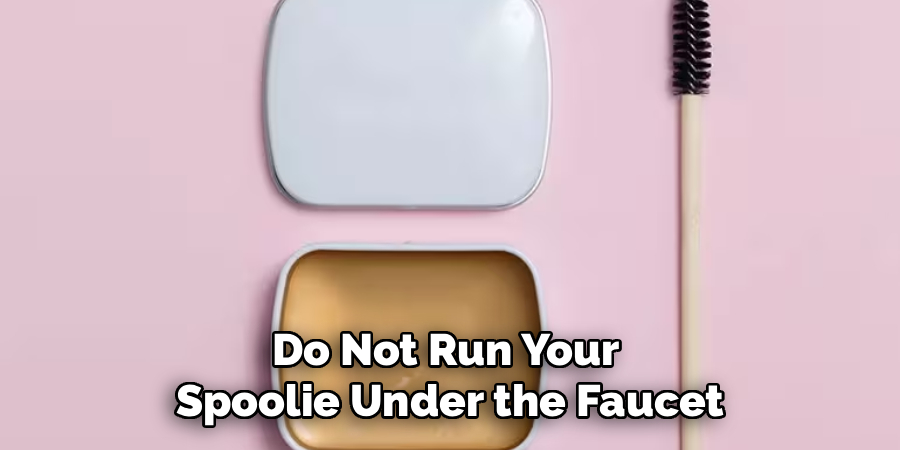
Step 3: Dampen the Soap Surface
The consistency of the soap paste is crucial for success, and it starts with how you wet the product. Do not run your spoolie under the faucet, as this often adds too much water and creates a frothy lather rather than a thick paste. Instead, lightly mist the surface of the soap directly with a setting spray or a small spritz of water. You want the surface to be slightly damp, not soaking wet or bubbly. If you use setting spray, it adds an extra layer of hold to the formula. Let the liquid sit for a few seconds to soften the top layer of glycerin, making it pliable and ready to be picked up by your brush.
Step 4: Coat Your Spoolie Evenly
Now that your soap is damp, swirl your spoolie into the product to pick up the paste. You want to coat the bristles generously but evenly, ensuring there are no large clumps of product stuck to one side. The goal is to create a waxy texture on the bristles, not a soapy foam. If you see white bubbles, you have used too much water and need to let it dry out a bit before trying again. The consistency should feel tacky and thick, similar to a hair pomade. This texture provides the necessary grip to hold stubborn brow hairs in place against your skin for hours on end.
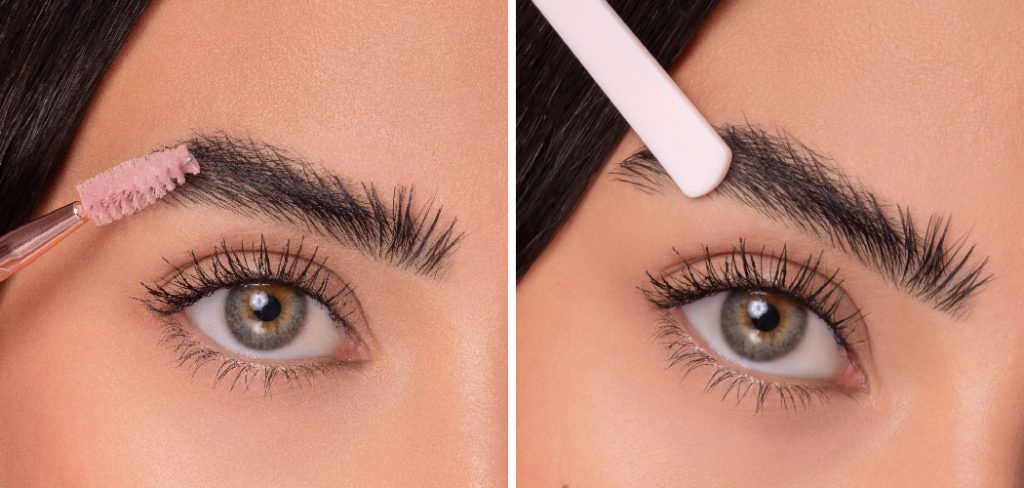
Step 5: Learning Eyebrow Soap for Application
Start by brushing your eyebrow hairs downwards towards your eyelid first. This might seem counterintuitive, but it ensures that the root of every single hair is thoroughly coated with the product. Once you have brushed down, immediately brush the hairs upwards and outwards towards your temples. Use firm pressure to press the hairs flat against your skin, which creates that trendy laminated effect. This back-and-forth motion guarantees that you have enough product distributed throughout the entire brow, not just on the tips. Working quickly is important here because the soap paste will start to set and harden within a minute or so.

Step 6: Shape and Define the Arch
After brushing all the hairs upward, you might find that you look a bit surprised or unruly. To refine the shape, run the tip of your spoolie or a clean finger along the top edge of your brow to smooth down any hairs that are sticking up too high. This step creates a clean, defined arch while maintaining the fluffy texture underneath. You can guide the hairs into your desired shape, whether that is a sharp, angular look or a softer, more natural curve. The beauty of this method is its versatility; you have complete control over the final silhouette of your brows before the product sets completely.
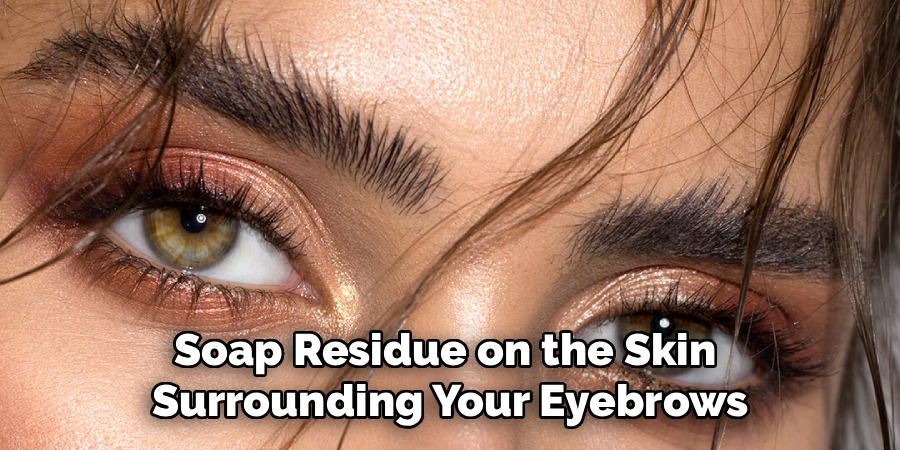
Step 7: Clean Up Excess Residue
It is common to get a little bit of soap residue on the skin surrounding your eyebrows during the brushing process. To prevent your foundation or concealer from breaking up later, take a damp cotton swab or a micellar water pad and gently wipe around the perimeter of your brows. Be careful not to touch the hairs themselves, as you do not want to disturb the shape you just created. Removing this excess product ensures that your face makeup applies smoothly and does not mix with the glycerin, which could cause patchiness. A clean perimeter makes the brows pop and look professionally groomed.
Step 8: Fill in Sparse Areas
Once the soap has fully dried and your brows are set in place, you may notice some sparse areas or gaps that need filling. Because the soap creates a barrier, it is best to use a fine-tip brow pen or a pomade rather than a powder, which might not adhere well to the waxy surface. Use light, flicking motions to draw hair-like strokes in the gaps, following the direction of your natural hair growth. This adds dimension and fullness without overpowering the natural, fluffy texture you achieved with the soap. The result is a realistic, fuller brow that looks polished yet effortless.
Step 9: Final Set and Seal
Although the soap provides excellent hold on its own, you might want to ensure everything stays lock-tight if you have a long day ahead. You can gently press the brows one last time with your finger to ensure they are flat against the skin. If you have particularly unruly or coarse hair, a very light layer of clear brow gel can be applied on top for extra insurance, though it is usually unnecessary. Allow the entire brow area to dry completely before touching it again. Your brows are now styled, set, and ready to withstand humidity, wind, and a full day of wear without budging an inch.
Frequently Asked Questions
Is Soap Bad for Your Eyebrows?
Generally, using soap on your eyebrows is safe, but it can be drying over time due to the high pH level of regular soap. To prevent irritation or flaky skin, it is best to use a soap specifically formulated for brows that contains moisturizing ingredients like glycerin or aloe vera.
Can I Use Hand Soap for Soap Brows?
Technically, you can use clear glycerin hand soap, but avoid opaque or creamy bars as they leave a white, chalky residue. However, dedicated brow styling soaps are preferred because they are designed to be left on the skin and usually offer better hold without causing irritation or skin tightness.
Do You Do Soap Brows Before or After Foundation?
It is highly recommended to do your soap brows before applying foundation or skin tints. This allows you to clean up any waxy residue from your skin without ruining your base makeup. Applying soap over foundation can cause the makeup to separate, look patchy, or become muddy around the brow area.
Why Are My Soap Brows Flaking?
Flaking usually happens for two reasons: using too much product or using too much water. If the soap mixture is too wet, it creates a lather that dries into white flakes. Ensure your brush is damp, not soaking, and use a minimal amount of product to keep the finish clear.
How Long Do Soap Brows Last?
When applied correctly with the right product consistency, soap brows can last all day, typically 8 to 12 hours. The waxy texture of glycerin soap provides a stronger hold than many traditional gels. However, excessive sweating or high humidity might reduce the longevity, so a setting spray can help.
Conclusion
Mastering this brow technique is a game-changer for anyone looking to achieve a fuller, more polished look without expensive salon treatments. By understanding the nuances of product selection and application, you can transform sparse or unruly arches into sleek, defined masterpieces. We hope this guide on how to use eyebrow soap has demystified the process and given you the confidence to experiment with your style. Remember that practice makes perfect; finding the right water-to-soap ratio might take a few tries, but the results are well worth the effort. So grab your spoolie, prep your soap, and get ready to enjoy the best brow days of your life!
About the Author
Jane Hubbard is a passionate beauty expert with a wealth of experience in makeup, hair, and overall beauty techniques. After years of working as a hairdresser specialist, she followed her entrepreneurial spirit and started her own consultancy business.
Jane has always been driven by her desire to help others feel confident in their own skin, and she does this by sharing her knowledge, experiences, and practical beauty tips. Through her consultancy, she empowers individuals to embrace their unique beauty, offering tailored guidance that boosts both self-esteem and personal style.
Professional Focus
- Specializes in makeup, hairstyling, and beauty consulting.
- Provides personalized beauty advice, tips, and techniques to help individuals feel confident in their appearance.
- Dedicated to staying up-to-date with the latest industry trends and developments.
- Passionate about creating a comfortable and empowering experience for every client.
Education History
- University of Craft and Design – Bachelor of Fine Arts (BFA) in Woodworking and Furniture Design
- Woodworking Apprenticeships – Extensive hands-on training with skilled craftsmen to refine carpentry and furniture making techniques
- Online Courses & Masterclasses – Continued education in advanced woodworking techniques, design principles, and specialized tools
Expertise:
- Makeup artistry, hairstyling, and beauty consulting.
- Personalized beauty techniques to enhance confidence and self-expression.
- Educating clients on how to maintain their beauty routines at home.