
Are you tired of having an eyeshadow palette sitting in your makeup collection that you rarely use? Or do you struggle with using multiple colors from the same palette to create a cohesive eye look? Well, fear not!
Applying eyeshadow can transform your look and enhance your natural features, making it an essential part of any makeup routine. An eyeshadow palette provides endless possibilities for creating a variety of looks, from subtle and natural to bold and dramatic. However, knowing how to use an eyeshadow palette aesthetic effectively is key to achieving a flawless finish.
This guide on how to use eyeshadow palette will walk you through the basics of selecting shades, blending techniques, and creating stunning eye looks, no matter your experience level. Whether you’re a beginner or a makeup enthusiast, mastering your eyeshadow palette will unlock endless creativity and confidence.
What Are the Benefits of Using an Eyeshadow Palette?
Eyeshadow palettes are essential tools for any makeup lover. They offer a multitude of benefits that make them a must-have in your beauty collection.
- Easy Shade Selection: One of the main advantages of using an eyeshadow palette is the convenience it offers in shade selection. Palettes typically come with multiple shades, allowing you to easily mix and match colors to create your desired look.
- Versatility: Another significant benefit of eyeshadow palettes is their versatility. With different finishes such as matte, shimmery, and metallic, along with various color options, you can create a wide range of looks for different occasions.
- Cost-effective: Investing in an eyeshadow palette may seem like a big expense at first, but it is cost-effective in the long run. Instead of buying individual eyeshadows, which can be more expensive, you get multiple shades in one palette. This makes it a budget-friendly option for makeup lovers.
- Compact and Travel-friendly: Eyeshadow palettes are also incredibly compact and travel-friendly compared to carrying around multiple single eyeshadows. They take up less space and reduce the risk of breaking or losing individual shadows while on the go.
What Will You Need?
- Eyeshadow palette(s)
- Makeup brushes or applicators
- Primer (optional)
- Setting spray (optional)
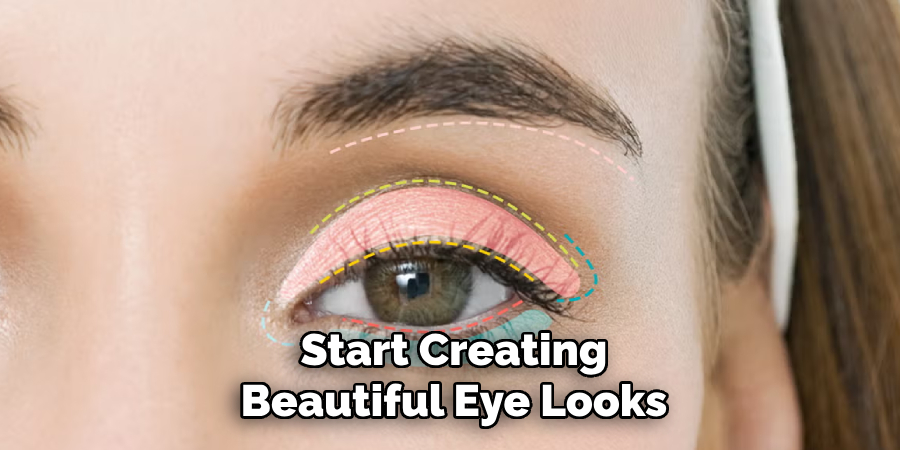
Once you have all your supplies ready, you can move on to the next section and start creating beautiful eye looks!
10 Easy Steps on How to Use Eyeshadow Palette
Step 1. Prepare Your Eyelids
Start by ensuring your eyelids are clean and free of any oil or residue. Use a gentle cleanser or makeup remover to cleanse the area thoroughly. For a longer-lasting and smoother eyeshadow application, consider applying a primer to your lids. Eyeshadow primer not only helps the colors adhere better but also enhances their vibrancy while preventing creasing throughout the day. If you don’t have a primer, a thin layer of concealer can work as an alternative to create a neutral base. Allow the primer or concealer to set for a minute before moving on to the next step.
Step 2. Choose Your Colors
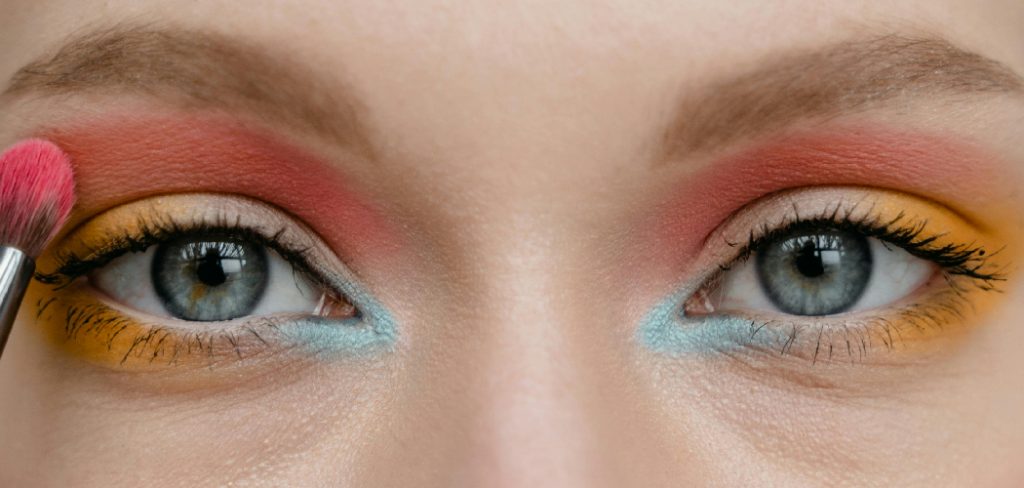
When selecting eyeshadow colors, consider the occasion and your style. For everyday wear, neutral tones like beige, taupe, or soft browns are versatile and flattering for most skin tones. For a bold or dramatic look, choose vibrant shades or rich jewel tones like emerald, sapphire, or burgundy. You can also take your eye color into account when choosing shades that enhance your natural features. For example, bronze or copper shades complement blue eyes, while purples or greens highlight brown or hazel eyes. Don’t hesitate to mix and match colors from different palettes to create a custom look that reflects your mood and creativity.
Step 3. Apply the Base Shade
Start by selecting a neutral or light base shade that complements your chosen color scheme. Using a clean eyeshadow brush, apply the base shade evenly across your entire eyelid, starting from the lash line and blending upwards toward the crease. This layer serves as the foundation for your eyeshadow look, ensuring that the colors you add later will blend smoothly and stand out. Be sure to blend well to avoid harsh lines and to create a seamless canvas for the next steps.
Step 4. Define the Crease
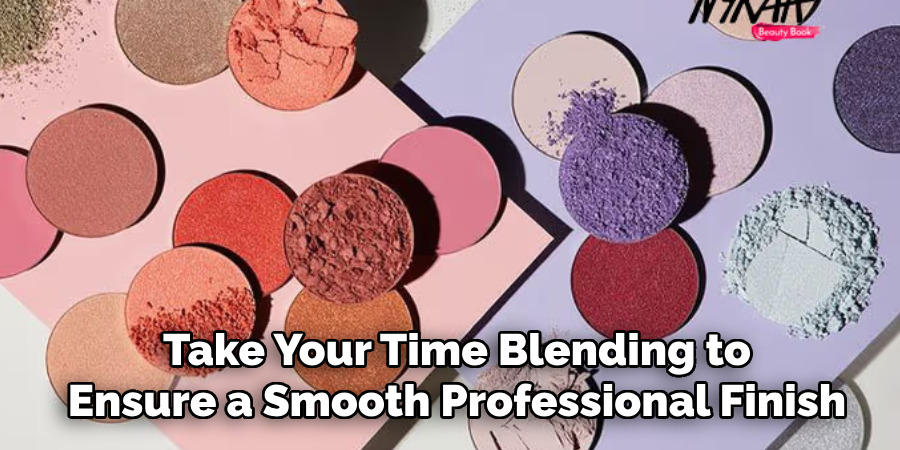
To add depth and dimension to your eyeshadow look, focus on defining the crease. Choose a medium-toned shade that complements your base color but is slightly darker. Use a fluffy blending brush to apply the color directly into the crease of your eyelid, following the natural curve. Work in small, circular motions to blend the shade seamlessly and avoid any harsh lines. This step helps to create contrast and contour, enhancing your eye shape and making your look more dynamic. Take your time blending to ensure a smooth, professional finish.
Step 5. Accent the Outer Corner
Using a small, tapered brush, pick a deeper shade that complements the colors you’ve already applied. Focus this color on the outer “V” of your eyelid, starting from the outer corner and blending slightly inward. Use gentle, patting motions to build up the intensity and then blend softly to avoid harsh edges. This technique adds depth and dimension to your eyes, making them appear larger and more defined. Be sure to blend thoroughly for a seamless transition between colors.
Step 6. Highlight the Inner Corner and Brow Bone
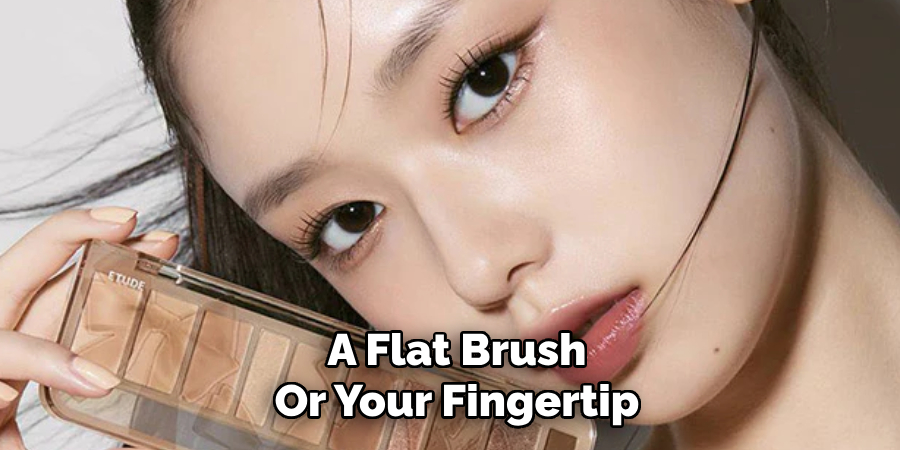
To accentuate your eyes and add a touch of brightness, take a shimmery or light-colored highlighter and apply it to the inner corners of your eyes. This step helps open up your eyes and makes them appear more awake. Next, gently dab the highlighter onto your brow bone, just below your eyebrow’s highest point. Use a small, precise brush or your fingertip for this step, blending it softly to create a natural, glowing look. The added highlight gives your eye makeup a polished and radiant finish.
Step 7. Blend, Blend, Blend
Blending is one of the most crucial steps in achieving a flawless eye makeup look. Using a clean, soft blending brush, gently work the edges of your eyeshadow in back-and-forth or circular motions. This process helps soften any harsh lines and ensures a seamless transition between colors. Pay special attention to areas where two shades meet, creating a gradient effect that looks polished and professional. Remember, patience is key—blending thoroughly can elevate your entire makeup look and make it appear effortlessly smooth.
Step 8. Add Eyeliner
Using eyeliner can define your eyes and enhance their shape, making them stand out beautifully. Start by choosing your preferred type of eyeliner—whether it’s pencil, liquid, or gel—depending on the look you want to achieve. For a subtle, natural look, apply a thin line close to your upper lash line, starting at the inner corner and working outward. If you’re aiming for a more dramatic effect, such as a winged liner, extend the line slightly past the outer corner, angling it upwards for a lifted appearance. Remember to keep your hand steady and use small, controlled strokes for precision. For the lower lash line, lightly smudge the eyeliner or use a softer color for a more balanced look.
Step 9. Set Your Eyeshadow
To ensure your eyeshadow stays vibrant and crease-free throughout the day, setting it properly is an essential step. After applying your desired eyeshadow shades, lightly dust a translucent setting powder or a similarly toned eyeshadow over the lids. This helps lock in the pigments and prevents any smudging or fading. If you have oily eyelids, consider using a long-lasting setting spray formulated for eye makeup to provide additional staying power. For shimmer or metallic eyeshadows, you can enhance their intensity and adherence by lightly patting them in place with a flat brush or your fingertip.
Step 10. Finish with Mascara
Mascara is the final touch that brings your eye makeup look to life by enhancing the length, volume, and definition of your lashes. Start by curling your lashes with an eyelash curler to add a lift and open up the eyes. Then, choose a mascara that suits your desired finish—whether it’s a waterproof formula for long-lasting wear or a volumizing one for a more dramatic effect. To apply, wiggle the mascara wand gently at the base of your lashes and sweep upward in small, controlled strokes to ensure even coverage and avoid clumping.
By following these simple steps, you can achieve long and fluttery lashes that will complete your makeup look.
5 Things You Should Avoid
- Skipping Primer
Avoid applying eyeshadow directly onto bare eyelids as this can lead to uneven application and fading throughout the day. Always start with an eyeshadow primer to create a smooth base and enhance the color payoff.
- Using the Wrong Brushes
Using improper or low-quality brushes can result in patchy blending and poor precision. Invest in good-quality brushes suited for various eyeshadow techniques, such as blending or packing on color.
- Ignoring Color Harmony
Applying clashing colors without considering how they complement your skin tone or each other can create a messy look. Choose shades that work well together and blend seamlessly for a cohesive finish.
- Overloading on Product
Applying too much eyeshadow at once can make blending difficult and result in a cakey appearance. Build up color gradually by layering small amounts to maintain control over the intensity.
- Skipping the Blending Step
Harsh lines between colors can make your eyeshadow look unpolished. Always take the time to blend the edges with a clean brush for a well-blended and professional appearance.
Conclusion
How to use eyeshadow palette effectively requires a combination of the right techniques and a bit of patience.
Always start with a good base to ensure the colors stand out and last longer. Approach the application process step by step, beginning with lighter shades and gradually building up intensity with darker tones. Remember that blending is key to achieving a seamless, polished look. Avoid the common mistakes of overloading on product and skipping blending, as these can affect the overall finish.
With practice and attention to detail, you can master your eyeshadow palette and create stunning looks suited for any occasion.
About the Author
Jane Hubbard is a passionate beauty expert with a wealth of experience in makeup, hair, and overall beauty techniques. After years of working as a hairdresser specialist, she followed her entrepreneurial spirit and started her own consultancy business.
Jane has always been driven by her desire to help others feel confident in their own skin, and she does this by sharing her knowledge, experiences, and practical beauty tips. Through her consultancy, she empowers individuals to embrace their unique beauty, offering tailored guidance that boosts both self-esteem and personal style.
Professional Focus
- Specializes in makeup, hairstyling, and beauty consulting.
- Provides personalized beauty advice, tips, and techniques to help individuals feel confident in their appearance.
- Dedicated to staying up-to-date with the latest industry trends and developments.
- Passionate about creating a comfortable and empowering experience for every client.
Education History
- University of Craft and Design – Bachelor of Fine Arts (BFA) in Woodworking and Furniture Design
- Woodworking Apprenticeships – Extensive hands-on training with skilled craftsmen to refine carpentry and furniture making techniques
- Online Courses & Masterclasses – Continued education in advanced woodworking techniques, design principles, and specialized tools
Expertise:
- Makeup artistry, hairstyling, and beauty consulting.
- Personalized beauty techniques to enhance confidence and self-expression.
- Educating clients on how to maintain their beauty routines at home.