
Maintaining the health of your natural nails is just as important as the aesthetic of the manicure itself. If you destroy your canvas, the paint will never look right. This is why having a specialized removal routine is non-negotiable for anyone who regularly wears instant manicures. You need a method that breaks down the adhesive bond without breaking down the keratin layers of your own fingernails.
Fortunately, the beauty industry has evolved past the days of soaking your fingertips in harsh, drying acetone for forty-five minutes. Modern solutions are designed to be gentle, effective, and surprisingly quick. That is exactly where the how to use glamnetic nail remover comes in to save the day.
This product has gained a cult following for a reason, bridging the gap between salon-quality durability and easy, damage-free removal at home. In this guide, we are going to walk you through exactly how to use it to keep your hands looking flawless, even when you are between sets.
Why You Need To Know How To Use Glamnetic Nail Remover
You might be wondering why you need a dedicated tutorial for a bottle of remover. Isn’t it just applying liquid and wiping it off? While the concept is simple, the execution makes all the difference between a seamless removal and a messy disaster. Understanding the mechanics of how this specific remover works will help you get the most out of the bottle and your manicure.
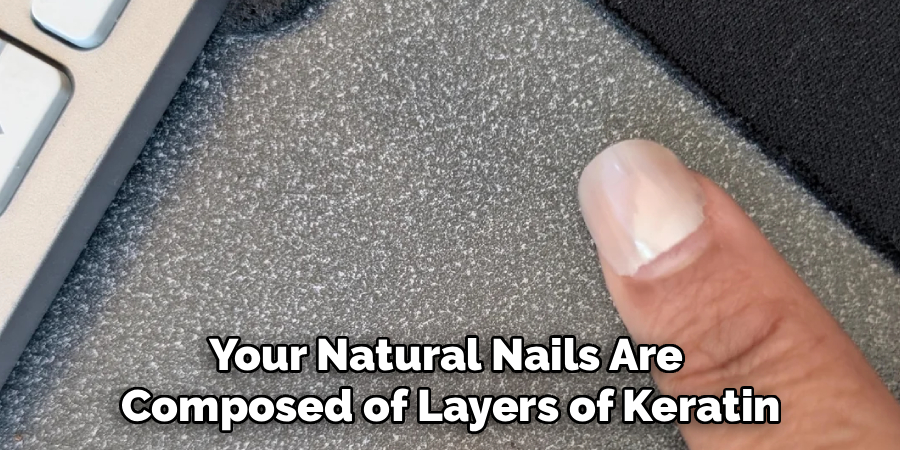
First, let’s talk about nail health. Your natural nails are composed of layers of keratin. When you use high-quality nail glue—which Glamnetic is famous for—that bond is incredibly strong. It is designed to withstand typing, showering, and daily life.
When you force that bond to break physically by prying the nail up, you are almost guaranteed to take layers of your natural nail plate with it. This leads to white spots, thinning, and weakness that can take months to grow out. Using a dedicated remover chemically dissolves the cyanoacrylate (the technical name for super glue) so the press-on slides off rather than being ripped off.
Step-by-Step Guide: How To Use Glamnetic Nail Remover
Ready to take your manicure off safely? Follow these steps closely. The key here is patience; letting the product do the heavy lifting will always yield better results than using force.
Step 1: Prep Your Workspace And Nails
Before you even unscrew the cap of the bottle, you need to set yourself up for success. Start by choosing a well-ventilated area, as even gentle removers can have a scent, and you want to ensure you are breathing fresh air. Lay down a protective barrier on your table, such as an old towel or a few layers of paper towels, to catch any drips or dissolved glue residue. This prevents damage to your furniture finish.
Next, gather your supplementary tools. You will likely want a dual-ended cuticle pusher or the wooden orange stick that likely came with your nail kit. Having some cotton pads and a coarse nail buffer nearby is also a smart move. Finally, wash your hands thoroughly to remove any surface oils or lotion, which ensures the remover can penetrate the glue effectively without any barriers.
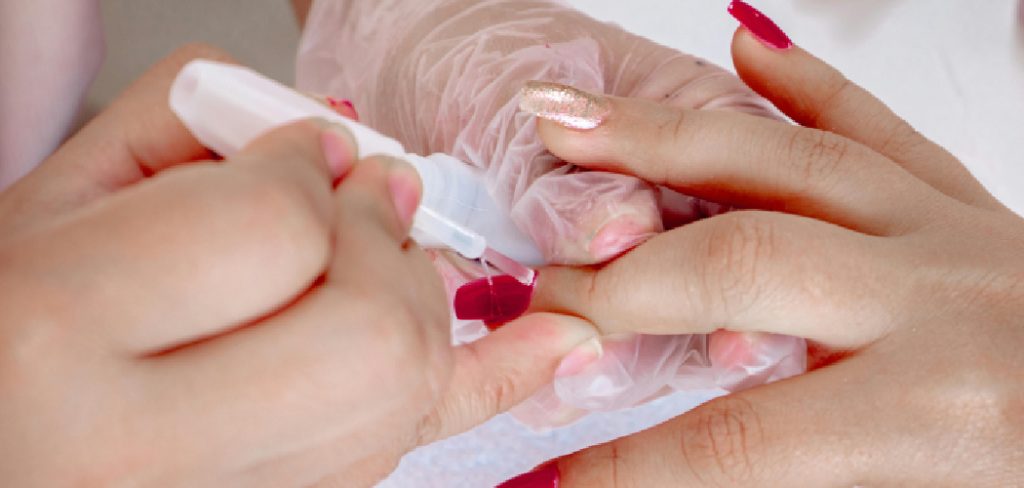
Step 2: Apply The Remover To The Edges
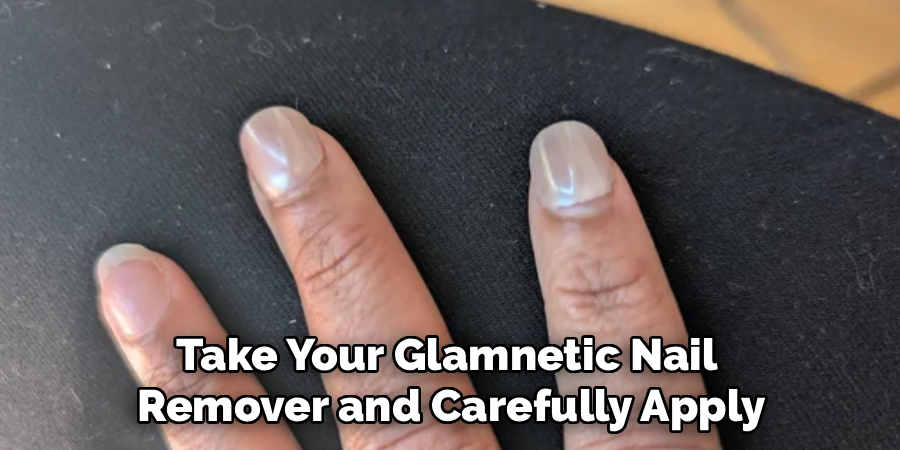
Now it is time to begin the chemical process. Take your Glamnetic Nail Remover and carefully apply a generous coat around the entire perimeter of the press-on nail. You want to focus specifically on the cuticle line and the side walls where the artificial nail meets your skin. This is usually where the glue bond is most accessible.
Do not be stingy with the product here; the goal is to saturate the gap between the press-on and your natural nail so the liquid can seep underneath. If you have a specific area that feels slightly lifted already, target that spot heavily, as it provides a perfect entry point for the formula. Be precise but liberal, ensuring every edge is glistening with the solution before you put the brush back in the bottle.
Step 3: Wait For The Formula To Penetrate
This is the step where most people make a mistake by rushing. Once you have applied the liquid, you must give it adequate time to work its magic. Do not immediately try to start scraping or peeling the nail back. You need to let the solution sit for at least one to two minutes.
During this time, the formula is actively breaking down the hardened cyanoacrylate adhesive. If you try to move too soon, the glue will still be solid, and you will experience pain or resistance. Use this downtime to relax, listen to a song, or watch a quick video. If you feel the liquid drying up or evaporating too quickly, feel free to add a second layer during this waiting period to keep the chemical reaction going strong.
Step 4: Gently Lift The Press-on Nail
After you have waited for the appropriate amount of time, pick up your cuticle pusher or wooden stick. Locate a spot on the side of the nail where the bond feels loosest. Very gently, without using aggressive force, begin to work the tip of your tool underneath the press-on nail. You should feel it slide in relatively easily.
If you encounter hard resistance or pain, stop immediately. Do not force it. Instead, apply more remover to that specific stubborn area and wait another minute. The motion should be a gentle rocking or sliding action, gradually lifting the press-on away from your natural nail plate. As you lift, the remover will flow deeper toward the center of the nail, dissolving the remaining glue as you go.
Step 5: Remove Residual Glue From Natural Nails
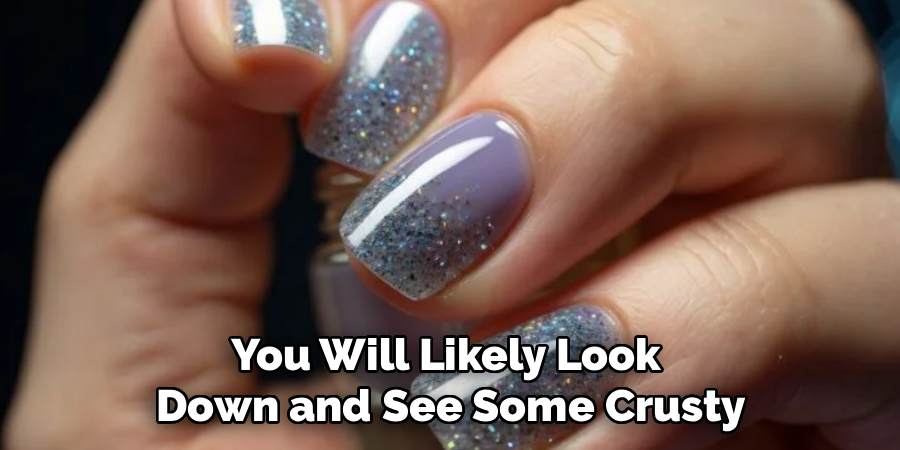
Once the press-on nail has popped off, you will likely look down and see some crusty, white residue left on your natural nail. This is the dissolved glue, and it is perfectly normal. Do not panic, as it is not damage to your nail plate. To get rid of this, you can apply a tiny bit more of the remover directly to the residue and let it sit for thirty seconds. Then, use a cotton pad to wipe it away.
If there are stubborn patches of glue that refuse to wipe off, grab your nail buffer. Use the gentle side of the buffer to lightly smooth over the surface of your nail. The friction will roll the remaining glue off without harming the natural nail underneath.
Step 6: Cleanse And Wash Your Hands
Once the nails are off, you might think you are done, but the Glamnetic Nail Remover solution needs to be washed off your skin to prevent any potential irritation or dryness. Head over to the sink and use warm water and a gentle hand soap. Scrub your nails with a nail brush if you have one, getting into the grooves and under the free edge to ensure every trace of the chemical remover and old glue is gone.
This reset is crucial because it returns your skin’s pH to a normal level and ensures your hands are clean. Dry your hands thoroughly with a clean towel. Your natural nails might look a little dry or matte at this stage, but they should be intact, strong, and free of the peeling that comes from improper removal.
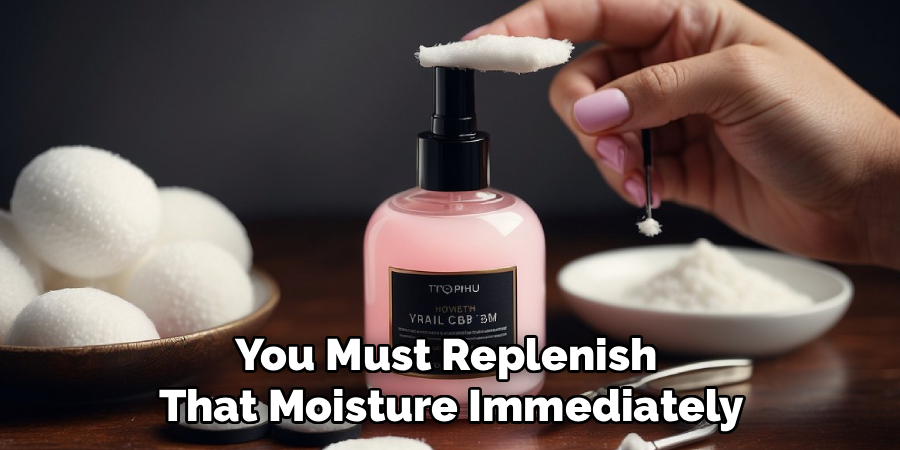
Step 7: Hydrate And Condition Your Cuticles
The final step is arguably the most important for long-term nail health. Even the gentlest removers strip natural oils from your skin and nails during the process. You must replenish that moisture immediately. Reach for a high-quality cuticle oil—jojoba oil is a gold standard in the nail world because its molecular size allows it to penetrate deep into the skin.
Brush it liberally over your nails and the surrounding skin, massaging it in for a few minutes. This increases blood flow to the area, promoting growth, and keeps your cuticles soft and pliable. If you do not have oil, a thick, nourishing hand cream will also work. This step ensures your hands look manicured and healthy, even without the press-ons covering them.
Frequently Asked Questions
Is Glamnetic Nail Remover Safe For Natural Nails?
Yes, when used correctly, this remover is safe for your natural nails. Unlike prying nails off, which causes physical trauma, this formula dissolves the adhesive chemically. This minimizes thinning and peeling. However, like any removal product, it can be drying, so rehydrating your hands afterward is essential for safety.
Can I Reuse My Nails After Using This Remover?
Generally, yes. This remover is designed to dissolve the glue without melting the plastic of the press-on nail, unlike 100% acetone. However, you must be gentle during the removal process. If you force the nail or bend it excessively while lifting, you might warp the shape, rendering it unusable.
How Long Does The Removal Process Take?
The entire process usually takes between ten to fifteen minutes for both hands. This depends on how much glue you initially used and how long you have been wearing the nails. Newer sets with fresh glue might take slightly longer to dissolve than a set that has been worn for two weeks.
Does This Work On Regular Nail Glue?
Yes, the formula is specifically engineered to break down cyanoacrylate, which is the main ingredient in standard nail glues. Whether you used the glue that came with your Glamnetic kit or a different brand of standard nail adhesive, this remover should be effective in dissolving the bond.
Should I Soak My Nails In Water First?
Soaking your nails in warm soapy water and oil for ten minutes prior to using the remover can expedite the process. The warm water helps to soften the glue and the skin around the nail, creating small gaps that allow the remover to penetrate more deeply and quickly.
Conclusion
Taking off your manicure does not have to be a painful ordeal that leaves you hiding your hands in your pockets. By trading in the bad habit of popping nails off for a proper removal routine, you invest in the longevity of your natural nails and your favorite press-on sets. The process requires a little bit of patience and the right technique, but the results speak for themselves: strong, healthy nails that are ready for their next look whenever you are.
Mastering the use of Glamnetic Nail Remover ensures your manicure routine remains fun, safe, and sustainable. Remember, the care you put into the removal is just as important as the care you put into the application. So, take your time, keep your cuticles hydrated, and enjoy the freedom of switching up your style without the damage.
About the Author
Jane Hubbard is a passionate beauty expert with a wealth of experience in makeup, hair, and overall beauty techniques. After years of working as a hairdresser specialist, she followed her entrepreneurial spirit and started her own consultancy business.
Jane has always been driven by her desire to help others feel confident in their own skin, and she does this by sharing her knowledge, experiences, and practical beauty tips. Through her consultancy, she empowers individuals to embrace their unique beauty, offering tailored guidance that boosts both self-esteem and personal style.
Professional Focus
- Specializes in makeup, hairstyling, and beauty consulting.
- Provides personalized beauty advice, tips, and techniques to help individuals feel confident in their appearance.
- Dedicated to staying up-to-date with the latest industry trends and developments.
- Passionate about creating a comfortable and empowering experience for every client.
Education History
- University of Craft and Design – Bachelor of Fine Arts (BFA) in Woodworking and Furniture Design
- Woodworking Apprenticeships – Extensive hands-on training with skilled craftsmen to refine carpentry and furniture making techniques
- Online Courses & Masterclasses – Continued education in advanced woodworking techniques, design principles, and specialized tools
Expertise:
- Makeup artistry, hairstyling, and beauty consulting.
- Personalized beauty techniques to enhance confidence and self-expression.
- Educating clients on how to maintain their beauty routines at home.