
Are you tired of guessing the right amount of hair color to mix in your bowl? Are you looking for a more precise way to measure and mix your hair color? Look no further; we have compiled a comprehensive guide on using hair color mixing bowl measurements.
When it comes to achieving the perfect hair color, precision is key. Hair color mixing bowls are essential tools for anyone stepping into the world of hair coloring, whether you’re a professional stylist or a DIY enthusiast. These bowls often include measurement markings that help ensure the right ratio of color to developer, providing consistent results every time.
Understanding how to use hair color mixing bowl measurements is crucial for avoiding mistakes, such as uneven color or wasted product. With a clear understanding of mixing bowl measurements, you can confidently take the guesswork out of hair coloring.
What Are the Benefits of Using Hair Color Mixing Bowl Measurements?
- Consistency: The most significant benefit of using hair color mixing bowl measurements is consistency. Following the recommended measurements, you can achieve consistent results every time you color your hair.
- Cost-effective: Measuring and mixing the right amount of hair color can save you money in the long run. It ensures you don’t waste any product by mixing too much or too little.
- Time-saving: With precise measurements, you no longer have to spend time guessing or adjusting the ratio of color to developer. This saves time during the coloring process and allows for a quicker application.
These are just a few benefits of using hair color mixing bowl measurements. Now, let’s dive into the actual steps for using these measurements.
What Will You Need?
Before we get started, you’ll need a few things:
- Hair Color Mixing Bowl: These bowls are designed explicitly for hair coloring and often come with measurement markings.
- Hair Color: Choose your desired shade of hair color. Read the instructions carefully to determine the right amount of product needed.
- Developer: This peroxide activates the hair color and helps it penetrate the hair shaft. Again, make sure to follow the instructions for the correct developer-to-color ratio.
- Measuring Spoons or Cups: Depending on what measurements your hair color requires, you may need measuring spoons or cups for more precise amounts.
- Mixing Tool: A whisk or brush can mix the hair color and developer in the bowl.
Now that you have all the necessary tools let’s break down how to use hair color mixing bowl measurements step by step.
10 Easy Steps on How to Use Hair Color Mixing Bowl Measurements
Step 1: Choose Your Hair Color
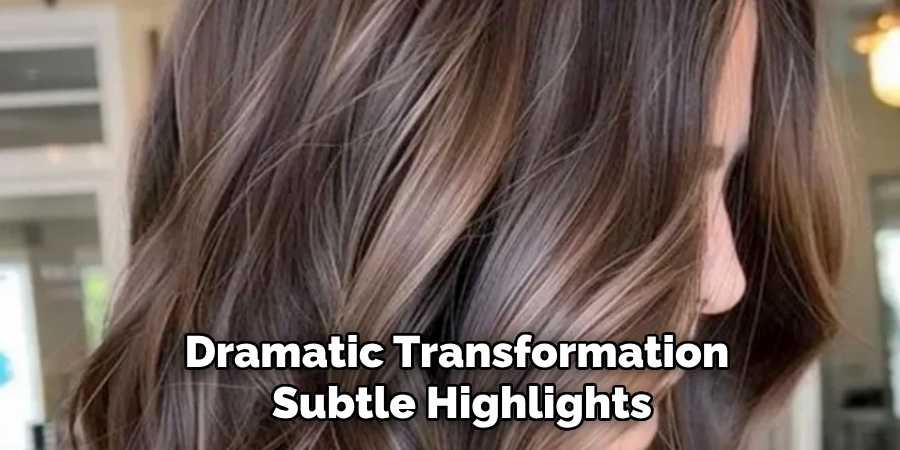
Selecting the right hair color is the first and most critical step in your coloring process. Consider your desired outcome—are you looking for a dramatic transformation, subtle highlights, or just covering gray hairs? Look at the hair color chart provided with your product to identify the shade that matches your goals.
For best results, pick a shade that complements your skin tone. Warmer tones like golden brown or auburn work well with warm undertones, while more fabulous colors like ash blonde or jet black flatter cooler undertones. If you’re trying a bold color like red, purple, or blue, ensure your hair is prepped for these shades, as lighter bases often yield more vivid results. Remember, a patch test is always recommended to safeguard against allergic reactions or unexpected results.
Step 2: Measure Out Your Developer
Accurate measurement of the hair developer is crucial to achieve the desired color and consistency. Most hair color kits will provide a recommended mixing ratio, typically a 1:1 or 1:2 ratio of hair color to developer. Use the markings on your hair color mixing bowl to measure both components precisely. For instance, if you’re using one ounce of hair color, you may need either one or two ounces of developer based on the instructions.
Make sure to choose the right volume of developer—10-vol is ideal for depositing color or darkening hair, while 20-vol is commonly used for gray coverage or lightening hair by one to two levels. Higher volumes, such as 30-vol or 40-vol, are designed for more intensive lightening but may cause damage if not used carefully.
Step 3: Mix the Hair Color and Developer
Once you have measured the hair color and developer, combine them in your mixing bowl. Use a coloring brush to thoroughly mix the two components until you achieve a smooth, consistent paste. Mixing ensures that the color will apply evenly to your hair, reducing the risk of patchy or uneven results. Take your time during this step to avoid any lumps or separation in the mixture, as this could affect the outcome. Wear gloves throughout this process to protect your hands from stains and irritation.
Step 4: Section Your Hair
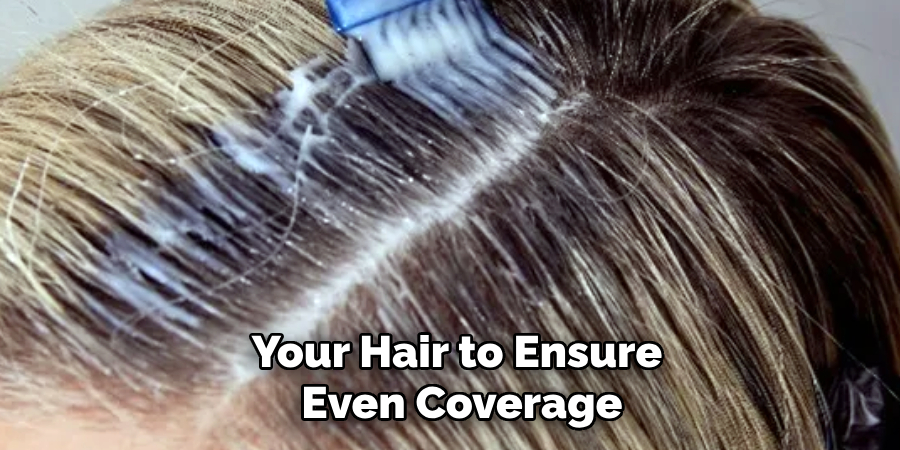
Before applying the hair color mixture, section your hair to ensure even coverage. Divide your hair into four quadrants by parting it down the middle from front to back and then ear to ear. Use hair clips to secure each section. Working in sections allows for more precise application and helps prevent missing any areas. If your hair is particularly thick or long, you should subdivide each quadrant further. Taking the time to section your hair properly will make the coloring process smoother and more efficient.
Step 5: Apply the Hair Color Mixture
Starting with one section, use a brush or applicator bottle to apply the hair color mixture evenly from root to tip. Work in small subsections within the quadrant to ensure thorough saturation. Pay close attention to areas requiring extra coverage, such as resistant grays or previously untreated hair. Massage the color into your hair gently to distribute it evenly and prevent streaks. Once you’ve finished one section, move on to the next, repeating the process until all sections are covered. Be mindful of the recommended processing time for the color, and set a timer to avoid leaving it on too long.
Step 6: Wait for the Color to Process
After applying the hair color mixture, allow it to process for the time recommended in the instructions provided with your hair color product. This ensures that the pigments fully develop and bond with your hair for an even and lasting result. Avoid touching or manipulating your hair during this time, which may disrupt the application. Use this waiting period to relax or prepare for the rinsing step. Keep a timer handy to ensure you follow the processing time precisely, as leaving the color on for too long or too short could affect the outcome.
Step 7: Rinse Out the Color
Once the processing time is complete, rinse your hair thoroughly with lukewarm water until the water runs clear. This helps remove all excess dye while ensuring the color remains vibrant. Avoid shampoo during this initial rinse, as it could strip the newly applied color. Instead, follow up with the conditioner provided in your hair color kit or a color-safe conditioner to lock in moisture and enhance the shine of your hair. Gently towel-dry your hair and style as desired to reveal your fresh new look.
Step 8: Maintain Your New Color
To keep your hair color fresh and vibrant, adopt a proper hair care routine. Use shampoos and conditioners specifically formulated for color-treated hair to help preserve the pigment and moisture in your strands. Avoid overwashing your hair; washing two to three times per week is ideal to prevent fading. Incorporate deep-conditioning treatments or hair masks weekly to nourish and protect your hair from damage. Additionally, minimize heat styling and always use a heat protectant before using hot tools to prolong the life of your color.
Step 9: Protect Your Hair from the Sun
Sun exposure can cause your hair color to fade and lose its vibrancy over time. Consider wearing a hat or scarf to protect your locks when spending extended periods outdoors. Alternatively, use hair products with UV protection to shield your strands from harmful rays. Maintaining this extra layer of defense will help you enjoy your fresh color for longer.
Step 10: Schedule Regular Touch-Ups
Maintaining vibrant, color-treated hair often requires routine touch-ups to keep your shade fresh and even. Depending on your dye type and the rate of hair growth, you may need to visit your stylist every 4-8 weeks. Regular touch-ups address issues like root regrowth and fading, ensuring your hair color remains consistent and polished. Keeping up with these appointments is key to achieving a long-lasting, salon-quality look.
Following these steps and tips, you can confidently color your hair at home with professional results.
Conclusion
How to use hair color mixing bowl measurements is essential for achieving consistent and even results when coloring your hair.
By carefully measuring the correct ratio of color to developer, you ensure the formula is properly balanced, which is crucial for achieving the desired shade and avoiding damage. Always refer to the instructions on your hair color product to determine the appropriate proportions. Mix thoroughly in the bowl to achieve a smooth, uniform consistency before application.
Mastering this step lays the foundation for a successful and professional-quality hair coloring experience.
About the Author
Jane Hubbard is a passionate beauty expert with a wealth of experience in makeup, hair, and overall beauty techniques. After years of working as a hairdresser specialist, she followed her entrepreneurial spirit and started her own consultancy business.
Jane has always been driven by her desire to help others feel confident in their own skin, and she does this by sharing her knowledge, experiences, and practical beauty tips. Through her consultancy, she empowers individuals to embrace their unique beauty, offering tailored guidance that boosts both self-esteem and personal style.
Professional Focus
- Specializes in makeup, hairstyling, and beauty consulting.
- Provides personalized beauty advice, tips, and techniques to help individuals feel confident in their appearance.
- Dedicated to staying up-to-date with the latest industry trends and developments.
- Passionate about creating a comfortable and empowering experience for every client.
Education History
- University of Craft and Design – Bachelor of Fine Arts (BFA) in Woodworking and Furniture Design
- Woodworking Apprenticeships – Extensive hands-on training with skilled craftsmen to refine carpentry and furniture making techniques
- Online Courses & Masterclasses – Continued education in advanced woodworking techniques, design principles, and specialized tools
Expertise:
- Makeup artistry, hairstyling, and beauty consulting.
- Personalized beauty techniques to enhance confidence and self-expression.
- Educating clients on how to maintain their beauty routines at home.