
Have you ever wondered about the secret to soft, manageable, and deeply hydrated hair? The answer might be a lightweight product you’ve seen on the shelves but never tried: hair milk.
This versatile leave-in treatment is a game-changer for many hair types, offering a unique blend of moisture and nourishment without weighing your hair down. Unlike heavy creams or butters, hair milk has a fluid, milky consistency that absorbs quickly, making it a perfect addition to almost any hair care routine.
In this guide on how to use hair milk, we’ll explore the benefits of this product and how to incorporate it into your hair care routine for the best results.
What Will You Need?
To get the most out of your hair milk application, you’ll only need a few simple tools. Having these ready will make the process smooth and effective.
- Your favorite hair milk product
- A gentle shampoo and conditioner
- A soft microfiber towel or an old t-shirt
- A wide-tooth comb or detangling brush
- Sectioning clips (optional, but helpful for thick hair)
10 Easy Steps on How to Use Hair Milk
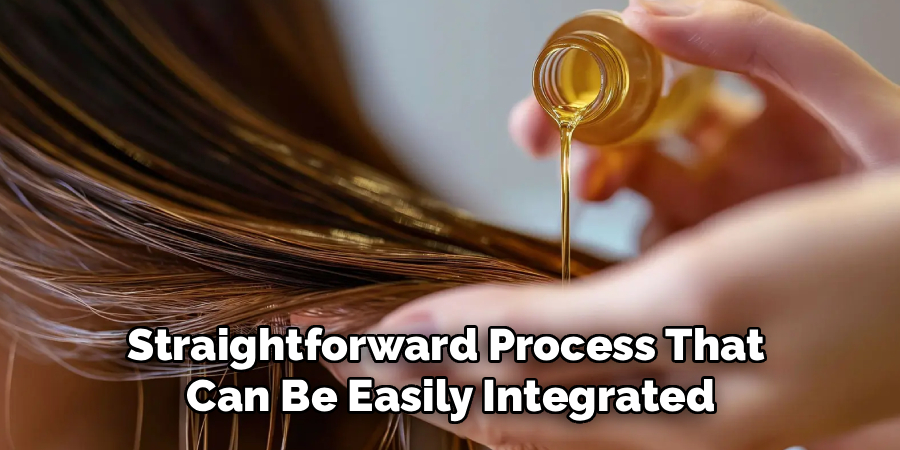
Applying hair milk is a straightforward process that can be easily integrated into your wash day or daily styling routine. Following these steps ensures even distribution and maximum absorption, giving you the best possible results for hydrated, healthy hair.
Step 1: Start with Clean, Conditioned Hair
The foundation of any successful hair treatment is a clean slate. Begin by washing your hair with a gentle, sulfate-free shampoo to remove any product buildup, dirt, or excess oil. Focus the shampoo on your scalp, allowing the suds to run down the lengths of your hair as you rinse. This prevents stripping your strands of their natural oils. Follow up with a hydrating conditioner, applying it from the mid-lengths to the ends, where your hair is typically the driest.
Let the conditioner sit for a few minutes to penetrate the hair shaft before rinsing it out thoroughly with cool water. Cool water helps to seal the hair cuticle, locking in the moisture from your conditioner and preparing your hair for the next step. A clean and conditioned base ensures that the hair milk can be absorbed effectively without any barriers.
Step 2: Gently Towel-Dry Your Hair
After washing, it’s crucial to remove excess water without causing frizz or damage. Vigorously rubbing your hair with a standard terrycloth towel is one of the biggest culprits of frizz and breakage. Instead, gently squeeze the water out of your hair. For best results, use a microfiber towel or an old, soft t-shirt. These materials are much smoother and absorb water without roughing up the hair cuticle.
You can wrap your hair in a towel or t-shirt for about 10-15 minutes to absorb most of the moisture. Your goal is to have damp hair, not sopping wet. Applying hair milk to damp hair allows the product to spread more easily and seal in the remaining water for optimal hydration. If your hair is too wet, the product can become diluted and less effective.
Step 3: Dispense the Right Amount of Product
One of the most common mistakes is using too much or too little product. The right amount of hair milk depends on your hair’s length, thickness, and porosity. Start with a small amount, about the size of a dime or a quarter, in the palm of your hand. You can always add more if needed. It’s much easier to add a product than to remove it.
For those with fine or thin hair, a smaller amount will prevent the hair from becoming weighed down. If you have thick, coarse, or very long hair, you may need a bit more to ensure every strand is coated. Remember that hair milk is a lightweight product, but over-application can still lead to a greasy or limp feeling.

Step 4: Warm the Product in Your Hands
Before applying the hair milk to your hair, rub your palms together for a few seconds. This simple action warms the product, which helps to break down the formula slightly and makes it easier to apply evenly. Warming the milk ensures a smoother, more seamless application, allowing it to glide over your hair strands rather than clumping in one area. This step only takes a moment but can make a significant difference in how the product distributes and absorbs, preventing any heavy spots and ensuring every part of your hair receives the nourishment it needs.
Step 5: Apply to the Lengths and Ends
Focus your application on the parts of your hair that need the most moisture and attention. The mid-lengths and ends are typically the oldest and most damaged parts of your hair, making them more prone to dryness, split ends, and frizz. Start by raking the hair milk through these sections with your fingers. Avoid applying the product directly to your roots, especially if you have fine hair or an oily scalp, as this can weigh your hair down and make your scalp feel greasy. By concentrating the product on the ends, you are targeting the problem areas without compromising volume at the crown.
Step 6: Section Your Hair for Even Distribution
For those with thick or very curly hair, sectioning is a crucial step to ensure the hair milk is distributed evenly. If you apply the product to the surface of your hair only, the strands underneath won’t receive any of its benefits. Use clips to divide your hair into four or more manageable sections.
Work on one section at a time, applying the hair milk from the mid-lengths to the ends. This methodical approach guarantees that every single strand is coated with the product, leading to consistent results throughout your hair. It might take a few extra minutes, but it is well worth the effort for beautifully hydrated and defined hair.
Step 7: Detangle with a Comb or Your Fingers
Once the hair milk is applied, it’s the perfect time to detangle. The slip from the product will help your comb or fingers glide through any knots and tangles with minimal friction, reducing the risk of breakage. Use a wide-tooth comb for this process, as it is gentler on wet hair. Start detangling from the ends and gradually work your way up to the roots. This technique prevents you from pushing small knots into larger ones and minimizes stress on the hair shaft. If you prefer finger-detangling, gently work through the tangles section by section until your hair is smooth.

Step 8: Use the “Praying Hands” Method for Curls
If you have curly or wavy hair, the “praying hands” method is an excellent technique for applying hair milk while encouraging curl clumps and reducing frizz. After raking the product through your hair, take a small section and place it between your palms as if you were praying. Glide your hands down the length of the hair section, from root to tip. This motion smooths the hair cuticle and helps to evenly distribute the product without disturbing your natural curl pattern. It also helps your curls clump together, leading to more defined and less frizzy results once your hair is dry.
Step 9: Do Not Rinse Out
Hair milk is a leave-in product, designed to stay in your hair to provide continuous moisture and protection. Rinsing it out would defeat its purpose. Once you have applied and distributed the product evenly, you are ready to move on to styling. The ingredients will continue to work, nourishing your hair, taming frizz, and keeping it hydrated until your next wash day. This leave-in nature is what makes hair milk such a powerful tool for maintaining long-lasting hair health and manageability.
Step 10: Style as Desired
After applying the hair milk, you can proceed with your usual styling routine. You can let your hair air-dry to showcase its natural texture, or use a diffuser on low heat to enhance your curls. Hair milk also works well as a base layer under other styling products like gel, mousse, or cream. It provides a foundation of moisture that helps other products perform better. Whether you’re going for a defined wash-and-go, a sleek blowout, or a protective style, hair milk sets the stage for a great hair day.
5 Things You Should Avoid
- Applying to Your Roots: Avoid putting hair milk directly on your scalp, especially if you have an oily scalp or fine hair. This can weigh your hair down and lead to greasiness. Focus on the mid-lengths and ends.
- Using Too Much Product: Start with a small amount and add more only if needed. Over-applying can leave your hair feeling heavy, sticky, or limp instead of soft and lightweight.
- Applying to Soaking Wet Hair: If your hair is too wet, the product gets diluted and can’t adhere properly to the hair shaft. Squeeze out excess water with a microfiber towel until your hair is damp.
- Skipping Detangling: Don’t just slap the product on. Use the application process as an opportunity to gently detangle with a wide-tooth comb or your fingers to ensure even distribution and prevent breakage.
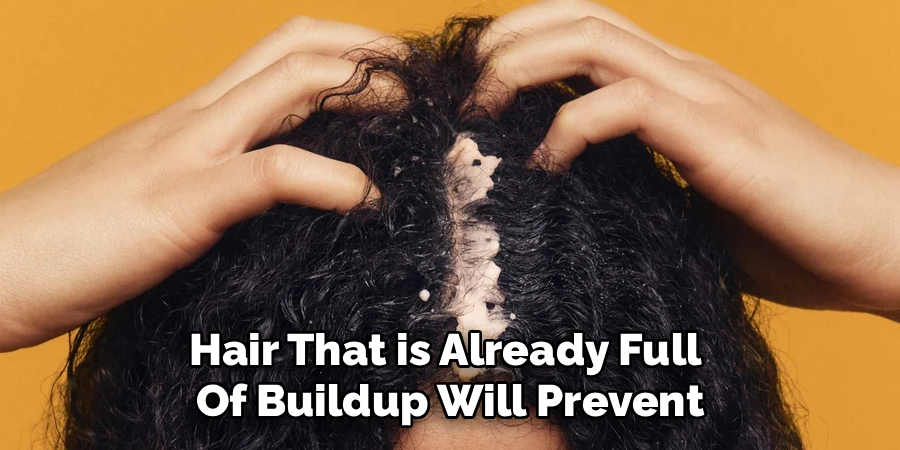
- Using It on Dry, Dirty Hair: Applying hair milk to hair that is already full of buildup will prevent it from being absorbed. For best results, always apply it to clean, damp hair.
Conclusion
Hair milk is a fantastic, multi-purpose product that can elevate any hair care routine.
By providing lightweight moisture, fighting frizz, and nourishing your strands, it helps you achieve hair that is not only beautiful but also genuinely healthy. Its simple application process makes it an easy addition to your regimen, whether you’re styling your hair for the day or giving it a much-needed moisture boost.
By following these steps on how to use hair milk and avoiding common mistakes, you can unlock the full potential of hair milk and enjoy softer, more manageable hair.
About the Author
Jane Hubbard is a passionate beauty expert with a wealth of experience in makeup, hair, and overall beauty techniques. After years of working as a hairdresser specialist, she followed her entrepreneurial spirit and started her own consultancy business.
Jane has always been driven by her desire to help others feel confident in their own skin, and she does this by sharing her knowledge, experiences, and practical beauty tips. Through her consultancy, she empowers individuals to embrace their unique beauty, offering tailored guidance that boosts both self-esteem and personal style.
Professional Focus
- Specializes in makeup, hairstyling, and beauty consulting.
- Provides personalized beauty advice, tips, and techniques to help individuals feel confident in their appearance.
- Dedicated to staying up-to-date with the latest industry trends and developments.
- Passionate about creating a comfortable and empowering experience for every client.
Education History
- University of Craft and Design – Bachelor of Fine Arts (BFA) in Woodworking and Furniture Design
- Woodworking Apprenticeships – Extensive hands-on training with skilled craftsmen to refine carpentry and furniture making techniques
- Online Courses & Masterclasses – Continued education in advanced woodworking techniques, design principles, and specialized tools
Expertise:
- Makeup artistry, hairstyling, and beauty consulting.
- Personalized beauty techniques to enhance confidence and self-expression.
- Educating clients on how to maintain their beauty routines at home.