
Are you tired of your makeup looking flat and dull? Don’t worry, highlighter makeup tutorial is the answer!
Highlighting is a key makeup technique that adds dimension and luminosity to your face, enhancing your natural features. Whether aiming for a subtle glow or a bold, radiant look, highlighter can help you achieve a radiant, lit-from-within appearance. The key to mastering highlighter makeup lies in understanding the right products, tools, and application methods suited to your skin tone, face shape, and desired finish. Additionally, knowing how to incorporate highlighter into your overall makeup routine is crucial in achieving a flawless and glowing complexion.
This guide on how to use highlighter makeup will walk you through the essentials of using highlighter, ensuring your makeup routine shines—literally.
What Are the Benefits of Using Highlighter Makeup?
Highlighter makeup is a versatile and essential product that instantly elevates your overall look. Here are some key benefits of using a highlighter:
- Adds Luminosity: A well-applied highlighter can give the skin a natural or intense glow, giving it a radiant and dewy appearance.
- Enhances Features: Strategically placing a highlighter on certain areas of the face can enhance your features and create a more sculpted look.
- Brightens Complexion: Highlighter can also help brighten dull-looking skin by reflecting light and creating an illusion of brightness.
- Makes You Look Awake and Refreshed: Applying highlighter on the inner corners of the eyes, brow bone, and cheekbones can make you look more awake and refreshed, even if you didn’t get a full night’s sleep.
What Will You Need?
You will need a few tools and products to achieve the perfect highlighted look. Here is a list of items that are essential for creating a glowing complexion:
- Highlighter: Various types of highlighters are available in the market, including liquid, cream, and powder formulas. Choose one that works best for your skin type and preference.
- Brush or Sponge: You can apply the highlighter to your face using a small fluffy brush or damp beauty sponge.
- Setting Spray: Setting spray helps keep your makeup in place and intensifies the glow from your highlighter.
- Foundation and Concealer: To create a flawless base for your highlight, it’s essential to have a well-blended foundation and concealer. This will ensure that your highlighter doesn’t look patchy or uneven on your skin.
- Blending: Blending is key when applying highlighter. Make sure to blend out any harsh lines or edges for a natural and seamless glow.
- Placement: The placement of your highlighter can make all the difference in enhancing your features. For a subtle glow, apply it on the high points of your cheekbones, down the bridge of your nose, and on your cupid’s bow. For a more dramatic look, add some on the inner corners of your eyes and along the brow bone.
10 Easy Steps on How to Use Highlighter Makeup
Step 1. Prepare Your Skin:
Before applying makeup, it is crucial to start with clean and hydrated skin. Wash your face with a gentle cleanser that suits your skin type to remove any buildup or impurities. Follow up with a lightweight moisturizer to ensure smooth and well-hydrated skin, creating the perfect canvas for makeup application.
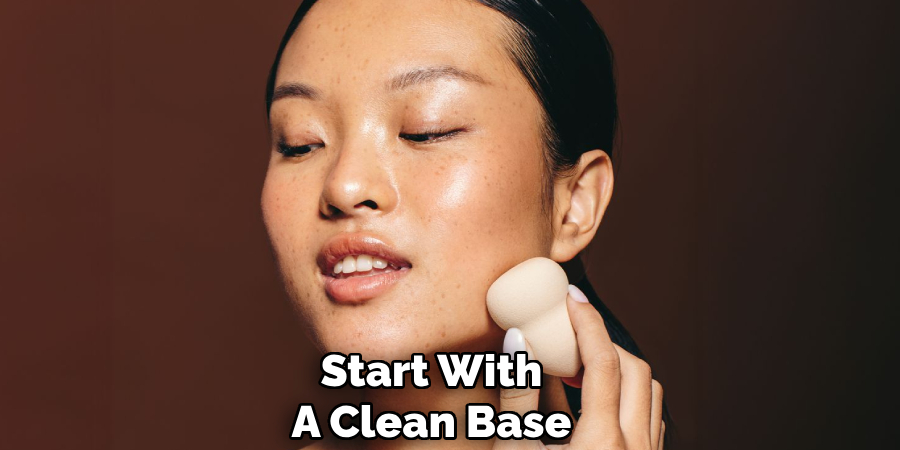
For an added boost, you can also apply a primer designed to enhance radiance or silky texture, as it helps the highlighter adhere better and last longer throughout the day. Proper preparation ensures a flawless and luminous finish.
Step 2. Choose the Right Highlighter:
When selecting the right highlighter, it’s essential to consider your skin tone, undertone, and the type of finish you want to achieve. Opt for highlighters in champagne, pearl, or light pink shades for lighter skin tones to complement your complexion. Medium skin tones can benefit from gold or peach-toned highlighters, while deeper skin tones look stunning with bronze or copper shades.
Understanding your undertone is essential; warm undertones pair well with golden and bronze hues, while cool undertones shine with silvery or icy shades. Additionally, think about the formula—powder highlighters are great for oily or combination skin, cream highlighters give a dewy finish, and liquid highlighters can provide a seamless, blendable glow.
Step 3. Use the Right Tools:
Using the right tools to apply your highlighter can make a significant difference in achieving a flawless, radiant finish. Opt for a fan or tapered highlighting brush for powder highlighters to precisely sweep the product onto your cheekbones, brow bones, and other high points. When working with cream or liquid formulas, a damp makeup sponge or clean fingertips can help blend the highlighter seamlessly into your skin for a natural, lit-from-within glow.
It’s essential to focus on areas where light naturally hits your face, such as the tops of your cheekbones, the bridge of your nose, the cupid’s bow, and the center of your forehead. You can use a small, fluffy brush for more precise application, such as highlighting the inner corners of your eyes.
Step 4. Apply to the Cheekbones:
To enhance your cheekbones, take a small amount of highlighter on a tapered brush, makeup sponge, or fingertips. Gently dab the product onto the highest point of your cheekbones, blending it towards your temples.
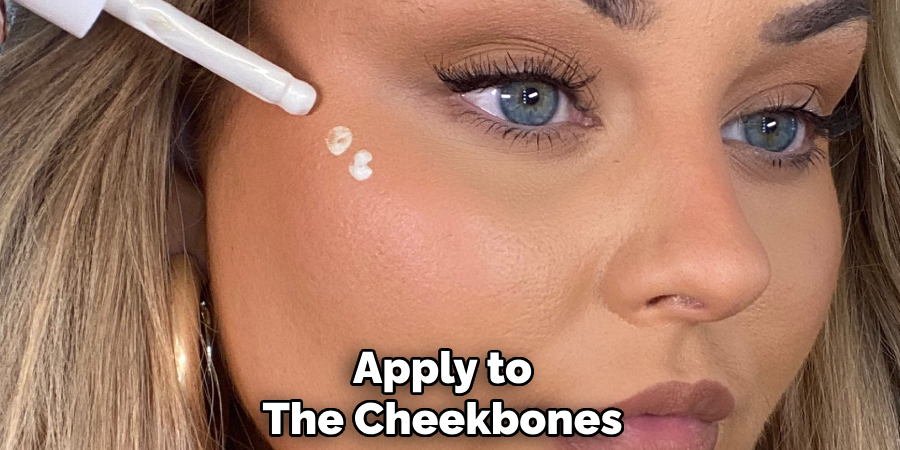
Use soft, sweeping motions to ensure the highlighter melts seamlessly into your skin, avoiding harsh lines. Build the intensity gradually, depending on your desired level of glow. This step helps define and elevate your facial structure, giving your complexion a radiant, sculpted finish.
Step 5. Highlight the Bridge of Your Nose:
To highlight the bridge of your nose, take a small amount of highlighter using a precision brush or your fingertip. Lightly apply the product in a straight line down the center of your nose, focusing on the upper bridge. Be careful not to overdo it, as too much product can make the area look artificial.
Blend the highlighter gently to ensure it appears natural and seamless. This technique draws attention to the center of your face, giving your nose a more refined and elongated appearance.
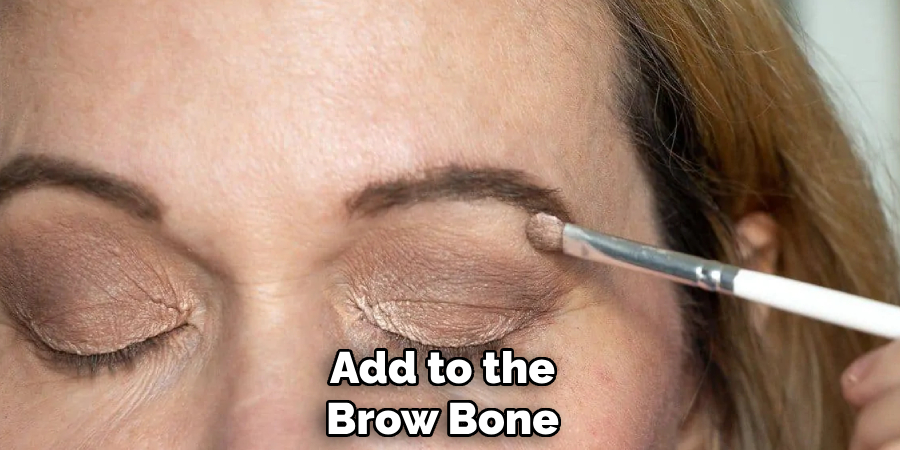
Step 6. Add to the Brow Bone:
To enhance your brows and create a lifted appearance, apply a small amount of highlighter to the brow bone, just below the arch of your eyebrows. Use a flat or precision brush to blend the product gently, ensuring no harsh lines. This subtle brightness opens the eye area and adds dimension to your overall look, completing your makeup with a polished and radiant finish.
Step 7. Focus on the Cupid’s Bow:
To accentuate your lips and create a fuller appearance, apply a small amount of highlighter to Cupid’s bow—the area just above the center of your upper lip. Use a fine-tipped brush or your fingertip for precise application, ensuring the highlighter blends seamlessly with the surrounding skin. This subtle glow draws attention to your lips and enhances their shape, adding a touch of elegance to your overall makeup look.
Step 8. Inner Eye Corners:
Brightening the inner corners of your eyes is a quick yet impactful way to make them appear larger and more awake. Use a light, shimmery eyeshadow or a highlighter and apply a small amount to the inner corners of your eyes using a fine-tipped brush or your fingertip. Blend it gently to avoid any harsh lines, ensuring a seamless look. This simple trick helps open up your eyes and adds a radiant touch to your overall makeup.
Step 9. Blend Well:
Blending is the key to achieving a flawless and natural makeup look. After applying your eyeshadow, use a clean blending brush to swirl over the edges of the colors softly, ensuring there are no harsh lines where the shades meet. This technique helps to create a seamless gradient effect, making your eye makeup look polished and professional.
Take your time blending, as it can significantly affect the final result. Remember, well-blended makeup enhances your features while maintaining a soft and natural appearance.
Step 10. Set Your Makeup:
To ensure your makeup lasts all day, apply a setting spray or powder as the final step in your routine. If using a setting spray, hold the bottle about 8-10 inches away from your face and spritz lightly in a “T” and “X” motion for even coverage. For setting powder, use a fluffy brush or a damp makeup sponge to press the powder onto areas prone to oiliness, such as the T-zone. This step locks your makeup in place, reduces shine, and creates a smooth, long-lasting finish.
Following these steps will help you achieve a glowing, professional look effortlessly!
Conclusion
How to use highlighter makeup can elevate your entire look by adding dimension and a radiant glow.
Focus on areas where light naturally hits your face, such as the tops of your cheekbones, the bridge of your nose, the brow bones, and the cupid’s bow. For a subtle glow, apply with a light hand using a fan brush, while for a bolder glow, layer the product with a damp beauty sponge. Remember to blend well to avoid harsh lines and ensure a seamless finish.
By thoughtfully incorporating highlighter into your routine, you can achieve a luminous, polished appearance that enhances your natural features.
About the Author
Jane Hubbard is a passionate beauty expert with a wealth of experience in makeup, hair, and overall beauty techniques. After years of working as a hairdresser specialist, she followed her entrepreneurial spirit and started her own consultancy business.
Jane has always been driven by her desire to help others feel confident in their own skin, and she does this by sharing her knowledge, experiences, and practical beauty tips. Through her consultancy, she empowers individuals to embrace their unique beauty, offering tailored guidance that boosts both self-esteem and personal style.
Professional Focus
- Specializes in makeup, hairstyling, and beauty consulting.
- Provides personalized beauty advice, tips, and techniques to help individuals feel confident in their appearance.
- Dedicated to staying up-to-date with the latest industry trends and developments.
- Passionate about creating a comfortable and empowering experience for every client.
Education History
- University of Craft and Design – Bachelor of Fine Arts (BFA) in Woodworking and Furniture Design
- Woodworking Apprenticeships – Extensive hands-on training with skilled craftsmen to refine carpentry and furniture making techniques
- Online Courses & Masterclasses – Continued education in advanced woodworking techniques, design principles, and specialized tools
Expertise:
- Makeup artistry, hairstyling, and beauty consulting.
- Personalized beauty techniques to enhance confidence and self-expression.
- Educating clients on how to maintain their beauty routines at home.