
Are you tired of having a dull, lackluster complexion? Do you want to add some glow and radiance to your face? Look no further—highlighter is the answer!
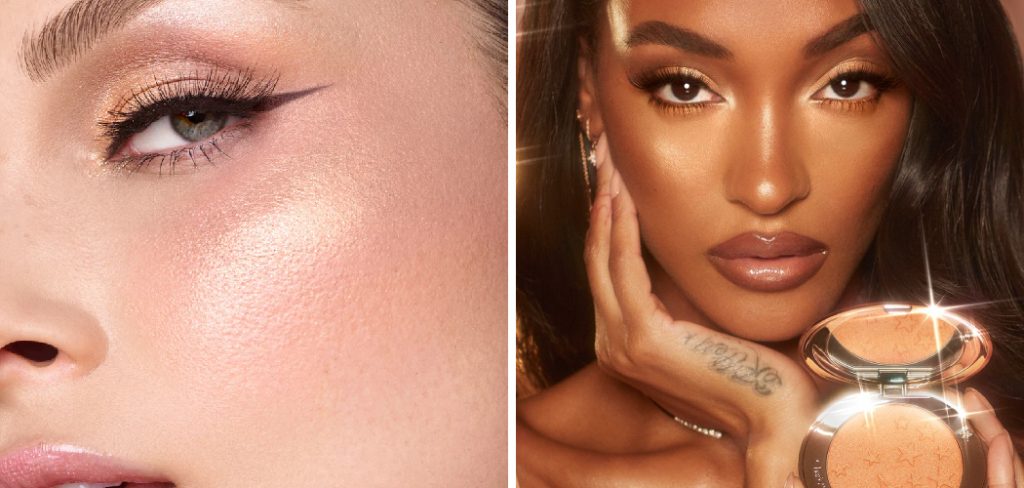
Highlighting is a popular makeup technique that enhances the natural high points of your face, creating a radiant look. By strategically applying highlighter, you can accentuate features like your cheekbones, brow bones, and the bridge of your nose, giving your skin a luminous finish. Additionally, highlighter can help blur imperfections and give your face a lifted, more defined appearance.
Whether you’re aiming for a subtle glow or a bold shimmer, how to use highlighter on face can elevate your makeup routine and help you achieve a flawless complexion. Let’s take a look at some tips and tricks for using highlighter to enhance your natural beauty.
What Are the Benefits of Using Highlighter?
There are many benefits to using highlighter in your makeup routine. Here are just a few:
- Adds Dimension: Highlighter can add dimension to your face by highlighting certain features and creating a more three-dimensional look.
- Brightens Skin: Highlighter can instantly brighten dull or tired skin by adding a touch of shimmer or glow, giving you a fresh and radiant appearance.
- Enhances Cheekbones: Applying highlighter along the cheekbones can make them appear more defined and sculpted, creating the illusion of higher cheekbones.
- Softens Imperfections: Highlighters’ light-reflecting properties can help blur imperfections such as fine lines, pores, and uneven skin texture, giving you a more airbrushed look.
- Gives Dimension to Lips: Dabbing a small amount of highlighter on the cupid’s bow and center of the bottom lip can make your lips appear fuller and more dimensional.
- Works as an Eyeshadow: A shimmery highlighter can also double up as an eyeshadow, making it perfect for those days when you want a quick and effortless eye makeup look.
What Will You Need?
To achieve the perfect highlighted look, you will need:
- A highlighter of your choice
- A small angled brush or a fan brush for precise application
- A makeup sponge or blending brush for a more diffused look
- Setting spray (optional)
- Optional: liquid illuminator for an extra glow
Once you have all these tools, you can create a stunning highlighted look.
10 Easy Steps on How to Use Highlighter on Face
Step 1. Prepare Your Skin
Before applying any makeup, preparing your skin to ensure a smooth and radiant finish is essential. Start by cleansing your face to remove dirt, oil, or leftover makeup. Follow this with a hydrating moisturizer that suits your skin type to create a supple and smooth canvas.
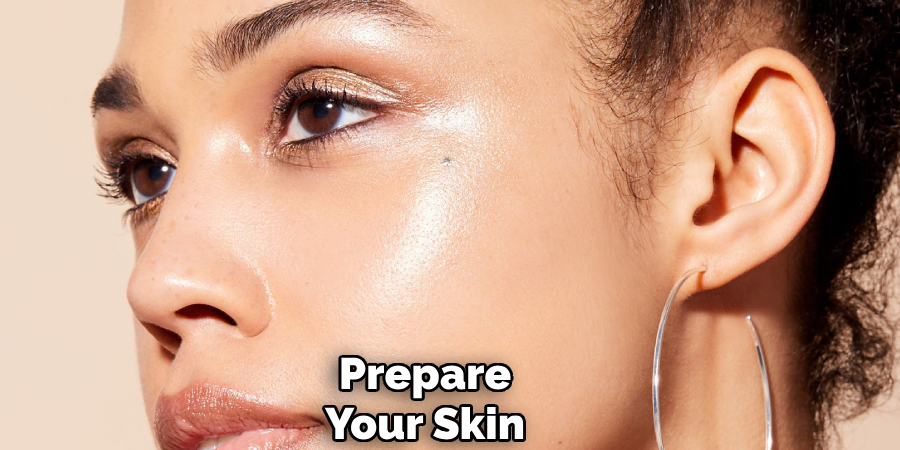
For an even longer-lasting look, apply a makeup primer that helps to reduce the appearance of pores, control oil, and give your makeup a flawless base to adhere to. If you aim for an especially dewy glow, you can opt for an illuminating primer to add an extra radiance to your skin before you even begin highlighting.
Step 2. Choose the Right Highlighter
Selecting the perfect highlighter is essential to achieving the desired effect for your makeup look. Highlighters come in various forms, such as powder, cream, or liquid, and your choice should align with your skin type and the finish you want. Opt for a cream or liquid highlighter for a subtle, natural glow, which blends seamlessly into the skin. On the other hand, powder highlighters are ideal for a more dramatic, buildable shimmer and work best for those with oilier skin types.
Additionally, choose the shade of your highlighter based on your skin tone. Fair to light skin tones pair well with champagne or pearly hues, medium skin tones shine with golden or peachy highlights, and darker skin tones glow beautifully with bronze or copper shades. Selecting the right highlighter tailored to your complexion ensures a luminous, balanced finish.
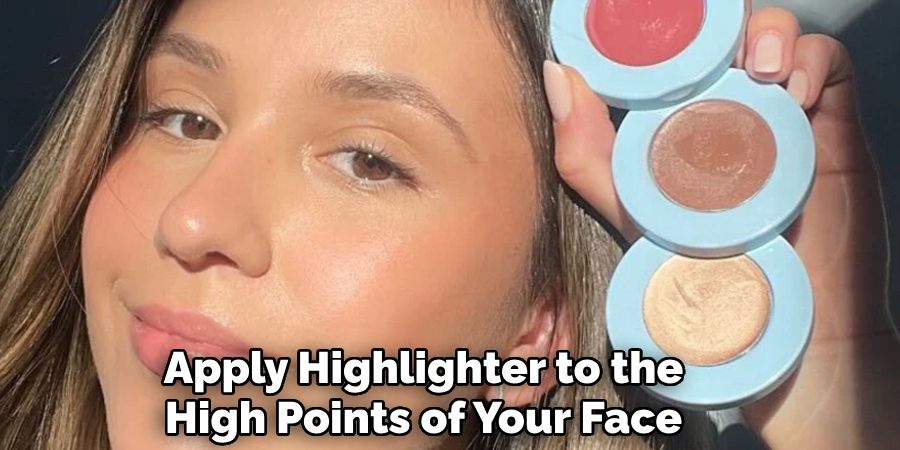
Step 3. Apply Highlighter to the High Points of Your Face
To achieve a natural and radiant look, focus on applying highlighter to the high points of your face where light naturally hits. These areas include the tops of your cheekbones, the bridge of your nose, the brow bone below your eyebrows, and the cupid’s bow above your lip.
Use a brush, sponge, or fingertips to gently blend the highlighter into your skin for a seamless finish. Be sure to build up the product gradually to avoid over-applying, allowing you to control the level of luminosity. Properly placed highlighter enhances your features and creates a glowing, sculpted effect.
Step 4. Blend for a Natural Look
Blending is the key to achieving a natural, flawless makeup finish. After applying your foundation, concealer, and highlighter, take the time to blend each product thoroughly to avoid harsh lines or uneven patches. Use a damp makeup sponge or a soft blending brush in light, tapping motions to ensure the products melt seamlessly into the skin.
Pay special attention to areas where different products meet, such as the edges of the concealer or the highlighter, to create a smooth transition. Proper blending enhances your makeup’s longevity and leaves your skin looking radiant and naturally polished.
Step 5. Don’t Forget the Inner Corner of Your Eyes
Brightening the inner corners of your eyes is a simple yet effective makeup trick to make your eyes appear bigger and more awake. Use a small brush or your fingertip to apply a touch of light, shimmery eyeshadow or highlighter in this area. Opt for shades like champagne, pearl, or gold, depending on your overall look and skin tone.
This step adds a subtle glow to your eyes, enhancing their natural beauty and balancing the rest of your makeup. Remember to blend the product gently for a seamless finish that complements the surrounding shades.
Step 6. Build It Up if Needed
If you feel that your makeup look requires more depth or intensity, don’t hesitate to build upon the layers you’ve already applied. Add additional eyeshadow to the crease or outer corners of your eyes to create more dimension. Gradually layer mascara to enhance your lashes for a bolder appearance.
Consider adding another swipe of your chosen lipstick or gloss for your lips to amplify the color. The key is to gradually build up the product, stopping when you achieve your desired look. Remember to blend thoroughly after each layer to maintain a polished and natural finish.
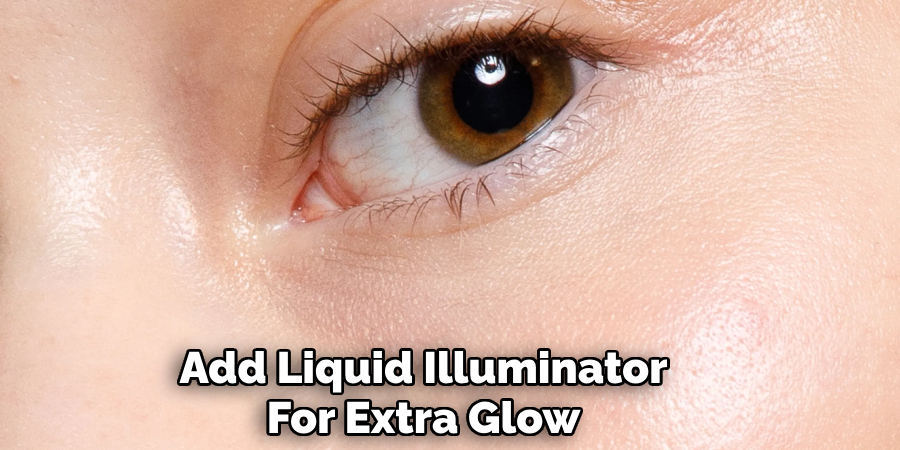
Step 7. Add Liquid Illuminator for Extra Glow
To achieve a luminous and radiant complexion, apply a liquid illuminator to the high points of your face. Focus on areas where natural light would typically hit, such as the tops of your cheekbones, the bridge of your nose, the brow bones, and the cupid’s bow. Use a small amount to start, blending it in gently with your fingers, a sponge, or a brush for a seamless finish.
This step will enhance your skin’s natural glow and help tie together your overall look with a subtle, dewy finish. If desired, layer the illuminator for more intensity, ensuring you blend thoroughly for a soft and natural radiance.
Step 8. Set with Setting Spray
Setting your makeup with a setting spray is a crucial final step to ensure your look stays intact throughout the day. Hold the bottle about 8-10 inches away from your face and spray evenly in an “X” and “T” motion for full coverage.
Allow the spray to dry naturally without touching your face to lock in your makeup and reduce shine. This step not only helps to prolong the wear of your makeup but also adds a refreshing touch, giving your skin a smooth, finished appearance.
Step 9. Check Your Lighting
Proper lighting can make a significant difference in how your makeup appears. Natural light is ideal, providing the most accurate representation of colors and textures. If natural light isn’t available, opt for soft, white lighting to avoid harsh shadows or unbalanced tones.
Check your makeup in multiple lighting conditions, indoors and outdoors, to ensure a flawless and well-blended look from every angle. This step ensures your makeup enhances your features effectively and avoids surprises when stepping out.
Step 10. Finalize Your Look
Once you’ve completed your makeup application, take a moment to review your entire look carefully. To ensure a polished appearance, use a magnifying mirror to check for any smudges, uneven blending, or stray marks. Set your makeup with a high-quality setting spray or powder to lock it in place and maintain its longevity throughout the day.
Finally, accessorize your look with confidence, whether that includes a bright smile or a touch of your favorite fragrance. By following these steps, you’ll achieve the perfect highlighted look that enhances your natural beauty effortlessly.
Conclusion
How to use highlighter on face can transform your makeup look, adding dimension and a natural glow to your face.
By selecting a shade that complements your skin tone and strategically applying it to areas that catch the light, such as your cheekbones, brow bones, and the bridge of your nose, you can emphasize your best features. Remember to blend carefully for a seamless finish, and always consider your overall makeup style to ensure the highlighter enhances rather than overpowers.
You can achieve a radiant, polished appearance that accentuates your unique beauty with practice and attention to detail.
About the Author
Jane Hubbard is a passionate beauty expert with a wealth of experience in makeup, hair, and overall beauty techniques. After years of working as a hairdresser specialist, she followed her entrepreneurial spirit and started her own consultancy business.
Jane has always been driven by her desire to help others feel confident in their own skin, and she does this by sharing her knowledge, experiences, and practical beauty tips. Through her consultancy, she empowers individuals to embrace their unique beauty, offering tailored guidance that boosts both self-esteem and personal style.
Professional Focus
- Specializes in makeup, hairstyling, and beauty consulting.
- Provides personalized beauty advice, tips, and techniques to help individuals feel confident in their appearance.
- Dedicated to staying up-to-date with the latest industry trends and developments.
- Passionate about creating a comfortable and empowering experience for every client.
Education History
- University of Craft and Design – Bachelor of Fine Arts (BFA) in Woodworking and Furniture Design
- Woodworking Apprenticeships – Extensive hands-on training with skilled craftsmen to refine carpentry and furniture making techniques
- Online Courses & Masterclasses – Continued education in advanced woodworking techniques, design principles, and specialized tools
Expertise:
- Makeup artistry, hairstyling, and beauty consulting.
- Personalized beauty techniques to enhance confidence and self-expression.
- Educating clients on how to maintain their beauty routines at home.