
Achieving a sun-kissed glow without exposing your skin to harmful UV rays has never been easier with the right self-tanning products. Jergens offers some of the most trusted and user-friendly gradual tanning lotions on the market, designed to give you natural-looking results from the comfort of your home. These affordable drugstore options have helped millions of people develop healthy tanning habits while protecting their skin from sun damage.
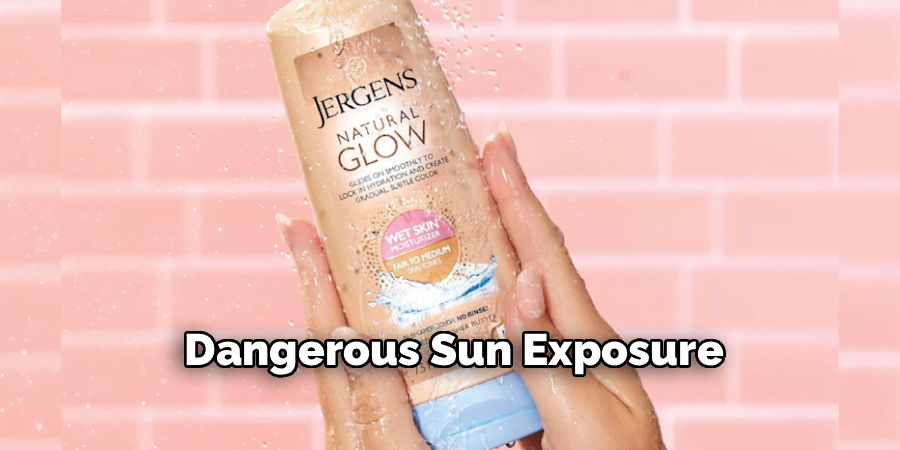
Learning how to use jergens self tanner properly can be the difference between achieving a beautiful, natural-looking tan and ending up with streaky, orange results that scream “fake tan.” The key lies in proper preparation, technique, and patience as you build your desired color gradually. Unlike harsh professional treatments or dangerous sun exposure, Jergens self-tanners work slowly and gently to develop your color over several days.
Why Mastering Self-Tanner Application Is Essential
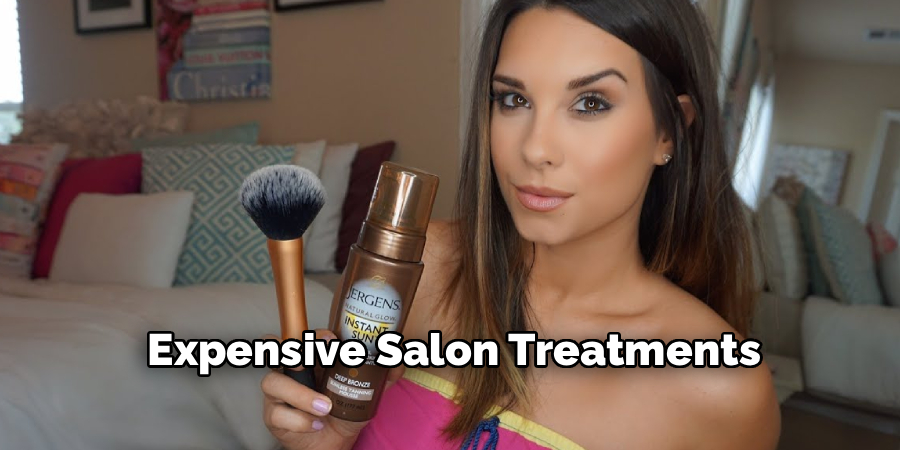
Understanding proper self-tanner application techniques is crucial for achieving professional-looking results at home while protecting your skin’s health. Poor application methods often result in streaky, patchy, or unnatural-looking tans that can be embarrassing and difficult to correct. When you master the correct techniques, you gain confidence in your ability to maintain a year-round glow without expensive salon visits or dangerous sun exposure.
Additionally, proper application ensures you get the maximum value from your product investment, as even coverage means you’ll use less product overall while achieving better, longer-lasting results.
9 Step-by-Step Guide: How to Use Jergens Self Tanner
Step 1: Exfoliate Your Skin Thoroughly
Proper exfoliation creates the smooth, clean canvas necessary for even self-tanner application and long-lasting results. Use a gentle body scrub or exfoliating mitt to remove dead skin cells, paying extra attention to rough areas like elbows, knees, ankles, and heels where product tends to accumulate unevenly. Focus on areas that naturally shed skin more quickly, as this will help your tan fade more evenly over time. Exfoliate in circular motions using light pressure to avoid irritating your skin, then rinse thoroughly with warm water.
Step 2: Shave and Remove All Body Hair
Hair removal should be completed at least 12-24 hours before applying self-tanner to prevent irritation and ensure smooth application over clean skin. Shaving immediately before tanning can cause razor burn or open pores that absorb product unevenly, leading to dark spots or patches. If you prefer waxing, complete this process at least 48 hours in advance to allow your skin to recover fully. After hair removal, avoid using any products containing alcohol, fragrance, or harsh chemicals that could interfere with tanner development.
Step 3: Cleanse Your Skin With a Gentle Soap
Using the right cleansing products removes oils, deodorants, perfumes, and other substances that can create barriers preventing proper tanner absorption. Choose a gentle, sulfate-free body wash that won’t strip your skin’s natural moisture while effectively removing impurities. Pay special attention to areas where you typically apply products like deodorant, perfume, or body lotion, as these can leave invisible residues that interfere with even application. Rinse thoroughly with lukewarm water and pat dry with a clean towel, avoiding vigorous rubbing that could irritate freshly exfoliated skin.
Step 4: Apply a Light Moisturizer to Dry Areas
Strategic moisturizing prevents over-absorption in naturally dry areas that tend to grab too much product and develop darker than surrounding skin. Focus on elbows, knees, ankles, wrists, and feet using a lightweight, fragrance-free moisturizer that absorbs quickly without leaving residue.
Apply just enough to create a thin barrier that will help the self-tanner glide smoothly over these problem areas. Avoid heavy creams or oils that could prevent proper tanner absorption, and never moisturize areas where you want full color development. Wait 10-15 minutes after moisturizing to ensure the product has fully absorbed before applying your self-tanner. This technique helps create seamless transitions between naturally darker and lighter areas of your body for more realistic-looking results.
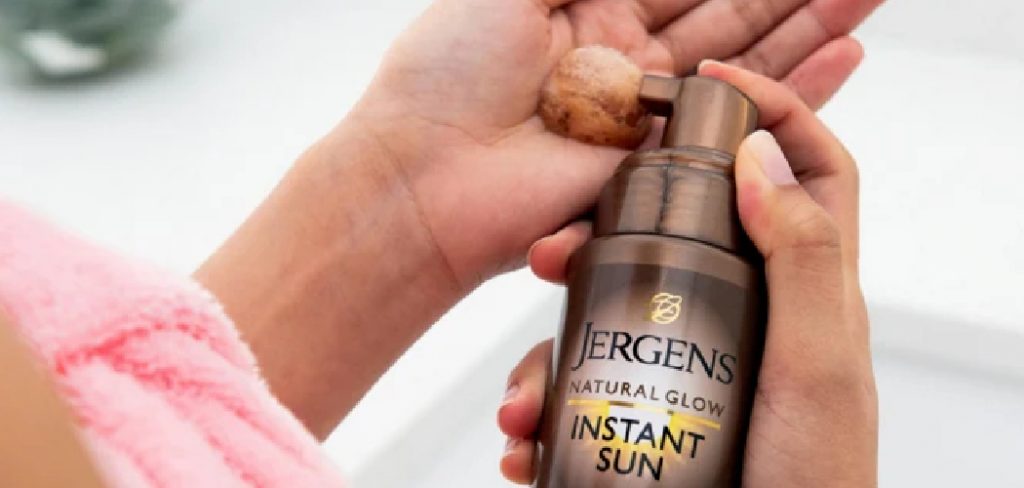
Step 5: Use a Tanning Mitt for Even Application
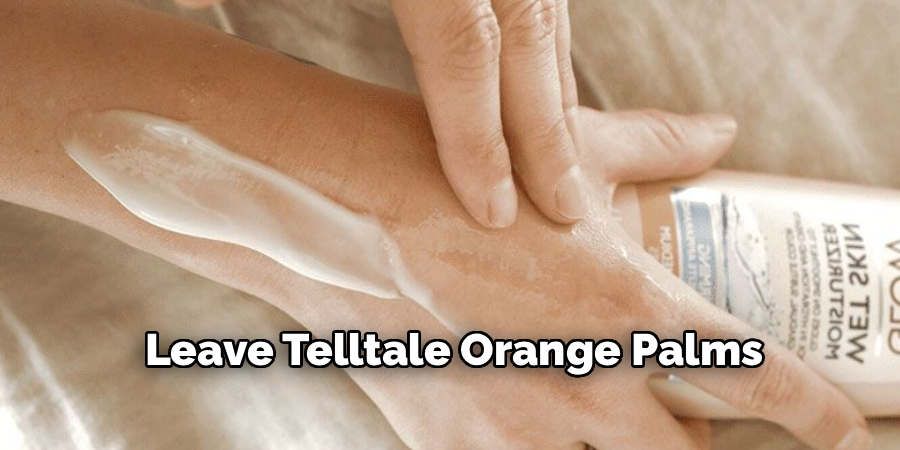
A high-quality tanning mitt is essential for achieving professional results and protecting your palms from staining during application. Choose a mitt with a smooth, dense surface that won’t leave streaks or absorb too much product. Apply a small amount of Jergens self-tanner to the mitt rather than directly to your skin, as this provides better control over coverage and prevents waste. Work in sections using circular motions followed by long, sweeping strokes to blend edges seamlessly. The mitt helps distribute product evenly while preventing your hands from absorbing tanner that could leave telltale orange palms.
Step 6: Work Systematically From Top to Bottom
Developing a consistent application pattern ensures you don’t miss any areas while maintaining wet edges for seamless blending. Start with your arms and shoulders, then move to your torso, legs, and finally your feet, working in smooth, overlapping strokes. Apply tanner sparingly to naturally darker areas like shins and forearms, and use slightly more product on areas that receive less natural sun exposure like your inner arms and thighs.
Blend carefully around joints and skin folds where product can accumulate, and pay special attention to areas where clothing typically covers your skin. Take your time during this process, as rushing often leads to missed spots or uneven application that becomes obvious as the tan develops. Maintain good lighting throughout the process to spot any areas that need additional attention.
Step 7: Perfect Your Jergens Self Tanner Blending Technique
Proper blending technique separates amateur from professional-looking results, requiring patience and attention to detail around challenging areas. Use lighter pressure and less product around ankles, wrists, and other areas where skin is thinner and more prone to over-absorption. Blend edges carefully where treated areas meet untreated skin, using a damp cloth to soften harsh lines if necessary. For hands and feet, use any remaining product on your mitt to lightly brush over these areas, then immediately blend with a slightly damp cloth to prevent over-development.
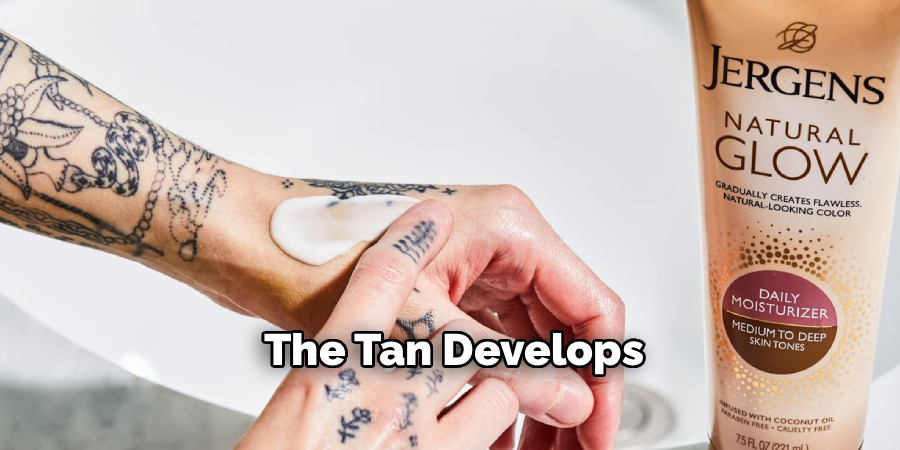
Step 8: Allow Proper Development Time
Patience during the development phase is crucial for achieving optimal color depth and even results. Avoid water, excessive sweating, or tight clothing for at least 4-6 hours after application to prevent disturbing the tanning process. Wear loose, dark clothing that won’t transfer onto your developing tan or pick up any product that hasn’t fully absorbed. Resist the urge to shower immediately if you notice a slight bronze tint, as this is normal and will develop into your final color.
Most Jergens self-tanners reach full development within 6-8 hours, though some may continue deepening for up to 24 hours. Plan your application timing so you can sleep in the product if needed, using old sheets to protect your bedding. Monitor your progress and take notes about timing and results for future applications.
Step 9: Maintain Your Hydrated Skin and Gradual Glow
Proper maintenance extends your tan’s lifespan and keeps your skin healthy throughout the tanning process. Moisturize daily with a gentle, tan-friendly lotion that won’t strip your color or interfere with fading patterns. Avoid products containing alcohol, alpha hydroxy acids, or other exfoliating ingredients that can cause premature or uneven fading. Reapply self-tanner every 3-5 days to maintain your desired color level, using slightly less product than your initial application.
Pay attention to how your tan fades naturally and adjust your maintenance routine accordingly. Some areas may need more frequent touch-ups than others, so customize your approach based on your skin’s individual needs and lifestyle factors.
Frequently Asked Questions
How Long Does It Take for Jergens Self Tanner to Develop?
Most Jergens self-tanning products begin showing color within 2-4 hours of application, with full development occurring within 6-8 hours. The exact timing depends on your skin type, the specific product formula, and environmental factors like temperature and humidity. Lighter skin tones may see results faster, while deeper skin tones might need longer development periods. Always allow at least 8 hours before making judgments about the final color, as some formulas continue developing for up to 24 hours after application.
Can I Shower After Applying Self Tanner?
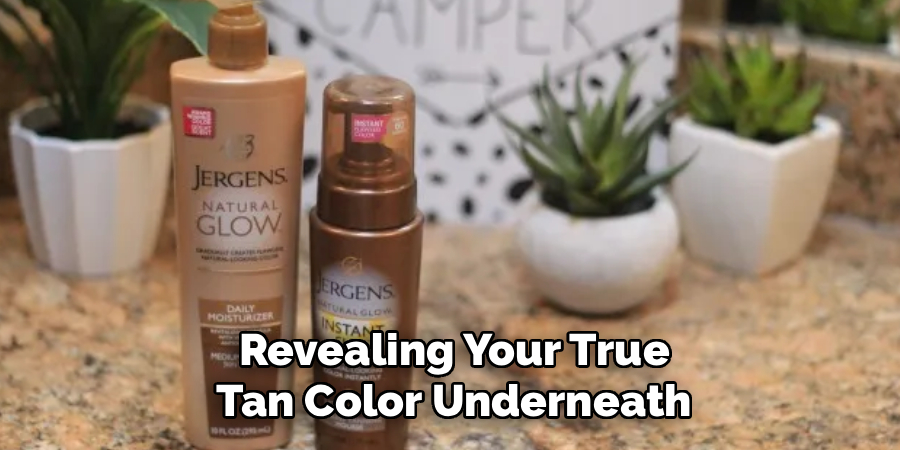
Wait at least 4-6 hours before showering to allow proper color development, though overnight development often produces the best results. When you do shower, use lukewarm water and gentle, sulfate-free body wash to avoid stripping your new tan. Pat dry with a towel rather than rubbing vigorously, and apply a moisturizer immediately after showering to help lock in your color. Your first shower will typically remove some bronzing agents, revealing your true tan color underneath.
What Should I Do If My Tan Turns Out Streaky?
For minor streaks, try gently exfoliating with a damp washcloth or loofah to blend harsh lines. More significant streaking may require using a tan remover or lemon juice mixed with baking soda to lighten over-developed areas. Prevention is key:
- Use a tanning mitt for even application
- Blend thoroughly while the product is still wet
- Apply in good lighting conditions
- Work systematically without rushing
If streaking persists, wait for the tan to fade naturally before reapplying with improved technique.
How Often Should I Reapply Jergens Self Tanner?
Reapplication frequency depends on your desired color intensity and how quickly your skin naturally exfoliates. Most people need to reapply every 3-5 days to maintain their preferred shade, using about half the amount of product used in the initial application. Monitor how your tan fades and adjust accordingly – some body areas may need more frequent touch-ups than others. Daily moisturizing can extend time between applications by slowing the natural fading process.
Is It Normal to Have a Slight Orange Tint Initially?
A slight bronze or orange tint immediately after application is normal and typically fades within 24 hours as the tan fully develops. This temporary color comes from bronzing agents that provide immediate feedback but wash away during your first shower, revealing the true tan color underneath. If orange tones persist after 48 hours or appear unnatural, you may have:
- Applied too much product
- Failed to exfoliate properly beforehand
- Used an expired product
- Applied over products that interfere with development
Conclusion
Successfully mastering how to use jergens self tanner opens up a world of year-round bronzed confidence without the health risks associated with sun exposure or expensive salon treatments. The key to beautiful, natural-looking results lies in proper preparation, patient application, and consistent maintenance techniques that work with your skin’s natural processes rather than against them.
Don’t be discouraged if your first attempt isn’t perfect – even professional spray tan technicians had to practice their craft. Start with light applications to build your skills and color gradually, then increase intensity as you become more comfortable with the process. Your future sun-kissed self will thank you for taking the time to master these essential beauty skills.
About the Author
Jane Hubbard is a passionate beauty expert with a wealth of experience in makeup, hair, and overall beauty techniques. After years of working as a hairdresser specialist, she followed her entrepreneurial spirit and started her own consultancy business.
Jane has always been driven by her desire to help others feel confident in their own skin, and she does this by sharing her knowledge, experiences, and practical beauty tips. Through her consultancy, she empowers individuals to embrace their unique beauty, offering tailored guidance that boosts both self-esteem and personal style.
Professional Focus
- Specializes in makeup, hairstyling, and beauty consulting.
- Provides personalized beauty advice, tips, and techniques to help individuals feel confident in their appearance.
- Dedicated to staying up-to-date with the latest industry trends and developments.
- Passionate about creating a comfortable and empowering experience for every client.
Education History
- University of Craft and Design – Bachelor of Fine Arts (BFA) in Woodworking and Furniture Design
- Woodworking Apprenticeships – Extensive hands-on training with skilled craftsmen to refine carpentry and furniture making techniques
- Online Courses & Masterclasses – Continued education in advanced woodworking techniques, design principles, and specialized tools
Expertise:
- Makeup artistry, hairstyling, and beauty consulting.
- Personalized beauty techniques to enhance confidence and self-expression.
- Educating clients on how to maintain their beauty routines at home.