
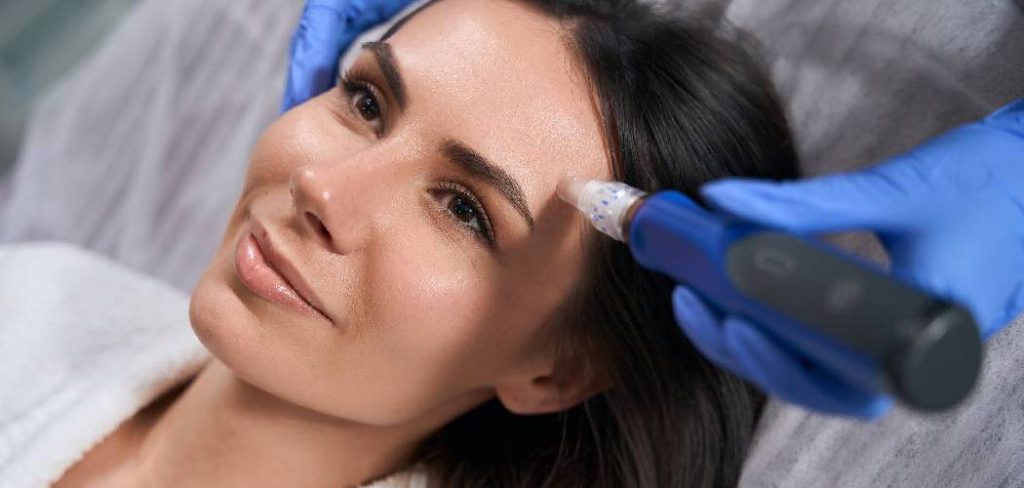
Microcurrent technology has emerged as a leading non-invasive solution in the world of anti-aging, offering a “workout” for your facial muscles to achieve a more lifted and toned appearance. These innovative devices use low-level electrical currents to stimulate the skin and muscles, promoting collagen production and improving circulation. While once confined to professional salons and dermatology clinics, at-home microcurrent instruments have made this advanced treatment accessible to everyone.
Learning how to use micro current beauty instrument correctly is key to unlocking its full potential and achieving visible results. The process is simpler than it sounds and can be easily integrated into your regular beauty routine. This guide will provide a detailed, step-by-step walkthrough to ensure you use your device safely and effectively, helping you on your journey toward firmer, more youthful-looking skin right from the comfort of your home.
Why Using a Micro Current Beauty Instrument Matters
Proper use of a microcurrent device is crucial for achieving the desired skin rejuvenation and facial toning effects. Incorrect application can lead to inconsistent results or even skin irritation. By following a structured routine, you ensure the electrical stimulation effectively reaches the facial muscles, promoting a lifted and firmer appearance. Understanding the correct techniques, particularly the application of conductive gel and the specific gliding motions, maximizes the anti-aging benefits of the treatment. This knowledge empowers you to perform a safe, spa-quality facial treatment at home, making it a valuable and effective part of your ongoing beauty routine.
9 Step-by-Step Guide: How to Use Micro Current Beauty Instrument
Step 1: Thoroughly Cleanse Your Skin
Before beginning any microcurrent treatment, it is essential to start with a completely clean canvas. Use a gentle, oil-free cleanser to wash your face, removing all traces of makeup, dirt, and excess oil. Pat your skin dry with a clean towel. Any residue left on the skin can act as a barrier, preventing the conductive gel and the microcurrent from penetrating effectively. This initial cleansing step ensures that your skin is perfectly prepped for the electrical stimulation, allowing the device to work directly on your skin and muscles for the most effective facial toning and anti-aging treatment possible.

Step 2: Apply a Conductive Gel Primer
Microcurrent devices require a conductive gel or primer to work properly. This water-based gel is what allows the low-level electrical currents to travel from the device through the surface of your skin to the muscles underneath. Apply a generous, mask-like layer of the conductive gel to the specific area you plan to treat first, such as one side of your neck or one cheek. Do not apply the gel to your entire face at once, as it may dry out before you get to certain areas. This primer is non-negotiable for both safety and efficacy in your beauty routine.
Step 3: Turn On and Set Your Device
Once your skin is prepped with the conductive gel, it’s time to power on your microcurrent instrument. Most at-home devices have adjustable intensity levels. If you are a beginner, it is always best to start at the lowest setting to see how your skin reacts. You can gradually increase the intensity over subsequent sessions as you become more comfortable. You should not feel any pain or significant twitching during the treatment; a slight tingling sensation is normal. Familiarize yourself with your device’s buttons and settings before placing it on your skin to ensure a smooth and controlled treatment session.
Step 4: Perform Lifting Glides on the Neck and Jawline
Begin your facial toning treatment at the base of your neck. Place both metallic spheres of the device on your skin and glide it upward toward your jawline in a slow, controlled motion. Repeat this movement three to five times in one spot before moving to the next section of your neck, working your way from the center out toward your ear. Once you have treated your entire neck, move to the jawline. Start at your chin and glide the device upward along your jawbone toward your ear. This motion helps to define the jaw and lift the jowls.
Step 5: Treat the Cheek and Lower Face Area
After treating your neck and jawline, apply more conductive gel to your cheek area if needed. Place the device next to your nostril and glide it upward and outward along your cheekbone, toward your temple. This movement targets the larger muscles of the cheek, helping to create a lifted, contoured appearance and reduce the look of nasolabial folds. Repeat this gliding motion across your entire cheek area, from just above the corner of your mouth to the top of your cheekbone. Consistent, upward motions are key to achieving the best results with this anti-aging treatment.

Step 6: Focus on the Forehead and Brow Area
The forehead is a common area of concern for fine lines and wrinkles. To address this, apply conductive gel to your forehead. Start just above your eyebrow and glide the device in an upward motion toward your hairline. Repeat this across the entire width of your forehead. To achieve a brow lift, place the device just above the thickest part of your eyebrow and perform a slow, upward glide, holding it at your hairline for a few seconds to “hold” the lift. This technique helps to smooth horizontal forehead lines and create a more open, awake appearance around the eyes.
Step 7: Complete One Side and Repeat on the Other
A key part of learning how to use micro current beauty instrument is working methodically. It is best practice to complete the entire treatment sequence on one side of your face before moving to the other. This ensures that you treat each area thoroughly and that your conductive gel does not dry out. Once you have finished all the glides on your neck, jawline, cheek, and forehead on one side, you can pause and observe the immediate, subtle lift. Then, apply the conductive gel to the other side of your face and repeat the exact same sequence of movements.
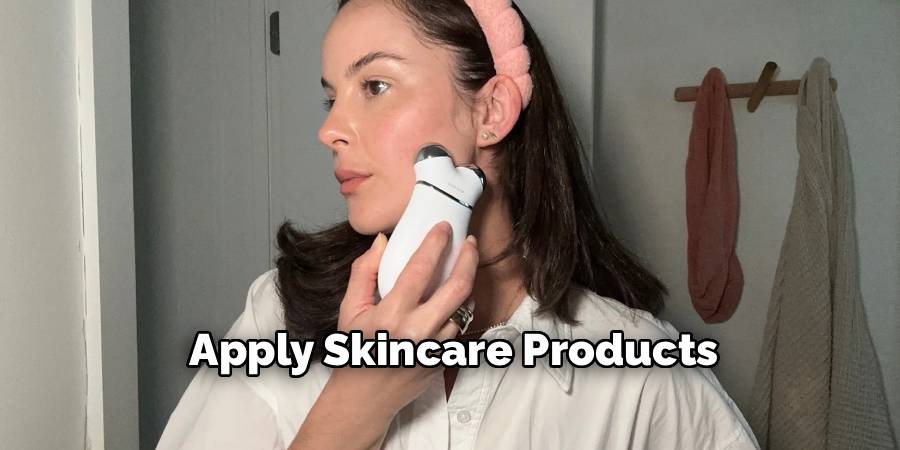
Step 8: Remove the Gel and Apply Skincare Products
Once you have completed the treatment on both sides of your face, turn off your device. Use a warm, damp cloth to gently remove all remaining conductive gel from your skin. Your skin is now perfectly prepped to absorb your favorite skincare products. Follow up with your regular beauty routine, applying your serums, moisturizers, and eye cream. Many users find that their products absorb more effectively after a microcurrent session. This final step helps to hydrate and nourish your skin, locking in the benefits of the skin rejuvenation treatment.
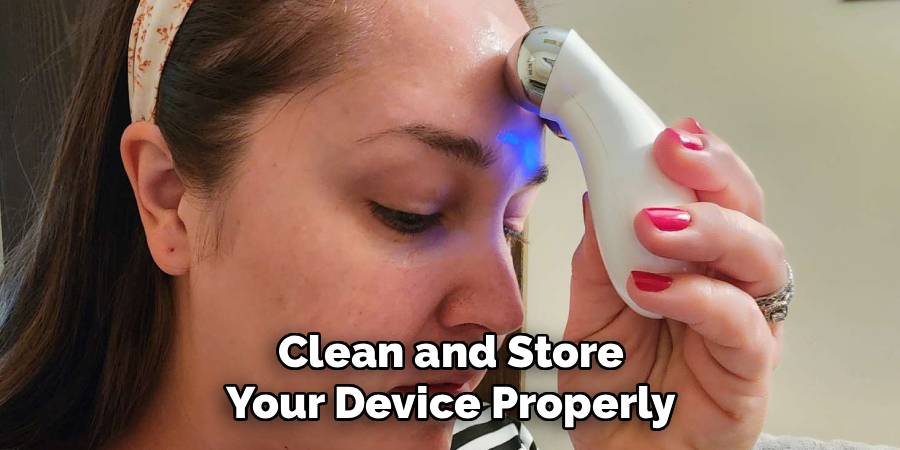
Step 9: Clean and Store Your Device Properly
Proper care of your microcurrent instrument is essential for its longevity and hygiene. After each use, wipe the metallic spheres with a clean, dry cloth. You can also use a cloth lightly dampened with water or rubbing alcohol to disinfect the probes, but ensure the device is completely dry before storing it. Never submerge your device in water. Store the instrument in its original case or a clean, dry place away from moisture. Regular cleaning prevents the buildup of gel residue and bacteria, ensuring your device is always ready for your next session.
Key Safety Precautions
- Always clean the device thoroughly after each use to maintain hygiene and prevent buildup of residue.
- Use a dry cloth or lightly dampened cloth with water or rubbing alcohol for cleaning, ensuring the device is completely dry before storage.
- Avoid submerging the device in water to prevent damage.
- Store the instrument in its original case or in a clean, dry location away from moisture and contaminants.
- Keep the device out of reach from children and pets to prevent any accidents or injuries.
- Follow manufacturer instructions for charging and using the device to ensure safe operation.
- Keep an eye on the condition of your device, such as frayed cords or loose parts, and replace or repair as necessary.
Frequently Asked Questions (FAQs)
How Often Should I Use a Microcurrent Device?
For the best results, it is recommended to use your microcurrent device three to five times per week for the first 60 days. This initial phase helps to “train” your facial muscles. After this period, you can reduce your sessions to two to three times per week for maintenance. Consistency is the most important factor in achieving and maintaining a lifted, toned appearance.
Is It Normal to Feel a Tingling Sensation?
Yes, a slight tingling or zapping sensation is completely normal, especially at higher intensity levels or in more sensitive areas of the face. However, you should not experience any pain or significant muscle twitching. If you do, it likely means your intensity level is too high or you have not applied enough conductive gel. Always start at the lowest setting and work your way up.
Can I Use Aloe Vera Gel as a Conductor?
While aloe vera gel is water-based, it is not specifically formulated to conduct microcurrents effectively. For optimal results and safety, it is best to use the conductive gel primer that is specifically designed by the manufacturer for your device. These gels are formulated with ingredients that ensure proper current delivery to the facial muscles without causing irritation.
What Results Can I Expect to See?
With consistent use, you can expect to see a more lifted and contoured appearance, especially along the jawline and cheekbones. Many users also report that their skin appears firmer, smoother, and more radiant. Fine lines and wrinkles may appear less prominent. Initial results are often temporary, but they become more cumulative and long-lasting with regular, continued use as part of your anti-aging treatment plan.
Are There Any People Who Should Avoid Microcurrent Treatments?
Yes, microcurrent therapy is not suitable for everyone. You should avoid using these devices if you are pregnant, have a pacemaker or other implanted electrical device, have active cancer, or suffer from epilepsy or seizures. If you have any specific medical conditions or concerns, it is always best to consult with your doctor before beginning any new beauty routine.
Conclusion
Mastering how to use micro current beauty instrument is a straightforward process that can elevate your at-home skincare regimen to a professional level. By following a consistent routine, you can effectively stimulate your facial muscles, leading to a visibly toned, lifted, and more youthful complexion over time. This non-invasive technology offers a powerful solution for anyone seeking significant anti-aging benefits without clinical procedures.
With patience and dedication, you can achieve remarkable results, revealing firmer, more radiant skin. Embrace this innovative technology and enjoy the confidence that comes with a rejuvenated, sculpted facial contour.
About the Author
Jane Hubbard is a passionate beauty expert with a wealth of experience in makeup, hair, and overall beauty techniques. After years of working as a hairdresser specialist, she followed her entrepreneurial spirit and started her own consultancy business.
Jane has always been driven by her desire to help others feel confident in their own skin, and she does this by sharing her knowledge, experiences, and practical beauty tips. Through her consultancy, she empowers individuals to embrace their unique beauty, offering tailored guidance that boosts both self-esteem and personal style.
Professional Focus
- Specializes in makeup, hairstyling, and beauty consulting.
- Provides personalized beauty advice, tips, and techniques to help individuals feel confident in their appearance.
- Dedicated to staying up-to-date with the latest industry trends and developments.
- Passionate about creating a comfortable and empowering experience for every client.
Education History
- University of Craft and Design – Bachelor of Fine Arts (BFA) in Woodworking and Furniture Design
- Woodworking Apprenticeships – Extensive hands-on training with skilled craftsmen to refine carpentry and furniture making techniques
- Online Courses & Masterclasses – Continued education in advanced woodworking techniques, design principles, and specialized tools
Expertise:
- Makeup artistry, hairstyling, and beauty consulting.
- Personalized beauty techniques to enhance confidence and self-expression.
- Educating clients on how to maintain their beauty routines at home.