
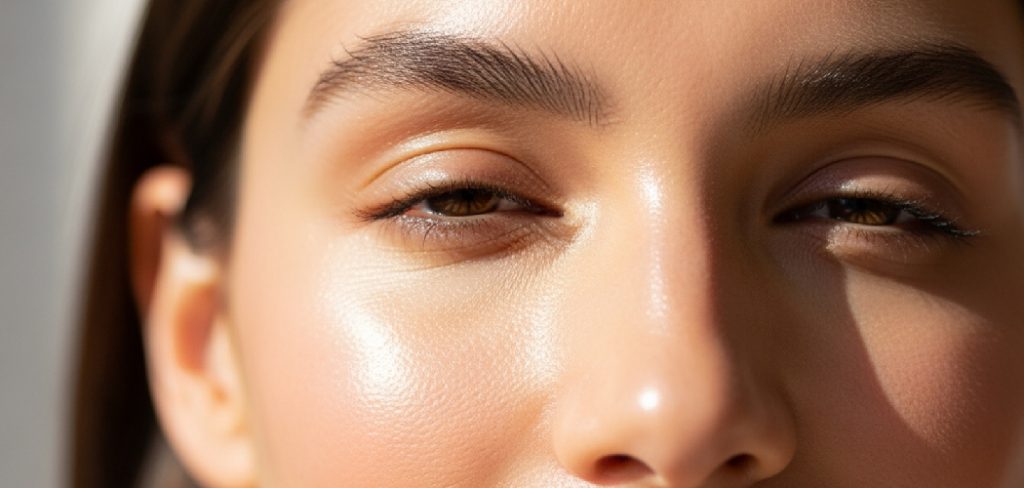
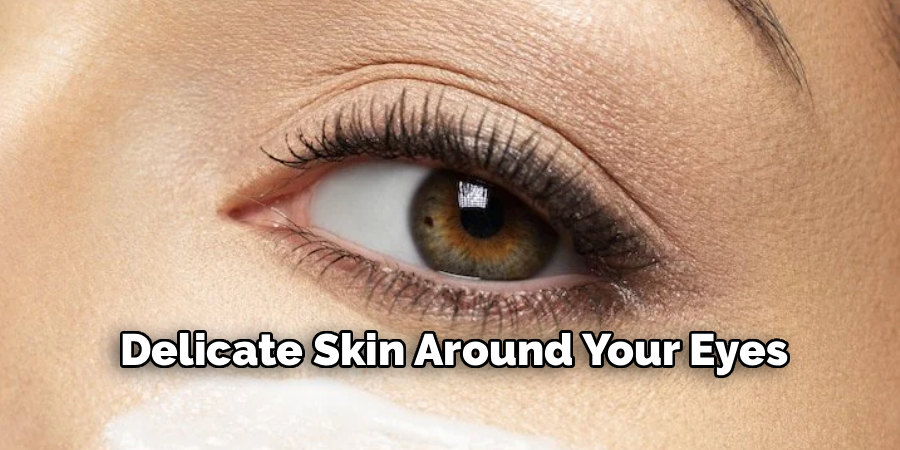
The delicate skin around our eyes is often the first place to show signs of aging, stress, and fatigue.
From fine lines and dark circles to puffiness and drooping, these concerns can make us look older than we feel. RoC Dual Eye Cream is a two-part system designed to tackle these specific issues. It combines an upper eye gel and an under-eye cream to provide a complete solution for a more youthful, lifted appearance.
This guide on how to use roc dual eye cream will walk you through everything you need to know to get the most out of this innovative product, from application techniques to common mistakes to avoid.
The Benefits of RoC Dual Eye Cream
This product isn’t just another eye cream; it’s a targeted treatment system. The unique dual-chamber pump delivers two distinct formulas, each created for a different part of the eye area.
- Lifting and Firming: The amber-colored upper eye gel is specifically formulated to help lift and firm the skin around the brow bone, reducing the appearance of droopy eyelids.
- Reduces Puffiness and Dark Circles: The white under-eye cream works to visibly reduce puffiness and diminish the look of dark circles, helping you appear more awake and refreshed.
- Smooths Crow’s Feet: The cream component is also designed to smooth the appearance of fine lines and crow’s feet that form at the outer corners of the eyes.
- Hydration: Both formulas provide necessary hydration to the delicate eye area, which can help improve skin texture and elasticity.
- Targeted Action: By using two separate formulas, you’re applying ingredients exactly where they are needed most, ensuring maximum effectiveness for both the upper and lower eye areas.
What Will You Need?
To properly use RoC Dual Eye Cream and achieve the best results, you don’t need a lot of complicated tools. Simplicity is key. Here’s a short list of what you should have on hand:
- A Gentle Cleanser: Start with a clean canvas. Your regular face wash will work perfectly.
- A Clean Towel: To gently pat your skin dry after cleansing.
- RoC Multi Correxion 5 in 1 Dual Eye Cream: The star of the show.
- Clean Hands: Always apply skincare products with clean hands to avoid transferring bacteria to your face.
- Your Ring Finger: This is the best tool for applying eye cream as it applies the least amount of pressure, protecting the delicate skin around your eyes.
10 Easy Steps on How to Use Roc Dual Eye Cream
Following the correct application process ensures that the product is absorbed effectively and works as intended. Here is a detailed guide to help you master the technique.
Step 1: Start with a Fresh Canvas
Before you even touch the eye cream, your face needs to be completely clean. Throughout the day (or night), our skin accumulates oil, environmental pollutants, and makeup residue. Applying skincare over this layer prevents the active ingredients from penetrating effectively.
Use a gentle cleanser suitable for your skin type to wash your face thoroughly. Be particularly careful around the eyes to remove all traces of mascara or eyeliner, but avoid harsh scrubbing. A clean surface ensures that the RoC Dual Eye Cream can absorb directly into your skin, maximizing its lifting and smoothing benefits.
Step 2: Pat—Don’t Rub—Your Skin Dry
After cleansing, reach for a soft, clean towel. Instead of rubbing your face dry, which can cause micro-tears and stretch the delicate skin around the eyes, gently pat your skin.
You want your skin to be dry but not stripped of all moisture. Slightly damp skin is actually more permeable, meaning it can absorb products better. However, for this specific cream, a dry-to-touch surface usually allows for the most precise application so the two formulas don’t mix prematurely on wet skin.
Step 3: Dispense the Perfect Amount
The RoC Dual Eye Cream packaging is clever; it houses both formulas side-by-side. To dispense, hold the bottle upright and press down firmly on the center of the pump.
Aim for a pea-sized amount total. One full pump typically dispenses enough of both the amber gel and the white cream to cover both eyes. It might be tempting to use more, thinking it will work faster, but over-applying can lead to product waste and potential irritation without improving results. Less is truly more here.

Step 4: Separate the Formulas
Once the product is on your finger or the back of your hand, take a moment to identify the two textures. You will see an amber-colored gel and a white cream.
Using a clean fingertip, gently separate them. This is crucial because they are formulated for two different zones of the eye. The amber gel contains tightening agents meant for the upper eye area, while the white cream is rich in moisturizing and smoothing ingredients for the under-eye area. Mixing them before application would dilute their specific targeted effects.
Step 5: Target the Upper Eye Area
Dip your ring finger into the amber gel. We use the ring finger because it naturally applies the least amount of pressure, which is safer for delicate eye skin.
Gently dot the gel along your brow bone and the area just above your eyelid crease. This formula is specifically designed to help lift and firm sagging skin in this region. Think of it as a support structure for your eyelids.
Step 6: Apply with Upward Strokes
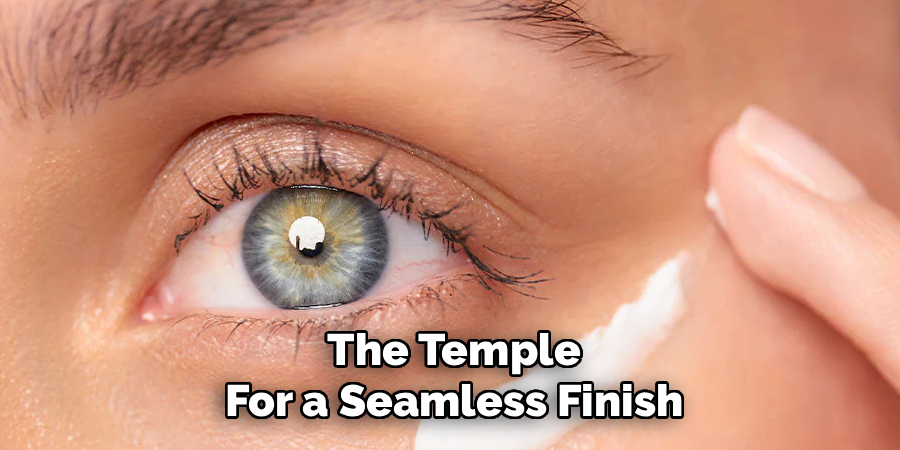
Once the gel is dotted on, use gentle, upward motions to blend it in. Start from the inner corner of the brow bone and work your way out toward the temple.
The upward motion mimics the lifting effect you want to achieve. Be careful not to apply the gel directly onto the mobile eyelid (the part that covers your eye when you blink). The product naturally migrates slightly as it warms up on your skin, so keeping it on the brow bone ensures it works where needed without getting into your eyes.
Step 7: Move to the Under-Eye Area
Now, clean your finger or use a fresh finger to pick up the white cream. Dot this cream underneath your eye, following the orbital bone.
Start near the inner corner (where dark circles often lurk) and dot outward toward the cheekbone. This cream is formulated to hydrate, reduce puffiness, and minimize the appearance of dark circles. Placing dots first ensures an even distribution of the product across the entire under-eye zone.
Step 8: The “Piano Key” Tap
Instead of rubbing the white cream in, use a tapping motion often called the “piano key” technique. Rapidly and lightly tap your ring finger across the dots you just applied.
This tapping does two things: first, it helps the cream absorb into the skin without pulling or stretching it. Second, the light tapping stimulates micro-circulation, which can help drain excess fluid and further reduce puffiness. Continue tapping until the white cream has almost disappeared into the skin.
Step 9: Tackle the Crow’s Feet
Don’t stop at the outer corner of your eye! Take any remaining white cream and gently pat it into the outer corners where expression lines, or “crow’s feet,” tend to form.
This area is constantly moving when we smile or squint, making it prone to deep lines. The hydration from the cream helps plump this skin, smoothing out the appearance of fine lines. Ensure you blend it out towards the temple for a seamless finish.
Step 10: Allow It to Set
Patience is the final step. Once you have applied both the gel and the cream, give the product about 60 seconds to fully absorb and “set” before moving on to the next step in your routine.
If you apply moisturizer, sunscreen, or concealer immediately while the eye cream is still wet, you risk wiping it away or causing the products to pill (ball up) on your skin. Letting it settle ensures that the lifting and smoothing ingredients stay exactly where you put them, working their magic all day or night.
5 Things You Should Avoid
To get the best results and protect your skin, be mindful of these common mistakes.
- Using Too Much Product: A single, pea-sized amount is enough for both eyes. Over-applying won’t speed up results and can lead to product waste and potential irritation.
- Rubbing the Product In: The skin around your eyes is extremely thin. Rubbing aggressively can stretch the skin and contribute to the formation of fine lines over time. Always pat gently.
- Applying to the Eyelid: The upper eye gel is for the brow bone, not the mobile eyelid. Applying the product too close to your lash line can cause it to get into your eyes, leading to irritation.
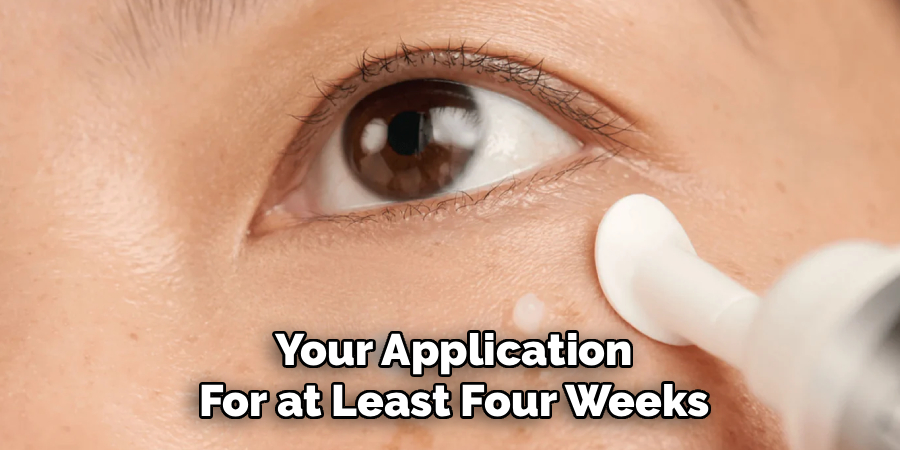
- Skipping Your Routine: Consistency is key. For visible results, you must apply the eye cream twice daily, once in the morning and once at night, as part of your regular skincare routine.
- Expecting Overnight Miracles: While you may notice some immediate hydration and brightening, significant results like lifting and line reduction take time. Be patient and consistent with your application for at least four weeks.
Conclusion
The RoC Multi Correxion 5 in 1 Dual Eye Cream offers a smart, targeted approach to eye care. By separating the formulas for the upper and lower eye, it effectively addresses a wide range of concerns, from sagging lids to dark circles and crow’s feet.
Following the proper application steps and avoiding common mistakes will help you unlock the full potential of this product. With consistent use, you can achieve a brighter, smoother, and more lifted appearance, helping your eyes look as vibrant and youthful as you feel.
Hopefully, this article on how to use roc dual eye cream has provided you with useful information about eye creams and their benefits.
About the Author
Jane Hubbard is a passionate beauty expert with a wealth of experience in makeup, hair, and overall beauty techniques. After years of working as a hairdresser specialist, she followed her entrepreneurial spirit and started her own consultancy business.
Jane has always been driven by her desire to help others feel confident in their own skin, and she does this by sharing her knowledge, experiences, and practical beauty tips. Through her consultancy, she empowers individuals to embrace their unique beauty, offering tailored guidance that boosts both self-esteem and personal style.
Professional Focus
- Specializes in makeup, hairstyling, and beauty consulting.
- Provides personalized beauty advice, tips, and techniques to help individuals feel confident in their appearance.
- Dedicated to staying up-to-date with the latest industry trends and developments.
- Passionate about creating a comfortable and empowering experience for every client.
Education History
- University of Craft and Design – Bachelor of Fine Arts (BFA) in Woodworking and Furniture Design
- Woodworking Apprenticeships – Extensive hands-on training with skilled craftsmen to refine carpentry and furniture making techniques
- Online Courses & Masterclasses – Continued education in advanced woodworking techniques, design principles, and specialized tools
Expertise:
- Makeup artistry, hairstyling, and beauty consulting.
- Personalized beauty techniques to enhance confidence and self-expression.
- Educating clients on how to maintain their beauty routines at home.