
Are you tired of using a regular eyelash curler and still not getting the desired result? Look no further than the Shiseido Eyelash Curler!
Achieving beautifully curled lashes can elevate any makeup look, and the Shiseido Eyelash Curler is a trusted tool for delivering precise and stunning results. Known for its ergonomic design and gentle effectiveness, this curler enhances natural lashes without causing discomfort or damage. Whether preparing for a casual outing or a glamorous event, learning to use the Shiseido Eyelash Curler correctly can make all the difference in achieving a professional finish.
This guide on how to use shiseido eyelash curler will walk you through the steps to master the technique and create effortlessly curled lashes. Let’s get started!
What Are the Benefits of Using the Shiseido Eyelash Curler?
The Shiseido Eyelash Curler is popular among beauty enthusiasts for its gentle yet effective design. Here are some benefits you can expect from using this curler:
- Natural-looking Curls: The unique shape and curvature of the Shiseido eyelash curler allows it to fit comfortably on your lashes, resulting in natural-looking curls that enhance your eyes without looking overdone.
- Long-lasting Results: The high-quality material and sturdy construction of the Shiseido eyelash curler ensure that your curled lashes stay put throughout the day, without losing their shape or becoming droopy.
- Comfortable to Use: Unlike other harsh or uncomfortable eyelash curlers, the Shiseido curler is designed with a soft silicone pad that gently holds and curls your lashes without pulling or pinching.
- Suitable for All Eye Shapes: The ergonomic design of the Shiseido eyelash curler makes it ideal for all eye shapes and sizes. Whether you have small, round eyes or larger, almond-shaped ones, this curler will fit comfortably and effectively curl your lashes.
- Easy to Clean: Cleaning your eyelash curler is important to maintain its effectiveness and prevent bacteria buildup. With the Shiseido eyelash curler, you can easily remove the silicone pad for cleaning and replace it when necessary.
What Will You Need?
To use the Shiseido eyelash curler, you will need:
- The Shiseido eyelash curler itself
- A mirror to see your lashes while using the curler
- Mascara (optional)
- Make-up remover or warm water for cleaning
Once these items are ready, you can use the Shiseido eyelash curler for beautiful, curled lashes.
10 Easy Steps on How to Use Shiseido Eyelash Curler
Step 1. Clean the Eyelash Curler
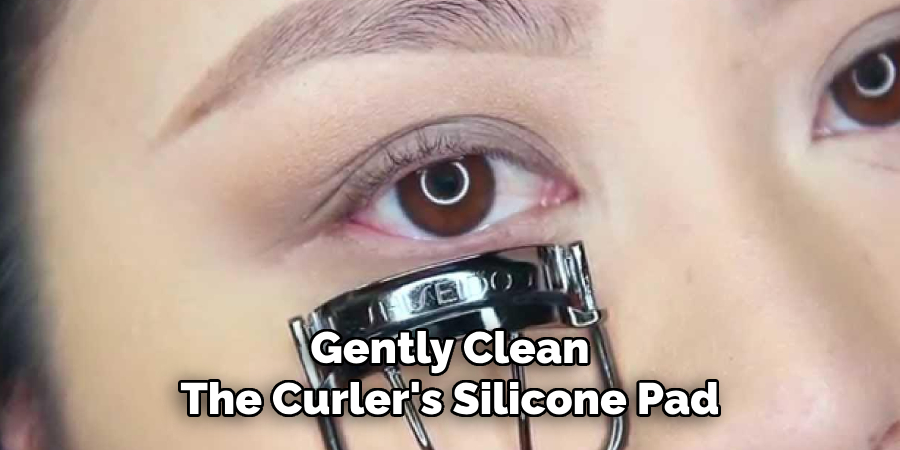
Before using the Shiseido eyelash curler, it’s essential to ensure it is clean to avoid transferring dirt, oil, or bacteria to your eyelashes. Start by inspecting the curler for any residue from previous use. Use a cotton pad or soft cloth with a small amount of makeup remover or rubbing alcohol to gently clean the curler’s silicone pad and metal parts. Make sure to wipe away all traces of dirt or product buildup. Once cleaned, allow the curler to dry completely before use. This step ensures hygiene and helps maintain the integrity of your lashes, preventing damage or irritation.
Step 2. Check the Silicone Pad
Inspect the silicone pad on your eyelash curler to ensure it is in good condition. Look for any signs of wear, such as cracks, tears, or flattening, as a damaged pad can compromise the performance of the curler and may harm your lashes. If the pad shows significant wear, replace it with a new one before using the curler. Most eyelash curlers come with replacement pads, so keep them handy for maintenance. Regularly checking and replacing the silicone pad will help you achieve a more effective and safe curling experience.
Step 3. Prepare Your Lashes
Before using the curler, ensure your lashes are clean and free from makeup, such as mascara or eyeliner. Starting with dry and clean lashes ensures the curler can grip them properly and prevents smudging or clumping. Use a gentle makeup remover to clean your lashes and eyelids thoroughly. Additionally, comb through your lashes with a lash comb to separate them and remove any tangles.
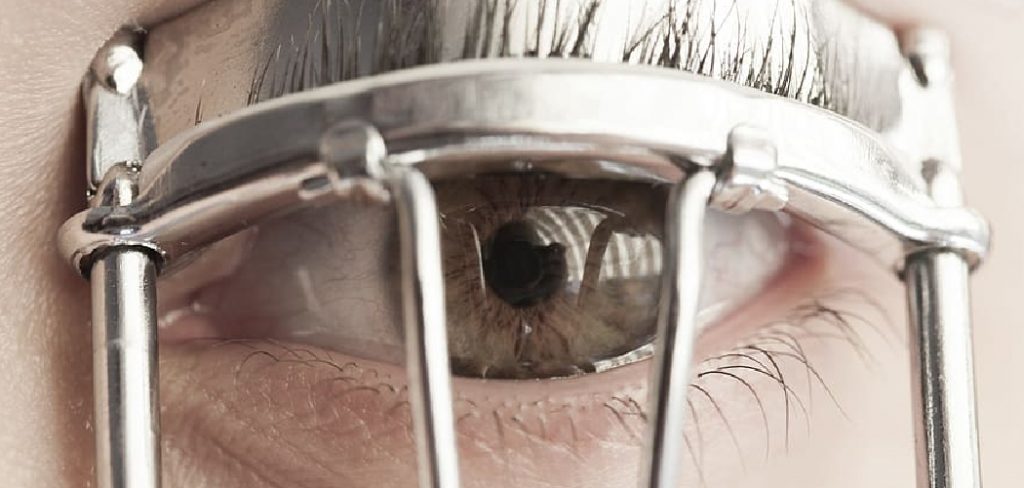
Step 4. Position the Curler
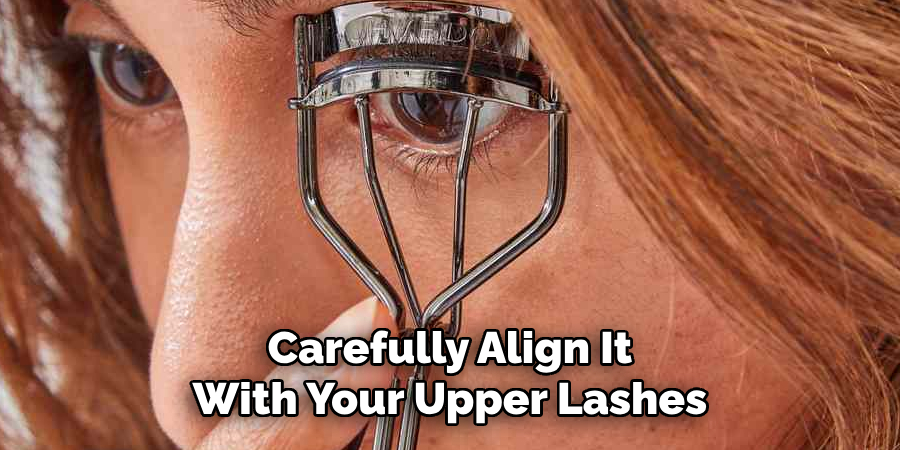
To properly position the eyelash curler, open it thoroughly and carefully align it with your upper lashes. Place the curler as close to the base of your lashes as possible, ensuring it does not touch your skin or pinch your eyelid. Look straight into a mirror to maintain precision, and gently close the curler around your lashes, ensuring all are inside the curler. Proper positioning is crucial for creating a natural, even curl across your lashes.
Step 5. Secure the Lashes
Gently squeeze the eyelash curler handles together and hold them in place for about 5-10 seconds. Apply steady, even pressure without clamping too hard to avoid damaging your lashes. If desired, you can move the curler slightly upward while applying pressure to achieve a more lifted curl. Repeat this process for additional sections of your lashes, ensuring every part gets evenly curled for a uniform look.
Step 6. Hold and Curl
Once you have positioned the eyelash curler and gently pressed it onto your lashes, hold it in place for a few seconds to ensure the curl sets properly. For a more natural and seamless curl, you can work along the lashes by slightly releasing the curler and repositioning it closer to the tips while repeating the same gentle pressure. This technique creates a gradual, soft curl instead of a sharp bend. If desired, you can combine this method with heating the curler slightly and using a blow dryer for a few seconds before curling your lashes. Just ensure the curler is warm, not hot, to avoid any discomfort.
Step 7. Check the Curl
Once you’ve completed curling your lashes, take a moment to assess the results in a well-lit mirror. Look for smooth, upwardly curled lashes that open up your eyes and create a symmetrical appearance. If you notice any lashes that appear uneven or straight, consider lightly recurling those specific sections with careful precision. Be gentle during this process to avoid damaging your lashes or pulling them out. Additionally, remember that less is more—over-curling can sometimes make lashes appear unnatural or even cause them to weaken over time. Taking the time to fine-tune your results ensures a flawless finish that enhances your overall eye makeup look.
Step 8. Apply Mascara
To complete your lash styling, you may choose to apply mascara for added volume, length, and definition. Start by selecting a mascara that suits your desired finish: a natural look, intense volume, or dramatic length. Gently wiggle the wand at the base of your lashes and sweep upward in a smooth motion to coat each lash evenly. Be mindful to avoid clumping by applying no more than two coats. Consider using a lash comb to separate any lashes that stick together for a more refined look.
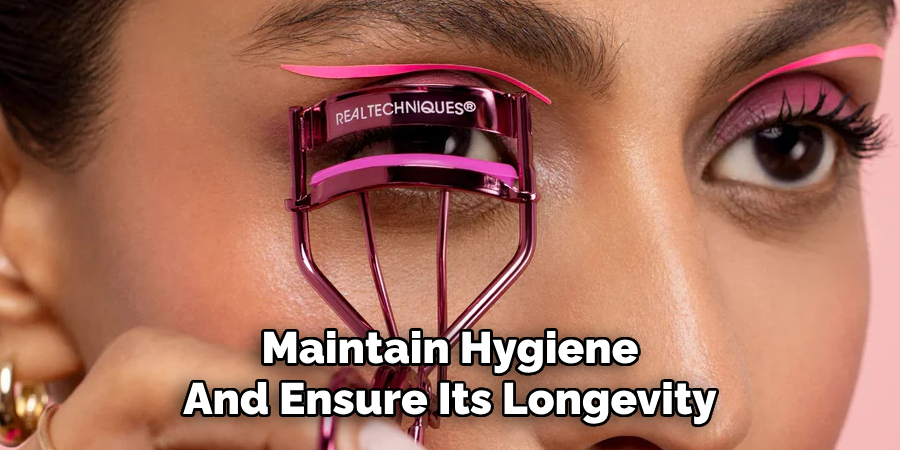
Step 9. Clean the Curler Again
After you’ve applied your mascara and completed your look, it’s essential to clean your eyelash curler to maintain hygiene and ensure its longevity. Use a cotton pad soaked in makeup remover or rubbing alcohol to gently wipe away any residual mascara or buildup on the curler. Be sure to pay extra attention to the rubber pad, as this area often collects product. Cleaning the curler regularly prevents bacteria from accumulating and helps to achieve a crisp, clean curl with every use. Allow the curler to dry completely before storing it.
Step 10. Store Properly
Store your eyelash curler in optimal condition in a clean, dry place away from moisture. Consider using a small pouch or container to protect it from dust and damage, especially if you frequently carry it in a makeup bag. Avoid placing heavy objects on top of it to prevent distortion of its shape. Proper storage ensures hygiene and prolongs your curler’s life, maintaining its effectiveness over time.
By following these simple steps, you can achieve beautifully curled lashes without harming your natural lashes or your eyelash curler.
5 Things You Should Avoid
- Using the curler on mascara-coated lashes
Avoid curling your lashes after applying mascara, as this can cause them to stick to the curler and potentially pull out or damage your natural lashes.
- Applying excessive pressure
Pressing too hard while curling can lead to crimped or broken lashes. A gentle, firm squeeze can achieve a smooth curl without harm.
- Skipping regular cleaning
Not cleaning your eyelash curler can lead to a buildup of residue or bacteria, which might transfer to your lashes or eyes, increasing the risk of irritation or infection.
- Using a damaged or worn-out pad
The silicone pad on your curler should be replaced periodically. Continuing to use a worn or cracked pad can damage your lashes or reduce the curler’s efficiency.
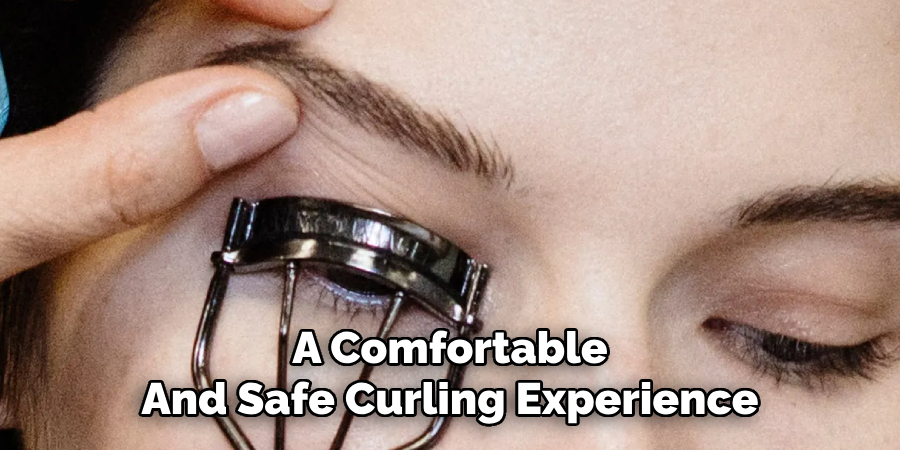
- Curling too close to the eyelid
Positioning the curler too close to the base of your lashes may pinch your skin or cause discomfort. Ensure it is appropriately positioned for a comfortable and safe curling experience.
Conclusion
How to use shiseido eyelash curler effectively requires proper technique and care.
Always ensure your curler is clean and equipped with a good-quality silicone pad before use. Position the curler carefully at the base of your lashes, avoiding direct contact with your skin, and apply gentle pressure without tugging or pulling. For best results, replace the silicone pad periodically and avoid using the curler on mascara-coated lashes to prevent breakage.
Following these steps can achieve beautifully lifted lashes while maintaining their health and strength.
About the Author
Jane Hubbard is a passionate beauty expert with a wealth of experience in makeup, hair, and overall beauty techniques. After years of working as a hairdresser specialist, she followed her entrepreneurial spirit and started her own consultancy business.
Jane has always been driven by her desire to help others feel confident in their own skin, and she does this by sharing her knowledge, experiences, and practical beauty tips. Through her consultancy, she empowers individuals to embrace their unique beauty, offering tailored guidance that boosts both self-esteem and personal style.
Professional Focus
Specializes in makeup, hairstyling, and beauty consulting.
Provides personalized beauty advice, tips, and techniques to help individuals feel confident in their appearance.
Dedicated to staying up-to-date with the latest industry trends and developments.
Passionate about creating a comfortable and empowering experience for every client.
Education History
University of Craft and Design – Bachelor of Fine Arts (BFA) in Woodworking and Furniture Design
Woodworking Apprenticeships – Extensive hands-on training with skilled craftsmen to refine carpentry and furniture making techniques
Online Courses & Masterclasses – Continued education in advanced woodworking techniques, design principles, and specialized tools
Expertise:
Makeup artistry, hairstyling, and beauty consulting.
Personalized beauty techniques to enhance confidence and self-expression.
Educating clients on how to maintain their beauty routines at home.