Are you tired of constantly blending and reapplying your contour? If so, stick contour may be the solution for you.
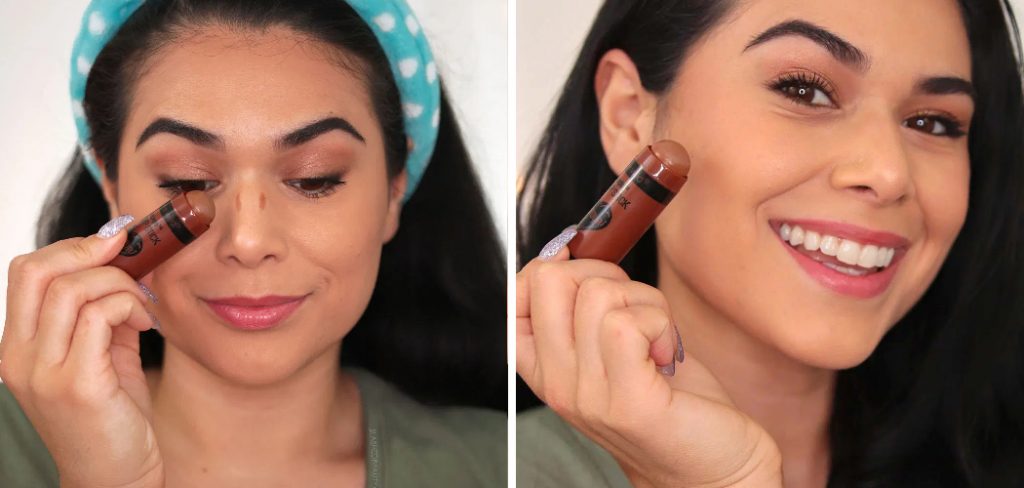
Contouring with a stick is a simple and effective way to enhance your facial features, adding depth and dimension to your makeup look. Whether aiming for a natural everyday look or a more dramatic effect, stick contours are versatile and easy to work with. Additionally, they are compact and convenient for on-the-go touch-ups.
This guide on how to use stick contour will walk you through the basics of using a stick contour, from choosing the right shade to blending seamlessly for a flawless finish. With just a few steps, you’ll learn how to sculpt and define your face like a pro!
What Are the Benefits of Using Stick Contour?
- Compact and easy to use
- Versatile for various makeup looks
- Convenient for touch-ups on the go
Stick contours are a great addition to any makeup collection due to their compact size and versatility. They come in various shades, allowing you to find the perfect match for your skin tone. Plus, they are convenient for quick touch-ups throughout the day.
What Will You Need?
To achieve the perfect contour with a stick, you’ll need:
- Stick to the contour product of your choice
- Foundation or concealer for blending
- Beauty sponge or brush for blending
- Setting powder (optional)
Once you have these items, you’ll be ready to create a flawless contour on the go.
10 Easy Steps on How to Use Stick Contour
Step 1. Prepare Your Skin
Start by ensuring your skin is clean and moisturized. Cleansing your face removes dirt and oil, creating a smooth canvas for your makeup application. Follow up with a good moisturizer that suits your skin type to keep your skin hydrated and prevent the contour product from settling into dry patches.
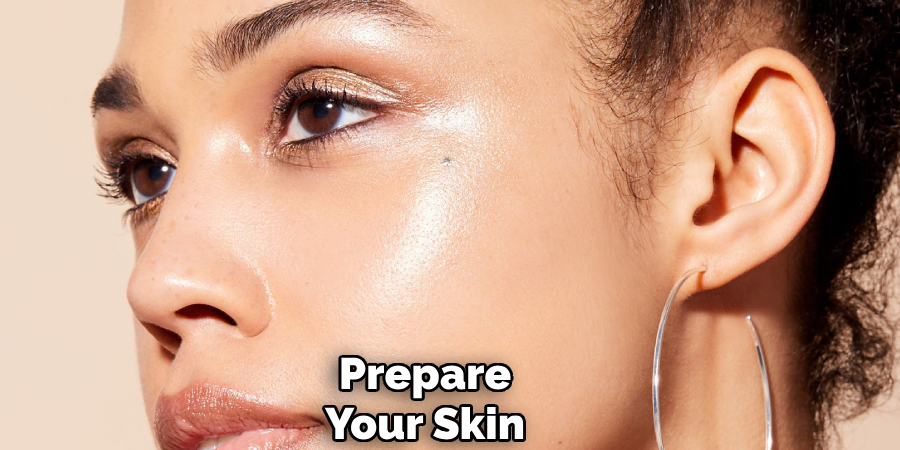
If desired, apply a primer to smooth your skin further and help your makeup stay in place throughout the day. Preparing your skin properly is crucial to ensure your contour looks seamless and natural.
Step 2. Apply Your Foundation
Start by applying your foundation evenly across your face to create a unified base for your contour. Choose a foundation that matches your skin tone and use a makeup sponge, brush, or fingers to blend it seamlessly, ensuring no visible lines or patches. Blend the product into your neck and hairline for a more natural appearance.
This step is crucial because it evens out your complexion and provides a smooth surface to adhere to for contour and highlight. For those who prefer more coverage, a buildable foundation can be layered lightly until the desired finish is achieved. Remember, the goal is to create a flawless canvas that enhances your natural features rather than masking them completely.
Step 3. Identify Contour Areas
To identify the areas to contour, begin by examining your face in the mirror under natural lighting. Contouring is about creating shadows to define and enhance your natural bone structure. Focus on the hollows of your cheeks, the sides of your nose, jawline, and the perimeter of your forehead.
Lightly suck in your cheeks to locate the natural indentations where your cheekbones stand out—this is an ideal spot to contour. Additionally, consider your face shape when determining other areas to emphasize. Contouring should enhance your unique features while maintaining a balanced and natural appearance.
Step 4. Draw with the Contour Stick
Using your contour stick, apply the product directly to the areas you wish to define. For a classic contour, draw lines along the hollows of your cheeks, just under your cheekbones, using gentle strokes. Trace along your jawline to add structure, and apply to the sides of your nose to create the illusion of a slimmer shape if desired.
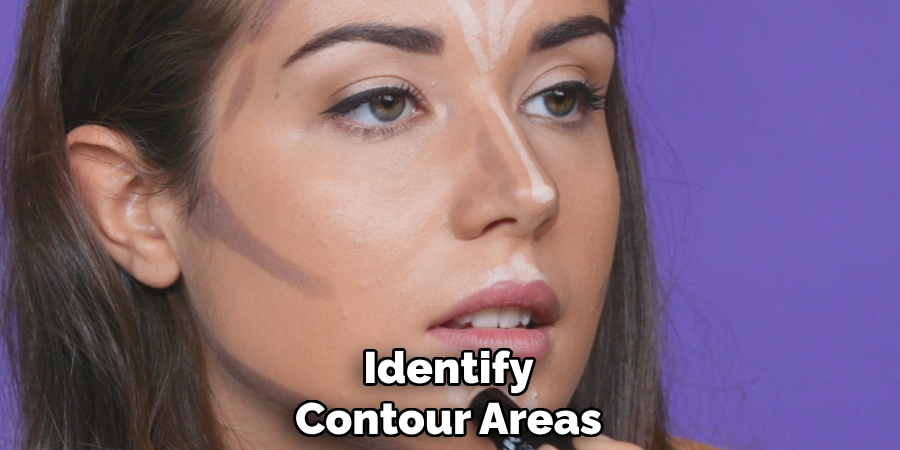
Draw lines along the perimeter of your forehead, especially near your hairline, to balance the overall look depending on your face shape. Keep your lines subtle and even, as they will be blended out in the next step to achieve a seamless finish.
Step 5. Blend the Contour
Using a makeup sponge, brush, or fingers, gently blend the contour lines into your skin. Use small, circular motions to soften harsh edges and ensure a smooth, natural transition between the contour and the rest of your makeup. Focus on blending upwards rather than dragging the product downward, as this technique helps lift and define the features.
Take time with this step to avoid patchiness and achieve a polished, flawless finish. If needed, touch up with a bit of foundation or concealer to correct any areas where the contour may appear too pronounced.
Step 6. Highlight Key Features
To highlight key features, choose a highlighter that complements your skin tone, whether it’s a champagne, golden, or pearlescent shade. Apply the highlighter to the high points of your face where light naturally hits—such as the tops of your cheekbones, the bridge of your nose, the brow bone, and the cupid’s bow. Use a light hand to build up the glow gradually for a radiant yet natural look.
For an extra touch, add a small dab of highlighter to the inner corners of your eyes to brighten and open up your gaze. Blend well with your fingers, a brush, or a damp sponge to avoid harsh lines and ensure a seamless finish.
Step 7. Blend the Highlight
Blending is the key to achieving a flawless highlight that looks effortlessly radiant. Start by using gentle, circular motions with your tool of choice—your fingertips, a fluffy brush, or a damp makeup sponge. Focus on softening harsh edges and seamlessly merging the highlighter with your foundation or base makeup.
This step ensures that the highlight doesn’t appear stark or patchy but melts naturally into your skin for a luminous finish. Don’t rush this process; a well-blended highlight looks polished and enhances your features elegantly.
Step 8. Set with Powder
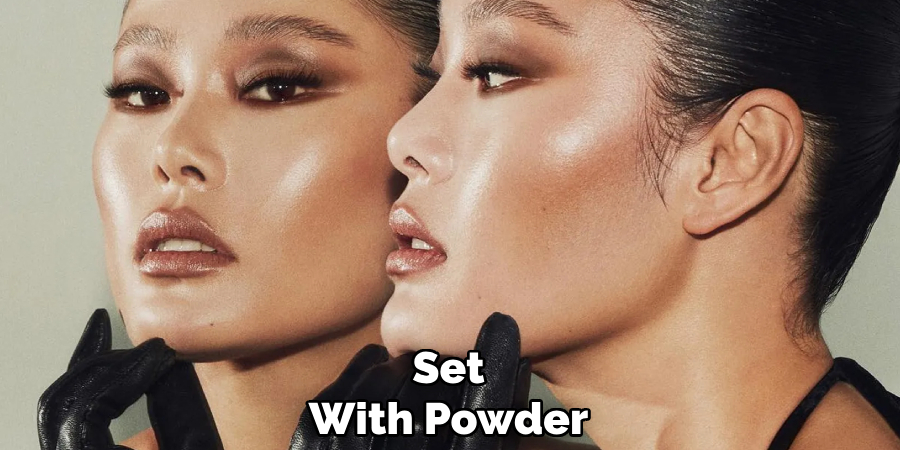
To lock your makeup in place and keep it looking fresh throughout the day, it’s essential to set it with a translucent or pressed powder. Using a fluffy powder brush or a powder puff, lightly press the powder onto areas where you tend to get oily, such as your T-zone, or areas where your makeup might crease, like under the eyes. Be sure to use a light hand to avoid a cakey finish.
Step 9. Add Finishing Touches
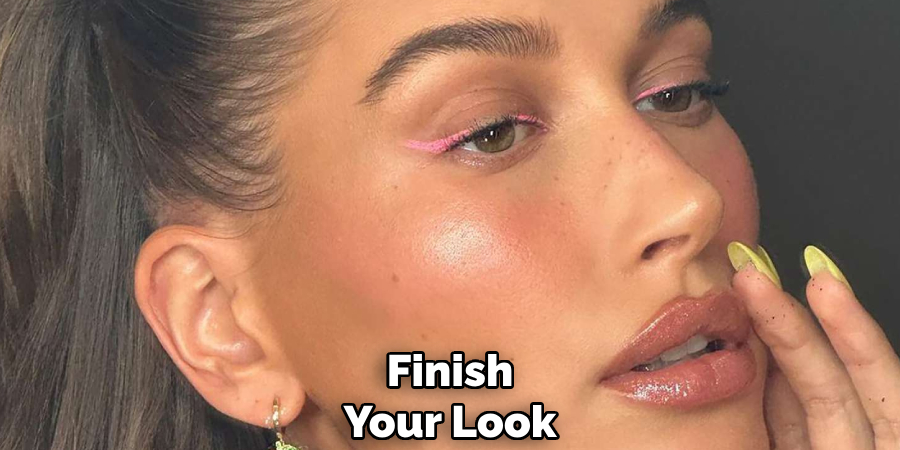
The finishing touches can take your makeup look from great to flawless. Start by applying a setting spray to lock in your makeup and give your skin a natural, dewy finish. If desired, add a touch of highlighter to the high points of your face, such as the cheekbones, brow bones, and the bridge of your nose, for a radiant glow. Don’t forget to swipe on your favorite lipstick or lip gloss to complete the look. Finally, take a moment to check your makeup in natural light to ensure everything is blended seamlessly and looks polished.
Step 10. Check Your Look
Once you’ve completed your makeup, take a moment to evaluate the final result. Check for any areas needing touching up, such as blending harsh lines or evening out foundation.
Ensure your eyeliner is symmetrical, your brows are well-shaped, and your lipstick is neatly applied. It’s helpful to view your makeup under different lighting conditions to confirm your look is flawless from every angle. Paying attention to these details will ensure a polished and professional finish, leaving you ready to step out confidently.
5 Things You Should Avoid
- Applying Too Much Product
One of the most common mistakes is over-applying stick contour, which can result in a heavy, unnatural look. Start with a small amount and build up gradually to achieve a more blended and subtle effect.
- Ignoring Your Face Shape
Contouring techniques vary depending on the shape of your face. Applying a stick contour without considering your unique features can create an imbalanced or unflattering appearance.
- Blending Improperly
Harsh, unblended lines can draw unnecessary attention and disrupt your overall makeup look. Always blend thoroughly using a makeup sponge or brush for a seamless finish.
- Choosing the Wrong Shade
Picking a contour shade that is too dark or too light for your skin tone can make your makeup look unrealistic. For the best results, aim for a shade that is one to two tones darker than your natural skin tone.
- Skipping Setting Products
It may smudge or fade throughout the day without properly setting your contour with powder or setting spray. Locking it in place ensures a long-lasting, polished look.
By following these tips, you can always achieve a flawless and natural-looking contour.
Conclusion
How to use stick contour effectively requires proper technique and attention to detail.
Begin by selecting a shade that complements your skin tone and applying it to key areas of your face, such as the hollows of your cheeks, jawline, and sides of your nose. Blend thoroughly using a brush or sponge to avoid harsh lines and achieve a seamless finish. Always set your contour with a powder or setting spray to keep it intact throughout the day.
With practice and the right approach, stick contour can enhance your natural features and elevate your makeup look effortlessly.
About the Author
Jane Hubbard is a passionate beauty expert with a wealth of experience in makeup, hair, and overall beauty techniques. After years of working as a hairdresser specialist, she followed her entrepreneurial spirit and started her own consultancy business.
Jane has always been driven by her desire to help others feel confident in their own skin, and she does this by sharing her knowledge, experiences, and practical beauty tips. Through her consultancy, she empowers individuals to embrace their unique beauty, offering tailored guidance that boosts both self-esteem and personal style.
Professional Focus
- Specializes in makeup, hairstyling, and beauty consulting.
- Provides personalized beauty advice, tips, and techniques to help individuals feel confident in their appearance.
- Dedicated to staying up-to-date with the latest industry trends and developments.
- Passionate about creating a comfortable and empowering experience for every client.
Education History
- University of Craft and Design – Bachelor of Fine Arts (BFA) in Woodworking and Furniture Design
- Woodworking Apprenticeships – Extensive hands-on training with skilled craftsmen to refine carpentry and furniture making techniques
- Online Courses & Masterclasses – Continued education in advanced woodworking techniques, design principles, and specialized tools
Expertise:
- Makeup artistry, hairstyling, and beauty consulting.
- Personalized beauty techniques to enhance confidence and self-expression.
- Educating clients on how to maintain their beauty routines at home.
