
Are you tired of using your dirty makeup sponge and wishing you knew how to clean it properly? Worry not. We have got you covered! Many people don’t realize the importance of washing their makeup sponges regularly, which can lead to bacteria and dirt buildup. This not only affects the performance of your makeup but also poses a risk to your skin health.
Keeping your makeup sponge clean is essential for maintaining healthy skin and achieving flawless makeup application. Over time, sponges can accumulate makeup residue, oils, and bacteria, which may lead to skin irritation or breakouts if not adequately cleaned. Regularly washing your makeup sponge extends its lifespan and ensures better performance.
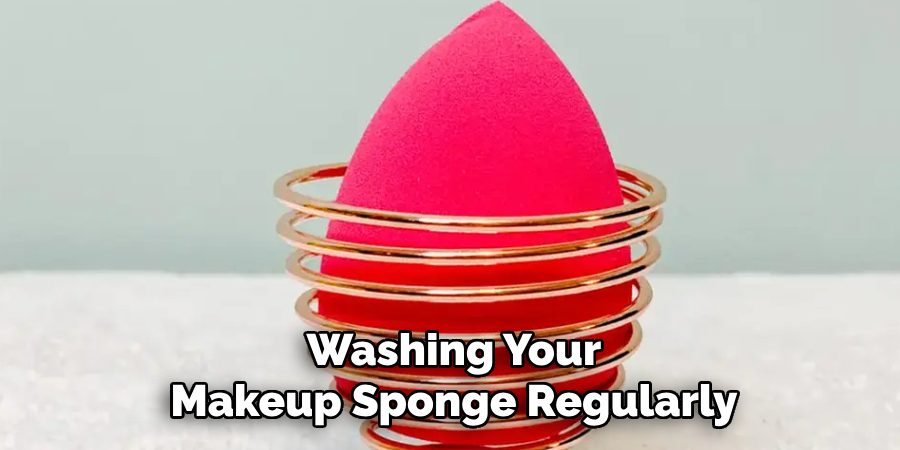
Below, we’ll guide on how to wash makeup sponge you through simple and effective steps to keep your sponge fresh and ready for use.
What Are the Benefits of Washing Your Makeup Sponge?
There are several benefits to washing your makeup sponge regularly, including:
- Preventing Bacteria Buildup: When using a dirty makeup sponge, you essentially apply layers of old and new bacteria onto your skin. This can cause acne breakouts, irritations, or even infections.
- Preserving the Quality of Your Products: When a makeup sponge is clogged up with old makeup residue and oils, it becomes less effective at blending and applying products. By keeping it clean, you can ensure better product performance.
- Maintaining Healthy Skin: As mentioned earlier, using a dirty makeup sponge risks transferring bacteria onto your skin. Regularly cleaning it helps keep your skin free from harmful bacteria and promotes healthy skin.
These are just a few of the many benefits of washing your makeup sponge regularly. Now, let’s move on to the step-by-step guide on washing makeup sponges.
What Will You Need?
Before you start the cleaning process, make sure you have the following items ready:
- Dirty makeup sponge
- Mild soap or liquid cleanser (preferably one that is gentle on the skin)
- Clean water
- Towel
Once you have gathered all the necessary items, follow these simple steps to clean your makeup sponge.
8 Easy Steps on How to Wash Makeup Sponge
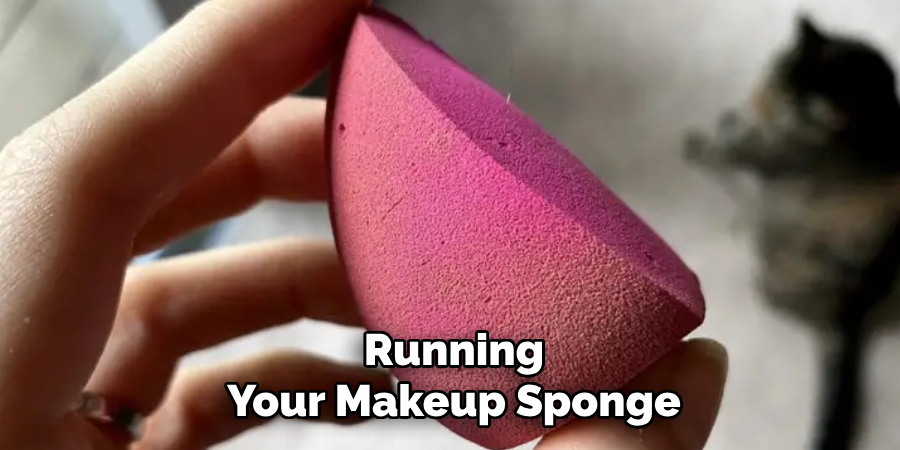
Step 1: Wet Your Sponge
Start by running your makeup sponge under lukewarm water. Ensure the water is not too hot or cold, as extreme temperatures can damage the sponge material. Squeeze the sponge gently under the tap to allow it to soak up the water.
The sponge should become noticeably softer and slightly larger as it absorbs the liquid. Ensure it is damp but not dripping wet before moving on to the next step. This step prepares the sponge for thorough cleansing and helps the cleanser to penetrate the sponge material more effectively.
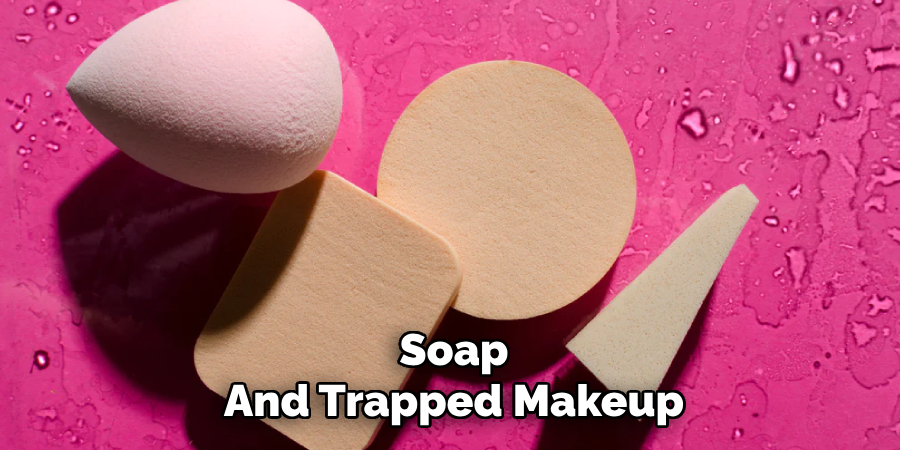
Step 2: Apply Cleanser
Take your mild soap or liquid cleanser and apply a small amount directly onto the damp sponge. You can also lather the cleanser on your hands and then work it into the sponge. Focus on the areas with the most makeup residue, which might require extra attention. Gently massage the cleanser into the sponge to create a rich lather, ensuring that it begins loosening the makeup and dirt trapped inside.
Step 3: Rinse Thoroughly
Hold the sponge under lukewarm running water and gently squeeze it to rinse out the cleanser and any loosened residue. Continue rinsing and squeezing until the water runs clear, indicating that all the soap and trapped makeup have been removed. Avoid twisting or wringing the sponge, which could tear or damage its delicate structure. A thorough rinse ensures the sponge is clean and ready for subsequent use.
Step 4: Remove Excess Water
Once the sponge is thoroughly rinsed, gently press it between your palms or against a clean towel to remove excess water. Be careful not to twist or wring the sponge, which can compromise its shape and texture. Repeat this process until the sponge is damp but no longer dripping. Removing excess water will help the sponge dry faster and maintain its integrity.
Step 5: Allow the Sponge to Air Dry
After removing excess water, place the sponge in a well-ventilated area to air dry. Ensure it is not stored in a sealed or enclosed space, as this can trap moisture and lead to the growth of mold or bacteria. Ideally, place the sponge on a clean, elevated surface such as a drying rack or a porous dish to allow airflow around all sides.
Avoid direct exposure to sunlight for prolonged periods, as excessive heat can cause the sponge material to degrade over time. Ensure the sponge is dehydrated before its subsequent use to ensure maximum hygiene and durability. Proper drying is essential in maintaining the sponge’s longevity and keeping it clean.
Step 6: Store the Sponge Properly
Once your sponge is dehydrated, store it in a clean, dry location to keep it hygienic and ready for use. Consider using a designated sponge holder or a small container that encourages airflow to prevent moisture buildup. Ensure the storage area is not near food preparation zones or other items that could introduce contaminants.
Avoid leaving the sponge directly on the kitchen counter or in wet sinks, as these environments can promote microbial growth. Proper storage keeps your sponge safe from unwanted bacteria and extends its functional lifespan, making it a more sustainable and cost-effective tool for your cleaning needs.
Step 7: Replace the Sponge Regularly
Even with regular cleaning and proper care, kitchen sponges have a limited lifespan. Over time, they can accumulate bacteria and odors and wear down through repeated use. It is recommended to replace your sponge every 1–2 weeks, depending on how frequently it is used. If you notice signs of discoloration, an unpleasant smell, or fraying edges, it is best to discard the sponge immediately and replace it with a new one.
Ensuring regular replacement improves hygiene and maintains the efficiency of your cleaning routine. Investing in high-quality sponges and adhering to a replacement schedule is a simple yet effective way to promote a clean and healthy kitchen environment.
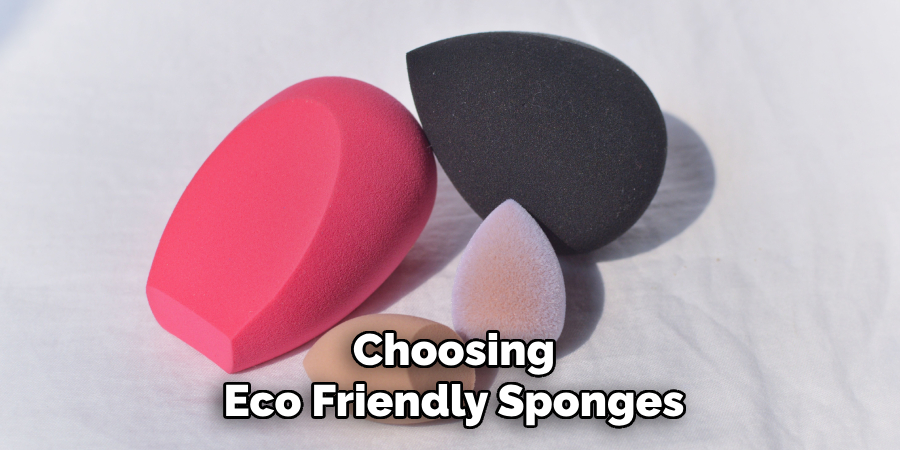
Step 8: Consider Eco-Friendly Alternatives
To reduce environmental impact, consider switching to eco-friendly sponge alternatives. Options such as biodegradable sponges, natural loofahs, or washable cloths are effective for cleaning and more sustainable.
These alternatives are often made from renewable materials and can be composted or recycled at the end of their lifespan. By choosing eco-friendly sponges, you can reduce waste and promote a greener, more environmentally conscious kitchen.
By following these simple steps on how to wash your makeup sponge, you can keep your skin, makeup tools, and kitchen environment clean and healthy.
5 Things You Should Avoid
1. Using Harsh Chemicals: Avoid using harsh chemicals or cleaning agents, as they can break down the sponge’s material and irritate your skin when used later. Stick to gentle cleansers or specialized makeup sponge cleaning solutions.
2. Skipping Regular Cleaning: Do not neglect cleaning your makeup sponge regularly. Allowing product buildup and accumulating bacteria can lead to skin issues and reduce the sponge’s effectiveness.
3. Submerging in Boiling Water: Never soak your makeup sponge in boiling water to sanitize it. High temperatures can damage the sponge’s texture and compromise its functionality.
4. Squeezing Too Roughly: Avoid wringing out your sponge with excessive force, as it can tear or deform it. Instead, gently press out the water to maintain its shape and longevity.
5. Storing While Wet: Do not store your makeup sponge while damp. This promotes bacteria growth and can lead to unpleasant odors. Always allow it to air dry thoroughly in a clean, ventilated area.
By avoiding these common mistakes, you can extend the lifespan of your makeup sponge and keep it clean for safe and effective use on your skin.
What Happens if You Don’t Wash Your Makeup Sponge?
Not washing your makeup sponge regularly can negatively affect your skin and the sponge itself. Accumulated products and bacteria on the sponge’s surface can cause breakouts, irritation, and even infections if used repeatedly on the skin. Additionally, not cleaning your sponge can lead to a buildup of residue that affects its texture and function, making it less effective at blending makeup evenly.
Over time, neglecting to wash your makeup sponge can also decrease lifespan and require more frequent replacements – costing you time and money in the long run. Therefore, follow proper cleaning procedures for your makeup sponge to maintain healthy skin and prolong its usability.
Conclusion
Properly washing your makeup sponge is essential in maintaining both your skin’s health and the efficiency of your beauty tools.
You can keep your sponge free from bacteria and residue by following simple cleaning steps, such as rinsing thoroughly with warm water, using a gentle cleanser, and ensuring it is dried in a clean area. Regular maintenance not only prevents breakouts and irritation but also extends the lifespan of your sponge, saving you money and enhancing your overall makeup application experience. Prioritizing cleanliness will ensure your makeup routine remains safe and effective.
Hopefully, the article on how to wash makeup sponge has provided you with helpful tips and information on keeping your beauty tools clean. So, make sure to give it the love and care it deserves! Happy cleaning!
About the Author
Jane Hubbard is a passionate beauty expert with a wealth of experience in makeup, hair, and overall beauty techniques. After years of working as a hairdresser specialist, she followed her entrepreneurial spirit and started her own consultancy business.
Jane has always been driven by her desire to help others feel confident in their own skin, and she does this by sharing her knowledge, experiences, and practical beauty tips. Through her consultancy, she empowers individuals to embrace their unique beauty, offering tailored guidance that boosts both self-esteem and personal style.
Professional Focus
- Specializes in makeup, hairstyling, and beauty consulting.
- Provides personalized beauty advice, tips, and techniques to help individuals feel confident in their appearance.
- Dedicated to staying up-to-date with the latest industry trends and developments.
- Passionate about creating a comfortable and empowering experience for every client.
Education History
- University of Craft and Design – Bachelor of Fine Arts (BFA) in Woodworking and Furniture Design
- Woodworking Apprenticeships – Extensive hands-on training with skilled craftsmen to refine carpentry and furniture making techniques
- Online Courses & Masterclasses – Continued education in advanced woodworking techniques, design principles, and specialized tools
Expertise:
- Makeup artistry, hairstyling, and beauty consulting.
- Personalized beauty techniques to enhance confidence and self-expression.
- Educating clients on how to maintain their beauty routines at home.