
Are you tired of spending hours curling your hair only to fall flat in the humidity? Don’t worry, you’re not alone.
Humidity can be a notorious enemy when maintaining beautifully styled curls. The high moisture content in the air can cause hair to frizz, lose shape, and ultimately deflate those carefully crafted curls. But fear not! With the proper techniques and products, you can conquer the humidity and keep your curls looking fabulous all day.
In this guide on how to keep hair curled in humidity, we’ll explore effective strategies and tips to help you combat the challenges of humidity and ensure your curls stay bouncy, defined, and resistant to the elements. Get ready to embrace luscious, long-lasting curls, no matter how humid it gets!
What Will You Need?
Before we dive into the techniques, let’s make sure you have everything you need to achieve humidity-proof curls:
- A good quality curling iron or wand
- Heat protectant spray
- Curl-defining cream or mousse
- Hair clips or bobby pins
- Hairspray with a stronghold
- Anti-frizz serum or oil
Now that we have all our tools ready, let’s learn how to keep hair curled in humidity.
10 Easy Steps on How to Keep Hair Curled in Humidity
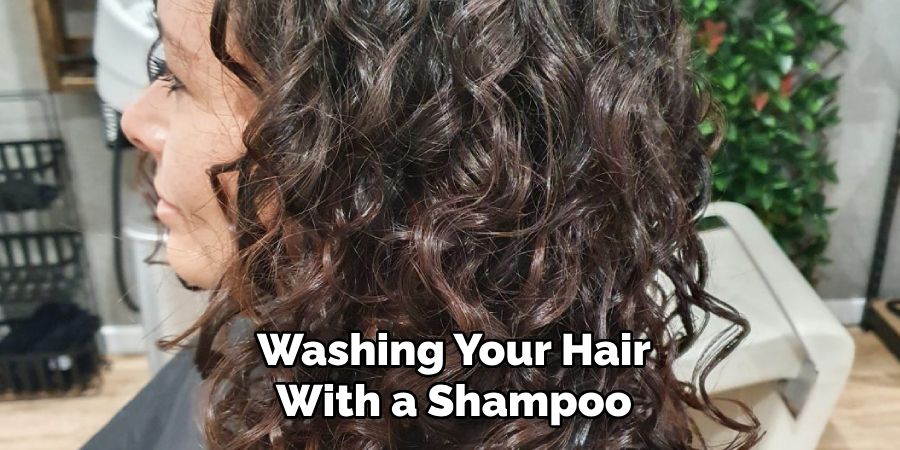
Step 1: Prep Your Hair Properly
The foundation of long-lasting curls starts with properly prepping your hair. Begin by washing your hair with a shampoo and conditioner to fight frizz and add moisture. Look for products labeled as smoothing or anti-humidity to give your hair the best start. Once your hair is clean, gently towel-dry it and apply a heat protectant spray to shield it from damage caused by hot tools.
Work a dollop of curl-defining cream or mousse through your damp hair for added curl longevity. This will help create a strong base for your curls and provide additional hold. Finally, make sure your hair is dehydrated before using any heat-styling tools, as damp hair is more susceptible to losing its shape in humid conditions.
Step 2: Section Your Hair
To make curling more manageable and ensure every strand is curled evenly, section your hair into smaller, workable portions. Start by dividing your hair into three layers — top, middle, and bottom — and secure each section with hair clips or bobby pins. You may need to create additional sections for better precision if you have thicker hair.
Working in smaller sections lets you focus on each portion individually, ensuring the heat is evenly distributed and the curls uniform and long-lasting. Once your hair is sectioned, you’re ready to move on to curling.
Step 3: Curl Your Hair
Using your curling iron or wand, wrap a small section of hair from your first layer around the barrel. Hold it in place for about 8-10 seconds, allowing the heat to mold your hair into a curl without causing damage.
For a more natural look, alternate the direction of each curl — some toward your face and some away from it. Continue working through each section, repeating the process until your entire head is curled. Remember not to rush; taking your time will ensure your curls are well-defined and ready to resist the effects of humidity.
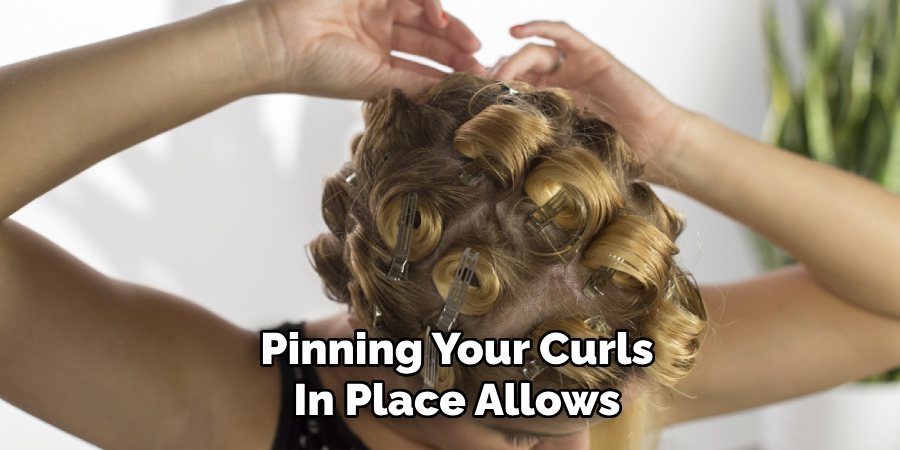
Step 4: Pin Your Curls
After curling each section, secure it with a bobby pin or clip while still warm. Pinning your curls in place allows them to cool while maintaining their spiral shape, which helps to lock in the curl.
This step is crucial for making your curls last longer, especially in humid weather. Continue curling and pinning each strand until your curls are securely clipped. Once complete, leave your hair pinned until it is completely cooled and set. This process may take 10–15 minutes, but it’s worth the wait for curls that stand up to humidity!
Step 5: Release the Curls
Once your curls have completely cooled, you can start removing the pins. Gently remove each pin and let your curls fall freely. You’ll notice how bouncy and defined they look already! Avoid running your fingers through your hair at this stage, as it can disrupt the shape of your curls and cause frizz.
Step 6: Apply Hairspray
Once all your curls are released, it’s time to set them in place with a strong-hold hairspray. Hold the hairspray about 10–12 inches away from your hair and lightly mist it all over. Focus on targeting each curl without overloading it with a product to avoid a sticky or crunchy finish.
Look for a hairspray specifically designed for humidity resistance, as it will help to shield your curls from the moisture in the air. This step is crucial for locking in your style and preventing your curls from losing shape throughout the day. Remember, a little goes a long way, so use just enough to create a flexible but lasting hold.
Step 7: Add Anti-Frizz Serum or Oil
Apply a small amount of anti-frizz serum or hair oil to your palms to combat frizz and add a touch of shine. Gently run your hands over the surface of your curls, focusing on the ends rather than the roots to avoid a greasy look.
This step not only smooths any flyaways but also acts as an additional barrier against humidity. Be careful not to apply too much product, as it can weigh your curls. Your curls will look sleek, glossy, and perfectly polished with just the right amount.
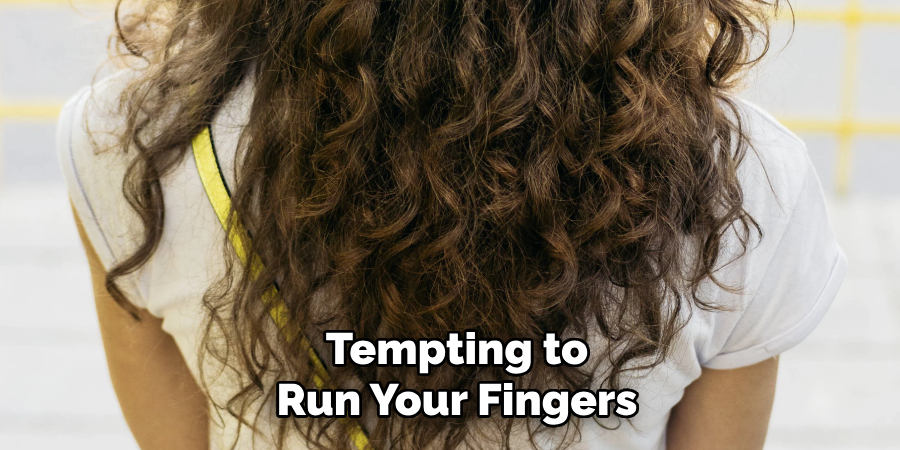
Step 8: Avoid Touching Your Hair
While it can be tempting to run your fingers through your curls, especially to admire how soft they feel, frequent touching can cause frizz and break down the structure of your curls. Keep your hands off your hair as much as possible, allowing your curls to stay intact.
If you need to adjust or re-shape any curls, use a fine-tooth comb or a wide-toothed comb, depending on the curl size, instead of using your fingers. Less contact will help your curls remain bouncy and smooth for longer.
Step 9: Opt for Protective Hairstyles When Necessary
If you plan to spend an extended amount of time outdoors in high humidity, consider styling your curls in a protective hairstyle. Options such as a loose bun, braids, or a chic ponytail can help preserve your curls while limiting their exposure to moisture in the air. Protective hairstyles can add variety to your look and keep your hair manageable as you tackle humid conditions. Don’t forget to secure your style with hair ties or clips that are gentle on your strands to avoid any damage.
Step 10: Refresh Your Curls as Needed
Your curls might need a little refreshing throughout the day, especially if the humidity is particularly intense. Carry a small travel-size hairspray or curl-refreshing spray with you for quick touch-ups. Lightly mist your hair and use your fingers or a comb to redefine any areas that may have started to lose shape. Being prepared with the right products will help keep your curls looking fresh, voluminous, and camera-ready.
By following these easy steps, you can create curls that are not only stunning but also resilient to humid weather challenges.
5 Things You Should Avoid
- Overusing Heat Styling Tools: Excessive use of heat-styling tools like curling irons can weaken your hair’s natural moisture barrier, making it more susceptible to frizz and humidity. Opt for heatless styling methods whenever possible to minimize damage.
- Skipping Protective Products: Be sure to use protective products like anti-humidity sprays or serums. These products shield against moisture and help keep your curls intact even in humid conditions.
- Touching Your Hair Frequently: Constantly touching your hair can transfer oils and moisture from your hands, leading to frizz and loss of curl definition. Avoid excessive touching or brushing to maintain your curls’ shape and minimize frizz.
- Using Heavy Styling Products: While it may be tempting to load up on styling products for hold, heavy gels or creams can weigh down your curls and make them more susceptible to frizz in humid weather. Opt for lightweight, water-based products that won’t weigh down your curls.
- Not Protecting Your Hair While Sleeping: Neglecting to protect your hair while sleeping can cause friction and disrupt your curls. Sleep on a satin pillowcase or use a satin bonnet or scarf to preserve your curls and reduce frizz while you sleep.
Avoiding these common mistakes, you can help your curls stay bouncy, defined, and frizz-free even in humid conditions.
Conclusion
Humidity can be a significant challenge for curly hair, but with the proper techniques and products, you can keep your curls looking gorgeous in any weather.
From prepping your hair before styling to using protective hairstyles and refreshing throughout the day, there are many ways to combat frizz and maintain beautiful curls in high humidity. Avoid common mistakes like overusing heat tools or heavy products and opt for lightweight, protective options.
With these tips in mind on how to keep hair curled in humidity, you can confidently rock your curly hair no matter how humid it gets outside! So next time you experience humid weather, don’t let it ruin your curls – follow these steps and enjoy bouncy, defined curls all day long.
About the Author
Jane Hubbard is a passionate beauty expert with a wealth of experience in makeup, hair, and overall beauty techniques. After years of working as a hairdresser specialist, she followed her entrepreneurial spirit and started her own consultancy business.
Jane has always been driven by her desire to help others feel confident in their own skin, and she does this by sharing her knowledge, experiences, and practical beauty tips. Through her consultancy, she empowers individuals to embrace their unique beauty, offering tailored guidance that boosts both self-esteem and personal style.
Professional Focus
Specializes in makeup, hairstyling, and beauty consulting.
Provides personalized beauty advice, tips, and techniques to help individuals feel confident in their appearance.
Dedicated to staying up-to-date with the latest industry trends and developments.
Passionate about creating a comfortable and empowering experience for every client.
Education History
University of Craft and Design – Bachelor of Fine Arts (BFA) in Woodworking and Furniture Design
Woodworking Apprenticeships – Extensive hands-on training with skilled craftsmen to refine carpentry and furniture making techniques
Online Courses & Masterclasses – Continued education in advanced woodworking techniques, design principles, and specialized tools
Expertise:
Makeup artistry, hairstyling, and beauty consulting.
Personalized beauty techniques to enhance confidence and self-expression.
Educating clients on how to maintain their beauty routines at home.