
Are you tired of using a diffuser every time you want to blow dry your curly hair? Diffusers can be bulky and time-consuming, so it’s no surprise that many seek alternative methods.
Blow drying curly hair can be challenging, especially when you don’t have a diffuser attachment for your hairdryer. However, with the proper techniques and products, you can achieve beautiful, bouncy curls without relying on a diffuser.
In this guide, we will explore effective methods on how to blow dry curly hair without diffuser, allowing you to style your curls with ease and achieve the desired look while minimizing frizz and heat damage. Get ready to embrace your natural curls and rock a fabulous hairstyle that showcases the beauty of your curly locks.
What Will You Need?
- A hairdryer with a concentrator nozzle
- A wide-tooth comb or detangling brush
- Heat protectant spray or serum
- Styling products such as mousse, gel, or leave-in conditioner (optional)
Once you have all the necessary tools, you’re ready to begin!
10 Easy Steps on How to Blow Dry Curly Hair Without Diffuser
Step 1: Preparing Your Hair
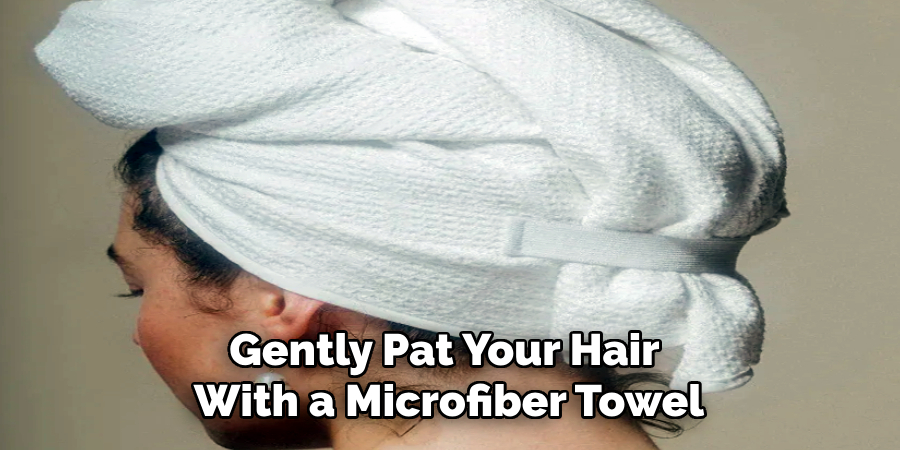
Start by washing your hair with a gentle, curl-friendly shampoo and conditioner. Once you’ve rinsed out the conditioner, gently pat your hair with a microfiber towel or an old t-shirt to remove excess moisture. Avoid rubbing your hair vigorously with a towel, as this can cause frizz and disrupt the natural curl pattern. Instead, use a scrunching motion to encourage the curls. At this stage, you can apply a small amount of leave-in conditioner or a curl-enhancing product to help hydrate and define your curls.
Step 2: Apply Heat Protectant
Before blow-drying your curly hair, it’s crucial to apply a heat-protectant product thoroughly. Heat protectants create a barrier between your hair strands and the heat from styling tools, minimizing damage and promoting healthy hair. Spray or apply a heat protectant serum evenly throughout your hair, focusing on the lengths and ends. Gently comb through your hair using a wide-tooth comb or detangling brush to distribute the product evenly. This step is essential for safeguarding your curls and reducing the risk of heat-related damage, ensuring your hair remains healthy and vibrant. Remember, a little extra protection goes a long way in maintaining the integrity of your curls.
Step 3: Divide Your Hair into Sections
Divide your hair into sections using clips or hair ties to make the blow-drying process more manageable and efficient. Working with smaller sections gives you more control over your hair and ensures that each strand receives equal heat distribution, resulting in a smoother and more uniform finish. You may need to create four or more sections if your hair is thick. Alternatively, if your hair is thin, dividing it into two sections should suffice.
Step 4: Use the Concentrator Nozzle

Attach the concentrator nozzle to your hairdryer to help direct the airflow more precisely. This will allow you to control the heat and avoid excessive frizz. Point the nozzle down the hair shaft while blow-drying to smooth the cuticle and create a more polished look. Keep the dryer a few inches from your hair to prevent overheating and damage. Adjust the heat settings to medium or low, as high heat can be too intense for curly hair and lead to excessive dryness or frizz.
Step 5: Blow-Dry Using the “Stretch and Blow” Technique
With the concentrator nozzle in place, begin blow-drying each section of hair using the “stretch and blow” technique. Hold the ends of a section of hair and gently stretch or pull it downward while running the dryer along the length of the hair. Focus on drying the roots first, as this helps add volume and reduces drying time. Be careful not to over-stretch your curls, as this can disrupt their natural shape. Keep the airflow steady and move consistently to dry the hair evenly.
Step 6: Scrunch Your Curls
Once the majority of a section is dry, release it and gently scrunch your curls upwards toward your scalp with your hands. This will help enhance the curl pattern and add bounce to your hair. If needed, use a small amount of styling product, like mousse or gel, to help define the curls further. Repeat this process with each section until your entire head is dry. Scrunching is particularly important in maintaining curly hair’s natural texture and volume.
Step 7: Cool Down
Allow your curls to cool down completely before proceeding with the styling process. This step is crucial as it helps to set the shape and structure of your curls, ensuring longer-lasting definition and bounce. Avoid touching or disturbing your hair during this time to prevent frizz and disrupt the curl formation. You can use a diffuser attachment on your hairdryer, set to a low heat and low airflow setting, to gently dry your curls while maintaining their shape. Alternatively, opt for air-drying if time permits, as it is the gentlest method for preserving the integrity of your curls. Patience is key during this cool-down period, as it will ultimately contribute to your curly hairstyle’s overall quality and longevity.
Step 8: Fluff and Finish
Once your hair has cooled completely, it’s time to add the finishing touches to your look. Use your fingers or a wide-tooth comb to gently separate and fluff your curls at the roots for added volume. Be careful not to over-handle your hair, as this can cause frizz. You can apply a small amount of lightweight hair oil or serum to smooth any flyaways and add shine. Focus on distributing the product evenly through the ends of your hair to maintain a polished look. You can spritz a light mist of hairspray over your curls for extra hold. Your hair should now feel bouncy, defined, and full of life – ready to rock your textured, curly style!
Step 9: Apply Finishing Products (Optional)
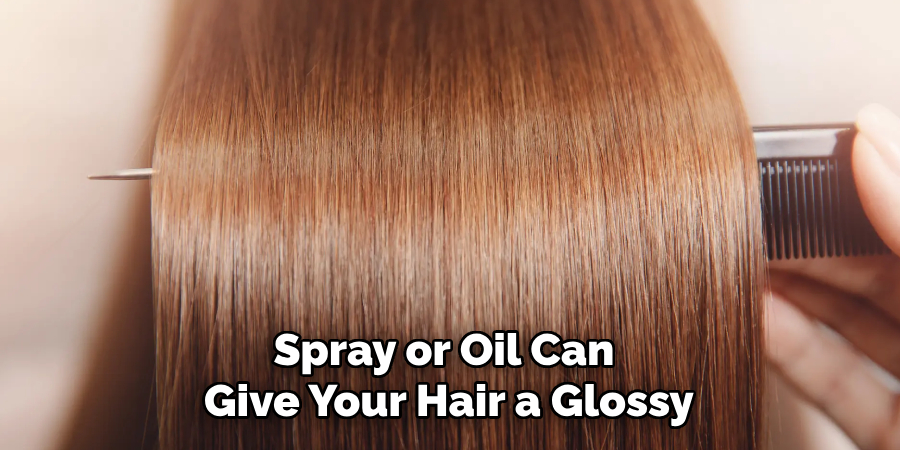
If you’d like to enhance your curls or add extra hold and shine, consider using finishing products tailored to your hair needs. A curl-defining cream or serum can be applied sparingly to individual curls that need more definition. Similarly, a lightweight shine spray or oil can give your hair a glossy, polished appearance. Be cautious not to use excessive amounts of product, which can weigh your curls or make them feel greasy. For added hold, especially in humid conditions, a humidity-resistant hairspray can help keep your curls in place throughout the day. Tailor this step to your preferences and hair type for a personalized finish.
Step 10: Maintain Your Curls
To maintain your curls after styling, consider protecting them while you sleep. Use a satin or silk pillowcase, which reduces friction and prevents frizz. Alternatively, you can wrap your hair in a silk scarf or use a satin bonnet to preserve the curl definition overnight. The next day, refresh your curls by spritzing them with water or a curl-refresher spray and gently scrunching them back into shape. Avoid over-handling your hair, leading to frizz, or disrupting the curl pattern. With proper care, your blow-dried curls can remain vibrant, defined, and full of life for days.
Following these steps, you can achieve beautiful, bouncy curls without needing a diffuser while protecting the health and integrity of your hair.
5 Things You Should Avoid
- High Heat Settings: High heat settings on your blow dryer can strip moisture from your hair, leading to dryness and frizz. Opt for medium or low heat settings to protect your curls while drying.
- Rough Towel Drying: Avoid vigorously rubbing your hair with a towel to dry it. This can cause friction and roughen the hair cuticles, resulting in frizz and disturbance to your natural curl pattern.
- Skipping Heat Protectant: Failing to use a heat protectant spray or serum before blow drying can leave your curls vulnerable to heat damage. Apply a heat protectant product evenly throughout your hair before blow drying to shield your strands from the heat.
- Using the Wrong Brush or Comb: Using a brush or comb with fine teeth or stiff bristles can disrupt your curls and cause breakage. Opt for a wide-toothed comb or a brush designed for curly hair to detangle and style your hair while preserving your natural curl pattern.
- Over-Drying: It’s important not to over-dry your hair while blow-drying. Over-drying can lead to frizz and lack of moisture. Aim for slightly damp hair and allow your curls to air dry the rest of the way to maintain hydration and minimize frizz.
Conclusion
By avoiding these common mistakes, you can help maintain the health and integrity of your curly hair while blow drying. Use heat protection, opt for lower heat settings, and gently use your towel and brush choices.
You can achieve beautiful, bouncy curls without causing damage with proper care. So embrace your natural curls and blow dry with confidence! Remember that every individual’s hair is unique, so finding the best techniques and products for your specific hair type may take trial and error.
Hopefully, the article on how to blow dry curly hair without diffuser has provided you with some helpful tips and tricks to achieve the perfect blowout while preserving your natural curls.
About the Author
Jane Hubbard is a passionate beauty expert with a wealth of experience in makeup, hair, and overall beauty techniques. After years of working as a hairdresser specialist, she followed her entrepreneurial spirit and started her own consultancy business.
Jane has always been driven by her desire to help others feel confident in their own skin, and she does this by sharing her knowledge, experiences, and practical beauty tips. Through her consultancy, she empowers individuals to embrace their unique beauty, offering tailored guidance that boosts both self-esteem and personal style.
Professional Focus
Specializes in makeup, hairstyling, and beauty consulting.
Provides personalized beauty advice, tips, and techniques to help individuals feel confident in their appearance.
Dedicated to staying up-to-date with the latest industry trends and developments.
Passionate about creating a comfortable and empowering experience for every client.
Education History
University of Craft and Design – Bachelor of Fine Arts (BFA) in Woodworking and Furniture Design
Woodworking Apprenticeships – Extensive hands-on training with skilled craftsmen to refine carpentry and furniture making techniques
Online Courses & Masterclasses – Continued education in advanced woodworking techniques, design principles, and specialized tools
Expertise:
Makeup artistry, hairstyling, and beauty consulting.
Personalized beauty techniques to enhance confidence and self-expression.
Educating clients on how to maintain their beauty routines at home.