

That tower of jet-black hair, the smoky eyes, the bold red lips, and a wickedly playful sense of glamour. Learning how to do Elvira makeup feels like stepping straight into a vintage horror dream, the kind that turns heads the second you walk into a room.
So shake off any nerves about pulling it off.
This look is bold, sure, but it is also more achievable than it appears. We will cover what defines the iconic Mistress of the Dark, the products worth gathering, a full step-by-step tutorial, and the finishing touches that complete the whole transformation. Grab your brushes and let’s get into it.
What Defines the Iconic Elvira Look
Before you reach for a single brush, it helps to understand the character behind the makeup. Elvira has a personality, and once you catch it, every choice starts to make sense.
The Origins of Elvira, Mistress of the Dark
Elvira sprang to life through Cassandra Peterson, who debuted as the quick-witted horror host back in the early 1980s. The character blends gothic horror with theatrical camp and a heavy dose of over-the-top glamour.
That mix is exactly why she has stayed a Halloween favorite for decades. People love the boldness, the wink, the sheer fun of it.
There is nothing precious about this look, either. It rewards confidence far more than perfection, which makes it a surprisingly welcoming one to try.
Signature Features You Will Recognize
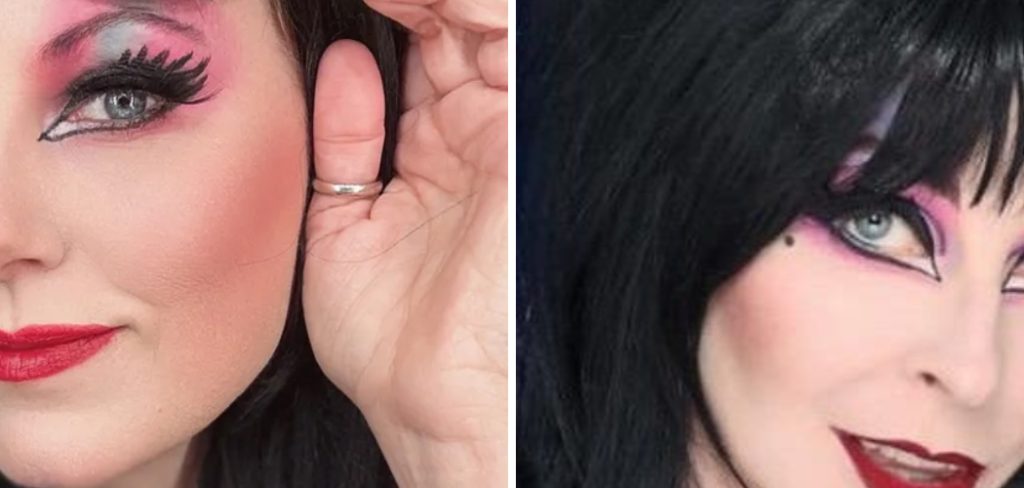
A few elements appear in every version of Elvira. A pale, porcelain base. Heavily defined smoky eyes with a sharp winged liner. Dramatic arched brows, sculpted hollow cheeks, and that unmistakable bold red lip.
Picture each one, and you have the rough blueprint. None of it is locked in stone, though.
You can dial the intensity up for a costume party or pull it back for something more wearable. The look bends to suit your comfort while still reading as Elvira.
Gathering Your Elvira Makeup Essentials
You likely own a fair bit of this already. No need for a big shopping spree before you even start playing.
Must-Have Products for the Look
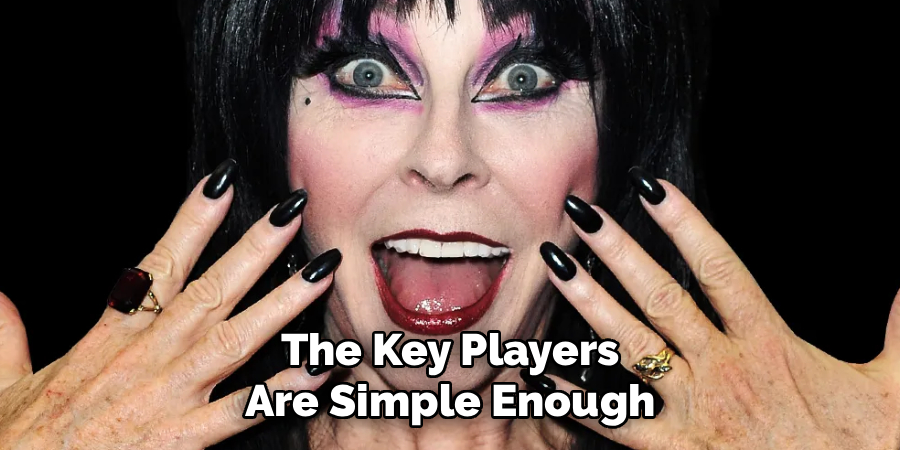
The key players are simple enough. A pale or light-toned foundation, a black liquid or gel liner, a deep smoky eyeshadow palette, a richly pigmented red lipstick, contour powder, and bold mascara or false lashes.
Each one earns its spot. That pale base, for instance, creates the signature ghostly glamour that ties everything else together.
Affordable drugstore options work beautifully here. There is no reason to splurge before you have had the fun of channeling this character at least once.
Brushes and Tools That Make It Easier
A handful of tools turn the process from fiddly to smooth. An angled liner brush, a fluffy blending brush, a small contour brush, and a steady fine-tip applicator.
The blending brush melts dark shadow into a seamless smoky haze, while the contour brush carves out those dramatic cheekbones. Keep cotton swabs and micellar water close for crisp cleanups.
Think of these as helpful companions rather than strict requirements. They take the pressure off a bold look, which is usually what keeps the whole thing feeling fun.
Prepping Your Skin for a Flawless Pale Base
Show-stopping makeup tends to start with a smooth canvas. Skip this part, and the dramatic layers fight you all night.
Cleansing and Moisturizing First
Clean, hydrated skin helps makeup glide on and last through a long evening of celebrating. Cleanse gently, then follow with a lightweight moisturizer suited to your skin type.
That fresh, soft feeling is the ideal starting point. It seems minor, yet it quietly keeps the pale base from clinging to dry patches or settling into fine lines.
A few minutes here pays off later. Bold makeup over parched skin always looks rougher than the same look over a prepped face.
Priming and Creating the Pale Foundation
Apply a grippy primer first, then build a foundation a shade or two lighter than your natural tone to reach that porcelain Elvira glow. A touch of pale setting powder, or even a hint of white cream, can push the ghostly effect a little further.
Blend well around the jaw and hairline so nothing reads as a hard line. You want a seamless transition into your neck.
Picture this base as a clean stage. Its job is to let the dramatic eyes and lips truly shine, so keeping it even matters more than piling it on thick.
How to Do Elvira Makeup: Step-by-Step Guide
Here is the heart of it. Knowing how to do Elvira makeup really comes down to a clear sequence, moving from a bare face to full gothic glamour without rushing any single part. Take each step in order and enjoy watching the look come alive.
Step 1: Set the Pale Base and Define the Brows
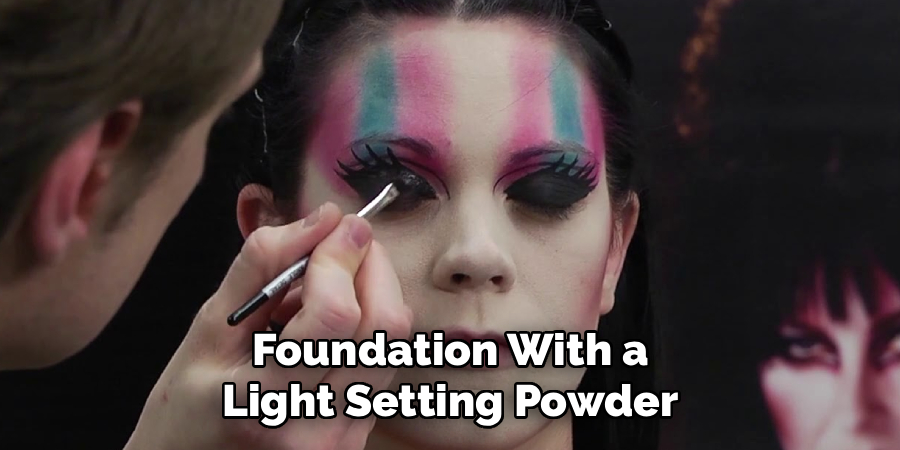
Lock in your pale foundation with a light setting powder, then shape your brows into the high, dramatic arches that frame the whole look. Darkening and lifting them adds that signature theatrical drama.
Work with a confident hand, but do not agonize over symmetry. This campy aesthetic celebrates boldness over rigid precision.
The brows set the tone for everything that follows. Get them in place, and the face already starts to feel like Elvira.
Step 2: Build the Smoky Eyeshadow
Press deep charcoal and black shadows across the lid, then blend them up into the crease for that intense, sultry depth. You are building a dramatic gradient that fades softly toward the brow bone.
Build the color gradually and soften the edges as you go. Patience beats power here.
A few thin layers always look richer than one heavy swipe. Watch the eyes take on that captivating, mysterious energy with each pass.
Step 3: Create the Bold Winged Liner
Line the upper lash line with a black liquid or gel liner, then extend it into a sharp, dramatic wing that lifts the eye. Work slowly and tidy up the edges with a cotton swab for crisp results.
Tightlining the upper waterline adds extra intensity if you want it. Take your time, since the liner sits at the center of that iconic Elvira gaze.
Be kind to yourself through this part. Winged liner genuinely improves with every single attempt, so a wobble or two is just practice in action.
Step 4: Sculpt Dramatic Cheekbones
Carve those famous hollow cheeks using a cool-toned contour powder swept just beneath the cheekbones. Blend carefully so the shadow looks sculpted rather than muddy.
This step adds the vampy, angular drama the character is known for. A light hand and gradual building serve you far better than one heavy stroke.
Contouring takes a little practice, and that is completely normal. Treat each attempt as a step toward mastering the sharp, larger-than-life bone structure this look depends on.

Step 5: Add Lashes for Maximum Drama
Coat your lashes with a volumizing black mascara, or apply bold false lashes for that wide, dramatic gaze. Full, fluttery lashes amplify the smoky eye and tie everything together.
A touch more shadow under the lower lash line adds depth. Then step back and take in how intense and cohesive the eyes have become.
This step pulls the whole look into focus. It is what gives Elvira that spellbinding stare people tend to notice first.
Step 6: Finish With the Bold Red Lip
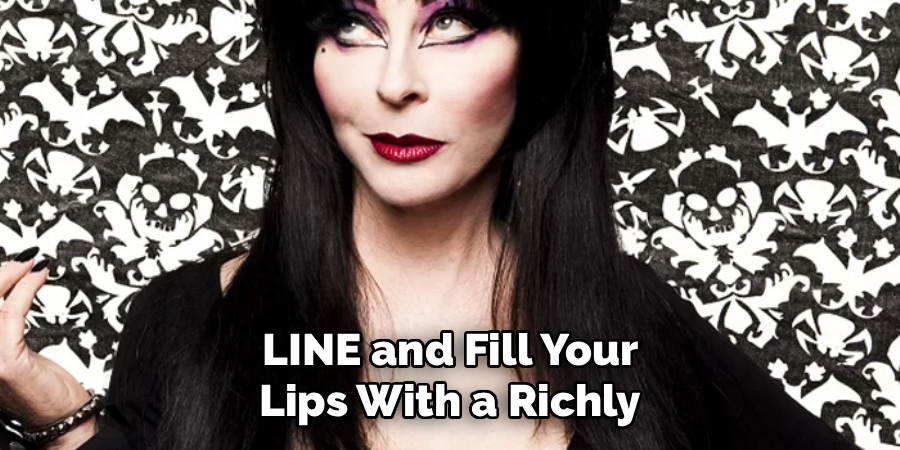
Line and fill your lips with a richly pigmented red lipstick, the crowning detail of the entire look. Blot and reapply for lasting, velvety color that survives a long night.
The bold red lip anchors the look and completes the Elvira transformation. Step back and admire the result in good lighting.
This final flourish is the moment everything clicks into place. Seeing the glamorous, gothic queen you built yourself entirely tends to feel pretty great.
Completing the Full Elvira Transformation
The makeup is only part of the magic. A few finishing touches carry you from great makeup to a fully realized character.
Styling the Signature Black Hair
A tall, voluminous black wig with that dramatically teased crown captures the unmistakable Elvira silhouette. Backcombing and a generous spritz of hairspray hold the height in place.
A quality wig saves time and delivers immediate impact. It may be the single easiest way to elevate the whole look from striking makeup to a complete costume.
Choosing the Right Outfit and Accessories
The classic long black gown, with its plunging neckline and dramatic flair, does most of the work here. Dark nail polish, statement jewelry, and confident posture complete the vampy persona.
Think of the outfit as the final layer that ties everything together. Even simple black pieces, styled boldly, can capture the spirit of the character beautifully.
Adding Finishing Touches and Setting the Look
A final mist of setting spray locks the makeup in place for hours of wear. Check the look in natural light for any spots that need a quick touch-up.
These small finishing steps give you real confidence to step out. You can celebrate knowing the dramatic transformation will hold through the whole night.
Common Elvira Makeup Mistakes and How to Fix Them
A few slip-ups trip up almost everyone at first. None of them is a dealbreaker, and each one has an easy fix.
A Base That Looks Too Chalky
Going too pale or too powdery can leave the skin looking flat and lifeless rather than glamorous. That is the opposite of the porcelain glow you want.
Balance the pale base with a little subtle contour and a hint of warmth. A light touch and good blending rescue an overly chalky finish, keeping the look intentional rather than washed out.
Uneven or Wobbly Winged Liner
Rushing the wings usually leads to crooked or mismatched lines. The frustration is real, but it is avoidable.
Slow your strokes and keep a cotton swab dipped in micellar water nearby for clean, sharp edges. Liner skills grow with every attempt, so treat the practice as part of the fun.
Red Lipstick That Smudges or Feathers
Bold red lips love to bleed without a little prep. All that careful work, smudged within the hour.
Line the lips first and blot between layers. A quick setting step keeps that statement red crisp and long-lasting, so your finishing flourish stays flawless for hours.
Tips for Making the Elvira Look Your Own
Tutorials are a launchpad, not a finish line. The real fun begins when you start adjusting things to suit you.
Adapting the Look to Your Features
Tweak the brow shape, contour placement, and eyeshadow intensity to flatter your unique face. Small adjustments make the whole thing feel personal rather than copied.
The character has been interpreted in countless ways over the decades. Your individual touch is exactly what transforms feel authentic and yours.
Adding Your Own Creative Spin
Play with the look by adding subtle glitter, a deeper smoky eye, or a few jewel-toned accents for a fresh take. Creativity is what turns a classic costume into a true signature.
Lean into the freedom to experiment. Confidence is the most flattering finishing touch you can wear, no matter how you choose to personalize this theatrical style.
Conclusion
Knowing how to do Elvira makeup turns an intimidating-looking, dramatic transformation into a fun, empowering one you can master with a little practice. What seemed out of reach is really just a series of bold, forgiving steps.
You now hold the full roadmap. Understanding the iconic aesthetic, prepping your palette base, the step-by-step tutorial, and the finishing touches that complete the character.
So grab your brushes and start experimenting today. Confidence grows with every smoky eye and bold red lip you create, and your inner Mistress of the Dark is ready whenever you are.

About the Author
Jane Hubbard is a passionate beauty expert with a wealth of experience in makeup, hair, and overall beauty techniques. After years of working as a hairdresser specialist, she followed her entrepreneurial spirit and started her own consultancy business.
Jane has always been driven by her desire to help others feel confident in their own skin, and she does this by sharing her knowledge, experiences, and practical beauty tips. Through her consultancy, she empowers individuals to embrace their unique beauty, offering tailored guidance that boosts both self-esteem and personal style.
Professional Focus
Specializes in makeup, hairstyling, and beauty consulting.
Provides personalized beauty advice, tips, and techniques to help individuals feel confident in their appearance.
Dedicated to staying up-to-date with the latest industry trends and developments.
Passionate about creating a comfortable and empowering experience for every client.
Education History
University of Craft and Design – Bachelor of Fine Arts (BFA) in Woodworking and Furniture Design
Woodworking Apprenticeships – Extensive hands-on training with skilled craftsmen to refine carpentry and furniture making techniques
Online Courses & Masterclasses – Continued education in advanced woodworking techniques, design principles, and specialized tools
Expertise:
Makeup artistry, hairstyling, and beauty consulting.
Personalized beauty techniques to enhance confidence and self-expression.
Educating clients on how to maintain their beauty routines at home.