

Concealer should brighten your under-eye area and hide blemishes, not draw attention to dry patches and fine lines. Yet so many of us reach for our favorite product, dab it on, and end up with a cakey, cracked finish that looks worse than what we started with. If that sounds familiar, you’re in the right place. Learning how to stop concealer from looking dry is one of the simplest ways to upgrade your entire makeup routine, and it doesn’t require expensive products or professional skills.

The good news is that dry concealer is almost always fixable. Most of the time, the problem comes down to skin prep, product choice, or application technique, and each of these is easy to adjust once you know what to look for. In this guide, we’ll walk through exactly why concealer dries out and share a clear, step-by-step method you can follow at any skill level. By the end, you’ll have a smooth, natural finish that lasts all day.
Why Concealer Looks Dry
Concealer looks dry for a few predictable reasons, and understanding them makes the fix much easier. The most common culprit is dehydrated skin. When your under-eye area lacks moisture, it soaks up the product and settles into fine lines. Using too much concealer, choosing a heavy full-coverage formula, or skipping a hydrating base can all make the problem worse.
Fixing this matters more than you might think. A smooth, hydrated finish makes you look refreshed rather than tired, and it keeps your makeup looking flawless for hours. You’ll also use less product, reduce creasing, and avoid that heavy, cakey texture. Once you correct these small mistakes, your concealer becomes a tool that genuinely enhances your face instead of highlighting every dry spot.
Step-by-Step Guide to How To Stop Concealer From Looking Dry
Step 1: Start With Proper Skin Hydration
Everything begins with well-hydrated skin. Before you touch any makeup, apply a lightweight moisturizer and let it absorb for a few minutes. For the delicate under-eye area, a dedicated eye cream works wonders because it targets fine lines and adds a soft cushion for your concealer to sit on. If your skin still feels tight, add a hydrating serum with hyaluronic acid underneath. This step creates a smooth, plump surface, so your product glides on instead of clinging to dry patches. Think of hydration as the foundation of your entire routine, and never rush it.
Step 2: Prep With the Right Primer

A good primer bridges the gap between skincare and makeup. Choose a hydrating or smoothing primer rather than a mattifying one, since matte formulas can pull moisture from your skin and emphasize texture. Apply a thin layer over your moisturizer, focusing on any areas prone to dryness. The primer fills in fine lines and gives your concealer something to grip, which helps it stay put without cracking. You only need a small amount, so warm it between your fingers and press it gently into the skin. This creates an even canvas that keeps everything looking fresh for longer.
Step 3: Choose a Creamy, Hydrating Formula
Product choice makes a huge difference. If you constantly battle dry, cakey concealer, your formula may simply be too heavy or too matte for your skin. Look for words like “hydrating,” “radiant,” or “luminous” on the label, and avoid ultra full-coverage products designed to stay bone-dry all day. Creamy, buildable concealers blend easily and move naturally with your face. This is one of the most overlooked parts of how to stop concealer from looking dry, because even perfect technique can’t rescue the wrong product. Test a shade in natural light and pick one that feels comfortable rather than stiff.
Step 4: Apply the Right Amount
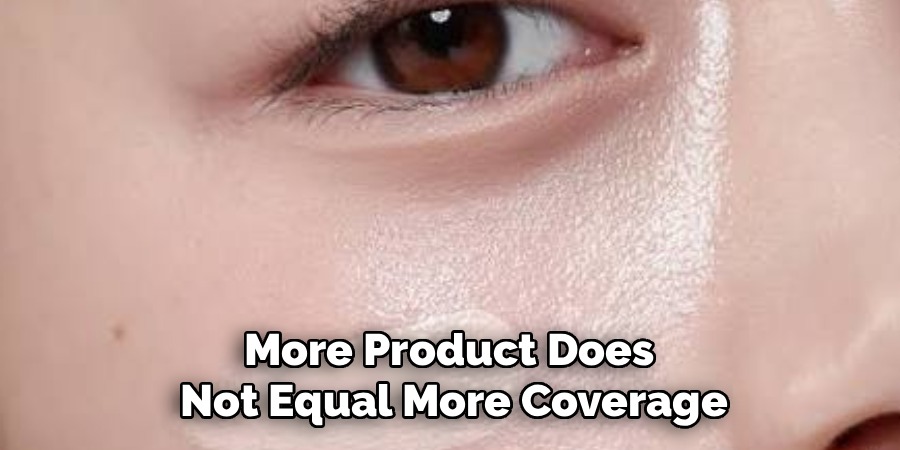
More product does not equal more coverage. In fact, layering too much concealer is one of the fastest ways to create a dry, cakey mess. Start with a tiny amount and dab it only where you actually need it, such as the inner corner of your eye or over a specific blemish. You can always build up gradually if you need extra coverage. Applying thin layers gives you a natural finish that blends seamlessly into your skin. Remember, the goal is to correct and brighten, not to coat your entire face in a thick, heavy mask of product.
Step 5: Blend With Warmth and the Right Tool
How you blend matters just as much as what you apply. Use a damp makeup sponge, a soft brush, or even your clean ring finger to press the product into your skin. The warmth from your finger helps melt the concealer so it sits smoothly, while a damp sponge adds a touch of moisture that prevents dryness. Bounce or tap rather than drag, because dragging can lift product and expose fine lines. Mastering this gentle technique is central to how to stop concealer from looking dry, since proper blending transforms even an average formula into a smooth, natural-looking finish.
Step 6: Set Lightly, Not Heavily
Setting powder keeps concealer in place, but too much powder is a common cause of dryness and creasing. Instead of dusting powder all over, use a small, fluffy brush to apply a very light layer only on areas that tend to crease. Choose a finely milled, translucent powder and tap off any excess before it touches your skin. This locks in your work without absorbing too much moisture. If your under-eye still looks powdery, press a slightly damp sponge over the area to melt everything together. A light hand here keeps your finish soft, fresh, and comfortable.
Step 7: Refresh Throughout the Day
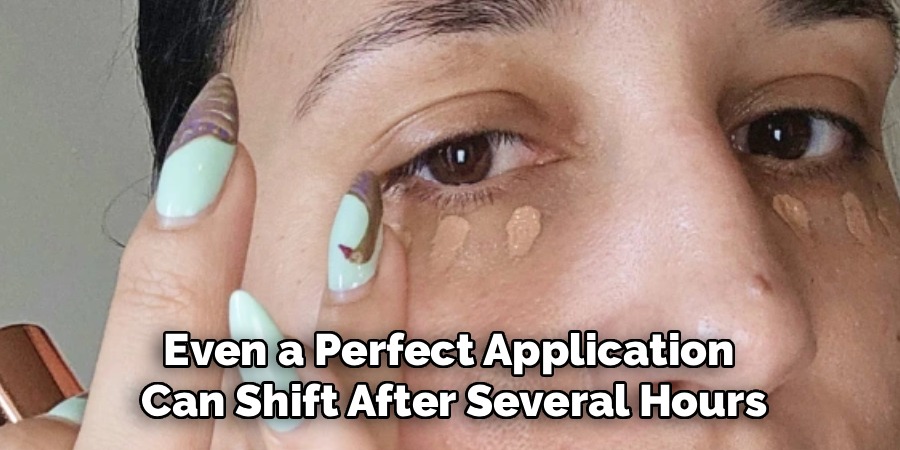
Even a perfect application can shift after several hours, so a quick midday touch-up keeps things looking flawless. Instead of adding more concealer on top, which builds up and dries out, mist your face with a hydrating setting spray and gently press the area with your fingertip or a damp sponge. This revives the product and smooths out any creasing without adding bulk. Keeping a travel-size mist in your bag makes this effortless. With this final habit, you maintain a fresh, hydrated look from morning until night, no matter how long your day runs.
Frequently Asked Questions
Why Does My Concealer Crease Even After Setting It?
Creasing usually happens when there’s too much product or powder in the under-eye area. If your skin is dry, the concealer clings to fine lines and gathers as you move. Try using less product, blending with a damp sponge, and setting only lightly. Adding a hydrating eye cream beforehand also helps, because plump, moisturized skin resists creasing far better than dry, tight skin.
Can I Fix Dry Concealer Without Removing My Makeup?
Yes, and it’s easier than you’d expect. Spritz a hydrating setting spray over the dry area, then gently press it with a clean fingertip or a slightly damp makeup sponge. The moisture reactivates the product and smooths the texture without you needing to start over. Avoid adding more concealer on top, since that typically makes the dryness and cakey appearance worse rather than better.
Does Skin Type Affect How Concealer Looks?
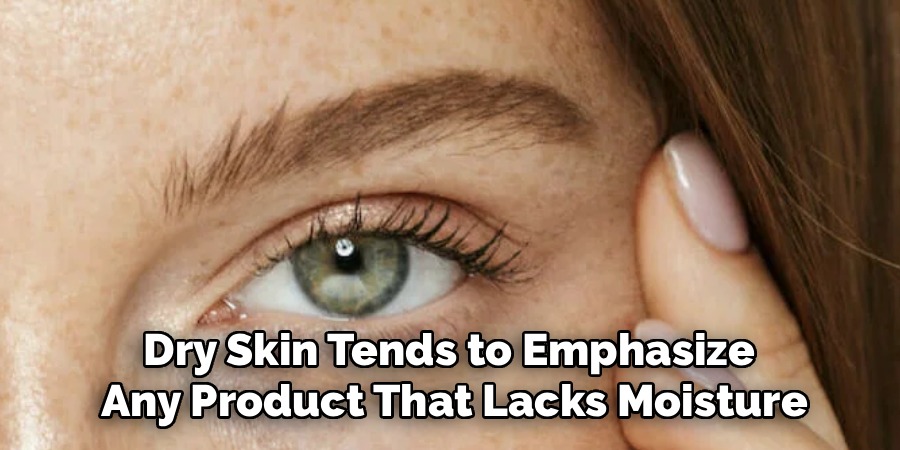
Absolutely. Dry skin tends to emphasize any product that lacks moisture, while oily skin may cause concealer to slide or break down faster. Knowing your skin type helps you choose the right formula and prep steps. If you have dry skin, focus on hydrating products and gentle setting. If you’re oilier, a lightweight primer and minimal powder will keep everything balanced and comfortable.
How Much Concealer Should I Actually Use?
Less than you probably think. A small dot on the inner corner of the eye or directly over a blemish is usually enough. Build coverage gradually in thin layers only where needed, rather than applying a thick base across the whole area. This approach gives a natural, skin-like finish and prevents the heavy, dry buildup that makes concealer look obvious and unflattering.
Is Setting Powder Really Necessary?
Not always, but it helps concealer last longer and prevents movement. The key is using a light hand. Apply a finely milled translucent powder only on areas prone to creasing, and tap off any excess first. If you have very dry skin, you can skip powder entirely and rely on a hydrating setting spray instead to keep everything in place without adding dryness.
Conclusion
A smooth, hydrated under-eye area is completely within your reach once you understand the small habits that make the difference. The core of how to stop concealer from looking dry comes down to a few simple principles hydrate your skin first, choose a creamy formula, apply thin layers, blend with warmth, and set with a light hand. Each step builds on the last, and together they transform a frustrating routine into an easy, reliable process.
Start by adjusting just one or two of these steps and notice how quickly your results improve. You don’t need expensive products or advanced skills, only a bit of patience and the right technique. Give this method a try with your next application, pay attention to what works best for your skin, and refine your routine over time. With a little practice, you’ll enjoy a fresh, natural finish that lasts all day and genuinely brightens your look.

About the Author
Jane Hubbard is a passionate beauty expert with a wealth of experience in makeup, hair, and overall beauty techniques. After years of working as a hairdresser specialist, she followed her entrepreneurial spirit and started her own consultancy business.
Jane has always been driven by her desire to help others feel confident in their own skin, and she does this by sharing her knowledge, experiences, and practical beauty tips. Through her consultancy, she empowers individuals to embrace their unique beauty, offering tailored guidance that boosts both self-esteem and personal style.
Professional Focus
Specializes in makeup, hairstyling, and beauty consulting.
Provides personalized beauty advice, tips, and techniques to help individuals feel confident in their appearance.
Dedicated to staying up-to-date with the latest industry trends and developments.
Passionate about creating a comfortable and empowering experience for every client.
Education History
University of Craft and Design – Bachelor of Fine Arts (BFA) in Woodworking and Furniture Design
Woodworking Apprenticeships – Extensive hands-on training with skilled craftsmen to refine carpentry and furniture making techniques
Online Courses & Masterclasses – Continued education in advanced woodworking techniques, design principles, and specialized tools
Expertise:
Makeup artistry, hairstyling, and beauty consulting.
Personalized beauty techniques to enhance confidence and self-expression.
Educating clients on how to maintain their beauty routines at home.