

Every time you apply your favorite blush or lipstick, you might be swiping hidden bacteria directly onto your face. Your cosmetics can easily become a breeding ground for germs, dead skin cells, and oils.
Learning how to properly sanitize your makeup is one of the most effective ways to protect your skin and prolong the life of your expensive products.
This comprehensive guide on how to sanitize makeup will walk you through the exact tools you need, a step-by-step cleaning process for every type of cosmetic, and the common mistakes you must avoid.
What are the Benefits?
Keeping your cosmetics clean goes far beyond basic organization. Regularly sanitizing your products provides several crucial benefits for your overall skin health:
- Prevents Breakouts: Dirty makeup transfers acne-causing bacteria and excess oil back onto your skin, leading to clogged pores and stubborn blemishes.
- Stops Infections: Unsanitized eye and lip products can easily transmit viral and bacterial infections, including conjunctivitis (pink eye) and cold sores.
- Extends Product Lifespan: Removing the layer of hard oils that develops on top of powders ensures your makeup performs properly and lasts until its actual expiration date.
- Maintains Color Payoff: When you remove residual oils and dirt from your products, you get the true, vibrant pigment you paid for rather than a muddy, muted application.
What Will You Need?
Before you begin the sanitation process, gather the right tools. Having a dedicated cleaning kit makes the process quick and efficient. You will need:
- 70% Isopropyl Alcohol: This is the most critical item. Do not use 99% alcohol, as it evaporates too quickly to effectively destroy bacterial cell walls.
- Small Spray Bottle: You will pour your alcohol into this for an even, fine mist.
- Clean Paper Towels: Standard paper towels provide a clean, disposable surface to wipe products on.
- Cotton Swabs: These are perfect for getting into the tight corners of palettes and cleaning the rims of tubes.
- Tissue Paper: Ideal for gently wiping off the top layer of delicate powder products.
- A Standard Pencil Sharpener: Specifically reserved for your makeup pencils.
10 Easy Steps on How to Sanitize Makeup
Maintaining a clean collection requires specific techniques for different formulas. Follow this detailed tutorial to effectively clean your entire cosmetic bag.
Step 1: Prepare Your Workspace
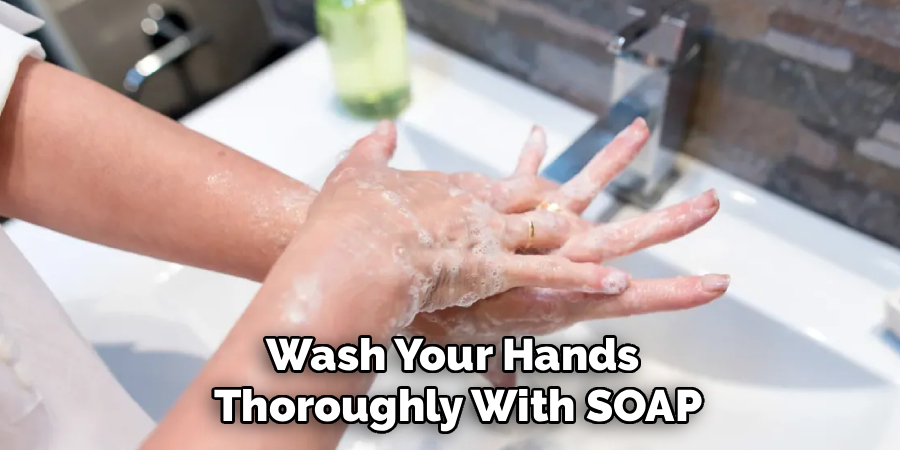
Start by clearing off a flat surface, like a bathroom counter or vanity. Wipe the area down with a disinfectant wipe to ensure you are not picking up new germs during the cleaning process. Lay down a layer of clean paper towels to catch any fallout, spills, or color transfer. Wash your hands thoroughly with soap and warm water before touching any of your cosmetics.
Step 2: Sanitize Powder Products
Pressed powders, blushes, and eyeshadows are notorious for developing a hard, shiny layer of facial oil. Take a clean piece of tissue paper or a paper towel and gently wipe across the top of the powder to remove this hardened film. Next, fill your small spray bottle with 70% isopropyl alcohol. Hold the bottle about six inches away from the product and lightly mist the surface of the powder. Leave the compact open and let it air dry completely. The alcohol will kill the bacteria and evaporate without ruining the formula.
Step 3: Disinfect Cream Foundations and Blushes
Cream products in pots or palettes trap bacteria easily because of their emollient texture. Never dip your fingers directly into cream makeup. To sanitize them, use a clean cotton swab to scrape off the very top layer of the cream. Discard that swab. Then, lightly mist the exposed surface with your 70% isopropyl alcohol. Leave the container open to dry. Going forward, use a sanitized metal spatula to scoop out the product instead of your fingers.
Step 4: Cleanse Bullet Lipsticks
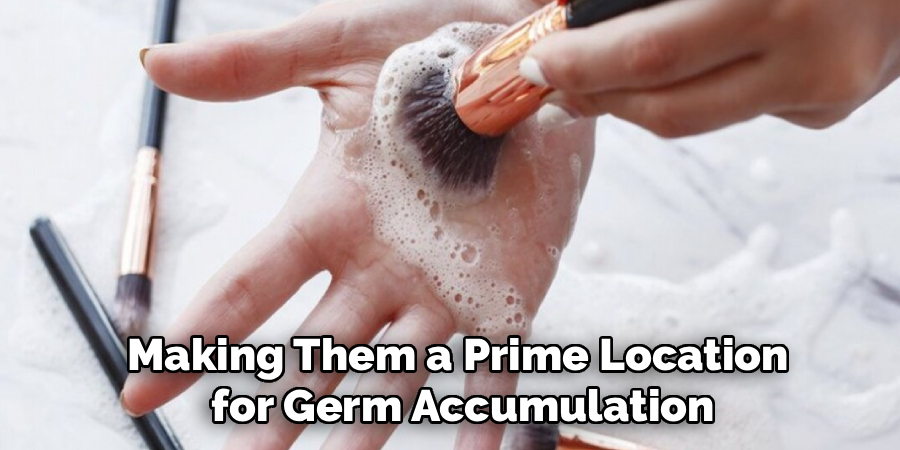
Bullet lipsticks touch your mouth repeatedly, making them a prime location for germ accumulation. Roll the lipstick tube up so the bullet is fully exposed. Take a clean tissue and gently wipe the outer layer of the lipstick to remove the part that previously touched your lips. Next, submerge the exposed lipstick in a small cup of 70% alcohol for three to five seconds, or heavily spray it with your alcohol bottle. Let it air dry before twisting it back down.
Step 5: Address Liquid Lipsticks and Lip Glosses
Products that feature a doe-foot applicator attached to a wand present a unique challenge. You cannot sanitize the liquid inside the tube. If you share the gloss or use it while you are sick, the entire tube becomes contaminated and must be thrown away. To maintain hygiene during normal use, take a cotton swab dipped in alcohol and rigorously clean the threads of the tube and the inner rim where product builds up.
Step 6: Refresh Pencil Eyeliners and Lip Liners
Pencil products are incredibly easy to keep clean. Start by wiping the pencil sharpener blade with a cotton swab soaked in rubbing alcohol. Once the sharpener is dry, simply sharpen your pencil. Shaving off the top layer reveals completely fresh, uncontaminated product underneath. For twist-up, retractable pencils, wipe the exposed tip gently with a tissue soaked in alcohol.
Step 7: Care for Liquid Eyeliners and Mascaras
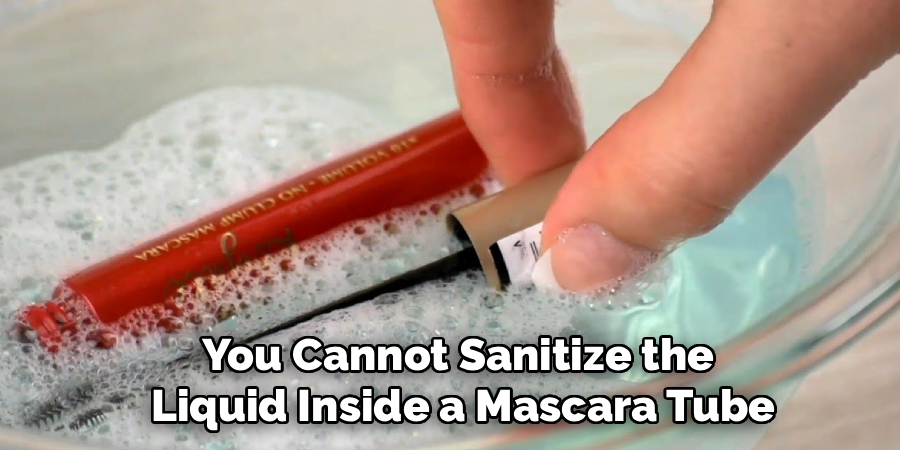
Similar to lip glosses, you cannot sanitize the liquid inside a mascara tube or a liquid eyeliner well. The dark, moist environment inside these tubes is perfect for bacterial growth. To keep them as hygienic as possible, never pump the wand, as this forces airborne bacteria into the tube. Wipe the opening and the threads of the packaging with an alcohol-soaked swab. You must strictly replace these products every three months to ensure safety.
Step 8: Wash Your Makeup Brushes
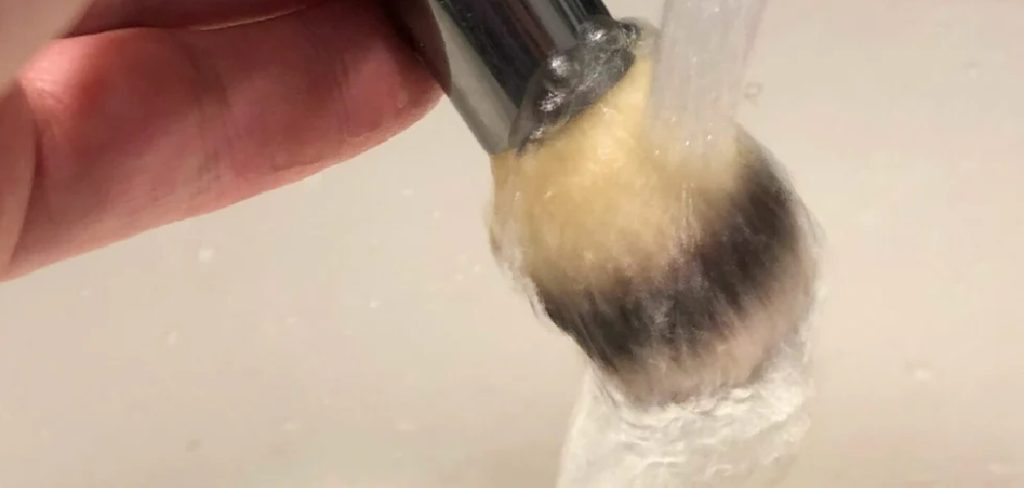
Dirty brushes undo all your hard work of sanitizing your actual makeup. Wet the bristles of your brushes with lukewarm water, keeping the water away from the metal ferrule to prevent shedding. Massage a gentle baby shampoo or a dedicated brush cleanser into the bristles until the water runs clear. Gently squeeze out the excess water with a clean towel. Reshape the brush heads and lay them flat on a counter edge to dry completely.
Step 9: Deep Clean Beauty Sponges
Makeup sponges absorb liquid foundation and hold onto moisture, making them prone to mold. Wet the sponge completely and rub it against a solid bar of gentle soap. Massage the sponge thoroughly under running water, squeezing repeatedly until no more suds or foundation wash out. For a deeper clean, you can place the damp, soapy sponge in a microwave-safe bowl of water and heat it for 60 seconds to kill lingering bacteria, then rinse thoroughly.
Step 10: Wipe Down Palettes and Packaging
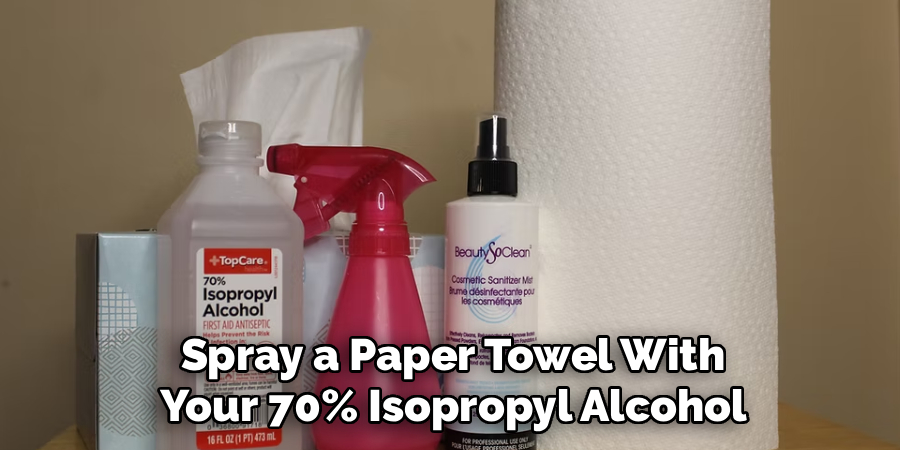
The outside packaging of your makeup gets covered in foundation fingerprints and sticky residue. Close all your compacts, palettes, and tubes tightly. Spray a paper towel with your 70% isopropyl alcohol and wipe down the exterior of every single product. Pay special attention to the mirrors inside your palettes and the gaps between eyeshadow pans. This ensures your hands stay clean the next time you reach for your makeup.
5 Things You Should Avoid
- Using 99% Alcohol: This concentration evaporates far too rapidly to effectively penetrate and kill bacterial cell walls. Always stick to 70% isopropyl alcohol.
- Sharing Eye and Lip Products: Never share mascara, liquid eyeliner, or lip gloss with anyone. These products cannot be sanitized internally and easily transfer infections.
- Pumping Your Mascara Wand: Pumping the wand in and out of the tube pushes air and airborne bacteria into the product, drying it out and accelerating bacterial growth.
- Adding Water to Dry Products: Never add tap water or saliva to an eyeshadow or liner to make it more pigmented. This introduces immediate bacterial contamination.
- Ignoring Expiration Dates: Sanitizing does not reverse expiration. Pay attention to the Period After Opening (PAO) symbol on the packaging and toss expired cosmetics.
Frequently Asked Questions
- How Often Should I Sanitize My Makeup?
You should aim to sanitize your personal makeup products about once a month to maintain optimal hygiene. However, if you recently recovered from an illness like a cold or an eye infection, you must sanitize everything immediately. Makeup brushes and sponges require more frequent attention and should be washed once a week. Professional makeup artists must sanitize their products and tools after every single client. Routine cleaning keeps your skin safe and your makeup performing beautifully. - Can I Use Hand Sanitizer Instead of Rubbing Alcohol?
You should never use hand sanitizer to clean your cosmetics or palettes. Hand sanitizers often contain added moisturizers, fragrances, and thickening gels that will ruin the formula of your makeup. These additives leave behind a sticky, greasy residue that binds to powders and changes the texture of creams. 70% isopropyl alcohol is the only appropriate liquid because it effectively kills bacteria and then completely evaporates. Stick to pure rubbing alcohol for a clean, damage-free finish. - How Do I Know When It is Time to Throw Makeup Away Entirely?
Every cosmetic product features a Period After Opening (PAO) symbol, which looks like a tiny open jar with a number inside, indicating its shelf life in months. Aside from this timeline, you should discard any product immediately if you notice a change in smell, texture, or color. Mascaras and liquid eyeliners have the shortest lifespan and must be thrown away every three to four months, regardless of how much is left. If your sanitized powder product continues to cause breakouts, it is time to replace it.
Conclusion
Taking the time to sanitize your makeup is a vital step in any thorough skincare routine.
By consistently using 70% isopropyl alcohol and practicing good hygiene habits, you actively protect your skin from breakouts and painful infections. Make this simple, ten-step cleaning process a regular part of your monthly schedule. Your skin will look clearer, your products will last longer, and your makeup applications will remain flawless.
Hopefully, this guide on how to sanitize makeup has helped you understand the importance of sanitizing your makeup and how to properly do it.

About the Author
Jane Hubbard is a passionate beauty expert with a wealth of experience in makeup, hair, and overall beauty techniques. After years of working as a hairdresser specialist, she followed her entrepreneurial spirit and started her own consultancy business.
Jane has always been driven by her desire to help others feel confident in their own skin, and she does this by sharing her knowledge, experiences, and practical beauty tips. Through her consultancy, she empowers individuals to embrace their unique beauty, offering tailored guidance that boosts both self-esteem and personal style.
Professional Focus
Specializes in makeup, hairstyling, and beauty consulting.
Provides personalized beauty advice, tips, and techniques to help individuals feel confident in their appearance.
Dedicated to staying up-to-date with the latest industry trends and developments.
Passionate about creating a comfortable and empowering experience for every client.
Education History
University of Craft and Design – Bachelor of Fine Arts (BFA) in Woodworking and Furniture Design
Woodworking Apprenticeships – Extensive hands-on training with skilled craftsmen to refine carpentry and furniture making techniques
Online Courses & Masterclasses – Continued education in advanced woodworking techniques, design principles, and specialized tools
Expertise:
Makeup artistry, hairstyling, and beauty consulting.
Personalized beauty techniques to enhance confidence and self-expression.
Educating clients on how to maintain their beauty routines at home.