

The search for natural and effective hair growth remedies has led many to rediscover an ancient botanical secret: rosemary oil.
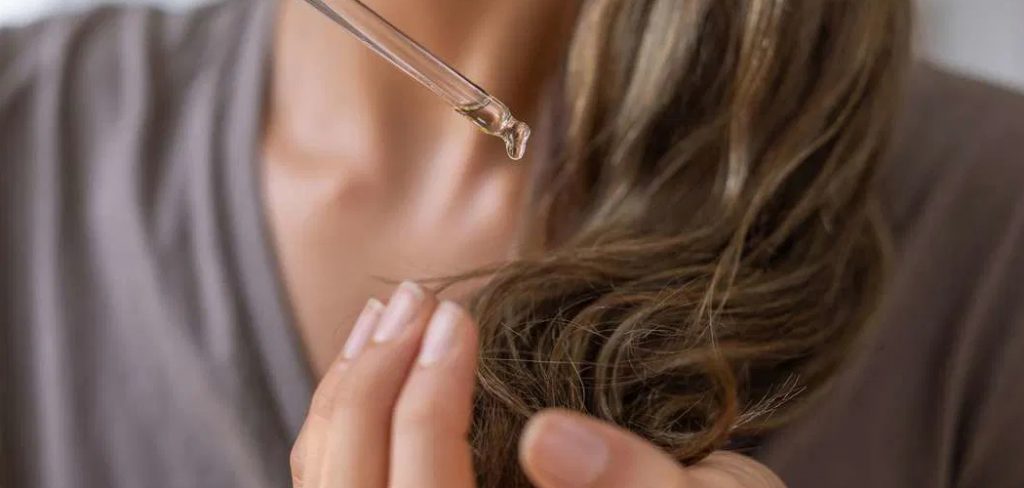
This fragrant herb, long celebrated in culinary and medicinal traditions, is gaining significant attention for its potential to foster thicker, healthier hair. Unlike many complex chemical treatments, rosemary oil offers a simple, plant-based approach to hair care that has been trusted for centuries. It addresses common hair concerns like thinning, slow growth, and scalp health, making it a valuable addition to any hair care routine.
This guide on how to use rosemary oil for hair growth will walk you through everything you need to know.
What Will You Need?
Getting started with rosemary oil is simple and doesn’t require expensive equipment. You likely already have some of these items at home.
- High-Quality, 100% Pure Rosemary Essential Oil: This is the star of the show. Ensure you choose a pure, therapeutic-grade oil without synthetic additives.
- Carrier Oil: Essential oils are highly concentrated and must be diluted. Good choices include jojoba, coconut, argan, or sweet almond oil. Choose one that suits your hair type.
- A Small Bowl or Jar: For mixing the rosemary oil and carrier oil.
- Dropper or Pipette: This allows for precise measurement and easy application directly to the scalp. Many essential oil bottles come with a built-in dropper.
- Shower Cap: To trap heat and help the oils penetrate your scalp and hair shafts more effectively.
- Towel: To protect your clothes from any drips during application.
- Gentle Shampoo and Conditioner: For washing the oil mixture out of your hair.
10 Easy Steps on How to Use Rosemary Oil for Hair Growth
Step 1: Choose Your Carrier Oil Wisely
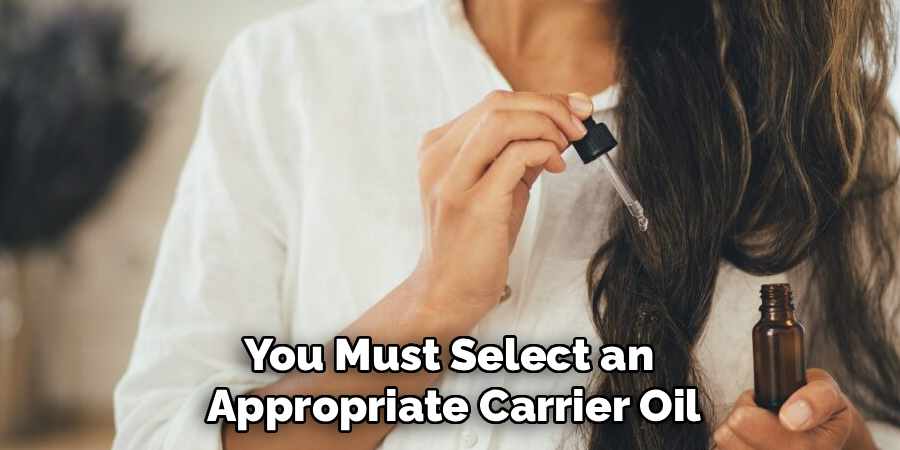
Before you can even think about applying rosemary oil, you must select an appropriate carrier oil to dilute it. Essential oils are extremely potent and can cause skin irritation, redness, or even burns if applied directly to the scalp. A carrier oil not only makes the application safer but also adds its own unique hair benefits.
The right choice depends on your hair type and scalp condition. For those with oily hair, lightweight oils like jojoba or grapeseed oil are ideal because they mimic the scalp’s natural sebum and absorb quickly without leaving a greasy residue.
Step 2: Perform a Patch Test
This step is non-negotiable, especially if you have sensitive skin or are new to using essential oils. An allergic reaction on your scalp can lead to inflammation and hair loss, which is the opposite of what you want to achieve. To perform a patch test, mix one drop of rosemary oil with a teaspoon of your chosen carrier oil.
Apply a small amount of this diluted mixture to a discreet area of skin, such as the inside of your elbow or behind your ear. Cover it with a bandage and wait for 24 hours. Check the area for any signs of redness, itching, burning, or irritation. If you experience any adverse reaction, do not proceed with the scalp application. If the area remains clear and calm after 24 hours, it is safe to use the oil on your scalp.
Step 3: Prepare the Oil Mixture
Now it’s time to create your hair growth elixir. The correct ratio is crucial for effectiveness and safety. A standard, safe dilution is about 2-3%. For a simple measurement, aim for 3-5 drops of rosemary essential oil for every tablespoon (15 ml) of carrier oil. Use a small, clean glass bowl or jar for mixing.
Add your carrier oil first, then carefully drop in the rosemary oil. Stir the mixture gently with a clean utensil or simply swirl the bowl to ensure the essential oil is evenly distributed throughout the carrier oil. Preparing the right amount for one session prevents waste and ensures you use a fresh mixture each time. For a standard application covering the entire scalp, 2-3 tablespoons of carrier oil should be sufficient.
Step 4: Section Your Hair
Applying oil to a full head of hair without a plan can be messy and inefficient. To ensure the oil reaches every part of your scalp, you need to work in sections. Start with dry, detangled hair. Use clips or hair ties to divide your hair into at least four manageable sections—two in the front and two in the back. If you have very thick hair, you may need to create six or eight sections. This methodical approach allows you to focus on one area at a time, guaranteeing that the oil is applied directly to the scalp skin rather than just sitting on top of your hair.

Step 5: Apply the Oil to Your Scalp
With your hair sectioned, it’s time for the application. Using a dropper or your fingertips, apply the rosemary oil mixture directly to the scalp along the part lines you’ve created. Work through one section at a time. Squeeze a few drops along a part line, then use your fingers to gently spread the oil over the exposed scalp area. Create a new part line about half an inch away from the first and repeat the process. Continue this method until you have covered your entire scalp, from your front hairline to the nape of your neck.
Step 6: Massage Your Scalp
This is perhaps the most critical and beneficial step in the process. A scalp massage does more than just work the oil in; it manually stimulates blood flow to the hair follicles, enhancing the effects of the rosemary oil. Using the pads of your fingertips (not your nails), apply gentle but firm pressure to your scalp.
Move your fingers in small, circular motions. Start at the front of your hairline and slowly work your way back to the nape of your neck, ensuring you massage every part of the scalp for at least 5-10 minutes. This not only boosts circulation but is also incredibly relaxing and can help reduce stress, another factor that contributes to hair loss.
Step 7: Distribute the Remaining Oil
While the primary target is the scalp, the length of your hair can also benefit from the nourishing properties of the oils. After you’ve finished the scalp massage, take any leftover oil from the bowl and rub it between your palms. Gently run your hands through the length of your hair, from the mid-shafts to the ends. The ends of your hair are the oldest and most fragile part, often prone to splitting and dryness. Applying the oil mixture here will help to hydrate, strengthen, and protect them from damage.
Step 8: Cover Your Hair and Wait
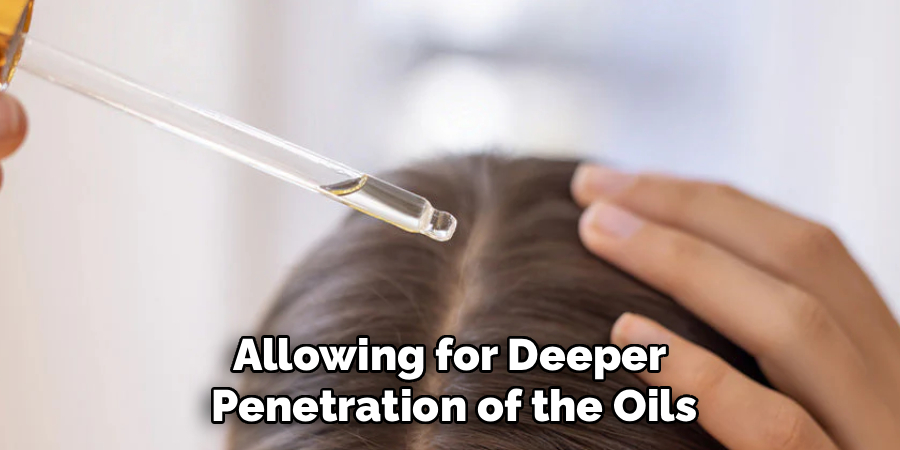
Once your scalp and hair are lightly coated, it’s time to let the oil work its magic. Trap the heat from your scalp to help open up the hair cuticles and pores, allowing for deeper penetration of the oils. Gather your hair and pile it on top of your head, then cover it with a shower cap. If you don’t have a shower cap, you can use plastic wrap or a warm towel.
Let the treatment sit for at least 30 minutes. For a more intensive deep conditioning treatment, you can leave it on for a few hours or even overnight. If you choose to leave it on overnight, be sure to place a towel over your pillowcase to protect it from oil stains.
Step 9: Shampoo and Rinse Thoroughly
Washing the oil out correctly is important to avoid greasy, weighed-down hair. Because you’ve used oil, you may need to shampoo twice—a process known as double cleansing. In the shower, apply shampoo to your dry, oil-treated hair before adding water. This allows the shampoo to bind directly with the oil, helping to break it down more effectively. Massage the shampoo into your scalp and hair, then add a little water to start lathering. Rinse thoroughly.
Step 10: Condition and Final Rinse
After shampooing, your hair will need its moisture replenished. Apply your regular conditioner, focusing primarily on the mid-lengths and ends of your hair. Avoid applying too much conditioner to your scalp, as this can weigh down the roots. Let the conditioner sit for a few minutes as directed on the bottle, then rinse it out with lukewarm or cool water.
5 Things You Should Avoid
To get the best results and prevent unwanted side effects, be mindful of these common mistakes:
- Using Undiluted Oil: Never apply pure rosemary essential oil directly to your scalp. It is highly concentrated and can cause irritation, burns, or an allergic reaction. Always dilute it with a carrier oil.
- Applying Too Much Oil: More is not always better. Saturating your hair and scalp in oil will not speed up results. It will only weigh your hair down and make it extremely difficult to wash out, potentially leading to clogged pores.
- Inconsistent Use: Using rosemary oil sporadically will not yield significant results. For hair growth, consistency is crucial. Aim for a regular schedule of 1-2 treatments per week and stick with it for at least three to six months.
- Ignoring a Patch Test: Skipping the 24-hour patch test is a risky move, even if you don’t have sensitive skin. An undiscovered allergy can cause scalp inflammation, which can worsen hair loss.
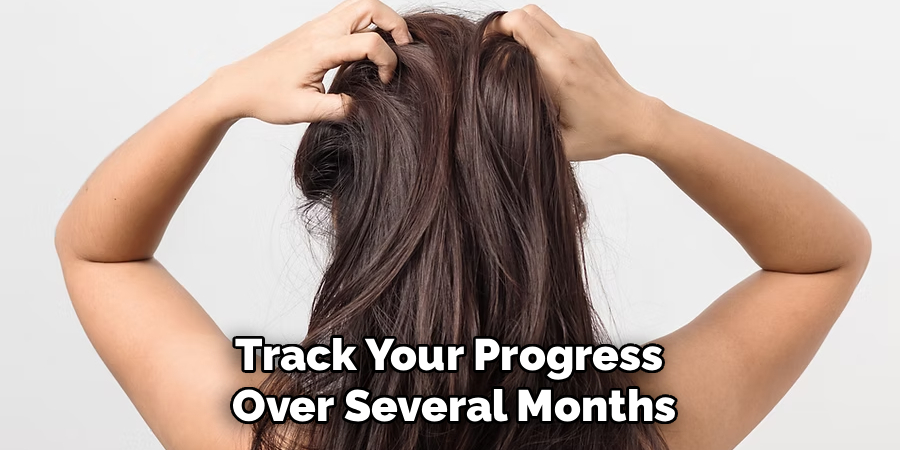
- Expecting Overnight Results: Hair growth is a slow process. While rosemary oil can be effective, it won’t produce a full, thick head of hair overnight. Be patient and realistic, and track your progress over several months.
Conclusion
Rosemary oil offers a promising, natural way to support hair growth, strengthen strands, and improve overall scalp health.
By understanding how to use rosemary oil for hair growth, you can harness its full potential. Remember to dilute the oil, perform a patch test, and apply it with a stimulating scalp massage.
Consistency and patience are your most important tools on this journey. While results won’t appear overnight, incorporating this simple yet powerful ritual into your weekly routine can lead to visibly healthier, thicker, and more resilient hair over time.

About the Author
Jane Hubbard is a passionate beauty expert with a wealth of experience in makeup, hair, and overall beauty techniques. After years of working as a hairdresser specialist, she followed her entrepreneurial spirit and started her own consultancy business.
Jane has always been driven by her desire to help others feel confident in their own skin, and she does this by sharing her knowledge, experiences, and practical beauty tips. Through her consultancy, she empowers individuals to embrace their unique beauty, offering tailored guidance that boosts both self-esteem and personal style.
Professional Focus
Specializes in makeup, hairstyling, and beauty consulting.
Provides personalized beauty advice, tips, and techniques to help individuals feel confident in their appearance.
Dedicated to staying up-to-date with the latest industry trends and developments.
Passionate about creating a comfortable and empowering experience for every client.
Education History
University of Craft and Design – Bachelor of Fine Arts (BFA) in Woodworking and Furniture Design
Woodworking Apprenticeships – Extensive hands-on training with skilled craftsmen to refine carpentry and furniture making techniques
Online Courses & Masterclasses – Continued education in advanced woodworking techniques, design principles, and specialized tools
Expertise:
Makeup artistry, hairstyling, and beauty consulting.
Personalized beauty techniques to enhance confidence and self-expression.
Educating clients on how to maintain their beauty routines at home.