
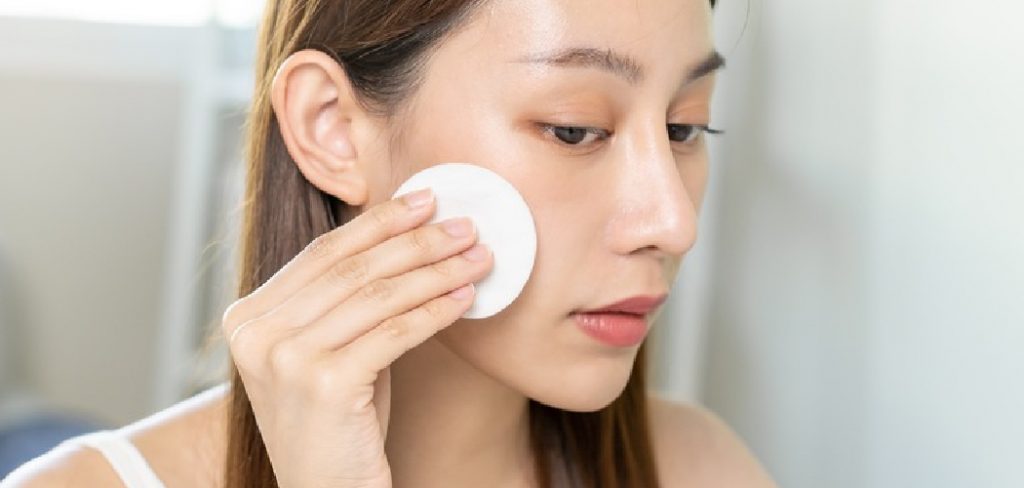
Removing makeup at the end of the day is an essential step in maintaining healthy skin. Makeup remover wipes offer a quick and convenient solution, helping to cleanse your face and remove impurities. Instead of relying on store-bought options filled with chemicals, you can create your own makeup remover wipes at home using natural and gentle ingredients. This guide will walk you through the simple steps of how to make makeup remover wipes tailored to your skincare needs.
Benefits of Making DIY Makeup Remover Wipes
Creating your own makeup remover wipes comes with numerous advantages. First and foremost, homemade wipes allow you to select natural, skin-friendly ingredients, helping to minimize irritation and avoid harmful chemicals often found in store-bought products. This is particularly beneficial for those with sensitive skin or specific allergies.
Additionally, DIY wipes are cost-effective, as the ingredients are typically inexpensive and often already available at home. Another significant benefit is the ability to customize the formula to suit your skincare needs, whether it’s hydration, soothing properties, or oil control.
Lastly, making your own wipes is an eco-friendly choice, as you can use reusable materials and reduce plastic waste, contributing to a more sustainable lifestyle.
Common Concerns with Store-Bought Wipes
While store-bought makeup remover wipes may seem convenient, they often come with several drawbacks that can negatively impact your skin and the environment. One major concern is that many commercial wipes contain harsh chemicals, fragrances, and preservatives that can irritate sensitive skin or trigger allergies.
Prolonged use of such products may lead to dryness, redness, or even long-term skin damage. Another issue is the excessive use of non-biodegradable materials, such as synthetic fibers, which contribute to plastic pollution and environmental harm.
Additionally, store-bought wipes are often single-use, generating significant waste and adding to landfills. Lastly, the cost of constantly repurchasing these items can add up over time, making them less cost-effective compared to DIY alternatives. These concerns highlight the importance of considering more sustainable and skin-friendly options, such as homemade wipes.

10 Easy Steps : How to Make Makeup Remover Wipes
1. Using Liquid Soap and Warm Water
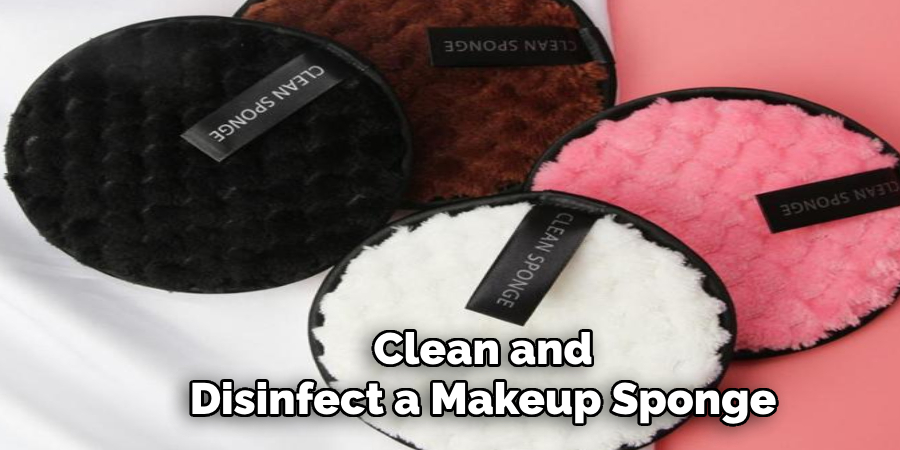
A simple yet effective way to clean a makeup sponge is by using liquid soap and warm water. Start by dampening the sponge under warm running water to loosen product buildup. Apply a few drops of mild liquid soap directly onto the sponge and gently massage it using your fingers. Squeeze and knead the sponge repeatedly to help break down stubborn makeup stains. Rinse thoroughly under running water until all soap and residue are gone. Finally, squeeze out excess moisture and let the sponge air dry in a well-ventilated area.
2. Deep Cleaning with a Makeup Sponge Cleanser
Many beauty brands offer specialized cleansers designed for makeup sponges, which effectively remove makeup residue while preserving the sponge’s texture. To use this method, wet your sponge with warm water and apply the cleanser according to the product instructions.
Work the cleanser into a lather and gently rub the sponge between your fingers. Rinse thoroughly until the water runs clear, ensuring all traces of the cleanser and makeup are removed. Gently squeeze out excess moisture and allow the sponge to air dry completely before using it again.
3. Microwave Disinfection Method
A microwave can be used to deep clean and disinfect a makeup sponge efficiently. Fill a microwave-safe bowl with warm water and add a few drops of mild dish soap. Submerge the sponge fully in the soapy water and microwave the bowl on high for 30–60 seconds. The heat and steam will help kill bacteria and break down makeup residue.
After microwaving, let the bowl cool before removing the sponge. Rinse the sponge under clean water, squeeze out excess moisture, and allow it to air dry completely.
4. Baby Shampoo for a Gentle Clean
For those with sensitive skin, baby shampoo is a mild yet effective cleanser for makeup sponges. Wet the sponge with warm water and apply a small amount of baby shampoo. Gently massage the sponge, working the shampoo into the material to lift makeup and oil buildup.
Continue massaging and squeezing the sponge until it is completely clean. Rinse thoroughly under running water until no shampoo residue remains. Press out excess water and leave the sponge to dry in an open space with good air circulation.
5. Olive Oil and Dish Soap for Stubborn Stains
A combination of olive oil and dish soap works wonders on makeup sponges with stubborn stains and heavy product buildup. Olive oil helps break down waterproof makeup, while dish soap effectively removes grease and residue. Mix equal parts olive oil and dish soap in a small bowl. Dampen the sponge, then dip it into the mixture and gently work the solution into the sponge using your fingers.
Rinse under warm running water, squeezing repeatedly to remove all traces of oil and soap. Once fully clean, squeeze out any remaining water and let the sponge air dry.
6. Bar Soap for Quick and Easy Cleaning
Using a bar soap is a straightforward method that requires minimal effort. Wet your makeup sponge with warm water and rub it directly against a gentle bar soap in circular motions. The friction will help break down built-up makeup and dirt. Continue rubbing and massaging the sponge until all stains disappear. Rinse under running water until all soap residue is removed. Press out excess moisture and place the sponge in a dry, well-ventilated area to air dry completely.
7. Double Cleansing for Extra Dirty Sponges
If your makeup sponge has gone weeks without cleaning, a double cleansing method can restore its cleanliness. Start by soaking the sponge in a bowl of warm water mixed with a few drops of olive oil to help dissolve foundation and concealer residue.
After soaking for a few minutes, cleanse the sponge again using a mild dish soap or a dedicated sponge cleanser. Massage thoroughly to remove any remaining stains. Rinse well under clean water, squeeze out excess liquid, and let the sponge dry completely before its next use.
8. Baking Soda Soak for Odor Removal
Baking soda is a natural deodorizer that helps remove unpleasant odors from a makeup sponge. Fill a bowl with warm water and add a tablespoon of baking soda, stirring until dissolved. Submerge the sponge in the solution and let it soak for 30 minutes.
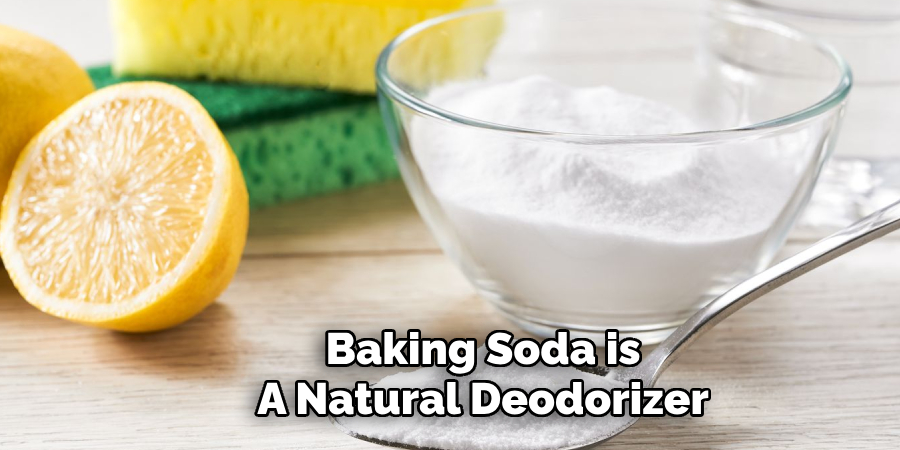
After soaking, gently massage the sponge to release any remaining dirt or oils. Rinse under running water until the sponge is completely clean. Squeeze out excess moisture and leave it to air dry in a well-ventilated space.
9. Vinegar and Lemon Juice for Natural Disinfection
For those who prefer an all-natural cleaning approach, a mixture of vinegar and lemon juice is an excellent disinfectant. Mix one part white vinegar with two parts warm water and add a few drops of fresh lemon juice. Submerge the makeup sponge in the solution and let it soak for about 20 minutes. The acidic properties of vinegar and lemon juice help break down bacteria and remove makeup buildup.
After soaking, rinse the sponge thoroughly under clean water to eliminate any vinegar smell. Squeeze out excess water and allow the sponge to dry naturally.
10. Washing Machine Cleaning for Multiple Sponges
If you own multiple makeup sponges and want a convenient cleaning method, using a washing machine is an efficient option. Place the sponges inside a mesh laundry bag or pillowcase to prevent damage. Add a mild detergent and set the washing machine to a gentle cycle with warm water.
Avoid using fabric softeners, as they can leave residue on the sponge. Once the wash cycle is complete, remove the sponges, squeeze out excess moisture, and allow them to air dry. This method is especially useful for cleaning multiple sponges at once without much effort.
Safety Considerations
When cleaning makeup sponges, it is essential to prioritize hygiene and safety to prevent skin irritation or infections. Always ensure that the cleaning agents used, such as dish soap, baby shampoo, or cleansers, are skin-safe and free from harsh chemicals that could cause adverse reactions.

Avoid scrubbing the sponge too harshly, as this can damage its structure and reduce its effectiveness. Make sure to rinse thoroughly to remove all traces of soap or cleaning solutions, as leftover residue can irritate the skin upon use. Importantly, always allow the sponge to dry completely in a well-ventilated area to prevent the growth of mold or bacteria.
For heavily soiled sponges or those showing signs of damage, it may be best to replace them altogether to maintain optimal safety and hygiene.
Conclusion
Regularly cleaning your makeup sponges is essential for maintaining proper hygiene, extending the life of your tools, and ensuring flawless makeup application. With a variety of methods available, from natural solutions like vinegar and lemon juice to efficient techniques like the washing machine or microwave methods, there’s an option to suit every preference and need. So, there you have it – a quick and easy guide on how to make makeup remover wipes.
About the Author
Jane Hubbard is a passionate beauty expert with a wealth of experience in makeup, hair, and overall beauty techniques. After years of working as a hairdresser specialist, she followed her entrepreneurial spirit and started her own consultancy business.
Jane has always been driven by her desire to help others feel confident in their own skin, and she does this by sharing her knowledge, experiences, and practical beauty tips. Through her consultancy, she empowers individuals to embrace their unique beauty, offering tailored guidance that boosts both self-esteem and personal style.
Professional Focus
Specializes in makeup, hairstyling, and beauty consulting.
Provides personalized beauty advice, tips, and techniques to help individuals feel confident in their appearance.
Dedicated to staying up-to-date with the latest industry trends and developments.
Passionate about creating a comfortable and empowering experience for every client.
Education History
University of Craft and Design – Bachelor of Fine Arts (BFA) in Woodworking and Furniture Design
Woodworking Apprenticeships – Extensive hands-on training with skilled craftsmen to refine carpentry and furniture making techniques
Online Courses & Masterclasses – Continued education in advanced woodworking techniques, design principles, and specialized tools
Expertise:
Makeup artistry, hairstyling, and beauty consulting.
Personalized beauty techniques to enhance confidence and self-expression.
Educating clients on how to maintain their beauty routines at home.