
Learning how to apply CeraVe correctly ensures you get maximum benefits from these scientifically-formulated products. Whether you’re using their hydrating cleanser, moisturizing cream, or specialized treatments, the way you apply these products affects absorption, efficacy, and overall skin health. Poor application can reduce product performance and even cause irritation in some cases.
This comprehensive guide walks you through the optimal techniques for applying CeraVe products to achieve healthy, hydrated skin. From preparing your skin to layering products correctly, you’ll discover professional methods that enhance absorption and maximize the therapeutic benefits of ceramides, hyaluronic acid, and other active ingredients. These evidence-based techniques will help you build an effective skincare routine that delivers lasting results.
Why Proper CeraVe Application Techniques Matter
Understanding correct application methods is crucial because CeraVe products contain active ingredients that require specific conditions for optimal absorption and effectiveness. The brand’s signature ceramides and MVE technology work best when applied to properly prepared skin using gentle techniques that don’t disrupt the skin barrier.
Additionally, proper application prevents common mistakes like over-application, inadequate coverage, or mixing incompatible products that can reduce efficacy. When you apply CeraVe products correctly, you maximize their therapeutic benefits while minimizing the risk of irritation or adverse reactions, ensuring your investment in quality skincare delivers the healthy, hydrated skin you desire.
7 Step-by-Step Guide: How to Apply CeraVe
Step 1: Cleanse Your Skin Thoroughly with CeraVe Cleanser
Begin your routine by removing makeup, sunscreen, and daily impurities with an appropriate CeraVe cleanser for your skin type. Use lukewarm water to wet your face, as hot water can strip natural oils and compromise your skin barrier. Apply a small amount of cleanser to your palms and create a gentle lather before massaging it onto damp skin using circular motions. Focus on areas prone to congestion like the T-zone, but avoid aggressive scrubbing that can cause irritation.

Rinse thoroughly with lukewarm water, ensuring no cleanser residue remains, as this can interfere with subsequent product absorption. Pat your skin dry with a clean, soft towel using gentle pressing motions rather than rubbing, which can cause micro-tears and inflammation.
Step 2: Apply Toner or Treatment Products on Damp Skin
If you use toner, serums, or treatment products as part of your routine, apply them while your skin is still slightly damp from cleansing. This technique, known as “wet skin application,” helps lock in moisture and enhances product penetration. Pour a small amount of toner onto a cotton pad or your clean hands, then gently pat it onto your face and neck.
For serums or treatments, use the recommended amount and apply using light tapping motions, allowing each product to absorb for 30-60 seconds before applying the next layer. This layering technique ensures optimal absorption and prevents products from mixing inappropriately.
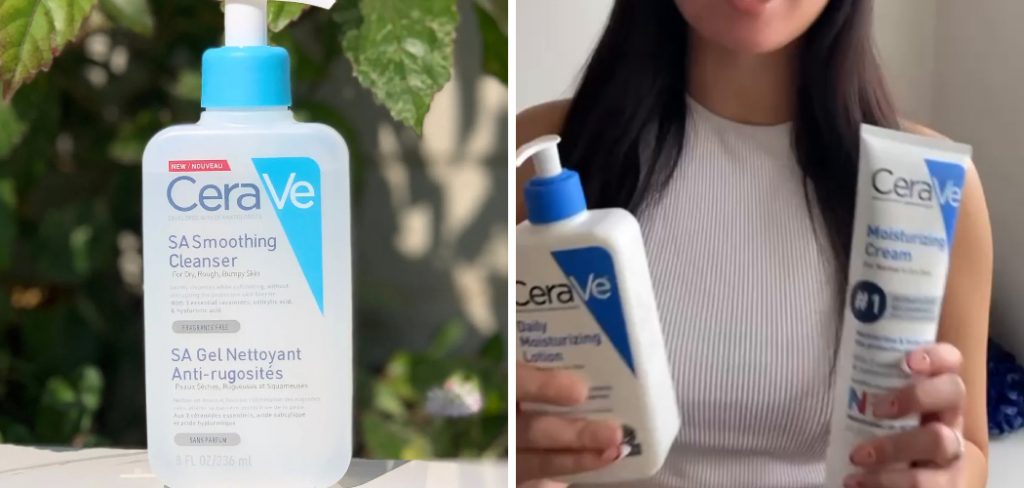
Step 3: Master the Art of How to Apply CeraVe Moisturizing Cream
CeraVe’s moisturizing creams contain ceramides and hyaluronic acid that work best when applied using proper technique and timing. Dispense an appropriate amount of cream (typically a nickel-sized portion for your face) onto clean fingertips or palms. Warm the product slightly by rubbing it between your hands, which helps improve spreadability and absorption.
Apply the cream using gentle upward and outward strokes, starting from the center of your face and working toward the hairline. Pay special attention to dry areas like cheeks and around the eyes, but avoid tugging or pulling on delicate skin. Include your neck and décolletage in your application, as these areas often show signs of aging and dryness. The MVE technology in CeraVe products provides sustained hydration when applied correctly to properly prepared skin.
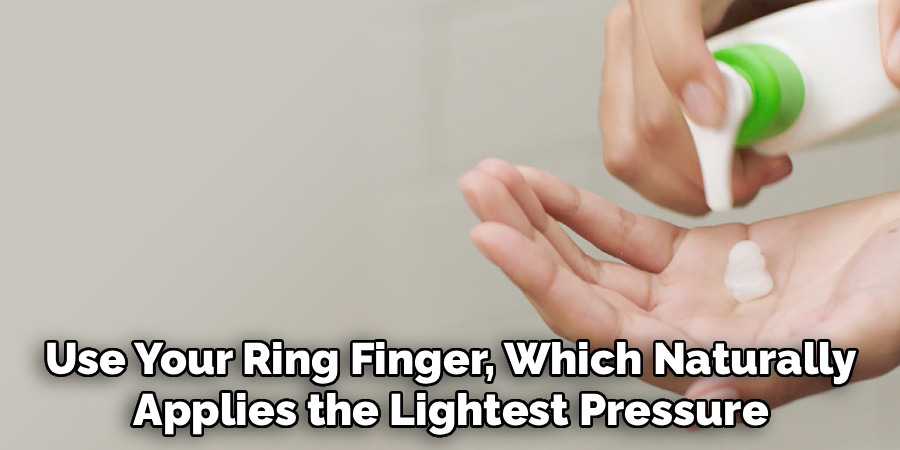
Step 4: Use Gentle Patting Motions for Delicate Areas
The skin around your eyes and lips requires special attention due to its thinner, more delicate nature. When applying CeraVe eye cream or extending facial moisturizer to these areas, use your ring finger, which naturally applies the lightest pressure. Gently pat the product along the orbital bone, starting from the inner corner and moving outward, avoiding direct contact with the eyelid or lash line.
For the lip area, apply a thin layer of appropriate CeraVe product, extending slightly beyond the lip line to address common dryness in this region. Never rub or drag these sensitive areas, as this can cause premature aging, irritation, and breakdown of the delicate skin structure. Allow products to absorb naturally without rushing the process.
Step 5: Layer Products in the Correct Order for Maximum Efficacy
Understanding proper product layering is essential for achieving optimal results from your CeraVe routine. Always apply products from thinnest to thickest consistency, allowing adequate absorption time between each application. Start with any serums or treatments, followed by CeraVe moisturizing lotion or cream, and finish with sunscreen during morning routines.
If using multiple CeraVe products, such as a hydrating cleanser followed by moisturizer and eye cream, apply the eye cream first, then facial moisturizer, ensuring you don’t accidentally get heavier products into the delicate eye area. Wait 2-3 minutes between layers to allow proper absorption and prevent product pilling or reduced effectiveness. This systematic approach ensures each product can perform its intended function without interference from others.
Step 6: Apply Sunscreen as Your Final Morning Step
Complete your morning routine by applying broad-spectrum sunscreen over your CeraVe moisturizer to protect against UV damage that can undo your skincare efforts. Wait at least 5 minutes after applying CeraVe moisturizer before adding sunscreen to ensure proper absorption and prevent product mixing. Use approximately 1/4 teaspoon of sunscreen for your face and neck, applying it in a thin, even layer using gentle pressing motions.
Don’t forget commonly missed areas like around the hairline, ears, and under the chin. If you wear makeup, allow sunscreen to set for a few minutes before application to prevent interference with product performance. Reapply sunscreen throughout the day as needed, especially if you’re outdoors or sweating, to maintain protection and preserve the benefits of your CeraVe skincare routine.
Step 7: Establish Consistent Application Times and Frequency
Consistency in timing and frequency significantly impacts the effectiveness of your CeraVe routine. Apply products at roughly the same times each day to help your skin adapt and maximize benefits from regular ingredient exposure. Most CeraVe products are designed for twice-daily use, morning and evening, but always follow specific product instructions for optimal results.
Evening applications allow for deeper penetration and repair while you sleep, when skin naturally regenerates. Morning applications provide protection and hydration for the day ahead. Set reminders if necessary to maintain consistency, as irregular use can reduce the cumulative benefits of ceramides and other active ingredients. Track your skin’s response and adjust timing if you experience any sensitivity, but maintain regular use for best long-term results.

Additional Product Recommendations
For enhanced skincare benefits, consider incorporating other complementary products into your routine. A gentle cleanser is essential to thoroughly remove impurities and prepare your skin for active ingredients. Follow this with a hyaluronic acid serum to boost hydration and enhance the skin’s barrier function alongside ceramides.
For daytime use, a broad-spectrum sunscreen with SPF 30 or higher is critical to protect your skin from harmful UV rays and prevent premature aging. At night, consider adding a retinol product to support skin renewal, but always introduce it gradually to minimize irritation. Pair these products with your ceramide-based formulation for a well-rounded and effective skincare regimen.
Frequently Asked Questions
How Much CeraVe Product Should I Use Per Application?
The amount varies by product and skin type, but general guidelines include a nickel-sized amount for facial moisturizer and a pea-sized amount for eye cream. For cleansers, a dime-sized amount usually provides adequate cleansing without waste. Start with less product and add more if needed, as over-application can lead to pilling, clogged pores, or product waste. Your skin should feel hydrated but not greasy or heavy after application. Adjust amounts based on seasonal changes, skin dryness levels, and individual absorption rates.
Can I Mix CeraVe Products with Other Skincare Brands?
Yes, CeraVe products generally work well with other brands, but introduce new combinations gradually to monitor for reactions. Apply products from thinnest to thickest consistency regardless of brand, and allow adequate absorption time between layers. Avoid mixing active ingredients like retinoids or acids directly with CeraVe products unless specifically designed for combination use. When in doubt, use CeraVe products at one time of day and other brands at another, or consult with a dermatologist about specific ingredient compatibility.
How Long Should I Wait Between Applying Different CeraVe Products?
Wait 30-60 seconds between lightweight products like serums and toners, and 2-3 minutes before applying heavier creams or sunscreen. This allows proper absorption and prevents product pilling or reduced effectiveness. If you’re in a hurry, gently pat products into skin to encourage faster absorption, but avoid rushing the process completely. During evening routines, you can wait longer between applications since there’s no need to apply makeup afterward. Pay attention to how your skin feels – it should absorb each product before adding the next layer.
What Should I Do If My Skin Feels Greasy After Applying CeraVe?
Greasiness usually indicates over-application or using the wrong product formulation for your skin type. Try reducing the amount of product you use, or switch to a lighter formula like CeraVe PM Facial Moisturizing Lotion instead of the heavier moisturizing cream. Ensure your skin is properly cleansed before application, as buildup can prevent proper absorption. Apply products to slightly damp skin to improve absorption, and consider using a toner first to help prepare your skin. If greasiness persists, consult with a dermatologist about whether CeraVe products are appropriate for your skin type.

Is It Normal for CeraVe Products to Cause Initial Breakouts?
Some people experience minor purging when starting new skincare products, but severe or persistent breakouts aren’t normal with CeraVe’s gentle formulations. If you experience increased breakouts lasting more than 2-3 weeks, discontinue use and consult a dermatologist. True purging typically occurs with active ingredients and should improve within a month. CeraVe products are non-comedogenic, but individual sensitivities can occur. Introduce new products one at a time to identify any problematic ingredients, and always patch test new products on a small skin area first.
Conclusion
Mastering how to apply CeraVe products correctly transforms your skincare routine into a therapeutic ritual that delivers lasting hydration and skin barrier repair. The techniques outlined in this guide ensure you maximize the benefits of ceramides, hyaluronic acid, and MVE technology while avoiding common application mistakes that reduce product effectiveness.
Your skin will thank you for the gentle, systematic approach that allows CeraVe’s scientifically-proven ingredients to work effectively. Start implementing these professional application techniques today and experience the difference that proper product use makes in achieving healthy, hydrated, and resilient skin.
About the Author
Jane Hubbard is a passionate beauty expert with a wealth of experience in makeup, hair, and overall beauty techniques. After years of working as a hairdresser specialist, she followed her entrepreneurial spirit and started her own consultancy business.
Jane has always been driven by her desire to help others feel confident in their own skin, and she does this by sharing her knowledge, experiences, and practical beauty tips. Through her consultancy, she empowers individuals to embrace their unique beauty, offering tailored guidance that boosts both self-esteem and personal style.
Professional Focus
Specializes in makeup, hairstyling, and beauty consulting.
Provides personalized beauty advice, tips, and techniques to help individuals feel confident in their appearance.
Dedicated to staying up-to-date with the latest industry trends and developments.
Passionate about creating a comfortable and empowering experience for every client.
Education History
University of Craft and Design – Bachelor of Fine Arts (BFA) in Woodworking and Furniture Design
Woodworking Apprenticeships – Extensive hands-on training with skilled craftsmen to refine carpentry and furniture making techniques
Online Courses & Masterclasses – Continued education in advanced woodworking techniques, design principles, and specialized tools
Expertise:
Makeup artistry, hairstyling, and beauty consulting.
Personalized beauty techniques to enhance confidence and self-expression.
Educating clients on how to maintain their beauty routines at home.