
If you’re looking for flawless, controlled coverage with your makeup, understanding how to apply makeup with a foundation brush can be a true game-changer. Unlike fingers or sponges, a good foundation brush offers speed, precision, and a level of customization that suits nearly any skin type or finish preference. Whether you crave full glam or subtle enhancement, the right technique can help you achieve a seamless look that’s both natural and long-lasting.
In this comprehensive guide, you’ll discover exactly how to select, use, and care for a foundation brush. We’ll explore brush shapes and fibers, prepping your skin for optimal smoothness, loading the right amount of product, and mastering professional placement and blending techniques. You’ll find a step-by-step brush application walkthrough in the middle of this article, tips on contouring and blending with different brushes, guidance on setting your foundation for all-day wear, and essential hygiene practices. Plus, we’ll troubleshoot the most common pitfalls, such as streaking and cakiness, so you can confidently create your best base every time.
Brush Basics: Shapes, Fibers, and Use Cases
Getting familiar with the types and features of foundation brushes is key to a flawless finish. The shape, fiber, and size of your brush all influence how your makeup goes on and how it wears throughout the day.
Flat Paddle, Stippling, and Dense Buffing Brushes
Flat paddle brushes are traditional tools that excel at quickly spreading liquid foundation in smooth, thin layers. They’re ideal for those who prefer light or medium coverage and work well when gently sweeping across the skin. Stippling brushes feature two types of fibers—a blend of firm and feathery bristles—which create an airbrushed, sheer finish through a gentle tapping (stippling) motion. Dense buffing brushes, with tightly packed bristles, build up coverage quickly and are perfect if you want a poreless, full-coverage result. Selecting the right one depends on your desired finish and the type of foundation you use.
Synthetic vs. Natural Fibers: When It Matters
The bristles of your brush make a difference not only in performance but also in durability and hygiene. Synthetic fibers, made from nylon or Taklon, are especially well-suited for liquid and cream products because they soak up less product and clean easily. Natural fibers, often made from animal hair, can be wonderful with powdered products, but they may be too absorbent for liquid or cream foundations. In today’s market, high-quality synthetic brushes often outperform their natural counterparts and are generally easier to maintain.
Size and Ferrule Shape for Different Areas
Brushes come in a variety of sizes, designed for diverse uses on the face. Wider, flatter brushes cover large surfaces quickly—ideal for the forehead and cheeks. Smaller brushes or brushes with angled or tapered ferrules (the metal band near the bristles) are great for targeting the sides of the nose, under the eyes, and around the mouth, ensuring even and precise application in every corner.
Skin Prep That Makes Brushes Glide
A smooth, hydrated canvas is just as important as the brush itself for that perfect application. Well-prepped skin helps your foundation glide on easily and ensures a lasting, fresh finish.
Balanced Hydration and Smoothing Primer
Start with a gentle cleanser followed by a hydrating moisturizer suitable for your skin type. This step helps soften any dry areas and prevents your foundation from clinging to textured patches or dryness. To smooth out pores and create a lasting grip, apply a thin layer of primer—preferably one designed to blur texture and minimize shine, or a luminous formula for dry skin. Allow your skincare and primer to fully absorb before moving on.

Tackiness vs. Slip: Timing Your Application
Timing is crucial. Skin that’s too wet may dilute your foundation or cause it to slip, while skin that’s too dry can lead to patchiness. The ideal moment is when your moisturizer and primer are nearly absorbed—your skin should feel slightly “tacky,” not slippery or wet. This surface helps anchor the foundation for easier blending and longer wear.
SPF Layering Without Pilling
Sunscreen is non-negotiable during the day, but it can sometimes cause foundation to pill or slide. Use a lightweight, non-greasy SPF and give ample time for it to set before layering primer and foundation. Patting products on thinly, instead of rubbing in thick layers, helps maintain a smooth base.
Product Loading and Amount Control
Knowing how to load and dispense foundation onto your brush determines both coverage and finish. Proper technique ensures you get the most from your product—without streaks or waste.
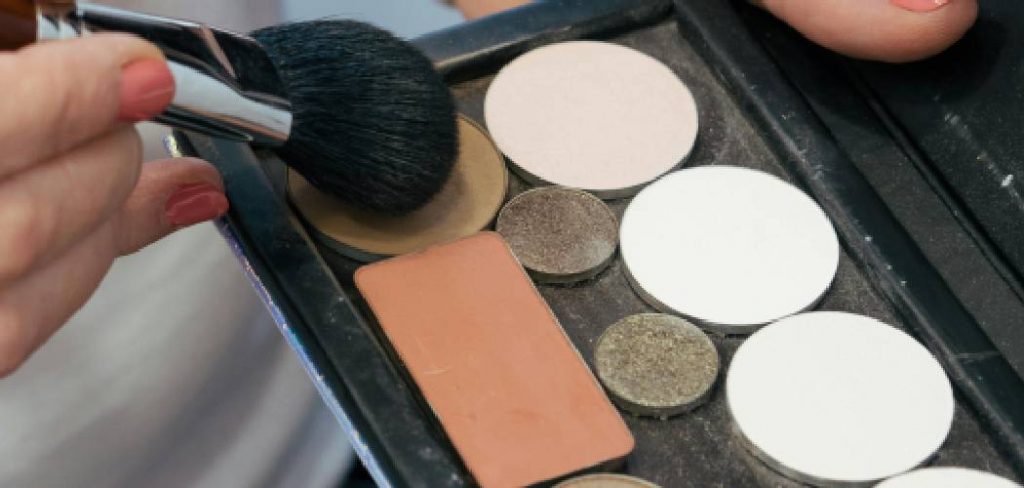
Pump-to-Brush vs. Palette Loading
You can apply foundation either by pumping it directly onto the brush or by dispensing it first onto a palette (or the back of your hand). Palette loading gives you more control and helps with even distribution, as you can dab the brush’s tip gently into the product and work off any excess before touching your face. Direct application is fast but can overload the brush and cause patchiness, especially with thinner formulas.
Preventing Brush Streaks and Over-Absorption
Less is often more. Begin by gently dipping just the tips of the bristles into the product, avoiding pushing foundation deep into the brush. Tap or swirl lightly, and always start with a smaller amount. This technique helps prevent streaking and stops the bristles from absorbing too much—a common cause of wasted product.
Building Coverage Without Caking
Achieving a skin-like finish hinges on thin, controlled layers. Rather than aiming for full coverage in one go, layer foundation gradually, waiting a few moments between each layer. Pat, press, or swirl additional product only where you need it, blending seamlessly into areas that require less.
How to Apply Makeup with a Foundation Brush: Step-by-Step Guide
Ready to master how to apply makeup with a foundation brush? The following walkthrough will take you from bare skin to a perfectly blended finish, step by step.
Step 1: Map the Face and Start at the Center
Begin by “mapping” your face. Most people require the most coverage at the center of the face—around the nose, mouth, and chin, where redness or uneven tone is common. Lightly tap the brush or your finger to dot foundation in these areas. This approach ensures you place the bulk of your product where it’s most needed, with less around the perimeter for a natural gradient.
Step 2: Lay Down Thin Layers with Downward Strokes
Using short, gentle downward strokes, begin sweeping the foundation outward from the center of your face. Downward motion follows the natural direction of facial hair, helping foundation lay flat and appear smoother. Blend each area well before moving to the next to avoid build-up.
Step 3: Press-and-Roll Over Pores and Texture
For areas with visible pores, acne scars, or dryness, switch to a press-and-roll or stippling motion. Lightly press the brush onto the skin and roll or tap to gently “push” foundation into pores and over texture rather than sweeping across the surface. This technique blurs imperfections and prevents streaks, giving a seamless finish.
Step 4: Sheer the Edges at the Hairline, Ears, and Jaw
A flawless finish means no visible lines where the foundation stops. Sheer out the product at your hairline, around your ears, and along the jaw by using lighter pressure and quick, feathery motions. In these areas, less product is more—if needed, use a clean brush or the edge of a tissue to further diffuse any hard lines.
Step 5: Spot Build Only Where Needed
After your base is blended, evaluate your face under natural light. Use the tip of your brush to dab extra foundation on areas needing more coverage—such as blemishes or under-eye circles—instead of adding another layer over the entire face. This spot-building approach keeps the base lightweight and natural.
Advanced Placement: Sculpting With Foundation
Once you’ve mastered the basics, a foundation brush can also help you subtly sculpt and enhance your features.
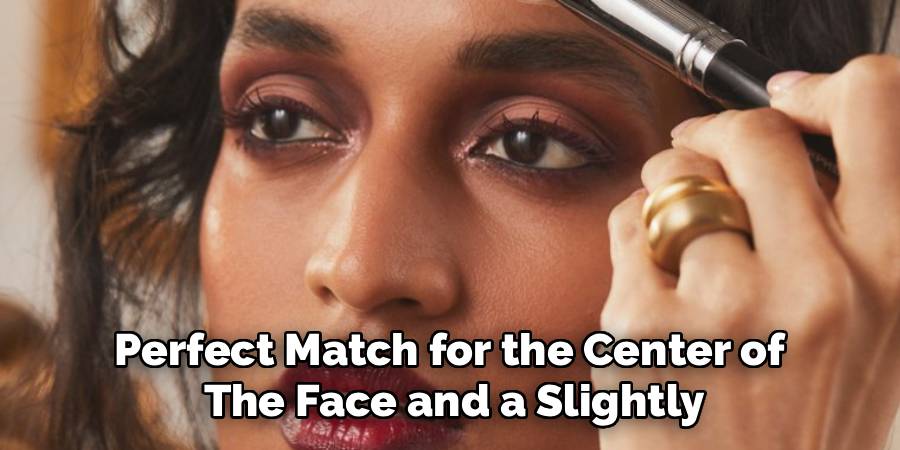
Strategic Shade Shifts: True Match vs. Half-Shade Deeper
Some makeup artists use two foundation shades—a perfect match for the center of the face and a slightly deeper tone for the outer contours. This “shade shifting” technique adds soft dimension to the face. Using your clean foundation brush, blend the deeper shade along the hairline, under cheekbones, and jaw for a sculpted but natural effect.
Using Foundation to Pre-Contour
Another advanced method is “pre-contouring” with foundation. Instead of traditional contour powders or creams, use a small amount of a darker foundation with your brush to define the hollows of your cheeks, sides of the nose, and around the jawline. This approach keeps everything seamless and less likely to appear harsh compared to powders.
When to Skip Full-Face Coverage
Not every look calls for a full layer of foundation. If your skin is generally smooth and you prefer a lighter feel, use the brush to apply product only where needed—focusing on redness, around the nose, or small blemishes—and blend out to nothing across the rest of the face. This minimal technique enhances natural skin while concealing just enough.
Set for Longevity Without Chalkiness
A lasting, natural-looking base depends on how you set your foundation. With a few well-placed brush strokes, your makeup can last for hours—without looking dry or powdery.
Micro-Setting High-Movement Zones
Focus powder application only on high-movement zones, such as under the eyes, around the mouth, and the sides of the nose. Use a small brush or puff to tap a finely milled powder onto these areas. This “micro-setting” method fixes makeup in place while letting the rest of your face retain a luminous, real-skin finish.
Puff vs. Brush Powder Techniques
For more matte, long-wearing results, a powder puff pressed into the skin provides maximum staying power. Use a fluffy brush for a lighter, more diffused effect—perfect if you prefer a touch of glow. Whichever method, always tap off any excess powder to avoid caking.
Choosing the Right Setting Spray
The right setting spray can lock in your look while adding the desired finish, whether dewy or matte. Hold the spray several inches away, mist lightly, and allow it to dry naturally. Sprays with alcohol content dry faster but may suit oilier skin types best.

Hygiene and Maintenance
Proper care of your foundation brush is crucial—not just for performance, but also for the health of your skin.
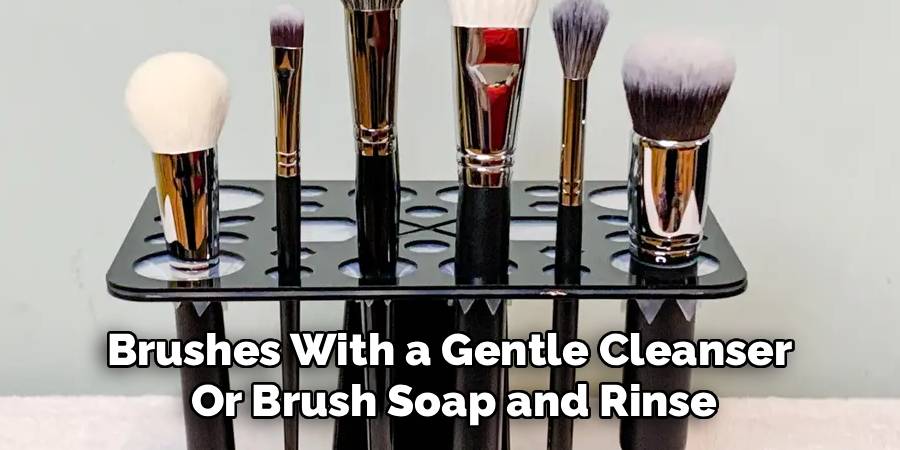
Daily Wipe-Downs vs. Weekly Deep-Cleans
Spot-clean your brush after each use, especially if you wear makeup daily. Use a quick-dry spray or wipe away excess product on a tissue. Once a week, wash your brushes with a gentle cleanser or brush soap and rinse thoroughly. Clean brushes prevent bacteria buildup and keep application flawless.
Drying Brushes to Protect Shape and Glue
After washing, gently reshape the bristles and lay the brush flat or hang it upside down to dry. Avoid storing damp brushes upright, as water can seep into the ferrule and loosen the glue, leading to shedding. Proper drying helps your brushes last longer and retain their performance.
When to Replace Worn-Out Brushes
Inspect your brush regularly. If you notice persistent shedding, frayed bristles, or difficulty in getting the brush clean, it may be time to replace it. A good-quality brush, cared for properly, should last for years, but regular use does take its toll.
Troubleshooting: Streaks, Caking, and Oxidation
Even with the best technique, issues like streaks or caking can arise. Here’s how to quickly solve them and keep your base looking immaculate.
Fixing Streaks and Uneven Patches
If you notice streaks or uneven patches after application, lightly buff over the area with a clean foundation brush or a dry sponge using circular motions. This helps smooth out lines without removing product. For small imperfections, re-blend with a touch more foundation only where needed.
Managing Cakiness Over Texture
Cakiness often results from layering too much product. If it happens, gently press a clean, slightly damp sponge over the area to lift excess foundation without disturbing the rest of your base. Moving forward, remember to hydrate well and stick to thin layers, especially over textured or dry skin.
Preventing Oxidation and Shade Shift
A foundation that turns orange or darkens after application is usually reacting with your skin’s natural oils or with other products. To prevent this, choose formulas known for stability, use an appropriate primer, and blot skin before reapplying foundation during the day. Test shades under natural light and allow them to “set” for at least 10 minutes before making a final decision.
Conclusion
Mastering how to apply makeup with a foundation brush can transform your makeup routine, offering ultimate control over coverage, finish, and longevity. From understanding the nuances of brush types to perfecting your layering technique, every detail contributes to a flawless base. Routine brush maintenance, thoughtful product choice, and strategic application make it possible to achieve a look that is both polished and true to your natural skin.
Whether you’re enhancing your daily routine or seeking a red-carpet complexion, practicing these techniques will give you confidence and skill to achieve smooth, even coverage that lasts. Remember: it’s not just the makeup, but the method that makes all the difference.
About the Author
Jane Hubbard is a passionate beauty expert with a wealth of experience in makeup, hair, and overall beauty techniques. After years of working as a hairdresser specialist, she followed her entrepreneurial spirit and started her own consultancy business.
Jane has always been driven by her desire to help others feel confident in their own skin, and she does this by sharing her knowledge, experiences, and practical beauty tips. Through her consultancy, she empowers individuals to embrace their unique beauty, offering tailored guidance that boosts both self-esteem and personal style.
Professional Focus
Specializes in makeup, hairstyling, and beauty consulting.
Provides personalized beauty advice, tips, and techniques to help individuals feel confident in their appearance.
Dedicated to staying up-to-date with the latest industry trends and developments.
Passionate about creating a comfortable and empowering experience for every client.
Education History
University of Craft and Design – Bachelor of Fine Arts (BFA) in Woodworking and Furniture Design
Woodworking Apprenticeships – Extensive hands-on training with skilled craftsmen to refine carpentry and furniture making techniques
Online Courses & Masterclasses – Continued education in advanced woodworking techniques, design principles, and specialized tools
Expertise:
Makeup artistry, hairstyling, and beauty consulting.
Personalized beauty techniques to enhance confidence and self-expression.
Educating clients on how to maintain their beauty routines at home.