

There is a quiet luxury in an Artis brush gliding across your skin. Those densely packed fibers blend foundation into something that almost looks airbrushed, and that smooth performance feels worth every penny. The thing is, it only lasts when you keep them clean.
Learning how to clean Artis makeup brushes protects your investment, keeps your skin happy, and preserves that flawless finish you fell in love with.
So set aside any worry that these brushes are too precious to maintain. Caring for them is simpler than it looks. We will cover why proper cleaning matters, the supplies that make it painless, how to prep your brushes, a full step-by-step routine, and a few tips for keeping the fibers soft for years. Grab your brushes and let’s get into it.
Why Cleaning Artist’s Brushes Properly Matters?
Before you reach for the soap, it helps to understand what is really at stake. There are two payoffs here, and both make the small effort feel worthwhile.
Protecting Your Skin From Bacteria and Buildup
Leftover foundation, oils, and dead skin cells settle deep into those densely packed CosmeFibre bristles. Left alone, that little mix becomes a cozy home for bacteria.
Then you sweep that brush across your face. Breakouts, dullness, uneven application. None of it is dramatic, but it quietly works against your skin and your makeup.
Regular cleaning keeps things clear. Think of it as a gentle act of self-care, so every swipe stays hygienic rather than vaguely risky.
Preserving the Unique Artis Fibers
Mindful cleaning also protects the synthetic fibers that make these brushes feel so special. Treated gently, they stay soft and springy far longer.
Harsh products, hot water, and rough handling can damage the delicate bristles and shorten their lifespan. That premium tool wears out sooner than it should, which sort of defeats the point of buying it.
There is a quiet satisfaction in a brush that performs beautifully wash after wash. A little care now means these tools keep earning their place in your routine for years.
Gathering Your Cleaning Supplies
You almost certainly own most of this already. No special shopping trip required, which is part of the appeal.
Gentle Cleansers That Work Best
Gentle is the word to hold onto here. A mild liquid soap, a dedicated brush cleanser, baby shampoo, or a fragrance-free hand soap all lift makeup without stripping the fibers.
Skip anything harsh or drying. Strong formulas can rough up the synthetic bristles and leave them stiff over time.
You do not need an expensive specialty cleaner, either. The right everyday option does the job beautifully, leaving brushes clean and residue-free without any fuss.
Tools and Accessories That Help
A few small helpers turn cleaning into a smooth little ritual. A clean bowl, a soft silicone cleaning mat, a towel, and a drying rack go a long way.
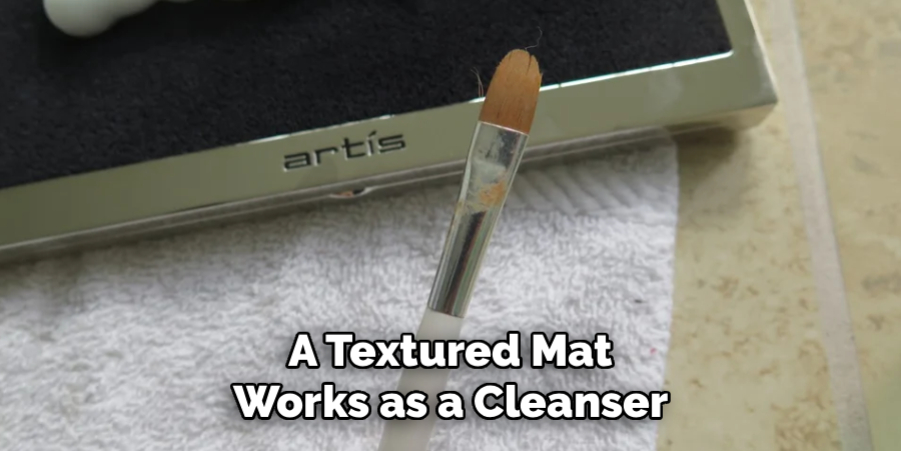
A textured mat works as a cleanser through dense fibers without harsh scrubbing. The flat drying surface protects the brush shape while it dries, which matters more than you might think.
Keep lukewarm running water nearby for thorough rinsing. None of these are strictly required. They just make the whole thing feel organized rather than fiddly, and that tends to keep the habit alive.
Preparing Your Brushes Before Cleaning
A quick prep step makes the full wash far gentler and more effective. This is the part people skip, then wonder why they are scrubbing so hard.
Wiping Off Excess Product First
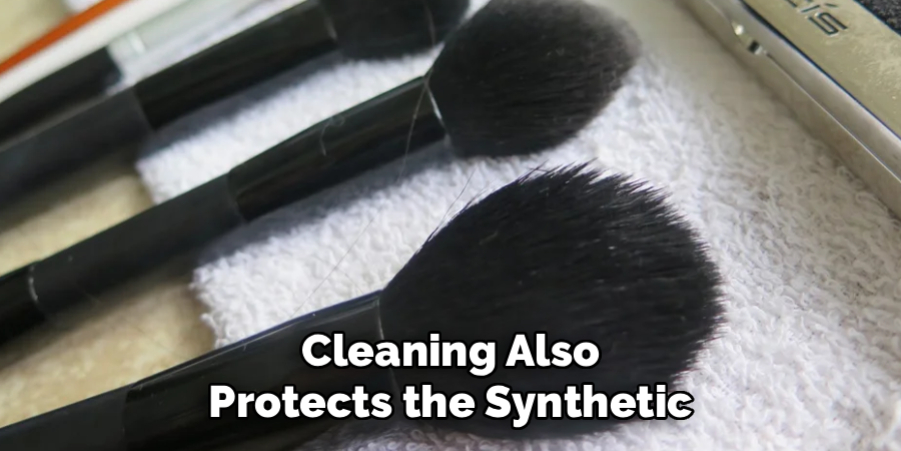
Before any water touches the fibers, wipe each brush across a clean, dry towel. A few light strokes lift away the surface foundation and powder.
There is something satisfying about watching that first layer of product come off so easily. Try to make it a quick reflex after every use.
This small step cuts down dramatically on deep buildup and scrubbing later. It keeps your brushes cleaner between full washes, so the bigger cleaning session feels light and quick.
Checking the Fibers and Handle
Take a moment to look the brush over before washing. Scan the bristles and handle for stubborn product clumps or any loose fibers.
Noticing these details upfront helps you clean gently and avoid soaking the base where the fibers meet the handle. That base is the part you most want to keep dry.
Handle the brush by its body rather than tugging at the bristles. A quick once-over tells you exactly what each brush needs, which sets up a careful, effective wash.
How to Clean Artis Makeup Brushes: Step-by-Step Guide
Here is the heart of it. Knowing how to clean Artis makeup brushes really comes down to a clear sequence, moving from product-loaded to soft and spotless without any guesswork. Take each step in order and let the cleanser do the work.
Step 1: Wet the Fibers With Lukewarm Water
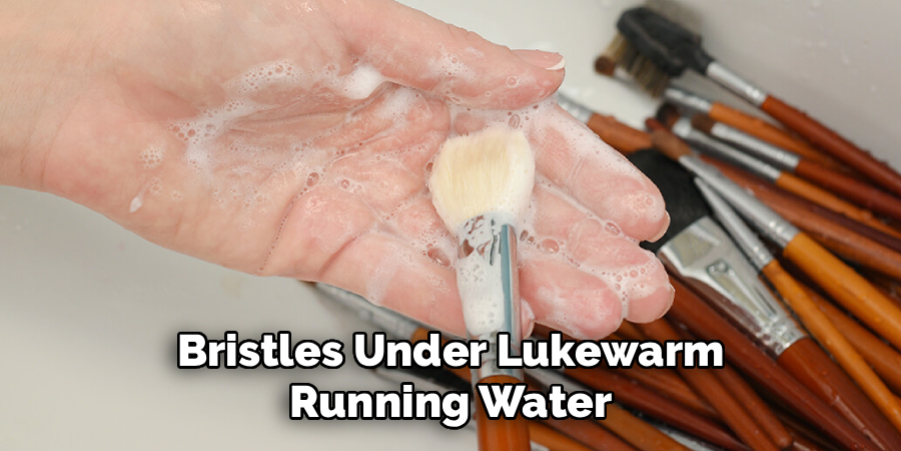
Hold the brush with the bristles pointing downward under lukewarm running water, keeping the base and handle dry. Pointing the fibers down stops water from seeping into the glue that holds the brush together.
That gentle stream loosens the surface makeup as a first easy step. Watch it start to lift away.
Avoid hot water, which can damage the delicate fibers. This careful start protects the brush while prepping it perfectly for the cleanser that follows.
Step 2: Apply a Gentle Cleanser
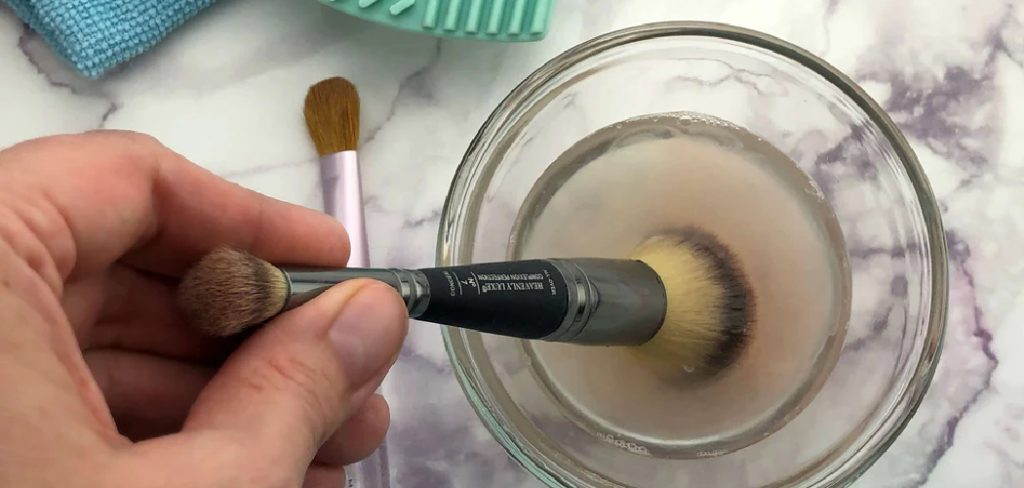
Add a small amount of mild soap or brush cleanser to a clean bowl, a silicone mat, or a damp palm. Then swirl the wet bristles gently into it to create a soft lather.
The suds begin lifting trapped foundation from deep within the dense fibers. Try to cover the whole brush head without overloading it.
A little cleanser goes a long way here. Gentle motions protect the bristles while still doing the real cleaning work.
Step 3: Swirl and Work Through the Dense Fibers
Swirl the brush in light circular motions across a textured mat or your palm. This works the cleanser through the packed bristles, where Artis brushes tend to hold the most product.
Tinted lather usually appears as the buildup releases. It is a small, reassuring sign that the deep cleaning is happening.
Stay patient and keep the touch soft rather than aggressive. This mindful step is where the real work gets done, leaving fibers noticeably fresher and ready to perform again.
Step 4: Rinse Thoroughly Until Water Runs Clear
Rinse the bristles under lukewarm running water, fibers still pointing downward, gently squeezing from base to tip to push the cleanser out. Rinsing fully matters, since leftover soap can stiffen fibers and irritate your skin.
Watch the tinted water gradually run completely clear. That is your sign the job is going well.
Keep going until no suds remain and the brush feels clean. Thorough rinsing is the difference between a brush that looks clean and one that truly is residue-free and skin-safe.
Step 5: Gently Reshape and Remove Excess Water
Press the clean brush against a clean towel to absorb the excess water, then carefully reshape the bristles back to their original form with your fingers. Press softly rather than wringing or twisting, which can loosen the fibers over time.
A quick reshape preserves that signature dense, sculpted brush head. Smooth any stray bristles back into place as you go.
This small, careful moment protects the brush shape. It helps the brush dry into the perfect form for flawless application next time.
Step 6: Dry Flat and Inspect Your Brushes
Lay the brushes flat, or angle the bristles slightly downward, on a drying rack away from direct heat or sunlight. Air drying with the fibers down protects the glue and helps the brush keep its shape.
A hot dryer or upright drying can cause real damage, so resist the urge to speed things up. Patience wins here.
Once they are dry, give each brush a quick inspection for softness and any lingering residue. There is a cozy satisfaction in a neat lineup of fresh, fluffy brushes ready for the next use.
How Often Should You Clean Your Artist’s Brushes
Cleaning frequency depends on how each brush is used. A few tailored notes can help you settle into the right rhythm.
Brushes Used With Liquid and Cream Products
Brushes you use for foundation, concealer, and cream products collect the most buildup. They benefit from cleaning every few uses, if not daily.
Moist, pigment-heavy formulas attract bacteria fastest, so these hardworking brushes need the most attention. Frequent gentle cleaning keeps them hygienic and your complexion smooth.
It sounds like a lot, but each wash is quick. That small habit pays off in fresher skin and a more flawless finish.
Brushes Used With Powder Products
Brushes for blush, bronzer, and setting powder generally need washing about once a week. Powders build up more slowly than creams, though they still trap oils and bacteria over time.
A light wipe between uses helps stretch that freshness a little further. It is an easy way to keep things tidy between full washes.
A steady weekly wash keeps powder brushes soft and allows for applying color beautifully. No guesswork required.
Spot Cleaning for Quick Refreshes
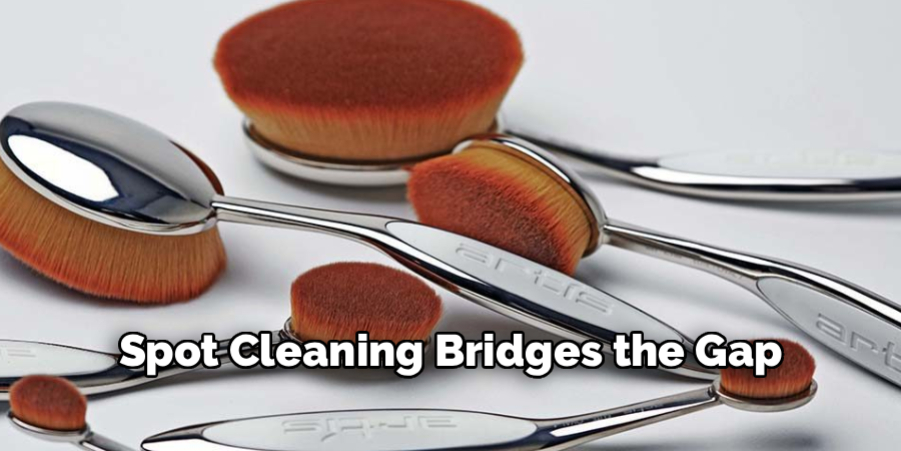
Spot cleaning bridges the gap between deep washes, especially when you switch shades mid-look. A little gentle brush cleanser handles it.
Swirl the bristles on a clean towel until the product lifts away, then let them dry. The whole thing takes seconds.
This quick habit maintains hygiene and color accuracy on busy days. Your brushes stay ready to perform even when a full wash is not in the cards.
Common Mistakes That Damage Artists’ Brushes
A few small habits quietly harm these premium brushes. Each one is easy to sidestep once you know to watch for it.
Using Hot Water or Harsh Cleansers
Very hot water and stripping, alcohol-heavy cleansers can damage the delicate synthetic fibers and dry them out over time. The brushes lose the softness that made them worth buying.
The fix is simple. Reach for lukewarm water and gentle, skin-friendly cleansers instead.
This one easy switch protects the softness and density that make Artis brushes special. Gentle products may be the simplest way to keep your tools plush and high-performing for years.
Soaking the Brush or Wetting the Base
Fully submerging a brush, or letting water reach the base, loosens the glue holding the fibers in place. Shedding tends to follow.
Keep the bristles pointed down and the handle dry, every time. It becomes second nature quickly.
This careful habit prevents shedding and keeps brushes intact. It protects the structure that delivers that signature flawless finish wash after wash.
Drying Brushes Upright or With Heat
Drying brushes’ bristles up lets water seep into the base, while hot dryers can warp the fibers. Both quietly shorten the life of the brush.
Lay brushes flat or angled downward to air dry instead. Patience does the protecting.
Heat-free drying preserves both shape and softness. Your brushes keep looking and feeling brand new, far longer.
Keeping Your Brushes Fresh and Long-Lasting
Once you have a clean set, a couple of simple habits protect that result. Neither asks much of you.
Building a Simple Cleaning Routine
Pair quick wipes after each use with regular, deeper washes, and cleaning never piles up. A steady rhythm keeps brushes consistently fresh and ready whenever you reach for them.
There is a calm in a little system that runs almost on autopilot. Once it becomes a habit, caring for your Artis brushes barely registers as a task.
That leaves you free to just enjoy the luxurious, flawless application. No second thought required.
Storing Brushes the Right Way
Store clean, fully dry brushes in a cool, dust-free spot, ideally lying flat or in a protective case that shields the bristles. Proper storage prevents bent fibers and dust buildup between uses.
Keep them away from humid bathroom air, which can soften the base over time. A drier spot does them a real favor.
There is a tidy pleasure in a well-protected brush collection. Thoughtful storage is a simple final touch that keeps your tools pristine and ready.
Conclusion
Knowing how to clean Artis makeup brushes turns a simple task into a lasting, skin-loving habit you can keep up with ease. What looked like fussy upkeep for fragile tools is really just a few gentle minutes that pay you back for years.
You now hold the full picture. Why proper cleaning matters, which gentle supplies to gather, the step-by-step routine, and the tips for frequency, storage, and avoiding damage.
So gather your brushes and give the method a try today. Confidence grows with every soft, spotless result, and your Artis brushes will stay plush and ready for a flawless finish.

About the Author
Jane Hubbard is a passionate beauty expert with a wealth of experience in makeup, hair, and overall beauty techniques. After years of working as a hairdresser specialist, she followed her entrepreneurial spirit and started her own consultancy business.
Jane has always been driven by her desire to help others feel confident in their own skin, and she does this by sharing her knowledge, experiences, and practical beauty tips. Through her consultancy, she empowers individuals to embrace their unique beauty, offering tailored guidance that boosts both self-esteem and personal style.
Professional Focus
Specializes in makeup, hairstyling, and beauty consulting.
Provides personalized beauty advice, tips, and techniques to help individuals feel confident in their appearance.
Dedicated to staying up-to-date with the latest industry trends and developments.
Passionate about creating a comfortable and empowering experience for every client.
Education History
University of Craft and Design – Bachelor of Fine Arts (BFA) in Woodworking and Furniture Design
Woodworking Apprenticeships – Extensive hands-on training with skilled craftsmen to refine carpentry and furniture making techniques
Online Courses & Masterclasses – Continued education in advanced woodworking techniques, design principles, and specialized tools
Expertise:
Makeup artistry, hairstyling, and beauty consulting.
Personalized beauty techniques to enhance confidence and self-expression.
Educating clients on how to maintain their beauty routines at home.