
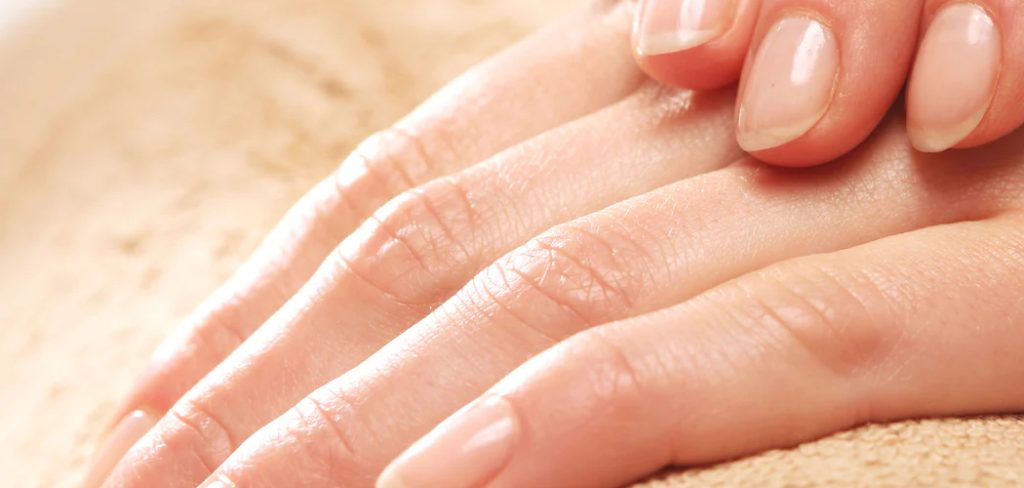
Healthy, polished nails often start with one overlooked detail: the cuticles. While many of us focus on nail polish colors or strengthening treatments, the skin surrounding the nail plate is the true guardian of nail health.
Incorporating cuticle cream into your routine isn’t just about aesthetics; it is a vital step in maintaining strong, infection-free fingers. When your cuticles are nourished, they form a tight seal against bacteria, allowing your nails to grow out stronger and smoother.
Whether you are a manicure enthusiast or someone who just wants neat hands, understanding how to use this product correctly can transform your nail care routine. Let’s dive in how do you use cuticle cream.
What are the Benefits?
Using cuticle cream regularly offers more than just temporary moisture. It provides a host of long-term benefits that contribute to the overall health of your hands.
- Deep Hydration: Unlike standard hand lotions, cuticle creams are often formulated with thicker occlusives like lanolin, beeswax, or petroleum jelly. These ingredients trap moisture deep within the skin, repairing dry and cracked areas that regular lotion can’t touch.
- Prevention of Hangnails: Hangnails are often caused by dry skin shrinking and tearing away from the nail bed. By keeping the area supple, you drastically reduce the likelihood of these painful tears occurring.
- Stronger Nail Growth: A healthy cuticle protects the matrix—the root of the nail where growth happens. When the matrix is protected and nourished, the new nail plate grows out smoother and less prone to splitting.
- Improved Appearance: Dry, white, ragged skin around the nails can ruin the look of even the most expensive manicure. Cuticle cream instantly revitalizes the look of the fingers, making them appear groomed and clean.
- Soothing Inflammation: Many creams contain healing ingredients like vitamin E, aloe, or almond oil, which can soothe the irritation caused by harsh weather, frequent hand washing, or chemical exposure.
What Will You Need?
Before you begin your cuticle care routine, gather the following items to ensure you get the best results:
- High-Quality Cuticle Cream: Look for ingredients like shea butter, vitamin E, and natural oils (jojoba or almond).
- Warm Water and a Bowl: For soaking your hands.
- Gentle Hand Soap: To clean your hands thoroughly without stripping oils.
- Soft Towel: For drying your hands.
- Orange Wood Stick (Cuticle Pusher): To gently push back the cuticles.
- Cotton Gloves (Optional): For an intensive overnight treatment.
10 Easy Steps on How Do You Use Cuticle Cream
Step 1: Clean Your Hands Thoroughly
Begin with a fresh canvas. Wash your hands with warm water and a gentle soap to remove any dirt, grime, or surface oils. This step is crucial because applying cream over dirty skin can trap bacteria and prevent the nourishing ingredients from absorbing properly. Ensure you rinse away all soap residue, as leftover soap can be drying.
Step 2: Soak Your Nails
Before applying any treatment, soften the skin. Fill a small bowl with warm water and soak your fingertips for about 5 to 10 minutes. This process hydrates the keratin in the nails and softens the hardened skin around the cuticle area, making it much more receptive to the cream you are about to apply. You can add a drop of essential oil to the water for a spa-like experience.
Step 3: Pat Dry Gently
Remove your hands from the water and pat them dry with a soft towel. Avoid rubbing vigorously, as wet skin is more delicate and prone to damage. Your hands should be dry but slightly damp to the touch. This residual moisture helps the cuticle cream lock in hydration more effectively than if applied to bone-dry skin.
Step 4: Apply a Small Amount of Cream
A little goes a long way with cuticle cream. Take a small amount—about the size of a grain of rice per nail—and dab it onto the base of each nail. Place the cream directly over the cuticle area (the U-shape of skin at the base of the nail) and the sides of the nail (the lateral nail folds).
Step 5: Massage the Cream In
This is the most critical part of the process. Using your thumb, massage the cream into each cuticle using small, circular motions. Continue massaging for at least 30 to 60 seconds per finger. The massage action increases blood circulation to the nail bed, which stimulates growth, while the heat from the friction helps the product melt and penetrate deeper into the skin.
Step 6: Push Back the Cuticles (Optional)
Once the skin is thoroughly softened by the warm water and the cream, you can gently push back your cuticles. Use an orange wood stick wrapped in a thin piece of cotton, or a rubber-tipped pusher. Very gently nudge the cuticle back toward the knuckle. This cleans up the nail plate and makes the nails look longer. Never force the skin; if it hurts, stop immediately.

Step 7: Treat the Hyponychium
Don’t forget the skin underneath the free edge of your nail, known as the hyponychium. This area can also become dry and calloused. Rub a tiny bit of leftover cream under the tip of the nail. Keeping this seal hydrated prevents it from detaching or becoming uncomfortable, especially if you have longer nails.
Step 8: Wipe Off Excess (If Applying Polish)
If you plan to paint your nails immediately after this treatment, you must remove the oily residue from the nail plate. Use a cotton pad dipped in rubbing alcohol or nail polish remover to wipe down just the nail surface, avoiding the surrounding skin you just moisturized. If you aren’t painting your nails, skip this step and let the cream continue to absorb.
Step 9: Reapply After Hand Washing
Water and soap are the enemies of hydrated cuticles. To maintain the benefits, try to reapply a thin layer of cream after every time you wash your hands, or at least twice a day. Keep a small jar in your purse or at your desk to make this habit easier to maintain. Consistency is key to preventing the dryness from returning.
Step 10: The Overnight Treatment
For the ultimate repair job, apply a thick layer of cuticle cream right before bed. Don’t massage it all the way in—leave a visible layer sitting on the skin. Then, put on a pair of cotton gloves. The gloves will trap body heat and prevent the cream from rubbing off on your sheets, forcing the moisture into the skin while you sleep. You will wake up with incredibly soft hands.
5 Things You Should Avoid
- Cutting Your Cuticles: Never use nippers to cut the living skin around the nail. This breaks the seal that protects the nail matrix from bacteria, leading to infections (paronychia) and inflammation. Only trim dead skin that is hanging loose (hangnails).
- Using Harsh Chemicals Without Gloves: Cleaning agents, bleach, and even frequent use of hand sanitizer can destroy the moisture barrier of your cuticles. Always wear rubber gloves when doing household chores to protect your manicure and your skin.
- Over-pushing the Cuticle: Pushing too hard or too aggressively can damage the nail matrix, causing ridges or white spots to form on the new nail growth. Be extremely gentle and only push back when the skin is soft.
- Picking at Dry Skin: It can be tempting to pick or bite at dry bits of skin around the nail, but this almost always leads to bleeding and open wounds. Instead of picking, immediately apply cream or oil to smooth the rough edge.
- Ignoring Signs of Infection: If your cuticle area becomes red, swollen, hot to the touch, or painful, stop using cosmetic products and consult a doctor. Applying cream over an active bacterial or fungal infection can sometimes trap the bacteria and worsen the issue.
Frequently Asked Questions
- How Often Should I Use Cuticle Cream?
Ideally, you should use cuticle cream every day. Applying it once before bed is a great baseline for maintenance. However, if you have very dry hands or wash your hands frequently, applying it two to three times a day will yield the best results. Consistency is much more effective than sporadic heavy treatments. - Can I Use Hand Lotion Instead of Cuticle Cream?
While hand lotion is better than nothing, it is generally too thin and watery to effectively treat the tough skin of the cuticles. Cuticle creams are formulated with heavier oils and waxes that provide a protective barrier and deeper hydration. For the best results, use specific cuticle products for the nail area and lotion for the rest of the hand. - Is Cuticle Oil or Cuticle Cream Better?
Both serve slightly different purposes. Cuticle oil is excellent for quick absorption and daily maintenance, penetrating deep into the nail folds. Cuticle cream is usually thicker and better for intensive repair and creating a barrier against moisture loss. Many nail technicians recommend using oil during the day and a heavier cream at night for maximum hydration.
Conclusion
Taking care of your cuticles is a small investment of time that pays off with beautiful, healthy, and strong nails.
By following these ten easy steps on how do you use cuticle cream and avoiding common pitfalls like cutting or picking, you can transform dry, ragged fingers into salon-worthy hands. Remember, the key to success is consistency—keeping a small jar of cuticle cream on your nightstand or desk ensures you never miss a day of nourishment.
Start your routine today, and enjoy the confidence that comes with perfectly groomed hands.
About the Author
Jane Hubbard is a passionate beauty expert with a wealth of experience in makeup, hair, and overall beauty techniques. After years of working as a hairdresser specialist, she followed her entrepreneurial spirit and started her own consultancy business.
Jane has always been driven by her desire to help others feel confident in their own skin, and she does this by sharing her knowledge, experiences, and practical beauty tips. Through her consultancy, she empowers individuals to embrace their unique beauty, offering tailored guidance that boosts both self-esteem and personal style.
Professional Focus
- Specializes in makeup, hairstyling, and beauty consulting.
- Provides personalized beauty advice, tips, and techniques to help individuals feel confident in their appearance.
- Dedicated to staying up-to-date with the latest industry trends and developments.
- Passionate about creating a comfortable and empowering experience for every client.
Education History
- University of Craft and Design – Bachelor of Fine Arts (BFA) in Woodworking and Furniture Design
- Woodworking Apprenticeships – Extensive hands-on training with skilled craftsmen to refine carpentry and furniture making techniques
- Online Courses & Masterclasses – Continued education in advanced woodworking techniques, design principles, and specialized tools
Expertise:
- Makeup artistry, hairstyling, and beauty consulting.
- Personalized beauty techniques to enhance confidence and self-expression.
- Educating clients on how to maintain their beauty routines at home.