
Taking care of your hair is a vital part of self-care, and many people are turning to natural solutions to achieve the luscious, healthy locks they desire.
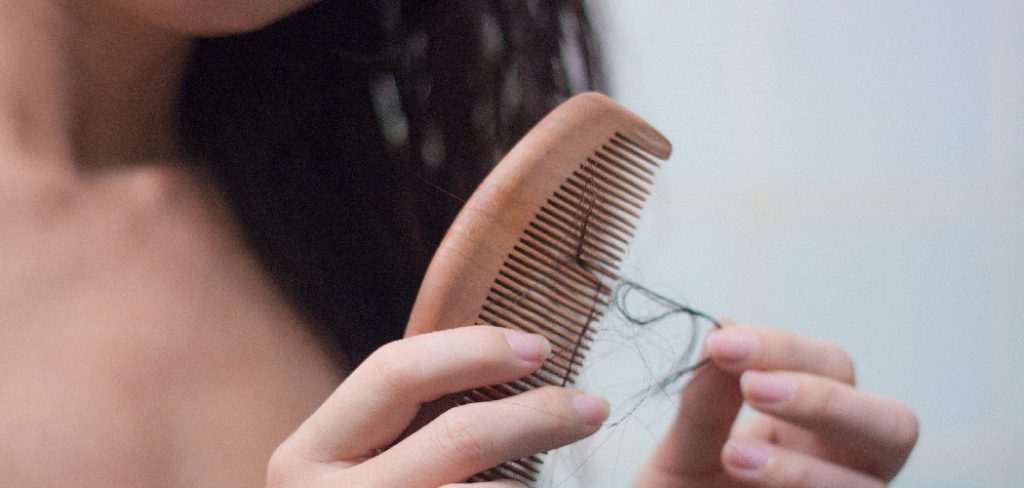
While the market is flooded with numerous products promising miraculous results, sometimes the most effective remedies can be found right in your kitchen pantry. One such powerhouse ingredient is flaxseed. For centuries, these tiny seeds have been celebrated for their nutritional value, and now they are gaining recognition as a fantastic natural remedy for promoting hair growth and improving overall hair health.
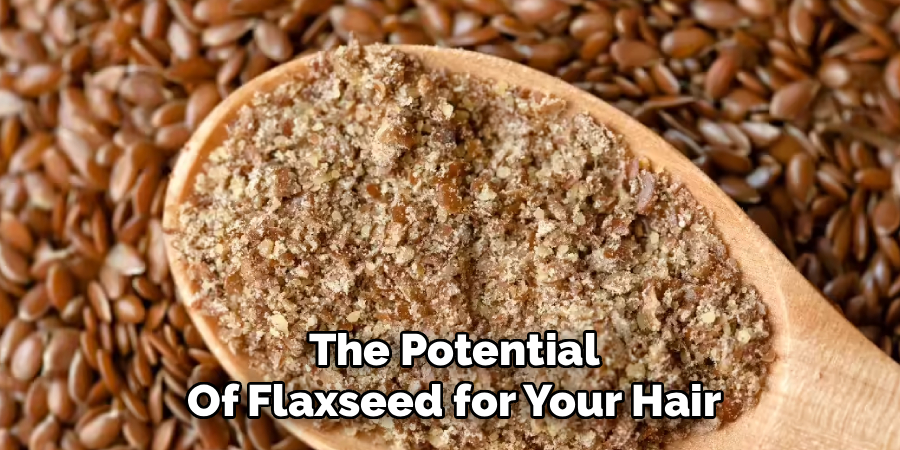
In this guide on how to use flaxseed for hair growth, we will explore the benefits of this superfood for your locks and how you can incorporate it into your hair care routine.
What Will You Need?
Creating your own flaxseed hair treatment is surprisingly simple and requires only a few basic items. You have the flexibility to keep it basic or add other nourishing ingredients.
Essential Items:
- Whole Flaxseeds (brown or golden)
- Filtered Water
- A small saucepan
- A fine-mesh strainer or cheesecloth
- A bowl or jar for storing the gel
Optional Add-ins:
- Essential oils (like lavender, rosemary, or tea tree for added scalp benefits and fragrance)
- Aloe vera gel (for extra moisture and soothing properties)
- A carrier oil (like jojoba or argan oil for additional conditioning)
10 Easy Steps on How to Use Flaxseed for Hair Growth
Making and using flaxseed gel for your hair is a straightforward process. This guide will walk you through creating the gel, applying it, and incorporating it into your routine for maximum benefit. Follow these steps to unlock the potential of flaxseed for your hair.
Step 1: Measure Your Ingredients
The foundation of a good flaxseed gel is the right ratio of seeds to water. A common and effective ratio is 1/4 cup of whole flaxseeds to 2 cups of filtered water. This measurement will yield a good amount of gel with a medium consistency, perfect for most hair types. If you prefer a thicker gel, you can slightly increase the amount of flaxseed to 1/3 cup or reduce the water to 1.5 cups. For a thinner, more liquid consistency, use a little less flaxseed. It’s a good idea to start with the standard ratio and adjust in future batches to find what works best for your hair. Pour the water into a small saucepan.
Step 2: Bring the Mixture to a Boil
Add the measured flaxseeds to the water in the saucepan. Place the pan on your stove over medium-high heat. As the water heats up, gently stir the mixture occasionally with a wooden spoon or spatula. This helps prevent the seeds from sticking to the bottom of the pan. You will notice the water starting to thicken slightly as it approaches a boil. Keep a close eye on it, as the mixture can bubble up and boil over quickly once it reaches the right temperature. The goal is to bring it to a rolling boil to activate the mucilage from the seeds.
Step 3: Simmer and Watch for Gel Formation
Once the mixture comes to a full boil, reduce the heat to a low simmer. Let it simmer for approximately 7-10 minutes. During this time, the magic happens. The seeds will release a gelatinous substance, and the water will transform into a gel-like consistency. You’ll need to stir frequently to ensure even heating and to check the thickness. You can test the consistency by lifting your spoon; if it leaves a slimy, gel-like trail, it’s ready. Be careful not to overcook it, as the gel can become too thick to strain properly. The final consistency should resemble that of egg whites.
Step 4: Strain the Gel Immediately
This is the most critical step, and you must act quickly. As soon as you take the saucepan off the heat, you need to strain the gel while it is still hot. The gel thickens considerably as it cools, making it nearly impossible to separate from the seeds. Place a fine-mesh strainer or a piece of cheesecloth over a heat-safe bowl or jar. Carefully pour the hot mixture through the strainer. Use the back of a spoon to press the seeds against the mesh, squeezing out as much of the precious gel as possible. If using cheesecloth, you can gather the corners and twist to squeeze the gel out.
Step 5: Allow the Gel to Cool Completely
Once you have successfully strained your flaxseed gel, set the bowl or jar aside and let it cool down to room temperature. This can take anywhere from 30 minutes to an hour, depending on the amount of gel. As it cools, you will notice it continues to thicken into its final, more stable consistency. It’s important to let it cool completely before adding any optional ingredients or applying it to your hair to avoid any discomfort or scalp irritation from the heat.

Step 6: Add Optional Nourishing Ingredients
After the gel has cooled, you can enhance it with other beneficial ingredients. This step is optional but highly recommended for added hair benefits. You could add a tablespoon of aloe vera gel for extra hydration and scalp soothing, or a teaspoon of a carrier oil like argan or jojoba oil for more conditioning power. A few drops of an essential oil, such as lavender for scalp health or rosemary to stimulate growth, can also provide therapeutic benefits and a pleasant scent. Stir these additions in thoroughly until they are fully incorporated into the gel.
Step 7: Prepare Your Hair for Application
For best results, apply the flaxseed gel to clean, damp hair. You can use it after your regular shampoo and conditioning routine. Gently towel-dry your hair so that it’s not dripping wet but still has moisture. Applying the gel to damp hair helps with even distribution and allows the hair shaft to absorb the nutrients more effectively. You can section your hair with clips to make the application process more manageable, especially if you have thick or long hair. This ensures every strand gets coated.
Step 8: Apply the Gel from Root to Tip
Take a generous amount of the flaxseed gel into your palms and rub them together. Start applying the gel to your hair, beginning at the roots and working your way down to the tips. Use your fingers to rake the gel through your hair, ensuring an even coating. Pay special attention to your scalp, gently massaging it with your fingertips to stimulate blood flow and help the nutrients penetrate the follicles. If you have curly or wavy hair, you can use the “praying hands” method or scrunch the gel into your hair to encourage curl definition.
Step 9: Style or Let it Set as a Treatment
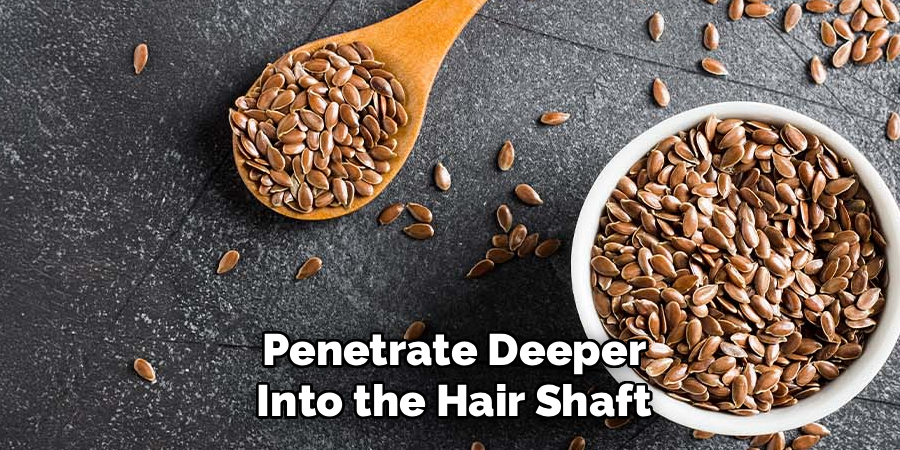
You have two main options for using the flaxseed gel. You can use it as a styling product to define curls, tame frizz, and provide a light, natural hold. Simply style your hair as you normally would and let it air dry or use a diffuser. Alternatively, you can use it as a deep conditioning hair mask. After applying the gel thoroughly, cover your hair with a shower cap and let it sit for at least 30-60 minutes, or even overnight for a more intensive treatment. The heat trapped by the cap will help the nutrients penetrate deeper into the hair shaft.
Step 10: Rinse and Store Your Leftover Gel
If you used the gel as a treatment mask, rinse it out thoroughly with lukewarm water. You may not need to follow up with a conditioner, as the gel itself is very conditioning. If you used it as a styler, you can leave it in until your next wash day. Any leftover gel should be stored in an airtight container in the refrigerator. Because it is a natural product without preservatives, it will typically last for about 1-2 weeks. Adding a few drops of vitamin E oil or a natural preservative can help extend its shelf life slightly.
5 Things You Should Avoid
To get the most out of your flaxseed hair routine, there are a few common pitfalls to steer clear of.
- Overcooking the Gel: Boiling the flaxseed mixture for too long will result in a gel that is overly thick and nearly impossible to strain. Stick to a 7-10 minute simmer and strain it immediately while hot.
- Waiting to Strain: Procrastinating on straining the gel is a frequent mistake. As the gel cools, it becomes incredibly thick, trapping the seeds and making separation a difficult, sticky mess. Strain it right away.
- Applying to Dry or Dirty Hair: For optimal absorption and styling results, always apply the gel to clean, damp hair. Applying it to dry hair can lead to uneven distribution and flaking, while dirty hair can prevent the nutrients from penetrating.
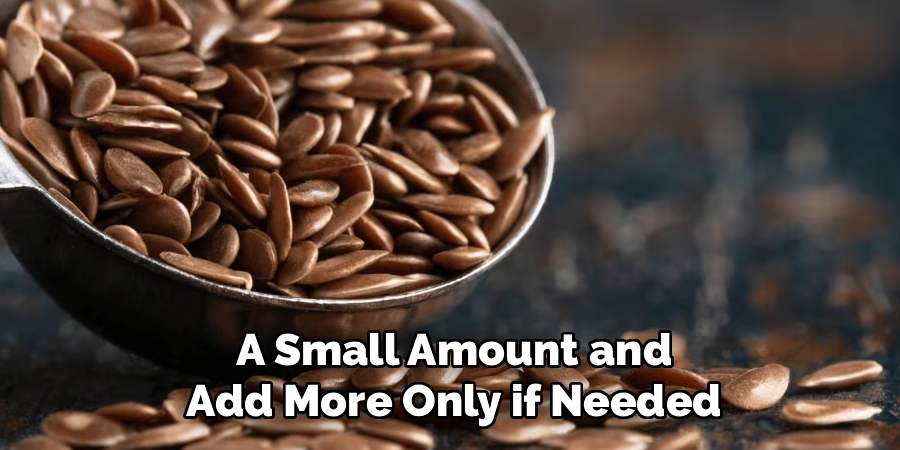
- Using Too Much Gel: While it’s natural, using an excessive amount of flaxseed gel can weigh your hair down or leave it feeling stiff and crunchy once it dries. Start with a small amount and add more only if needed.
- Improper Storage: Flaxseed gel is a perishable, all-natural product. Leaving it out at room temperature will cause it to spoil quickly. Always store it in an airtight container in the refrigerator to keep it fresh for up to two weeks.
Conclusion
Flaxseed offers a simple, natural, and powerful way to enhance your hair care routine.
Packed with omega-3 fatty acids, vitamins, and fiber, it provides deep nourishment that strengthens hair, promotes growth, and adds incredible shine and definition. By following these easy steps on how to use flaxseed for hair growth, you can create your own homemade hair gel or treatment that is free from harsh chemicals and tailored to your hair’s needs.
Give this wonderful natural remedy a try and discover the difference it can make in achieving the healthy, vibrant hair you’ve always wanted.
About the Author
Jane Hubbard is a passionate beauty expert with a wealth of experience in makeup, hair, and overall beauty techniques. After years of working as a hairdresser specialist, she followed her entrepreneurial spirit and started her own consultancy business.
Jane has always been driven by her desire to help others feel confident in their own skin, and she does this by sharing her knowledge, experiences, and practical beauty tips. Through her consultancy, she empowers individuals to embrace their unique beauty, offering tailored guidance that boosts both self-esteem and personal style.
Professional Focus
Specializes in makeup, hairstyling, and beauty consulting.
Provides personalized beauty advice, tips, and techniques to help individuals feel confident in their appearance.
Dedicated to staying up-to-date with the latest industry trends and developments.
Passionate about creating a comfortable and empowering experience for every client.
Education History
University of Craft and Design – Bachelor of Fine Arts (BFA) in Woodworking and Furniture Design
Woodworking Apprenticeships – Extensive hands-on training with skilled craftsmen to refine carpentry and furniture making techniques
Online Courses & Masterclasses – Continued education in advanced woodworking techniques, design principles, and specialized tools
Expertise:
Makeup artistry, hairstyling, and beauty consulting.
Personalized beauty techniques to enhance confidence and self-expression.
Educating clients on how to maintain their beauty routines at home.