
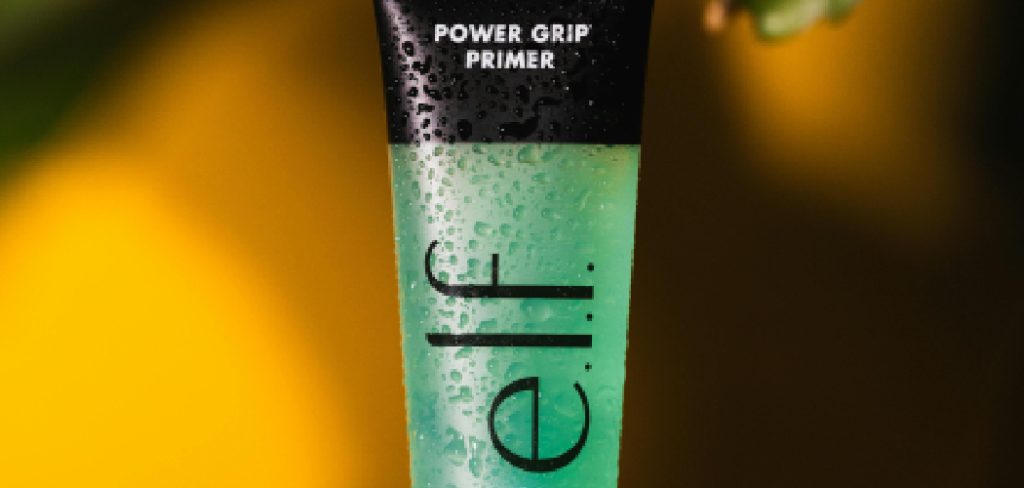
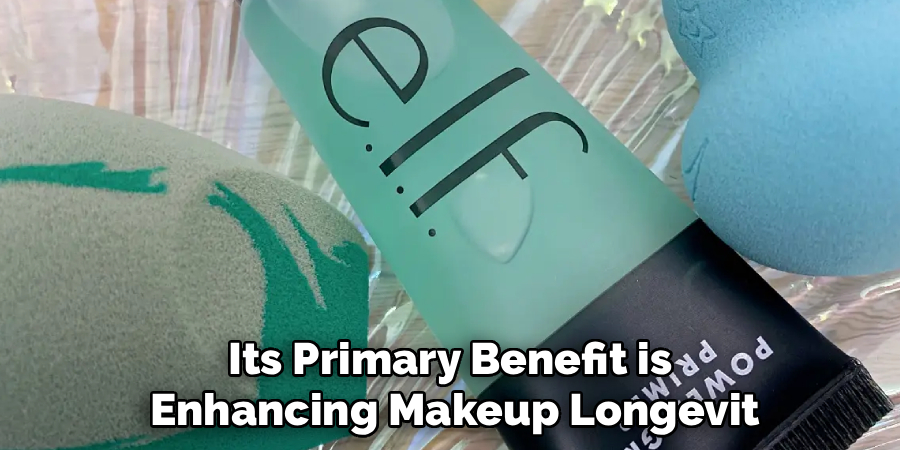
The e.l.f. Power Grip Primer has taken the beauty world by storm, celebrated for its incredible ability to lock makeup in place for hours. This gel-based, sticky primer creates the perfect canvas, ensuring your foundation adheres smoothly and lasts all day without sliding or fading. If you’ve just picked up a bottle and are eager to achieve that flawless, long-lasting finish, you’re in the right place.
The key to unlocking its full potential lies in the application technique. Many users find its unique texture a bit different from traditional silicone or cream primers, but once you master it, you’ll wonder how your makeup routine ever survived without it. This guide will provide a detailed walkthrough on how to apply elf power grip primer correctly, helping you get a professional-looking result every time. From skin prep to the final blend, we’ll cover everything you need to know to make your makeup grip and stay put.
Your Guide on How to Apply Elf Power Grip Primer
Step 1: Start with a Clean and Moisturized Canvas
Before you even think about reaching for your primer, it’s essential to prepare your skin properly. A great makeup look always starts with a solid skincare routine. Begin by cleansing your face with a gentle wash to remove any dirt, oil, or leftover product from the night before. Afterward, pat your skin dry and apply your favorite moisturizer. Hydrated skin is crucial because it prevents the primer and foundation from clinging to dry patches. Allow your moisturizer to fully absorb for at least five minutes. This waiting period is non-negotiable; applying primer on top of wet moisturizer can cause pilling and prevent the product from gripping effectively.
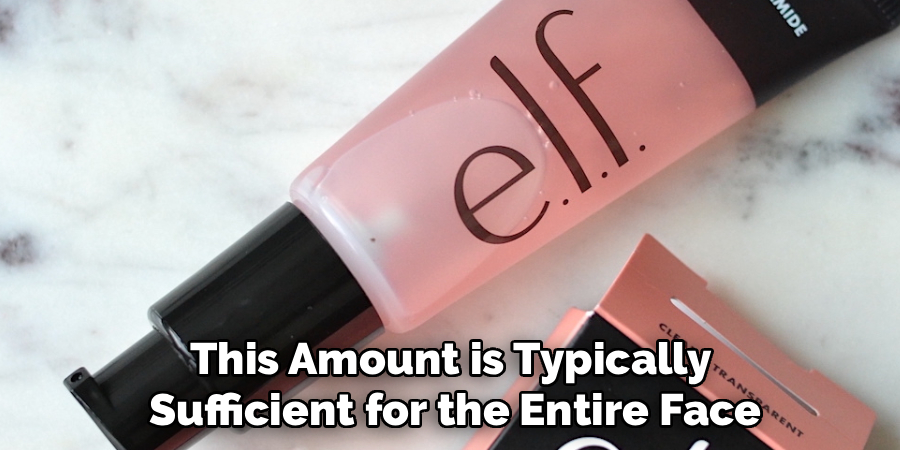
Step 2: Dispense the Right Amount of Product
With the e.l.f. Power Grip Primer, a little goes a long way. Its concentrated, gel-like formula is potent, and using too much can lead to a heavy or overly sticky feeling on the skin. Start by dispensing one to two pumps of the primer onto the back of your hand or directly onto your fingertips. This amount is typically sufficient for the entire face. Using the back of your hand as a palette allows you to control the quantity you apply, ensuring you don’t overload your skin. For beginners, it’s always better to start with less and add more only if necessary for specific areas like the T-zone.
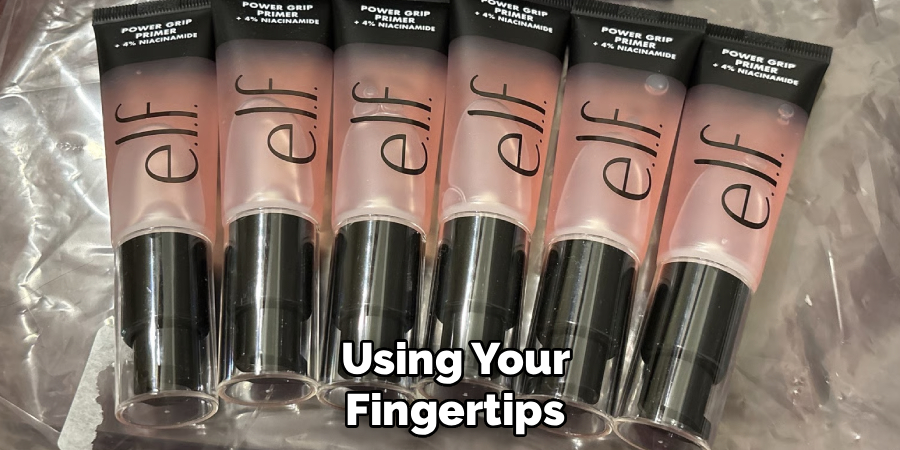
Step 3: Apply the Primer in Sections
Instead of dotting the primer all over your face at once, it’s more effective to apply it in targeted sections. The product begins to set fairly quickly, so working section by section ensures an even application. Start with the areas where you need the most grip or where makeup tends to fade first, such as the T-zone (forehead, nose, and chin). Use your fingertips to gently spread a thin, even layer across these areas. Then, move on to your cheeks and any other parts of your face. This methodical approach helps you manage the primer’s tacky texture and prevents it from drying before you have a chance to blend it properly.
Step 4: Use a Patting Motion for Best Results
The key to activating the “grip” in the Power Grip Primer is the application technique. Instead of rubbing the product into your skin like a moisturizer, use a gentle patting or pressing motion. Using your fingertips, tap the primer onto your skin. This technique warms the product slightly, helping it meld with your skin while creating that signature tacky base for your makeup to adhere to. Rubbing can cause the product to move around and may lead to pilling, especially if your underlying skincare hasn’t fully absorbed. The patting motion ensures you create an even, sticky layer that truly grabs onto your foundation.
Step 5: Wait for the Primer to Set
This is perhaps the most critical step in the entire process. After you have applied the primer, you must give it time to set and become tacky. Wait for at least 60 seconds before moving on to your foundation. You’ll know it’s ready when your skin feels slightly sticky to the touch but not wet. This waiting period allows the primer to form a gripping film on your skin’s surface. Applying foundation too soon will cause the products to mix, resulting in a patchy or uneven finish and negating the primer’s long-lasting benefits. Be patient; this minute makes all the difference in your makeup’s longevity.
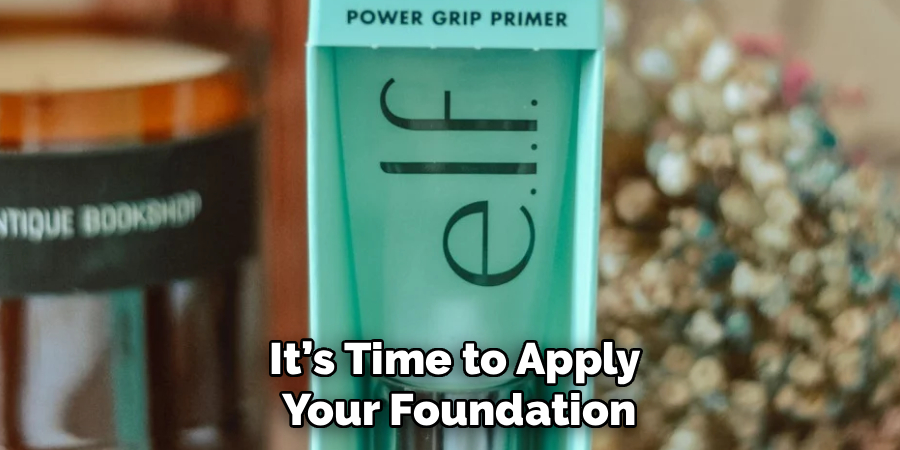
Step 6: Primer Under Foundation
Once your primer has set and feels tacky, it’s time to apply your foundation. The application method for your foundation matters here. For best results with this gripping primer, use a damp beauty sponge or a stippling brush. Gently press or bounce the foundation onto your skin rather than wiping or buffing it in circles. This pressing motion works in harmony with the tacky base, locking the foundation in place without disturbing the primer underneath. This technique helps you build coverage seamlessly and ensures a flawless, skin-like finish that will last all day. This is the secret of how to apply elf power grip primer for maximum effect.
Step 7: Apply to Eyelids for Eyeshadow Longevity
Don’t forget about your eyelids! The e.l.f. Power Grip Primer isn’t just for your face; it can also double as an excellent eyeshadow primer. Its gripping properties work wonders for preventing eyeshadow from creasing, fading, or smudging throughout the day. After applying it to your face, take a tiny amount of the remaining product on your fingertip and gently pat it over your entire eyelid, from the lash line up to the brow bone. Let it set for 30-60 seconds just as you did with your face. This will create a perfect tacky base that helps eyeshadow colors appear more vibrant and stay put for hours.
Frequently Asked Questions
Can I Use Power Grip Primer with a Water-Based Foundation?
Yes, absolutely. The Power Grip Primer has a water-based formula, which makes it perfectly compatible with other water-based foundations. Using products with similar bases helps prevent separation and pilling, ensuring your makeup remains smooth and flawless throughout the day. Always check your foundation’s ingredients to confirm.
Is This Primer Good for Oily Skin?
Yes, it is excellent for oily skin. The primer’s main function is to grip makeup and prevent it from sliding, which is a common issue for those with excess oil production. Its formula helps control shine and extend the wear time of your foundation, keeping your face looking fresh.
How Long Should I Wait After Applying the Primer?
Patience is key. You should wait at least a full 60 seconds after applying the primer and before moving on to foundation. This allows the formula to dry down to its signature tacky finish, which is essential for gripping onto your makeup for long-lasting wear.1
Can I Wear the Power Grip Primer Without Makeup?
While you can wear it alone, its primary benefit is enhancing makeup longevity. Worn by itself, it provides a dewy, glassy look to the skin due to its hydrating ingredients like hyaluronic acid. However, its tacky texture might not feel comfortable for all-day wear without makeup on top.
Will the Power Grip Primer Clog My Pores?
The e.l.f. Power Grip Primer is non-comedogenic, meaning it is formulated to not clog pores. However, it is crucial to properly cleanse your face at the end of the day to remove all traces of primer and makeup to maintain clear, healthy skin.
Conclusion
Mastering the application of this viral product is the key to unlocking a makeup look that truly lasts from morning to night. By following these steps—from starting with clean, moisturized skin to using a patting motion and allowing the product to fully set—you create an unbeatable base for your foundation. The unique sticky texture is what makes it so effective, gripping onto your makeup to prevent it from fading, creasing, or sliding away. With a little practice, you will perfect the technique. Now that you know how to apply elf power grip primer, you are ready to enjoy a flawless, long-wearing finish that keeps you looking your best all day long.
About the Author
Jane Hubbard is a passionate beauty expert with a wealth of experience in makeup, hair, and overall beauty techniques. After years of working as a hairdresser specialist, she followed her entrepreneurial spirit and started her own consultancy business.
Jane has always been driven by her desire to help others feel confident in their own skin, and she does this by sharing her knowledge, experiences, and practical beauty tips. Through her consultancy, she empowers individuals to embrace their unique beauty, offering tailored guidance that boosts both self-esteem and personal style.
Professional Focus
Specializes in makeup, hairstyling, and beauty consulting.
Provides personalized beauty advice, tips, and techniques to help individuals feel confident in their appearance.
Dedicated to staying up-to-date with the latest industry trends and developments.
Passionate about creating a comfortable and empowering experience for every client.
Education History
University of Craft and Design – Bachelor of Fine Arts (BFA) in Woodworking and Furniture Design
Woodworking Apprenticeships – Extensive hands-on training with skilled craftsmen to refine carpentry and furniture making techniques
Online Courses & Masterclasses – Continued education in advanced woodworking techniques, design principles, and specialized tools
Expertise:
Makeup artistry, hairstyling, and beauty consulting.
Personalized beauty techniques to enhance confidence and self-expression.
Educating clients on how to maintain their beauty routines at home.