

Nail art offers a fantastic way to express your personal style, but intricate designs often require a steady hand and hours of practice. Enter crackle fingernail polish.
This innovative formula gives you complex-looking, edgy designs in a matter of minutes. As the top layer of polish dries, it intentionally shatters, revealing the bold base color underneath. If you want to achieve salon-quality nail art at home without the steep learning curve, you are in the right place.
This guide on how to use crackle fingernail polish will walk you through everything you need to know to create a stunning, long-lasting crackle manicure.
The Benefits of Crackle Nail Polish?
Crackle nail polish brings several distinct advantages to your beauty routine. First, it requires zero artistic ability. The polish does all the heavy lifting, creating a fascinating, shattered texture entirely on its own. Second, every single nail will look uniquely different. The formula dries organically, meaning no two crackle patterns ever look exactly alike.
Additionally, crackle polish is incredibly forgiving. If your base color application is slightly uneven or has a minor smudge, the textured top layer completely hides those imperfections. Finally, it saves you valuable time. Instead of using specialized brushes, dotting tools, and stencils, you simply swipe on a single layer and watch the pattern develop.
What Will You Need?
Before you begin your manicure, gather all your supplies. Having everything within reach ensures a smooth, frustration-free process. You will need:
- Nail Polish Remover and Cotton Pads: To clean your nails before starting.
- A High-quality BASE Coat: This protects your natural nails from staining.
- A SOLID BASE Color Polish: Bright, contrasting colors like neon pink, stark white, or metallic silver work best.
- Crackle Nail Polish: Choose a color that highly contrasts with your base color. Black is a classic and reliable choice.
- A Glossy Top Coat: Essential for smoothing out the textured surface and sealing your design.
- A Cleanup Brush or Cotton Swabs: For wiping away excess polish on your cuticles.
10 Easy Steps on How to Use Crackle Fingernail Polish
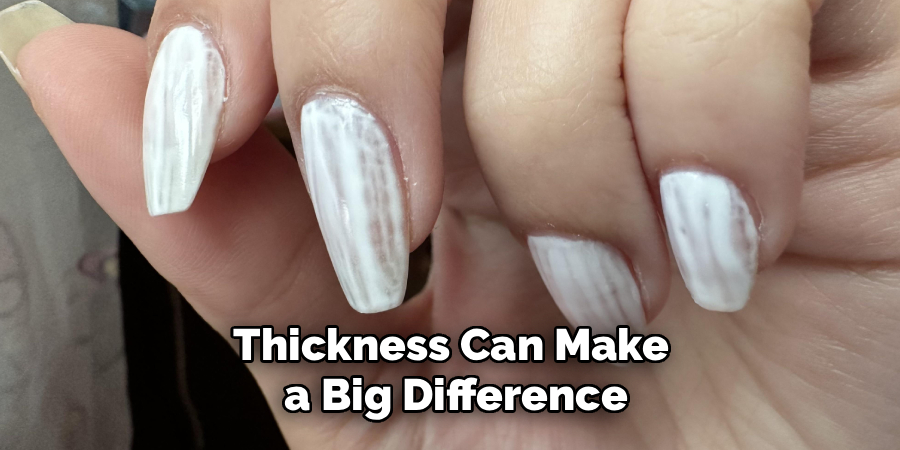
Creating a flawless crackle manicure requires the right technique, good timing, and a little patience. While crackle nail polish is easier to use than many other nail art products, the final result depends on how well you prepare your nails and apply each layer. Small details such as letting the base color dry fully, choosing contrasting shades, and applying the crackle coat at the right thickness can make a big difference in how bold and clean the shattered effect looks. Follow these ten easy steps for perfect crackle nails, and use the extra tips along the way to help your manicure look neat, stylish, and long-lasting.
Step 1: Prepare Your Nails
Proper preparation makes your manicure last significantly longer. Start by completely removing any old nail polish. Wash your hands thoroughly with soap to remove natural oils and dry them well. Gently push back your cuticles and file your nails into your desired shape. Wipe each nail with a cotton pad soaked in a little rubbing alcohol or nail polish remover to ensure a perfectly clean canvas.
Step 2: Apply a Base Coat
Never skip the base coat. A good base coat provides a smooth surface for your colored polish to grip, extending the life of your manicure. It also forms a protective barrier that prevents highly pigmented polishes from staining your natural nail beds. Apply one thin, even layer across all ten nails and allow it to dry completely.
Step 3: Choose Your Base Color
The magic of a crackle manicure relies heavily on contrast. If you use a dark crackle polish, choose a bright or light base color. Neons, pastels, and shimmering metallics look incredible peeking through a black or navy crackle layer. Take a moment to test your color combination on a piece of paper if you are unsure how they will look together.
Step 4: Apply the Base Color
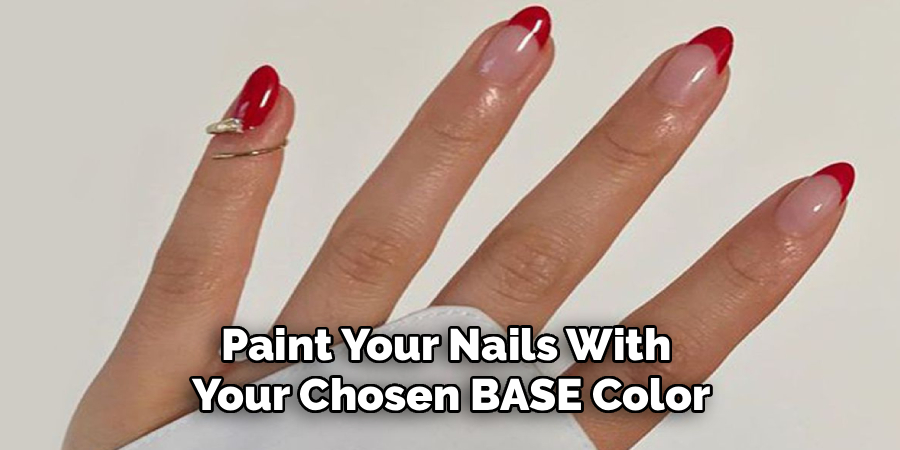
Paint your nails with your chosen base color. Depending on the opacity of the brand you use, you may need one or two coats. Keep the layers thin to prevent bubbling and ensure even drying. Make sure to cap the free edge of your nail by swiping a tiny bit of polish along the very tip to prevent early chipping.
Step 5: Let the Base Color Dry Completely
This is the most critical step in the entire process. Your base color must be 100% dry before you apply the crackle layer. If the base polish remains even slightly tacky, the crackle polish will pull it up as it shrinks, creating a messy, smudged appearance rather than a clean shatter effect. Give your nails at least 15 to 20 minutes to dry thoroughly.
Step 6: Apply the Crackle Polish
Shake your crackle polish bottle well to mix the formula. When applying the crackle layer, work quickly. The polish begins to dry and shrink almost immediately upon contact with the air. Apply a medium-thickness layer. If you apply it too thin, the cracks will be barely visible. If you apply it too thickly, the polish will not shatter at all.
Step 7: Watch the Magic Happen
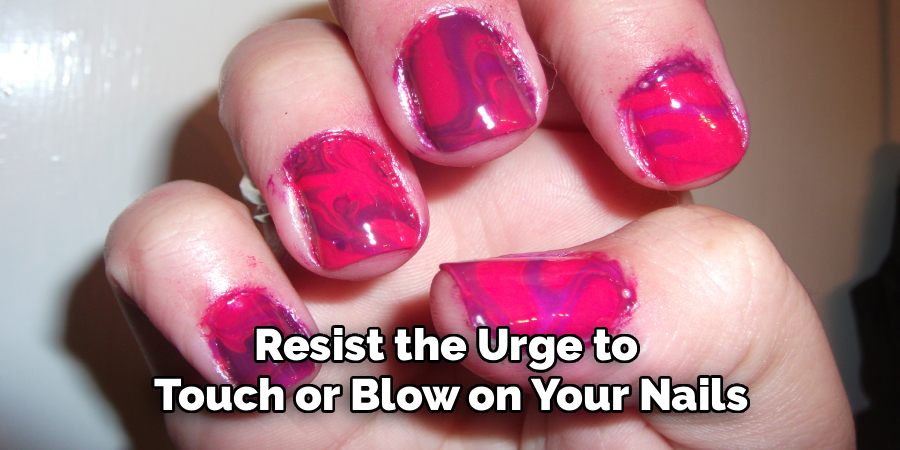
Once you apply the crackle coat, resist the urge to touch or blow on your nails. Just sit back and watch. Within seconds, the top layer will begin to split and separate, revealing your bright base color underneath. The design will continue to shift and develop for a couple of minutes until the formula dries completely matte.
Step 8: Clean Up the Edges
Crackle polish can sometimes be applied a bit unevenly due to its fast-drying nature. Take a small angled makeup brush or a pointed cotton swab dipped in nail polish remover. Carefully trace around your cuticles and the sides of your fingers to remove any stray polish. This simple step makes your home manicure look professionally done.
Step 9: Seal with a Top Coat
Crackle polish dries down to a dull, matte finish with a bumpy texture. To make the colors pop and smooth out the surface, you must apply a generous layer of glossy top coat. The top coat brings the design to life, adding a beautiful shine while sealing the shattered pieces in place so they do not flake off.
Step 10: Let Your Masterpiece Dry
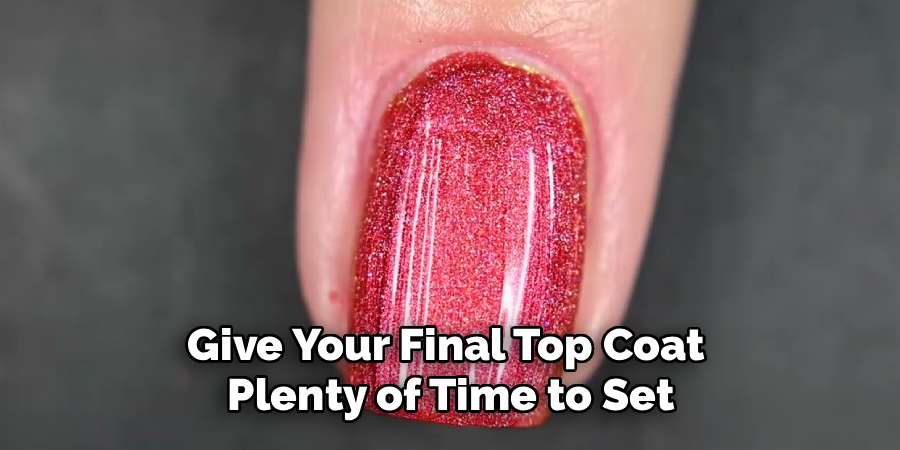
Give your final top coat plenty of time to set. Sit comfortably and avoid using your hands for at least 20 minutes to prevent accidental smudges or dents. You can apply a drop of quick-dry oil to each nail to speed up this final waiting period.
5 Things You Should Avoid
- Do Not Apply Crackle Polish Over a Wet BASE: Applying crackle polish over a wet base can result in an uneven or messy design. Make sure to let your base coat and any subsequent layers dry completely before applying the crackle polish.
- Do Not Shake Your Crackle Polish Bottle: Shaking the bottle of crackle polish can cause air bubbles, resulting in a less effective cracked effect. Instead, gently roll the bottle between your palms to mix the formula.
- Do Not Use Old or Separated Crackle Polish: If your crackle polish is old or has separated into layers, it is best not to use it, as it may not provide a consistent cracked effect.
- Do Not Apply Thick Layers of Crackled Polish: Applying thick layers of crackle polish may result in a chunky or uneven cracked effect. It is best to use thin, even coats for a more natural and uniform look.
- Use a Base Color that Contrasts with Your Crackle Polish: To make the cracked effect stand out, it is recommended to choose a base color that contrasts with your crackle polish. For example, if you are using black crackle polish, a lighter base color such as white or pastel pink would create a striking contrast.
Frequently Asked Questions
- Why Did My Crackle Polish Not Crack?
Your crackle polish likely failed to shatter because the layer you applied was far too thick. The formula needs room to shrink and pull apart as the solvents evaporate into the air. If you apply a heavy coat, the polish remains bound together and dries like standard polish. Try wiping the brush off on the neck of the bottle to ensure a thinner, more even application next time. Always make sure you work swiftly so the polish does not dry on the brush. - Can I Use Crackle Polish on Natural Nails Without a BASE Color?
You can apply crackle polish directly over a clear base coat on your natural nails. This creates a subtle, negative-space look where your natural nail bed shows through the shattered pattern. However, the visual impact is much less dramatic than using a brightly colored base layer. The formula works the same way regardless of what sits underneath it. Just remember that a clear top coat is still necessary to protect the textured finish. - How Do I Safely Remove Crackle Nail Polish?
You remove crackle nail polish the same way you remove standard nail polish. Soak a cotton pad in an acetone-based nail polish remover and press it firmly against your nail. Hold it there for about ten to fifteen seconds to allow the chemicals to break down the multiple layers of polish. Gently swipe the cotton pad down the length of your nail to wipe the color away cleanly. Wash your hands and apply cuticle oil afterward to restore moisture.
Conclusion
Crackle nail polish remains a fun, effortless way to upgrade your manicure routine.
By understanding how the formula interacts with your base color and following proper application techniques, you can achieve stunning, complex-looking designs in just a few simple steps. Remember to prioritize contrasting colors, ensure your base coat dries completely, and always finish with a glossy top coat.
Hopefully, this guide on how to use crackle fingernail polish has sparked some ideas for your next manicure. Experiment with different color combinations and designs to find what works best for you. Have fun and happy painting!

About the Author
Jane Hubbard is a passionate beauty expert with a wealth of experience in makeup, hair, and overall beauty techniques. After years of working as a hairdresser specialist, she followed her entrepreneurial spirit and started her own consultancy business.
Jane has always been driven by her desire to help others feel confident in their own skin, and she does this by sharing her knowledge, experiences, and practical beauty tips. Through her consultancy, she empowers individuals to embrace their unique beauty, offering tailored guidance that boosts both self-esteem and personal style.
Professional Focus
Specializes in makeup, hairstyling, and beauty consulting.
Provides personalized beauty advice, tips, and techniques to help individuals feel confident in their appearance.
Dedicated to staying up-to-date with the latest industry trends and developments.
Passionate about creating a comfortable and empowering experience for every client.
Education History
University of Craft and Design – Bachelor of Fine Arts (BFA) in Woodworking and Furniture Design
Woodworking Apprenticeships – Extensive hands-on training with skilled craftsmen to refine carpentry and furniture making techniques
Online Courses & Masterclasses – Continued education in advanced woodworking techniques, design principles, and specialized tools
Expertise:
Makeup artistry, hairstyling, and beauty consulting.
Personalized beauty techniques to enhance confidence and self-expression.
Educating clients on how to maintain their beauty routines at home.