
There is something undeniably elegant about a perfectly manicured hand. While square and almond shapes have their moments in the spotlight, the classic oval shape remains a timeless favorite for its ability to elongate the fingers and create a soft, feminine look. It is versatile enough for both short and long lengths, making it a go-to style for anyone seeking a sophisticated appearance without the high maintenance of sharper points. However, achieving that symmetrical, rounded edge can feel intimidating if you are used to just clipping and going.
If you have ever stared at your nail file wondering where to start, you are not alone. Many beginners struggle to find the right balance between filing too much and not enough, often ending up with uneven or jagged edges. The good news is that mastering this technique is easier than you think. In this guide, we will break down exactly how to shape oval nails with precision and ease. From selecting the right tools to perfecting your filing motion, we will cover everything you need to know to achieve salon-quality results right from the comfort of your own home. Let’s get those hands looking flawless.
Step-by-Step Guide: How To Shape Oval Nails
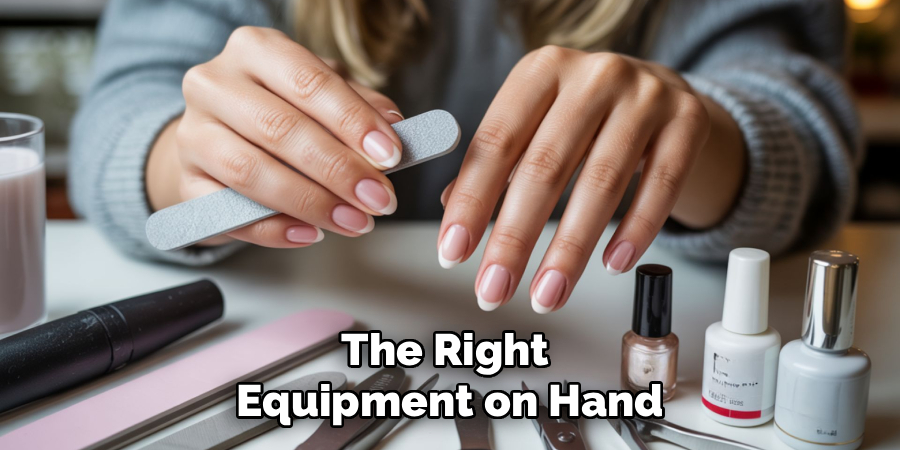
Step 1: Gather Your Essential Manicure Tools
Before you begin any shaping process, it is crucial to have the right equipment on hand. Using the wrong type of file can shred your natural nails and make it impossible to achieve a smooth finish. You will want a high-quality glass or crystal file, as these are gentler on natural keratin layers than harsh metal or emery boards. Additionally, have a pair of sharp nail clippers ready for removing significant length, along with a buffer block to smooth out ridges.
Setting up a clean, well-lit workspace allows you to see the details clearly, ensuring you don’t accidentally over-file one side. Having everything within reach prevents interruptions and helps you maintain focus on creating that perfect arc.
Step 2: Clean and Prep Your Nails
The foundation of a great manicure starts with a clean slate. Remove any old polish completely using an acetone-free remover to prevent drying out your nail beds. Wash your hands thoroughly with soap and water to remove oils and debris, then dry them completely.
Filing wet or damp nails is a major mistake because water softens the keratin, making it prone to tearing and splitting during the shaping process. Take a moment to gently push back your cuticles if necessary, as this reveals the full length of the nail plate and helps you visualize the natural center line of your finger. This preparation ensures that your filing is accurate and that your nails remain healthy and strong throughout the process.
Step 3: Trim to Your Desired Length
If your current length is significantly longer than your goal, start by trimming them down with clippers. Do not try to clip them into a round shape immediately, as this can cause stress fractures in the nail plate. Instead, cut straight across initially, leaving them slightly longer than your final desired length.
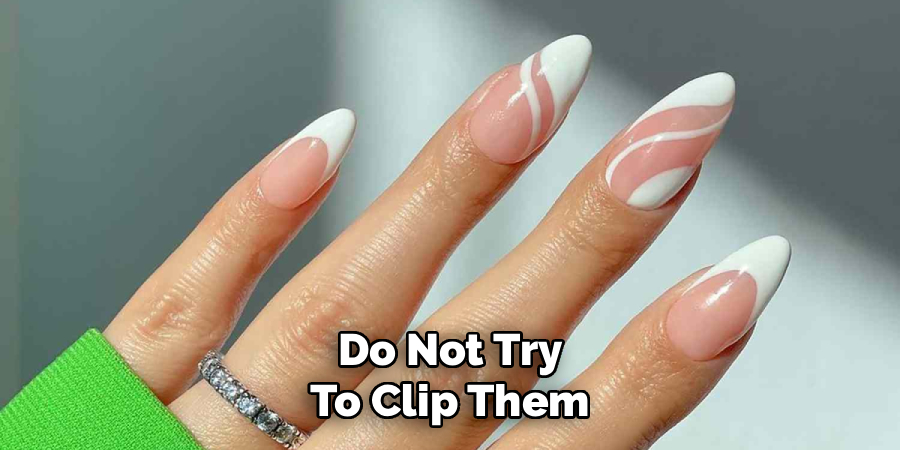
This extra room gives you a safety buffer to correct any mistakes during the filing stage. It is always better to remove less material at first because you can always file more away, but you cannot put it back. Aim for a uniform length across all ten fingers, using your cuticle beds as a reference point for proportion rather than just the free edge.
Step 4: Visualize the Oval Shape
Before you make your first file stroke, you need to visualize exactly how to shape oval nails on your specific hand structure. The ideal oval mirrors the shape of your cuticle line, creating a harmonious balance between the base and the tip. Imagine a vertical line running down the center of your nail from the cuticle to the free edge.
The peak of your oval should align perfectly with this center line. By identifying this central point, you avoid creating a lopsided shape where the curve leans too far to the left or right. This mental mapping is a critical step that professional technicians use to ensure symmetry, and it will serve as your guide as you begin to refine the edges.
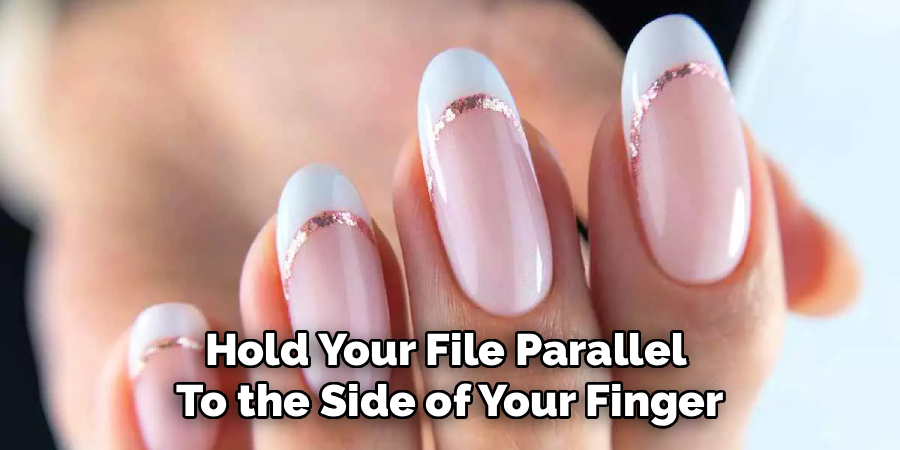
Step 5: File the Side Walls Straight
Begin the actual shaping by focusing on the side walls of your nail. Hold your file parallel to the side of your finger and file straight out from the nail bed. Do not curve the file inward just yet. The goal here is to ensure that the sides are perfectly straight and parallel to each other before they begin to taper into the rounded tip. This step preserves the structural integrity of the nail at the stress points where it grows out of the skin. If you file into these stress points too aggressively, you weaken the nail, making it more likely to break or snag later. Keep your strokes light and in one direction to prevent fraying the edges.
Step 6: Round the Corners Toward the Center
Now comes the transformative part where you begin to create the curve. Angle your file at approximately forty-five degrees towards the center of the tip. Using long, sweeping fluid motions, file from the side wall up towards the center point you visualized earlier. It is essential to file in one direction—lifting the file off the nail and returning to the start—rather than sawing back and forth.
Sawing creates heat and friction that can damage the layers of your nail. Work on one side of the nail until you see a soft curve forming, then switch to the other side. The goal is to make the corners disappear gradually, blending the straight side walls into a soft, rounded peak.
Step 7: Refine the Tip and Check Symmetry
Once you have rounded both sides towards the center, you will likely have a slightly pointed or almond-like shape. To achieve the classic oval, gently round over the very tip of the nail to soften the peak. This should be a subtle adjustment, just enough to remove any sharpness while maintaining the elongation. Frequently pause and look at your nail from different angles.
Flip your hand over and look at the palm side; this perspective often reveals unevenness that you might miss looking top-down. Check that the curve is consistent on both the left and right sides. If one side looks flatter, gently file the opposite side to match. Patience here is key to achieving that professional, balanced look.
Step 8: Buff and Smooth the Edges
After you are satisfied with the shape, you may notice small shreds of nail hanging from the underside of the free edge. This is normal residue from filing. Take your buffer block and very gently run it along the edge of the nail in a downward motion to remove these “feathers.” Do not file them off, as this can ruin your freshly created shape. Follow this by lightly buffing the surface of the nail to smooth out any ridges and create a perfect canvas for polish. This step seals the keratin layers at the edge, preventing peeling and ensuring your manicure lasts longer. Run your finger along the edge to ensure it feels completely smooth and snag-free.
Step 9: Moisturize and Protect
The final step in learning how to shape oval nails is caring for the skin and cuticles that frame your work. Filing generates dust which can be drying to the surrounding skin. Wash your hands again to remove all nail dust, then apply a generous amount of cuticle oil or a rich hand cream. Massage the product into your cuticles and the nail plate to replenish moisture and keep the skin soft. Hydrated nails are flexible and less prone to breaking, which helps maintain your beautiful oval shape for weeks. This finishing touch not only nourishes your hands but also gives your new shape a salon-fresh glow that looks healthy and polished.
Frequently Asked Questions
What Is the Difference Between Oval and Almond Nails?
Oval nails have straight side walls that gently curve into a rounded semi-circle tip, mirroring the cuticle line. Almond nails, on the other hand, have tapered side walls that narrow significantly as they reach the tip, ending in a softer, more pointed peak that resembles an actual almond nut.
Can I Shape Oval Nails on Short Nails?
Yes, oval shapes work beautifully on short nails.
- They create an illusion of length, making fingers appear more slender.
- You simply need a small amount of “free edge” (the white part) extending past the fingertip.
- The curve may be subtler on shorter lengths but remains flattering.
Why Do My Nails Split When I File Them?
Splitting often occurs from using a low-quality file or using a “sawing” back-and-forth motion. This friction generates heat and shreds the keratin layers. To prevent this, always use a glass file and move in one consistent direction, lifting the file off the nail after each stroke to reduce stress.
How Often Should I Reshape My Oval Nails?
You generally only need to do a full reshaping session every week or two as your nails grow out. However, you can do minor maintenance every few days. A quick, gentle pass with a fine-grit file can smooth out any snags or roughness that occur from daily wear and tear.
Is the Oval Shape Good for Weak Nails?
The oval shape is moderately strong because it lacks sharp corners that can snag and break easily. However, because the sides are filed down, it offers slightly less structural support than a square shape. Keeping nails hydrated and using a strengthener can help maintain the oval shape on weaker nails.
Conclusion
Mastering the art of the home manicure is a rewarding skill that saves time and boosts your confidence. By following these steps, you have learned that the secret to elegance lies in patience, the right tools, and a steady hand. The oval shape is a classic for a reason—it flatters every hand size and adds an instant touch of sophistication to your overall look.
Now that you know how to shape oval nails like a pro, you can experiment with different polishes and designs to showcase your beautiful work. Remember, practice makes perfect, so don’t be discouraged if your first attempt isn’t flawless. With consistent care and maintenance, your nails will look healthier, stronger, and more stylish than ever before.
About the Author
Jane Hubbard is a passionate beauty expert with a wealth of experience in makeup, hair, and overall beauty techniques. After years of working as a hairdresser specialist, she followed her entrepreneurial spirit and started her own consultancy business.
Jane has always been driven by her desire to help others feel confident in their own skin, and she does this by sharing her knowledge, experiences, and practical beauty tips. Through her consultancy, she empowers individuals to embrace their unique beauty, offering tailored guidance that boosts both self-esteem and personal style.
Professional Focus
Specializes in makeup, hairstyling, and beauty consulting.
Provides personalized beauty advice, tips, and techniques to help individuals feel confident in their appearance.
Dedicated to staying up-to-date with the latest industry trends and developments.
Passionate about creating a comfortable and empowering experience for every client.
Education History
University of Craft and Design – Bachelor of Fine Arts (BFA) in Woodworking and Furniture Design
Woodworking Apprenticeships – Extensive hands-on training with skilled craftsmen to refine carpentry and furniture making techniques
Online Courses & Masterclasses – Continued education in advanced woodworking techniques, design principles, and specialized tools
Expertise:
Makeup artistry, hairstyling, and beauty consulting.
Personalized beauty techniques to enhance confidence and self-expression.
Educating clients on how to maintain their beauty routines at home.