
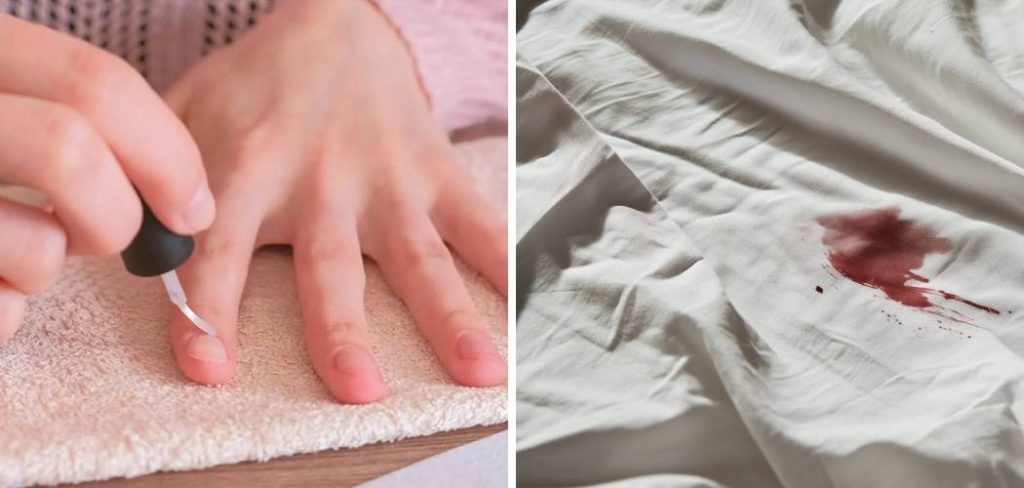
Nail polish is designed to be durable and resistant to water, which makes it a formidable opponent for fabrics. It hardens quickly and bonds to fibers, meaning typical laundry detergents often fail to lift it on their own. However, with the right chemical reactions and a bit of patience, you can reverse the damage. Understanding the composition of the polish and the fabric of your sheets is key. Cotton reacts differently than silk or synthetic blends, and treating them incorrectly can melt fibers or set the stain forever.
That is why learning exactly how to remove nail polish from bed sheets is a skill every home manager needs in their arsenal. It saves you the heartbreak of throwing away expensive bedding and the cost of professional dry cleaning. This guide is designed to walk you through the process safely and effectively. We will cover the specific solvents you need, the techniques that lift the pigment without spreading it, and the finishing touches that restore your sheets to their original glory. Whether the stain is wet and fresh or dried and stubborn, there is a solution.
Step-by-Step Guide: How to remove nail polish from bed sheets
Step 1: Immediately remove excess polish without rubbing
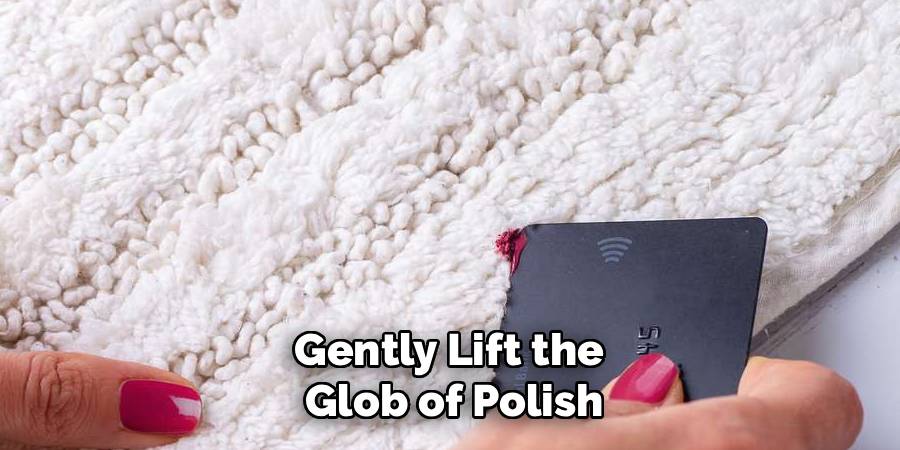
The very first moment after a spill is the most critical. If the nail polish is still wet, your primary goal is to remove as much of the liquid product as possible before it begins to dry and bond with the fabric fibers. Do not give in to the urge to wipe or scrub the area. Scrubbing will only push the pigment deeper into the threads and spread the stain outward, making a small spot into a massive blotch. Instead, grab a dull knife, a spoon, or even the edge of a credit card.
Gently lift the glob of polish off the surface of the sheet. Think of it as scooping rather than scraping. If the polish has already started to tack up or dry, do not force it, as you might rip the fabric. If it is still very liquid, you can carefully dab it with a paper towel, but use a vertical motion. Go straight down and straight up. Do not slide the paper towel across the fabric. The more physical product you remove now, the less solvent you will need later, and the higher your chances of complete success.
Step 2: Isolate the stain to protect the rest of the bedding
Before you apply any cleaning agents, you must protect the layers underneath the stain. Nail polish remover and acetone are strong solvents that can dissolve pure polish, but they will also liquefy the stain and allow it to bleed through to whatever is underneath. You certainly do not want to transfer a red stain from your top sheet onto your mattress protector or the mattress itself.
Place a thick layer of paper towels or an old, clean white rag directly underneath the stained area of the sheet. This acts as a blotter to catch the dissolved polish as it creates a barrier. It keeps the stain contained to the specific area you are working on. Ensure the material you use for the barrier is white or colorfast so that you do not accidentally dye your sheets with the rag’s color while trying to clean them. This preparation step is vital when figuring out how to remove nail polish from bed sheets, as it prevents a small accident from becoming a mattress-ruining disaster.
Step 3: Perform a patch test on a hidden area
This step is often skipped by impatient cleaners, but it is the most important safety measure for your fabrics. Most nail polish removers contain acetone, a powerful solvent that breaks down the polymers in nail polish. However, acetone is also capable of melting certain synthetic fabrics like acetate, triacetate, or modacrylic. If your sheets contain these fibers, applying acetone will eat a hole right through them, which is much worse than a stain.
Find a hidden spot on your sheets, such as the inner hem or a corner that gets tucked under the mattress. Apply a small amount of your chosen nail polish remover to a cotton ball and dab it onto this hidden area. Wait a minute or two and check for any discoloration, texture change, or fiber damage. If the fabric feels slimy or the color lifts, do not use that product. You will need to switch to a non-acetone remover or a specialized dry cleaning solvent. If the fabric looks unchanged, you are safe to proceed with the removal process.
Step 4: Blot the stain carefully with your solvent
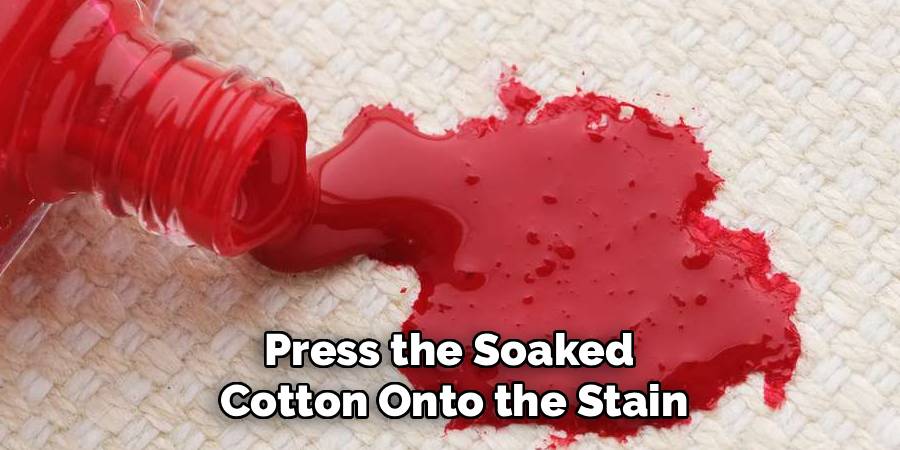
Once you have determined your solvent is safe, saturate a clean cotton ball or a soft white cloth with the remover. Press the soaked cotton onto the stain and hold it there for a few seconds. This allows the solvent to penetrate the dried polish and begin breaking down its chemical bonds. After letting it soak for a moment, begin to blot the stain. Do not rub.
Use a lifting motion, pressing down and pulling up. You should see the color of the polish transferring from the sheet onto your cotton ball. As the cotton ball gets dirty, you must switch to a fresh one immediately. If you keep using a dirty cotton ball, you will just re-apply the dissolved polish back onto the sheet, potentially making a larger mess. Continue this process of saturating, holding, and blotting until you no longer see any pigment transferring to the cotton. It requires patience, but this methodical transfer is the only way to lift the color out of the fibers effectively.
Step 5: Rinse the area with cool water
After the solvent has done its job and the visible color is mostly gone, you need to rinse the fabric. Acetone and other solvents can be harsh if left to sit on delicate fibers for too long, potentially weakening the thread count of your sheets over time. Take the stained section of the sheet to a sink or use a spray bottle to flush the area with cool water.
Warm or hot water can sometimes set certain dye components or damage fabrics that have been treated with chemicals, so stick to cool water for this stage. This rinsing step helps to flush out the mixture of solvent and dissolved polish residue that might be lingering deep in the weave of the fabric. It allows you to see if any faint trace of the stain remains. If you still see a shadow of the color, you may need to repeat the solvent blotting process once more before moving on to the final cleaning steps.
Step 6: Treat with a stain remover or heavy-duty detergent
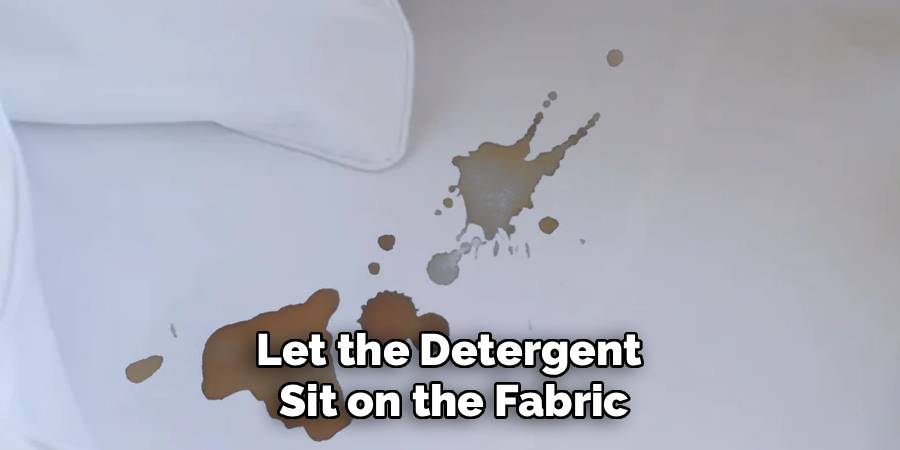
Even after the polish pigment is gone, there might be an oily residue or a faint ghost of the stain left behind. To ensure the sheet comes out perfectly clean, apply a pre-wash stain remover or a small amount of heavy-duty liquid laundry detergent directly to the spot. Gently work the detergent into the fabric with your fingers or a soft-bristled brush.
This step is crucial because part of the process of how to remove nail polish from bed sheets involves removing the oily components of the polish and the remover itself. Let the detergent sit on the fabric for at least ten to fifteen minutes. This dwell time allows the surfactants and enzymes in the detergent to break down any remaining oils or dyes. It prepares the fabric for the washing machine and ensures that the final wash cycle can fully wash away the debris. Do not skip this step, especially for dark or highly pigmented polish colors.
Frequently Asked Questions
Can I use hairspray to remove nail polish if I don’t have remover?
Yes, hairspray can sometimes work as an emergency alternative, though it is generally less effective than acetone. The key ingredient you are looking for is alcohol. Older hairspray formulas with high alcohol content work best. Saturate the stain with hairspray and let it sit for a few minutes to soften the polish, then scrub gently with a toothbrush and rinse. However, be aware that hairspray can leave a sticky residue that must be washed out thoroughly, and it may not work well on modern, long-wear nail polish formulas.
Is hydrogen peroxide safe to use on colored sheets?
You should be very careful with hydrogen peroxide on colored bedding. Hydrogen peroxide is a mild bleaching agent. While it is excellent for removing stains on white sheets, it can bleach out the dye in colored fabrics, leaving you with a light spot that is just as noticeable as the nail polish stain. If you have white cotton sheets, it is a great tool to lift any remaining yellow or red dye after the bulk of the polish is gone. Always do a patch test on a hidden hem before applying it to the main stain.
What should I do if the nail polish has already dried completely?
If the polish is dry, the process is largely the same, but it will require more patience. You cannot scoop up the excess, so you might need to gently scrape off any raised flakes of polish with a dull knife first. You will likely need to soak the spot with acetone for a longer period to re-liquefy the polish. Place an acetone-soaked cotton pad on the stain and cover it with a small piece of plastic wrap to keep it from evaporating too quickly. Let it sit for ten minutes before you start blotting.
Will nail polish remover damage high-thread-count cotton?
High-quality cotton is generally quite resilient, but harsh chemicals can eventually wear down fibers. Pure acetone is very drying. While it is unlikely to ruin cotton sheets in a single application, you should always wash the sheets thoroughly afterward to remove the chemical residue. To protect the integrity and softness of high-thread-count sheets, use a moisturizing hand soap or a specialized delicate detergent for the final wash. Avoid scrubbing too vigorously with abrasive brushes, as this can cause the cotton fibers to pill or fuzz in that specific area.
Can I use this method on silk or satin sheets?
You must proceed with extreme caution when dealing with silk or synthetic satin. Acetone will dissolve acetate-based satin instantly and can damage natural silk fibers. For these delicate fabrics, never use standard acetone remover. Look for a “non-acetone” remover, typically made with ethyl acetate, which is gentler. Even then, test it in a hidden spot. For expensive silk bedding, the safest option is often to take it to a professional dry cleaner. Tell them exactly what the stain is so they can use the appropriate chemical treatments without ruining the delicate sheen of the fabric.
Conclusion
Ruining your favorite bedding with a clumsy spill feels terrible, but it is rarely a lost cause. By acting quickly and understanding the chemistry of the stain, you can restore your sheets to their original condition. The key is to be patient—rushing the process by scrubbing or using the wrong chemicals is usually what causes permanent damage, not the spill itself.
Remember to always check your fabric type before applying harsh solvents like acetone, and never put a stained sheet in the dryer until you are absolutely sure the spot is gone. With these steps, you are equipped to handle even the brightest red or darkest blue spills. So, the next time a manicure goes wrong, you won’t need to panic, because now you know how to remove nail polish from bed sheets like a true expert.
About the Author
Jane Hubbard is a passionate beauty expert with a wealth of experience in makeup, hair, and overall beauty techniques. After years of working as a hairdresser specialist, she followed her entrepreneurial spirit and started her own consultancy business.
Jane has always been driven by her desire to help others feel confident in their own skin, and she does this by sharing her knowledge, experiences, and practical beauty tips. Through her consultancy, she empowers individuals to embrace their unique beauty, offering tailored guidance that boosts both self-esteem and personal style.
Professional Focus
Specializes in makeup, hairstyling, and beauty consulting.
Provides personalized beauty advice, tips, and techniques to help individuals feel confident in their appearance.
Dedicated to staying up-to-date with the latest industry trends and developments.
Passionate about creating a comfortable and empowering experience for every client.
Education History
University of Craft and Design – Bachelor of Fine Arts (BFA) in Woodworking and Furniture Design
Woodworking Apprenticeships – Extensive hands-on training with skilled craftsmen to refine carpentry and furniture making techniques
Online Courses & Masterclasses – Continued education in advanced woodworking techniques, design principles, and specialized tools
Expertise:
Makeup artistry, hairstyling, and beauty consulting.
Personalized beauty techniques to enhance confidence and self-expression.
Educating clients on how to maintain their beauty routines at home.