
Mineral makeup has revolutionized the beauty industry, offering a breathable, natural alternative to heavy liquid foundations. Adored by dermatologists and beauty enthusiasts alike, these crushed pigments provide excellent coverage without clogging pores or irritating sensitive skin. However, making the switch from traditional liquids to loose powders can feel intimidating at first. Many beginners struggle with uneven texture or a chalky finish simply because they haven’t mastered the specific techniques required for these unique formulas.
If you have been wondering how to apply mineral makeup to achieve that coveted airbrushed glow, you have come to the right place. In this comprehensive guide, we will break down the essential steps, from prepping your skin to mastering the famous “swirl, tap, buff” method. Whether you have oily, dry, or combination skin, learning the correct application process is the key to unlocking a radiant, flawless complexion that looks like skin, only better. Get ready to transform your daily routine and reveal a stunning look that lasts all day.
Why Use Mineral Makeup?
Mineral makeup has gained immense popularity due to its natural ingredients and skin-friendly properties. Unlike traditional cosmetics, it is free from harmful chemicals, artificial fragrances, and preservatives, making it an ideal choice for sensitive or acne-prone skin. Its lightweight formula allows your skin to breathe while providing excellent coverage that can be built up as needed. Additionally, mineral makeup often includes ingredients like zinc oxide and titanium dioxide, which offer natural sun protection. This combination of benefits not only enhances your appearance but also supports your skin’s overall health, ensuring you achieve a flawless look without compromising on care.
Step-by-Step Guide: Mastering Mineral Application
Step 1: Start with a Fresh, Moisturized Base
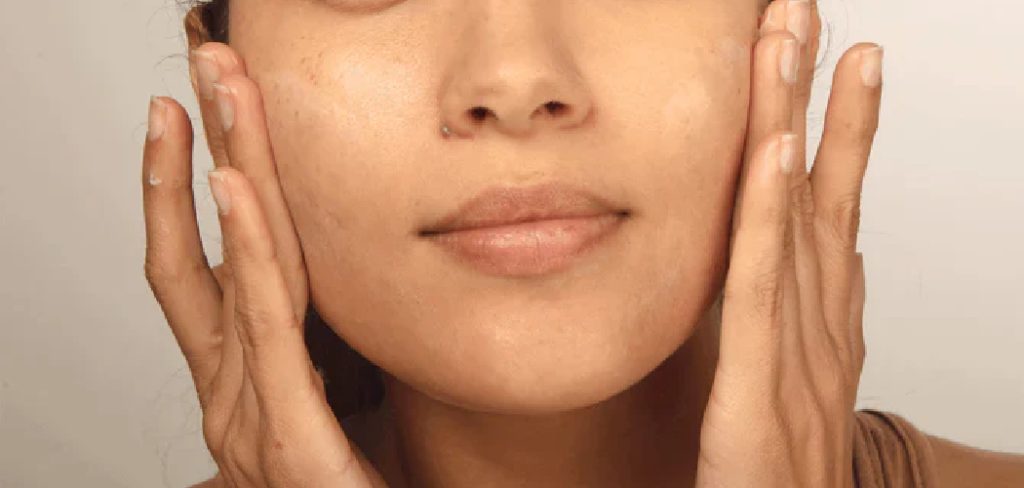
The secret to a smooth, non-cakey finish lies almost entirely in your skin preparation. Before you even reach for a brush, you must ensure your face is clean and well-hydrated. Apply your daily moisturizer and allow it to fully absorb into your skin for at least five to ten minutes. If your skin is too damp, the mineral powder will grab onto the wet patches, resulting in a splotchy and uneven appearance. Conversely, if your skin is too dry, the minerals may cling to flakes and emphasize texture. Finding that perfect balance of hydration creates a smooth canvas that allows the minerals to melt seamlessly into your complexion.

Step 2: Choose the Correct Tools for the Job
Selecting the right brush is just as important as choosing the right shade of foundation. For loose mineral powders, a dense kabuki brush or a flat-top buffer brush is essential. These tools are designed to hold the fine powder within their bristles and distribute it evenly across the skin. A fluffy powder brush, which you might use for setting powder, is too loose and will result in a sheer, dusty application rather than polished coverage. Investing in high-quality synthetic brushes ensures that the product is buffed into the skin effectively, providing the coverage you desire without irritating your face with scratchy bristles.
Step 3: Dispense a Small Amount of Product
One of the most common mistakes beginners make when learning how to apply mineral makeup is using way too much product at once. Mineral foundations are highly concentrated pigments, meaning a little goes a very long way. Start by shaking a tiny amount of powder—about the size of a dime—into the lid of your jar. It is always easier to add more layers later than it is to remove excess powder once it is on your face. By working in thin, buildable layers, you maintain control over the coverage and prevent that heavy, mask-like look that often occurs with over-application.
Step 4: Swirl the Brush into the Lid
This is the first part of the crucial “swirl, tap, buff” technique that is famous in the mineral beauty world. Take your kabuki brush and firmly swirl it into the powder sitting in the lid. You want to continue swirling until the powder seems to disappear into the bristles of the brush. The goal is not to have the powder sitting on top of the brush tips, but rather to have it evenly distributed throughout the brush head. This ensures that when the brush touches your face, it releases the pigment gradually and evenly, preventing patchy spots and ensuring a uniform color application.
Step 5: Tap Off Any Excess Powder
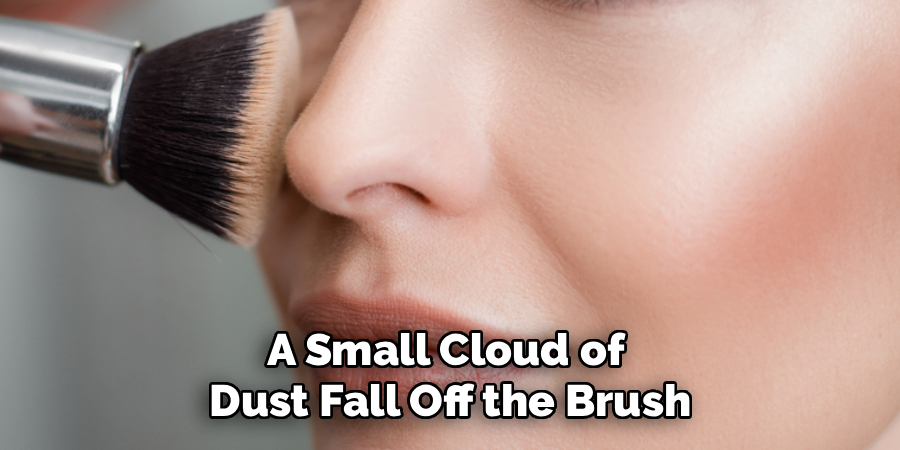
Once you have loaded your brush, give the handle a firm tap against the side of the lid or your sink. This step is non-negotiable. You should see a small cloud of dust fall off the brush. If you skip this step, the first place you touch your brush to your face will receive a heavy concentration of powder that will be difficult to blend out. Tapping off the excess ensures that you are applying a sheer, workable layer of product. It is this discipline of using minimal product that creates the natural, “your skin but better” finish that mineral cosmetics are famous for.
Step 6: Buff the Minerals onto Your Skin
Now comes the transformative part of the process. Apply the brush to your face using firm, circular motions. Start from the outside of your face near your jawline and work your way inward towards the nose and center. This buffing motion warms up the minerals and helps them meld with the natural oils in your skin, turning the powder into a creamy, seamless finish. Do not just sweep the brush across your face like a broom; really massage the product into the skin. The more you buff, the more natural and radiant the finish will become.
Step 7: Build Coverage in Layers
After your first pass, assess the coverage. If you still see redness or blemishes that you want to hide, repeat the process. Dispense a little more powder, swirl, tap, and buff again. This layering technique is far superior to trying to apply a thick layer all at once. By building up the coverage gradually, you ensure that the makeup looks like skin rather than a layer of dust sitting on top. This method allows you to customize your coverage level, keeping it sheer in areas where your skin is clear and building it up only where you need extra help.
Step 8: Conceal Specific Imperfections
For stubborn blemishes or dark circles that the overall buffing didn’t cover, you can use a smaller concealer brush. Dip the small brush into the same mineral foundation or a specific mineral concealer, tap off the excess, and press the pigment directly onto the spot. Instead of buffing, use a stippling or patting motion to deposit more pigment in that specific area. Then, gently blend the edges so there are no harsh lines. This targeted approach keeps your overall makeup looking fresh and light while still providing the heavy-duty coverage needed for specific problem areas.
Step 9: Set with a Finishing Powder
To lock your look in place and blur any remaining fine lines, finish with a translucent mineral setting powder or a hydration mist. A setting powder helps to absorb excess oil throughout the day and gives the skin a soft-focus effect. Alternatively, a facial mist can settle the powdery look instantly, melting the minerals further into the skin for a dewy, hydrated finish. This final step ensures your hard work lasts through humidity, sweat, and long workdays, keeping your complexion looking fresh and polished from morning until night.
Frequently Asked Questions
Can I Use Mineral Makeup on Dry Skin?
Yes, you absolutely can use mineral makeup on dry skin, but preparation is key. Ensure you exfoliate regularly to remove flaky patches and use a rich moisturizer before application. You might also prefer a hydrating setting mist after applying the powder to melt the minerals and prevent a chalky finish.
Does Mineral Makeup Provide Sun Protection?
Many mineral foundations contain titanium dioxide and zinc oxide, which are natural physical sunblocks. While they offer some level of SPF protection, it is usually not enough for prolonged sun exposure. You should always apply a dedicated broad-spectrum sunscreen under your makeup to ensure your skin is fully protected from UV damage.
How Often Should I Clean My Mineral Makeup Brushes?
Because you are buffing the brushes into your skin vigorously, they can collect oil and bacteria quickly. It is recommended to spot clean your brushes after every use with a spray cleaner and give them a deep wash with shampoo and water at least once a week to prevent breakouts.
Can I Mix Mineral Powder with Lotion?
Yes, this is a great trick for those who prefer a liquid consistency. You can mix a small amount of loose mineral powder with your daily moisturizer or facial oil in the palm of your hand. This creates a custom tinted moisturizer that offers hydration along with light, natural coverage.
Why Does My Mineral Makeup Look Cakey?
If your makeup looks cakey, you likely applied too much product or didn’t buff it in enough. Remember to apply in very thin layers and buff thoroughly. Alternatively, your moisturizer may not have fully absorbed before you started. Let your skincare set for a few minutes before applying powder.
Conclusion
Switching to mineral cosmetics is one of the best decisions you can make for the health of your skin, but the learning curve can be steep. By mastering the “swirl, tap, buff” technique and understanding the importance of thin, buildable layers, you can achieve a complexion that looks naturally perfect. Remember that patience is key; take the time to blend thoroughly and find the right tools for your specific needs. Now that you know how to apply mineral makeup like a pro, you can enjoy the benefits of breathable, lightweight coverage that enhances your natural beauty rather than masking it. Go ahead and experiment with these steps to find your perfect glow!
About the Author
Jane Hubbard is a passionate beauty expert with a wealth of experience in makeup, hair, and overall beauty techniques. After years of working as a hairdresser specialist, she followed her entrepreneurial spirit and started her own consultancy business.
Jane has always been driven by her desire to help others feel confident in their own skin, and she does this by sharing her knowledge, experiences, and practical beauty tips. Through her consultancy, she empowers individuals to embrace their unique beauty, offering tailored guidance that boosts both self-esteem and personal style.
Professional Focus
Specializes in makeup, hairstyling, and beauty consulting.
Provides personalized beauty advice, tips, and techniques to help individuals feel confident in their appearance.
Dedicated to staying up-to-date with the latest industry trends and developments.
Passionate about creating a comfortable and empowering experience for every client.
Education History
University of Craft and Design – Bachelor of Fine Arts (BFA) in Woodworking and Furniture Design
Woodworking Apprenticeships – Extensive hands-on training with skilled craftsmen to refine carpentry and furniture making techniques
Online Courses & Masterclasses – Continued education in advanced woodworking techniques, design principles, and specialized tools
Expertise:
Makeup artistry, hairstyling, and beauty consulting.
Personalized beauty techniques to enhance confidence and self-expression.
Educating clients on how to maintain their beauty routines at home.