
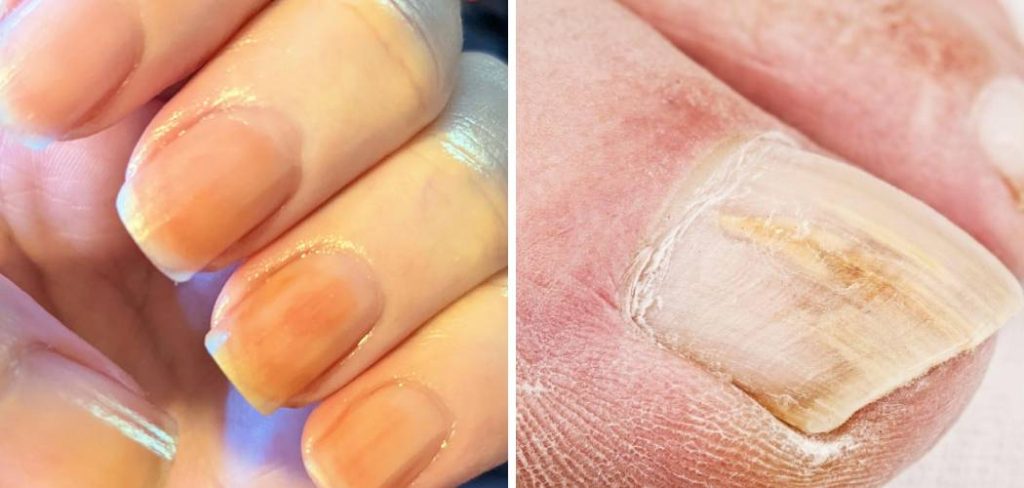
It starts subtly—a slight tint after removing your favorite red lacquer. But after back-to-back manicures without a break, you remove your polish to find your natural nails have taken on an unsightly, yellowish hue. It’s a common panic moment for beauty enthusiasts, often leading to frantic scrubbing that only damages the nail bed further. The good news is that this discoloration is usually superficial, caused by the dark pigments in your polish reacting with the keratin in your nails. While it isn’t permanent, it is frustrating when you want to rock a clean, natural look.
Fortunately, you don’t have to wait months for the stained areas to grow out. With a few household staples and a bit of patience, you can brighten your tips and restore them to their natural health. In this guide, we will walk you through exactly how to fix yellow nails from polish safely and effectively. We will cover everything from gentle buffing techniques to DIY soaking solutions that lift stains without harsh chemicals, ensuring your hands look salon-fresh again in no time.
How to Fix Yellow Nails from Polish: A Step-by-Step Guide
Step 1: Remove All Remaining Polish Thoroughly
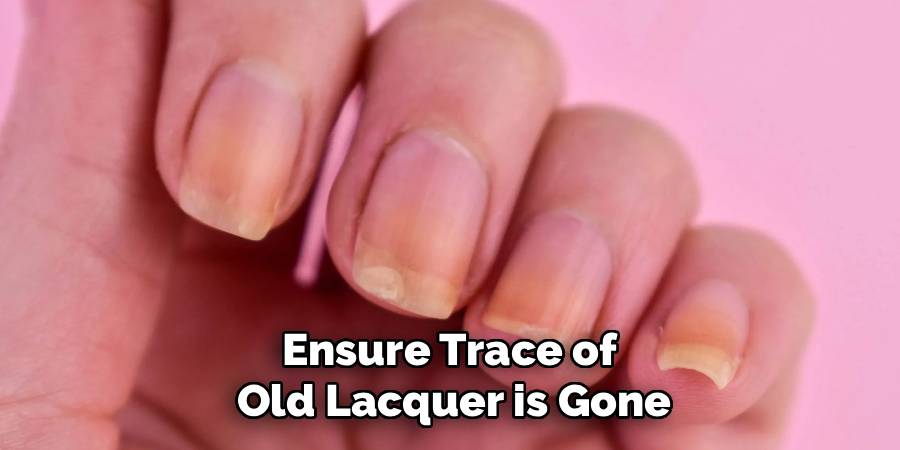
Before you can address the staining on the nail plate, you must ensure every trace of old lacquer is completely gone. Sometimes, what looks like a yellow stain is actually a very thin layer of base coat or pigment that didn’t come off during your initial removal. Saturate a cotton ball with a high-quality, acetone-based remover, as this is most effective for breaking down stubborn pigments.
Press the soaked cotton onto your nail and hold it there for at least ten seconds to let the remover dissolve the product. Wipe firmly from the cuticle toward the free edge. Do not smear the polish onto the surrounding skin, as this can transfer the pigments and cause more staining. Repeat this process until the cotton comes away clean, ensuring you are working on a completely bare canvas before attempting any brightening treatments.
Step 2: Gently Buff the Surface of the Nails
Once your nails are clean and dry, the next logical step in learning how to fix yellow nails from nail polish is mechanical exfoliation. The yellow staining usually sits on the very top layer of the nail plate. By lightly buffing this layer, you can physically remove a significant amount of the discoloration. Take a fine-grit nail buffer—not a coarse file, which can thin and weaken the nail—and gently rub it back and forth over the nail surface.
You want to use light pressure and keep the buffer moving to avoid creating heat friction. Do not over-buff, as removing too many layers of keratin can make your nails brittle and painful. Aim to buff for about ten to fifteen seconds per nail. You should see a white, powdery residue, which indicates that the stained top layer is being successfully lifted away.
Step 3: Prepare a Brightening Lemon Juice Soak
Nature often provides the best remedies, and when it comes to lightening stains, lemon juice is a powerhouse. Lemons contain citric acid, a natural bleaching agent that works wonders on organic stains like those left by nail dyes. To create this treatment, squeeze the juice of two fresh lemons into a small bowl. If you have sensitive skin or hangnails, dilute the juice with equal parts warm water to prevent stinging.
Soak your fingertips in the liquid for ten to fifteen minutes. During the soak, you can use a soft toothbrush to gently scrub the nail surface, helping the citric acid penetrate the top layers of the keratin. After the time is up, wash your hands thoroughly with warm water and soap. The acidity can be drying, so this step prepares your nails for the subsequent hydrating and neutralizing steps in the routine.
Step 4: Use a Whitening Toothpaste Treatment
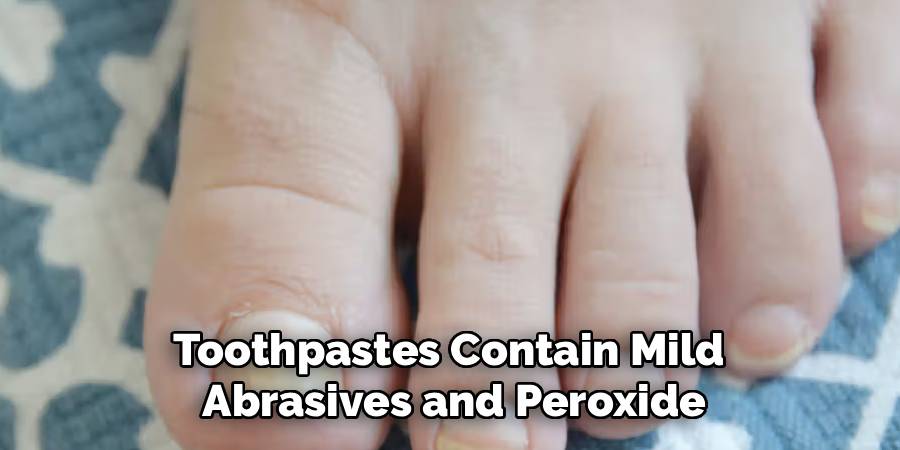
If you check your bathroom cabinet, you likely already have a powerful stain remover: whitening toothpaste. These toothpastes typically contain mild abrasives and peroxide, ingredients designed to polish enamel and lift surface stains from teeth. Interestingly, nails and teeth share some similarities in how they react to surface stains. Squeeze a small pea-sized amount of whitening toothpaste onto each nail.
Using a clean nail brush or an old toothbrush dedicated to beauty tasks, scrub the paste over the nails in circular motions. Focus on the areas where the yellowing is most intense. Let the paste sit on the nails for about ten minutes to allow the active ingredients to work on the discoloration. This method is particularly effective because the mild grit of the toothpaste adds a second level of gentle exfoliation, further polishing away the yellowed layers without causing damage to the cuticle area.
Step 5: Apply a Baking Soda and Peroxide Paste
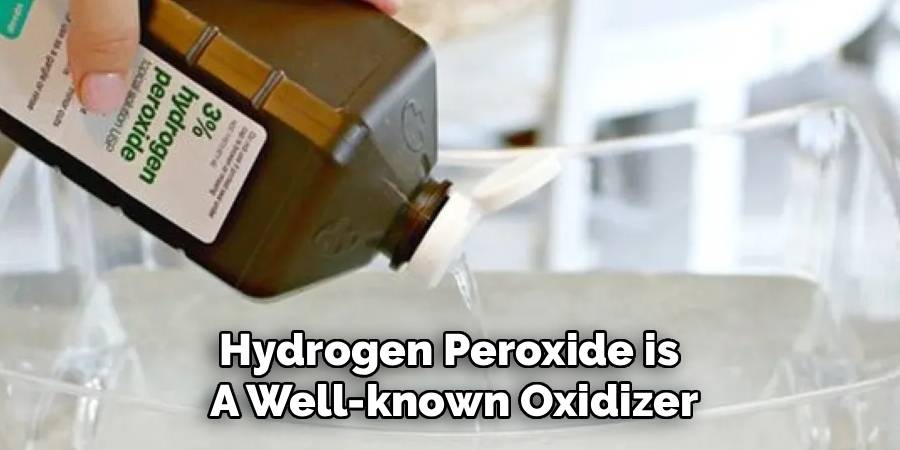
For stubborn stains that have resisted lemon juice and toothpaste, you need a slightly stronger chemical reaction. Hydrogen peroxide is a well-known oxidizer, meaning it breaks down color compounds, while baking soda acts as an alkaline cleaner and gentle abrasive. In a small dish, mix one tablespoon of hydrogen peroxide (the standard 3% solution found in drugstores) with two and a half tablespoons of baking soda.
Stir until it forms a thick, spreadable paste. Use a cotton swab to coat each nail generously with the mixture, ensuring you cover the entire nail plate and under the free edge. Leave this paste on for no longer than three to four minutes. Leaving peroxide on for too long can dry out the skin and cuticles, causing white spots or irritation. Rinse thoroughly with warm water immediately after the time is up to neutralize the reaction.
Step 6: Hydrate the Nails with Nourishing Oils
All the exfoliation, acidic lemon juice, and peroxide treatments mentioned above are incredibly effective at removing stains, but they strip the nails of their natural oils. If you skip rehydration, your nails may look white but will become brittle, prone to peeling, and more susceptible to future staining. Immediately after rinsing off your cleaning agents, pat your hands dry and apply a high-quality cuticle oil or jojoba oil.
Massage the oil deep into the nail bed, the cuticles, and the surrounding skin for at least five minutes. Jojoba oil is particularly good because its molecular structure is similar to the skin’s natural sebum, allowing for deep penetration. This step restores the moisture barrier and helps seal the keratin layers you just buffed. Healthy, hydrated nails reflect light better, which naturally makes them appear brighter and less yellow even before the stain is fully gone.
Step 7: Allow the Nails to Breathe and Recover
The final step is arguably the hardest for nail polish lovers: doing absolutely nothing. The primary cause of yellowing is the constant application of polish without allowing the nail plate to recover. Nails are porous, and while they don’t “breathe” in the biological sense, they do need time to rehydrate and balance their moisture levels from the air and water exposure. If you immediately cover your freshly cleaned nails with another layer of red polish, you are trapping any remaining pigments and potentially restarting the staining process. Aim to leave your nails bare for at least three to seven days. During this time, continue to apply cuticle oil twice daily.
Frequently Asked Question
Why Do Dark Polishes Stain Nails More Than Light Colors?
Darker nail polishes, such as deep reds, navies, and blacks, contain a much higher concentration of pigment than lighter shades. These intense dyes are necessary to provide opaque coverage, but they are also chemically aggressive. When these pigments sit directly on the porous keratin of the nail plate for days or weeks, they leach into the top layers of the nail.
Can I Prevent Yellow Nails Without Stop Painting Them?
Yes, you can significantly reduce the risk of yellowing while continuing to paint your nails by always using a high-quality base coat. A base coat acts as a protective barrier between the porous nail plate and the pigmented polish. It seals the keratin and prevents the dyes from seeping in. Additionally, avoid leaving the same polish on for longer than ten days.
Is Buffing Bad For Thin Nails?
Buffing can be damaging if done incorrectly or too frequently, especially for those who already have naturally thin or brittle nails. Because buffing physically removes a microscopic layer of the nail plate, overdoing it can thin the nail to the point of weakness, causing splitting or sensitivity. If you have thin nails, use a very fine-grit buffer and use extremely light pressure.
Does Acetone Remover Cause Yellow Nails?
Acetone itself does not typically cause yellowing, but it can exacerbate the problem if used incorrectly. Acetone is a solvent that dissolves polish. If you rub a cotton ball soaked in dissolved red polish back and forth vigorously across your nail, you are effectively rubbing that dissolved pigment deep into the nail plate.
When Should I Be Concerned About Yellow Nails?
While nail polish is the most common culprit for yellow nails, discoloration can sometimes indicate an underlying health issue. If your nails are yellow and also thickened, crumbling, or separating from the nail bed, this could be a sign of a fungal infection. Yellowing can also be associated with respiratory conditions or vitamin deficiencies.
Conclusion
Dealing with discolored tips can be discouraging, but knowing how to fix yellow nails from nail polish empowers you to restore your hands to their natural beauty. It is a process that requires a mix of gentle exfoliation, natural bleaching agents, and essential hydration. Remember that the health of your nails is just as important as the color you paint them.
By incorporating base coats into your routine and giving your nails the occasional break to breathe, you can prevent staining before it starts. So, treat yourself to a little DIY spa day, scrub away those stains, and get ready to show off healthy, bright nails that look great—with or without the polish.
About the Author
Jane Hubbard is a passionate beauty expert with a wealth of experience in makeup, hair, and overall beauty techniques. After years of working as a hairdresser specialist, she followed her entrepreneurial spirit and started her own consultancy business.
Jane has always been driven by her desire to help others feel confident in their own skin, and she does this by sharing her knowledge, experiences, and practical beauty tips. Through her consultancy, she empowers individuals to embrace their unique beauty, offering tailored guidance that boosts both self-esteem and personal style.
Professional Focus
Specializes in makeup, hairstyling, and beauty consulting.
Provides personalized beauty advice, tips, and techniques to help individuals feel confident in their appearance.
Dedicated to staying up-to-date with the latest industry trends and developments.
Passionate about creating a comfortable and empowering experience for every client.
Education History
University of Craft and Design – Bachelor of Fine Arts (BFA) in Woodworking and Furniture Design
Woodworking Apprenticeships – Extensive hands-on training with skilled craftsmen to refine carpentry and furniture making techniques
Online Courses & Masterclasses – Continued education in advanced woodworking techniques, design principles, and specialized tools
Expertise:
Makeup artistry, hairstyling, and beauty consulting.
Personalized beauty techniques to enhance confidence and self-expression.
Educating clients on how to maintain their beauty routines at home.