
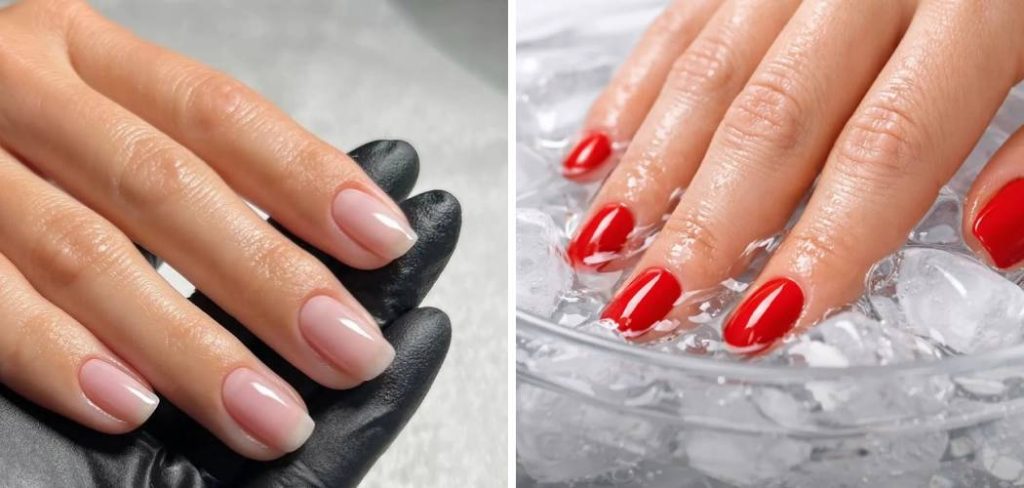
We all have that one bottle of nail polish. It’s the perfect shade of burgundy or that discontinued glitter topcoat you can’t live without. But when you reach for it, you find it has turned into a thick, gooey mess that drags across your nail instead of gliding. Before you toss it in the trash, pause. You don’t have to say goodbye to your favorite colors just because they’ve seen better days. Learning how to thin old nail polish is a simple skill that can save your manicure and your wallet.
Thickening happens to the best formulas. It occurs when the solvents inside the bottle evaporate over time, leaving the pigment and resin behind in a dense sludge. While it might look ruined, the chemistry is often reversible. By following a few careful steps, you can restore the consistency and get that smooth, salon-quality application back. In this guide, we will walk you through the process of bringing your beloved lacquers back to life so you can keep painting without the streakiness or clumps.
Step-by-Step Guide How to Thin Old Nail Polish
Step 1: Clean the Bottle Neck and Cap
Before you add anything to the formula, you need to ensure the bottle is sealed properly to prevent further evaporation. Often, the culprit behind thick polish is a build-up of dried lacquer on the neck of the bottle, which stops the cap from screwing on tightly. Take a cotton pad soaked in pure acetone or nail polish remover and carefully wipe down the threads of the glass bottle neck. You should also clean the inside of the plastic cap. If the gunk is stubborn, wrap the acetone-soaked pad around the neck and let it sit for a few minutes to dissolve the hardened polish. Once the seal is clean and airtight, you have a better starting point for restoration.
Step 2: Warm the Bottle Between Your Palms
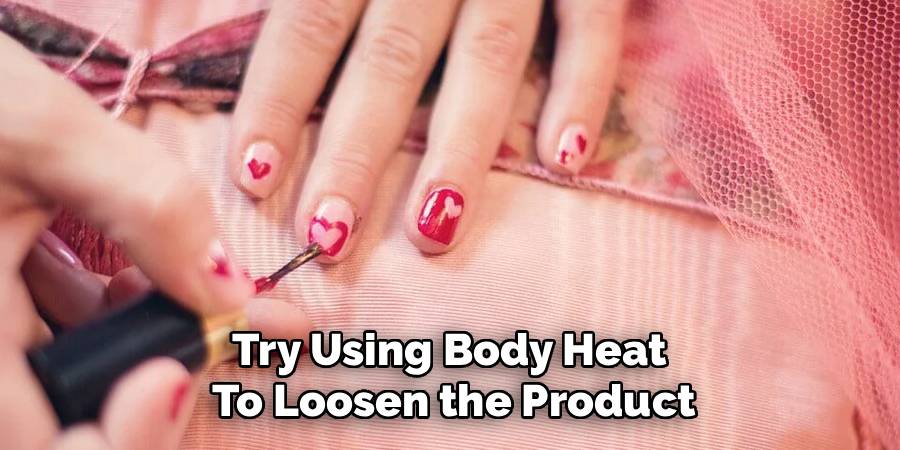
Sometimes, the polish isn’t permanently ruined; the ingredients have simply separated or the temperature has affected the consistency. Before reaching for chemical thinners, try using body heat to loosen the product. Hold the bottle upside down and roll it briskly between your palms for about two minutes. This friction generates heat, which helps to mix the solvents and pigments back together naturally. This technique is far superior to shaking the bottle, which can introduce air bubbles that ruin your manicure later. If the polish becomes fluid again after this step, you might not need to add anything else. If it remains sluggish and thick, proceed to the next step.
Step 3: Use Professional Nail Polish Thinner
If physical agitation didn’t solve the issue, you need to reintroduce the chemistry that was lost to evaporation. This is where many people make a critical mistake by using acetone or standard remover. Do not use remover. Acetone breaks down the formula, ruining the finish and causing the polish to chip immediately. Instead, purchase a professional nail polish thinner. These products contain the specific solvents—usually butyl acetate and ethyl acetate—that were originally in your polish. When you are learning how to thin old nail polish, using the correct ingredients is vital to maintaining the integrity, shine, and longevity of your manicure.
Step 4: Add Thinner One Drop at a Time
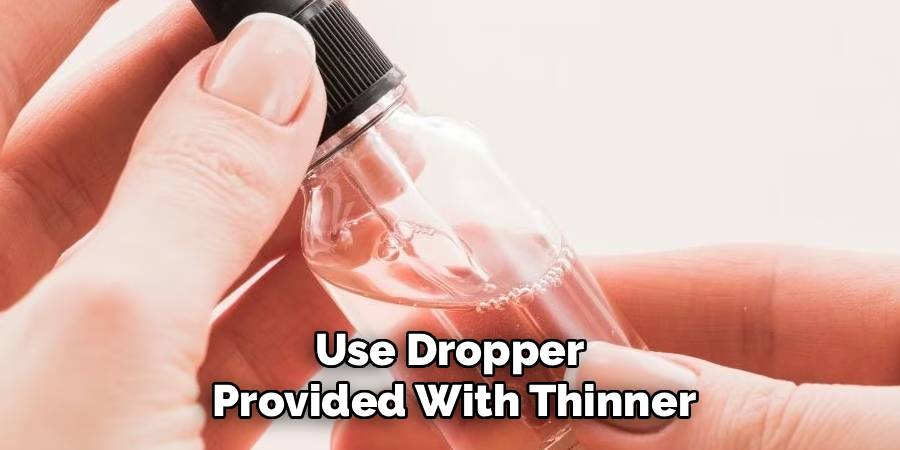
Patience is your best friend during this stage of the process. Open your bottle of thick polish and your bottle of thinner. Using the dropper provided with the thinner, add just one or two drops into the nail polish. It is incredibly easy to over-thin a polish, making it watery, sheer, and unusable. You can always add more thinner, but you cannot take it out once it is mixed in. Start conservatively with those two drops. If you are working with a glitter polish, you might eventually need a little more, but for creams and sheers, a very small amount goes a very long way.
Step 5: Roll the Bottle to Mix
After adding your drops of thinner, close the nail polish bottle tightly. You need to incorporate the new solvent into the old, thick sludge. Once again, do not shake the bottle up and down. Shaking introduces air pockets that create tiny bubbles on your nails as the polish dries. Instead, return to the technique of rolling the bottle between your palms. Roll it back and forth rhythmically for at least one minute. This gentle motion swirls the thinner through the pigment evenly. If you have a particularly stubborn bottle, you can let it sit for twenty minutes after rolling to allow the solvents to naturally diffuse through the mixture.
Step 6: Test the Consistency on a Nail
Now it is time to see if your efforts have paid off. Open the bottle and pull the brush out, wiping one side against the inner neck. Watch how the polish falls from the bristles. It should drip off the brush at a moderate speed—not like molasses, but not like water either. Test it on one fingernail or a piece of paper. If it glides on smoothly and levels itself out, you are done. If it still drags, clumps, or leaves streaks, repeat steps four and five. Add one more drop of thinner, roll the bottle, and test again. Repeat this cycle until you achieve that perfect, fluid consistency.
Step 7: Store Correctly to Prevent Future Thickening
Once you have successfully restored your polish, you want to keep it that way for as long as possible. Prevention is just as important as the cure. Always store your nail polish bottles upright in a cool, dark place. Heat and sunlight can alter the chemical composition and speed up the thickening process. Additionally, make sure the neck remains clean after every manicure so the cap closes completely. If air gets in, the solvents get out. By keeping the threads clean and storing your collection properly, you won’t have to worry about how to thin old nail polish nearly as often.
Frequently Asked Questions
Can I Use Acetone Instead Of Thinner?
No, you should never use acetone or standard nail polish remover to thin your polish. Acetone is designed to break down and dissolve the polymers in nail polish, which destroys the formula. While it might temporarily make the liquid thinner, it will ruin the binding agents. This means the polish will likely lose its shine, dry with a dull or matte finish, and chip off your nails within hours of application. Always stick to a designated polish thinner that contains the restorative ingredients butyl acetate and ethyl acetate.
Why Does Nail Polish Get Thick And Gloopy?
Nail polish contains solvents that keep the formula liquid and spreadable. These solvents are volatile, meaning they evaporate very easily when exposed to air. Every time you open the bottle to paint your nails, a small amount of solvent escapes. Over time, as the ratio of solvent decreases, the remaining ingredients—pigments, nitrocellulose, and resins—become concentrated and thick. This process is accelerated if the bottle cap isn’t screwed on tightly or if the bottle is stored in a warm environment, causing the remaining liquid to turn into a sludge.
How Many Times Can I Thin A Bottle Of Polish?
You can technically thin a bottle of nail polish as many times as needed until the product is used up. However, there are diminishing returns. If you have to add large amounts of thinner frequently, you are essentially diluting the pigment load. Eventually, the polish might become too sheer or the coverage might become streaky because there is more solvent than actual color. Generally, you can revive a bottle three or four times successfully before the quality of the application degrades to the point where it is better to buy a new bottle.
Does This Method Work For Gel Polish?
Standard nail polish thinner should not be used for UV or LED gel polishes. Gel polish has a completely different chemical composition than traditional lacquer. Adding standard thinner to gel will likely ruin the curing process, meaning the gel won’t harden properly under the lamp. If your gel polish has become thick, you need to buy a specific gel polish thinner designed for that formula. Alternatively, warming the closed gel bottle in a bowl of warm water often helps loosen the consistency enough for application without adding chemicals.
Can I Fix Polish That Has Completely Dried Out?
If your nail polish has solidified into a hard, dry rock at the bottom of the bottle, it is usually beyond repair. At this stage, the chemical structure has changed too drastically to be reconstituted properly. While you could technically dump half a bottle of thinner in and let it sit for days, the result will likely be a clumpy, uneven mess that separates constantly. It is usually best to cut your losses and replace the bottle once it has fully dried out.
Conclusion
Maintaining a nail polish collection requires a little bit of maintenance, but the results are worth it. Instead of throwing away half-used bottles of your favorite colors, you can extend their lifespan significantly with just a few drops of the right product and some patience.
Knowing how to thin old nail polish is a great trick to have up your sleeve. It saves you money, reduces waste, and ensures that you always have a smooth, professional-looking manicure. So next time your go-to red or essential topcoat starts to drag, don’t panic. Just clean, thin, roll, and paint.
About the Author
Jane Hubbard is a passionate beauty expert with a wealth of experience in makeup, hair, and overall beauty techniques. After years of working as a hairdresser specialist, she followed her entrepreneurial spirit and started her own consultancy business.
Jane has always been driven by her desire to help others feel confident in their own skin, and she does this by sharing her knowledge, experiences, and practical beauty tips. Through her consultancy, she empowers individuals to embrace their unique beauty, offering tailored guidance that boosts both self-esteem and personal style.
Professional Focus
Specializes in makeup, hairstyling, and beauty consulting.
Provides personalized beauty advice, tips, and techniques to help individuals feel confident in their appearance.
Dedicated to staying up-to-date with the latest industry trends and developments.
Passionate about creating a comfortable and empowering experience for every client.
Education History
University of Craft and Design – Bachelor of Fine Arts (BFA) in Woodworking and Furniture Design
Woodworking Apprenticeships – Extensive hands-on training with skilled craftsmen to refine carpentry and furniture making techniques
Online Courses & Masterclasses – Continued education in advanced woodworking techniques, design principles, and specialized tools
Expertise:
Makeup artistry, hairstyling, and beauty consulting.
Personalized beauty techniques to enhance confidence and self-expression.
Educating clients on how to maintain their beauty routines at home.