
In this guide, we will walk you through exactly how to apply Ogee contour sticks to achieve a flawless, natural-looking definition. We understand that our community of home gardeners and beginners values simplicity and efficiency. You want products that work as hard as you do but feel weightless on the skin. By the end of this article, you will feel confident in mapping your face, blending seamlessly, and creating a look that highlights your best features without looking heavy or overdone.
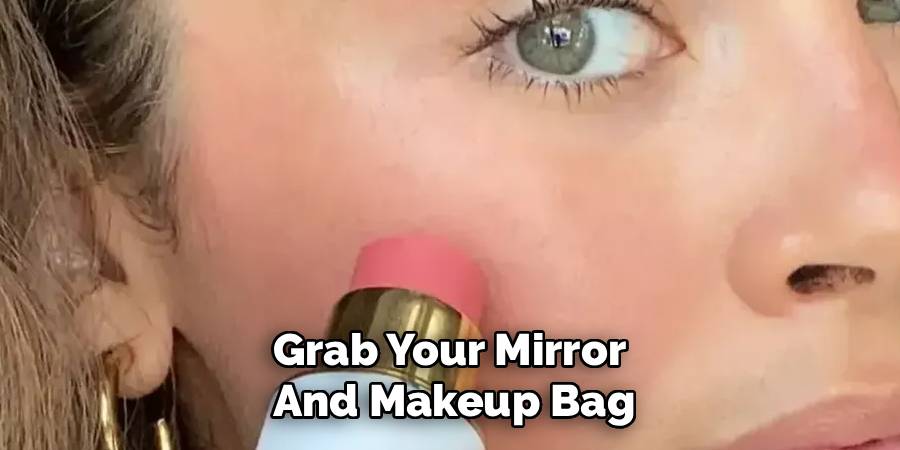
We will cover everything from skin preparation to the final setting touches. We will also address common questions to ensure you have all the information you need. So, grab your mirror and your makeup bag, and let’s dig into the art of effortless sculpting.
How to Apply Ogee Contour Sticks: A Step-by-Step Guide
Step 1: Prep and Prime Your Skin
Before we even touch the contour stick, we need to talk about the canvas. Just as you wouldn’t plant seeds in dry, uncultivated soil, you shouldn’t apply makeup to dry, unprepared skin. The key to a seamless blend is a hydrated base. Start by cleansing your face to remove any impurities or excess oil. Follow this with a lightweight moisturizer that suits your skin type. Allow it to absorb fully for a few minutes. If you have specific concerns like large pores or fine lines, using a primer can create a smoother surface, helping the cream product glide on effortlessly.
Step 2: Map Out Your Natural Bone Structure
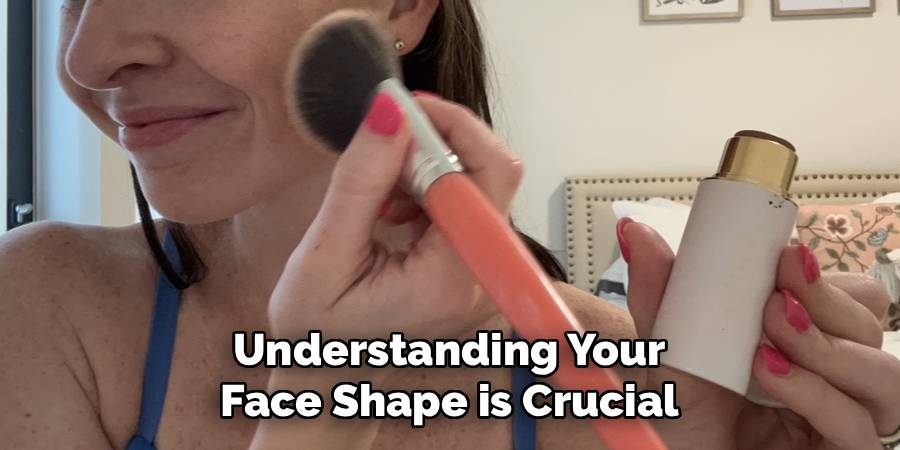
Understanding your face shape is crucial before you start drawing lines. Everyone’s bone structure is different, and where you place your contour will depend on what features you want to recede or define. To find your cheekbones, suck in your cheeks or use your fingers to feel the hollows beneath the bone. This hollow area is where your contour shade will go to create depth. For your jawline, trace the edge of your jaw from your ear downwards. If you want to shorten a high forehead, identify the areas near your hairline that you want to shadow.
Step 3: Apply the Contour Shade for Definition
For the jawline, trace just under the bone to create a sharper appearance. If you are looking to define your nose, you can lightly trace the sides of the bridge. Remember, less is more. It is much easier to add more product than to take it away. When you are learning how to apply Ogee contour sticks, start with a light hand. The formula is buildable, so you can always deepen the shadow if you want a more dramatic look. Think of this as planting your structural shrubs; these lines define the boundaries and shape of your overall landscape.
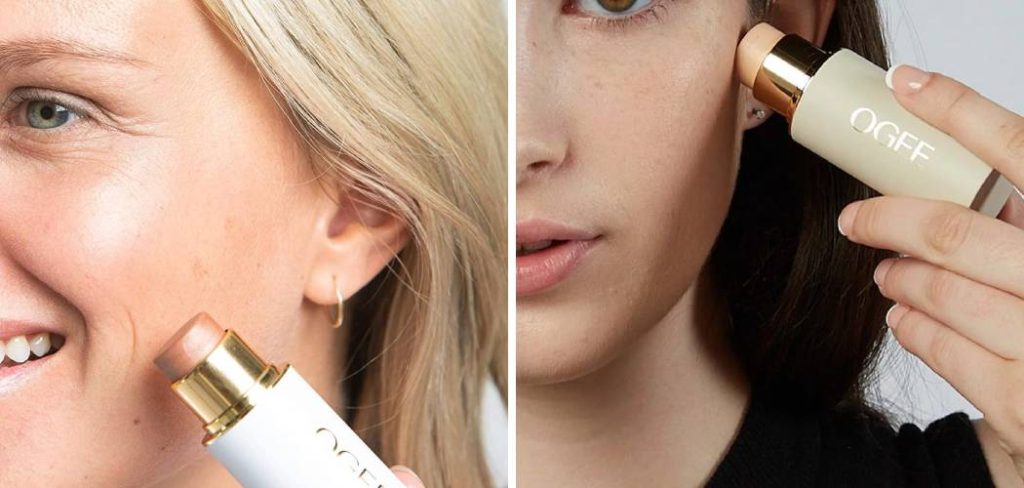
Step 4: Add Warmth with a Bronzing Stick
While contour creates shadow and definition, bronzer adds warmth and life back into the complexion. Often, people confuse the two, but they serve different purposes. Your contour shade should be cool-toned to look like a shadow, while your bronzer should be warm to mimic a sun-kissed glow. Using your Ogee bronzing stick, apply the product to the high points of your face where the sun would naturally hit. This typically includes the tops of the cheekbones (just above where you placed the contour), across the forehead, and lightly across the bridge of the nose.
Applying bronzer helps to marry the contour into your skin tone, preventing the sculpted lines from looking stark or grey. It brings a healthy vibrancy to the face, much like the golden hour light hitting your garden in the late afternoon. Be careful not to overlap the bronzer entirely with the contour; instead, place it slightly higher and blend the two where they meet. This gradient from the cool shadow in the hollows to the warm glow on the high points creates a multi-dimensional, realistic effect.
Step 5: Brighten with a Highlighting Stick
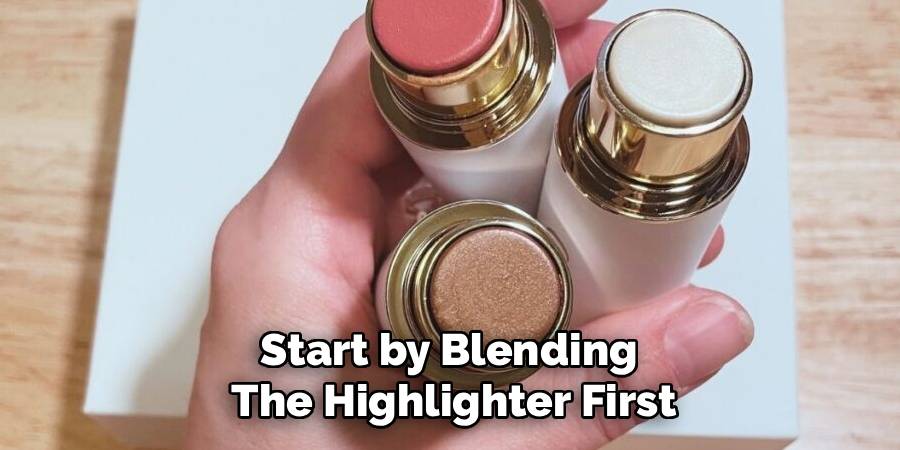
To complete the trifecta of light and shadow, reach for your Ogee highlighting stick. This product is designed to bring specific features forward and add a dewy luminosity to the skin. Apply the highlighter to the very tops of your cheekbones, the brow bone, the center of the nose, and the cupid’s bow above your lips. You can also add a touch to the inner corners of your eyes to look more awake.
Step 6: Blend for a Seamless Finish
This is arguably the most critical step in the entire process. Unblended contour can look like dirt or bruises, which is certainly not the look we are going for. You can use your fingers, a damp makeup sponge, or a dense synthetic brush to blend the product. Because Ogee sticks are formulated with nourishing oils, the warmth of your fingers works exceptionally well to melt the product into the skin.
Start by blending the highlighter first, then the bronzer, and finally the contour. This prevents you from muddying the lighter colors with the dark pigment. When blending the cheek contour, use an upward tapping motion. Never drag the product down, as this defeats the purpose of the “lift.” Imagine you are gently tilling the soil, integrating nutrients without disturbing the roots. You want the lines to disappear, leaving behind only soft shadows and highlights. Take your time with this step. Check your reflection in natural light to ensure there are no harsh edges. The goal is a seamless transition between the shades.
Step 7: Set and Perfect the Final Look
Once you are happy with the blend, step back and assess your work. Do you need a little more depth in the hollows? A bit more glow on the cheeks? Now is the time for minor adjustments. If you have oily skin or anticipate a long day out in the sun, you might want to set your cream products. However, to maintain the dewy finish that Ogee is famous for, avoid dusting powder over the entire face.
Frequently Asked Questions
Can I use Ogee contour sticks on mature skin?
Absolutely. In fact, cream-based products like Ogee contour sticks are often recommended specifically for mature skin. Powder products can settle into fine lines and wrinkles, accentuating texture and making the skin appear dry. Ogee’s formula is rich in hydrating ingredients like jojoba oil, which nourish the skin while providing color. The creamy consistency glides over texture rather than emphasizing it, creating a plump, youthful appearance. Because they blend so easily, you don’t need to tug or pull at delicate skin during application, making them a gentle and effective choice for aging gracefully.
Do I need to use a brush or sponge, or can I use my fingers?
You can absolutely use your fingers, and many users prefer this method! The warmth of your hands helps to warm up the organic oils in the stick, making the pigment melt seamlessly into the skin for a very natural finish. Using your fingers gives you tactile control over the blending process. However, if you prefer to keep your hands clean or want a more airbrushed finish, a dense synthetic brush or a damp beauty sponge works beautifully as well. It ultimately comes down to personal preference and what tool you feel most comfortable handling.
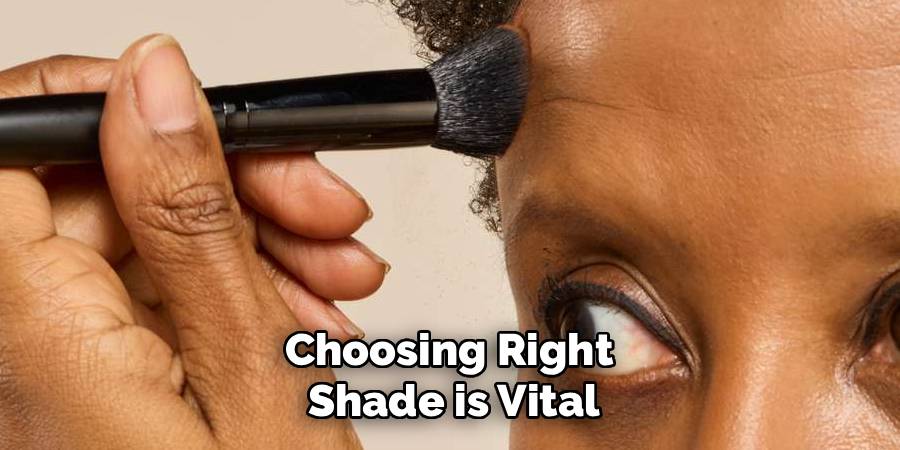
How do I choose the right shade for my skin tone?
Choosing the right shade is vital for a natural look. Ogee typically offers a range of shades catering to different skin tones. For contour, you generally want a shade that is one or two shades darker than your natural skin tone with a cool or neutral undertone to mimic a shadow. If the shade is too warm or orange, it will look like bronzer rather than a natural shadow. Check the brand’s shade guide or look for swatches on models with a similar skin tone to yours. When in doubt, start with a lighter shade, as you can always build up intensity.
Are Ogee contour sticks suitable for oily skin types?
Yes, they can work for oily skin, but preparation and setting are key. While cream products add moisture, which is great for dry skin, those with oily skin might worry about the product sliding around. To combat this, ensure you start with a clean face and perhaps use a mattifying primer. After applying and blending the contour stick, set the product with a translucent setting powder. This locks the cream in place and prevents excess shine without completely losing the dimensional finish. The ingredients are non-comedogenic, meaning they won’t clog your pores, which is a bonus for acne-prone skin.
How long does the product typically last on the skin?
The longevity of Ogee contour sticks depends on your skin type, the weather, and how you prep and set your skin. On average, you can expect the product to last for a standard 8-hour day. The certified organic ingredients are designed to absorb into the skin, which helps with staying power compared to surface-level powders. However, if you are sweating in the garden or have very oily skin, you might see some fading sooner. Using a gripping primer beforehand and a setting spray afterward can significantly extend the wear time, keeping your sculpted look fresh from morning until evening.
Conclusion
As you become more comfortable with the technique, you will find that it becomes second nature, taking no more than a few minutes in your morning routine. Whether you are tending to your rose bushes or heading to a community meeting, this simple enhancement can make you feel polished and put-together. Remember, the goal of learning how to apply Ogee contour sticks is not to hide your features, but to celebrate them. So go ahead, experiment with the light and shadow, and enjoy the beautiful, sculpted results.
About the Author
Jane Hubbard is a passionate beauty expert with a wealth of experience in makeup, hair, and overall beauty techniques. After years of working as a hairdresser specialist, she followed her entrepreneurial spirit and started her own consultancy business.
Jane has always been driven by her desire to help others feel confident in their own skin, and she does this by sharing her knowledge, experiences, and practical beauty tips. Through her consultancy, she empowers individuals to embrace their unique beauty, offering tailored guidance that boosts both self-esteem and personal style.
Professional Focus
Specializes in makeup, hairstyling, and beauty consulting.
Provides personalized beauty advice, tips, and techniques to help individuals feel confident in their appearance.
Dedicated to staying up-to-date with the latest industry trends and developments.
Passionate about creating a comfortable and empowering experience for every client.
Education History
University of Craft and Design – Bachelor of Fine Arts (BFA) in Woodworking and Furniture Design
Woodworking Apprenticeships – Extensive hands-on training with skilled craftsmen to refine carpentry and furniture making techniques
Online Courses & Masterclasses – Continued education in advanced woodworking techniques, design principles, and specialized tools
Expertise:
Makeup artistry, hairstyling, and beauty consulting.
Personalized beauty techniques to enhance confidence and self-expression.
Educating clients on how to maintain their beauty routines at home.