
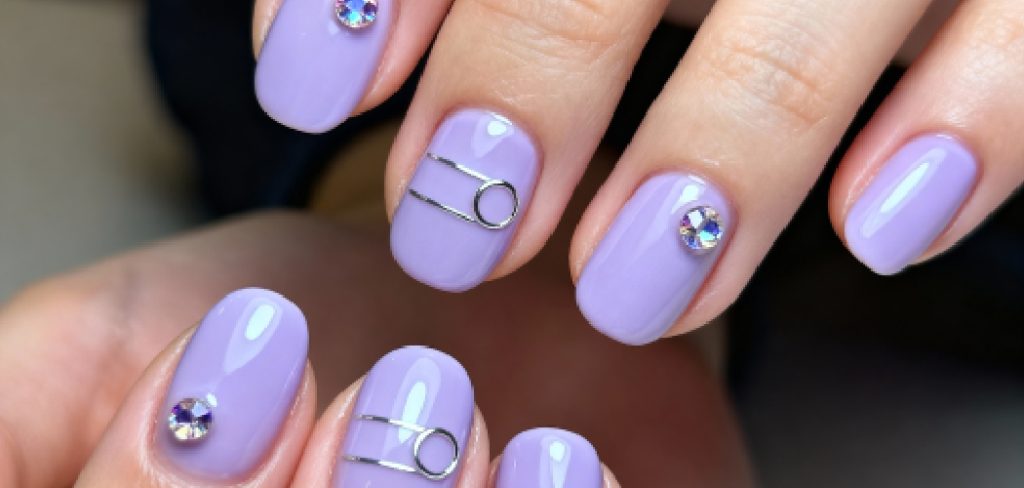
Manicures are a fantastic way to express personal style, but frequent trips to the salon can quickly become expensive and time-consuming. Dip powder nails have surged in popularity because they offer the durability of acrylics with the ease of gel polish, lasting up to three or four weeks without chipping. The best part is that you don’t need a professional license to achieve salon-quality results. Learning how to dip nails at home is a manageable skill that anyone can master with a little patience and the right tools.
This guide is designed to walk you through the entire process, from preparation to the final top coat. Whether you are tired of regular polish chipping after two days or simply want to save money, this method is a game-changer. We will cover everything you need to know to get a smooth, long-lasting manicure right at your dining room table. By following these steps, you will soon have durable, glossy nails that look professionally done.
Why Choose Dip Powder?
Dip powder manicures, often referred to as SNS (Signature Nail Systems), are a hybrid between gel and acrylic. The process involves dipping your nail into a colored powder and sealing it with a series of liquids. Unlike gel, dip powder doesn’t require a UV or LED light to cure, which is a significant benefit for those concerned about skin exposure to UV rays. The powder provides an extra layer of strength that natural nails often lack, allowing them to grow longer without breaking.
Furthermore, the dip method is generally faster to apply than traditional acrylics and has no pungent odor. The removal process is also straightforward, involving soaking off with acetone, similar to gel polish. For beginners, the precision required is less daunting than painting with liquid polish because the powder clings only to where the base coat is applied. This makes it easier to achieve clean lines near the cuticles.
Step-by-Step Guide
Step 1: Prep And Sanitize Nails
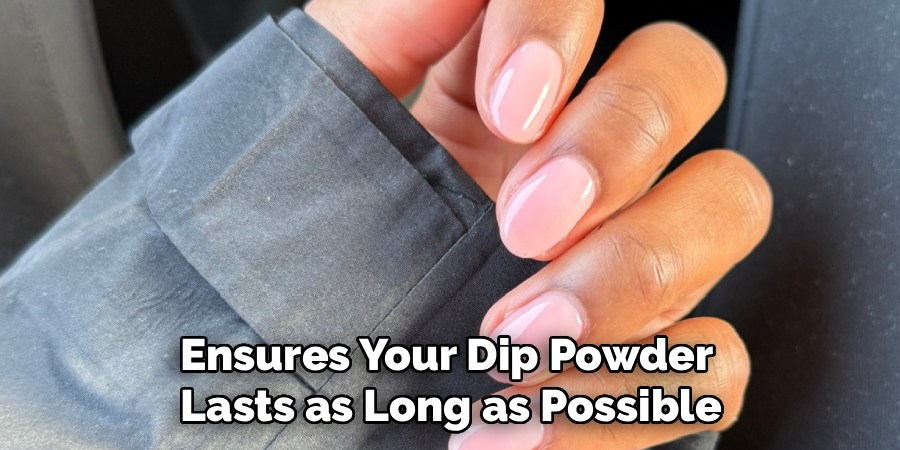
Preparation is the most critical part of any manicure and ensures your dip powder lasts as long as possible. Start by washing your hands thoroughly to remove oils and dirt. Push back your cuticles gently using a cuticle pusher or an orangewood stick. If you have any invisible cuticle on the nail plate, use a buffer to gently remove it, as dip powder will lift if applied over skin.
Shape your nails to your desired length and style using a nail file. finally, lightly buff the shine off the surface of your natural nails. This creates a textured surface for the product to adhere to. Wipe the nails down with alcohol or a dehydrator to remove any remaining dust or oils.
Step 2: Apply Base Coat
Working on one nail at a time is essential for this step to ensure the liquid doesn’t dry before you dip. Apply a thin, even layer of the base coat liquid to three-quarters of the nail, stopping just short of the cuticle line. It is crucial to be precise here because the powder will stick exactly where you place this liquid. If you get any base coat on your skin or cuticle, wipe it off immediately before dipping. Applying a layer that is too thick can result in a bulky or lumpy nail, so aim for thin, consistent strokes. This initial layer acts as the foundation for the color and strength of the manicure.
Step 3: Dip Into Powder
Immediately after applying the base coat, dip your finger into the clear or natural set powder at a 45-degree angle. This angle helps the powder lay flat against the nail rather than bunching up, which can cause ripples. Hold the finger in the powder for about two to three seconds to ensure full coverage. Pull your finger out and tap off the excess powder by tapping your finger against the side of the jar or using a fluffy brush. If you are learning how to dip nails at home for the first time, using a clear powder for the first layer builds strength and protects the natural nail from potential staining by highly pigmented colors.
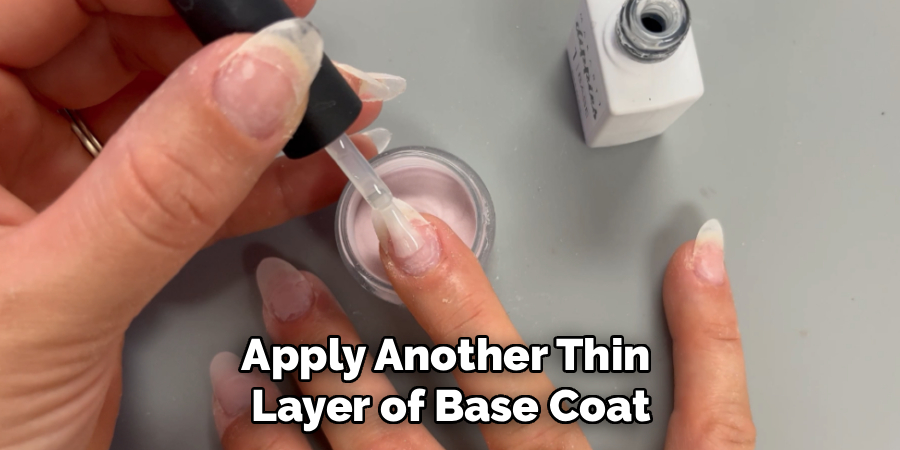
Step 4: Repeat Base And Dip
Now it is time to build up the color opacity and the structure of the nail. Apply another thin layer of base coat, this time getting slightly closer to the cuticle but still leaving a tiny margin. Dip the nail into your chosen colored powder at that same 45-degree angle. Tap off the excess powder thoroughly. Repeat this process two or three times depending on the depth of color you want. Most brands require two coats of color for full coverage. Ensure each layer is dry before brushing off excess powder to avoid smearing the texture. This repetition creates the signature durability of a dip manicure.
Step 5: Apply Activator
Once you are satisfied with the color opacity and thickness, apply a generous layer of the activator liquid (sometimes called the sealant) to all nails. The activator cures the powder and base coat, hardening the layers you have just built. Without this step, the nails will remain soft and gummy. Allow the activator to dry completely, which usually takes about two minutes. You can test if it is dry by tapping on the nail surface with the handle of a brush; it should make a clicking sound. This step transforms the powder and resin into a solid, durable surface ready for shaping.
Step 6: File And Buff
After the activator has fully hardened, your nails might look slightly bulky or uneven. This is completely normal and easily fixed. Use a medium-grit file to shape the nail and smooth out the surface. focus on the cuticle area to ensure the product is flush with the natural nail, preventing any ridges that could catch on hair or clothes. Buff the entire surface of the nail until it is smooth and even. Run your finger over the nail to check for any bumps. Once you are happy with the shape and smoothness, wash your hands or use a lint-free wipe to remove all filing dust.
Step 7: Apply Top Coat
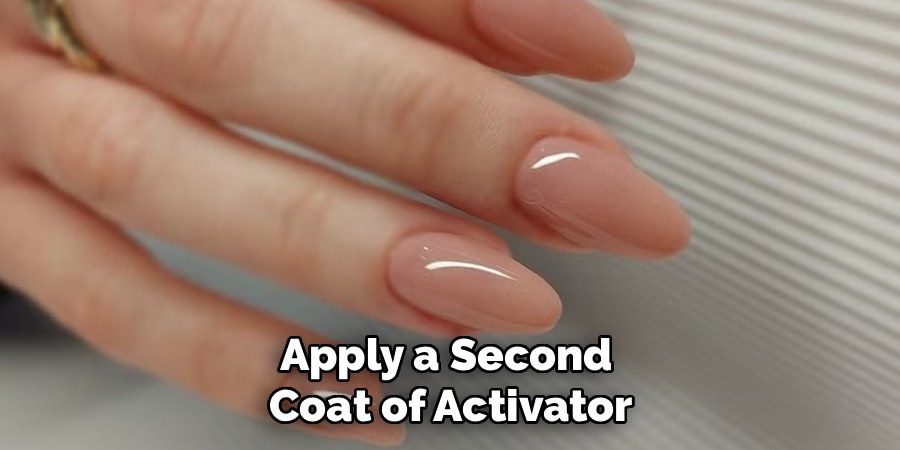
The final step brings the shine and seals everything together. Apply a second coat of activator and let it dry for exactly two minutes. Then, apply a thin layer of the dip top coat in quick, light strokes. Allow this first layer to dry for a minute or two before applying a second, slightly thicker layer of top coat. The top coat provides that glossy, salon-quality finish and protects the color from scratching or fading. Let the nails dry completely for about five minutes before touching anything or applying cuticle oil. Your at-home dip manicure is now complete and ready to show off.
Frequently Asked Questions
Is Dip Powder Bad For Your Nails?
Dip powder itself is not inherently bad for nails, but improper removal can cause damage. Peeling or prying the product off removes layers of your natural nail, causing thinning. However, because dip powder contains vitamins and adds a protective layer, it can actually help weak nails grow longer.
How Long Does A Dip Manicure Last?
When applied correctly, a dip powder manicure can last anywhere from three to four weeks. The longevity depends heavily on how well you prepped the nail plate and if you capped the free edge. Factors like oil production and lifestyle (washing dishes, gardening) can also affect wear time.
Can You Fill Dip Nails Or Must You Soak Off?
While it is possible to fill dip nails, most professionals and DIYers recommend a full soak-off and new set. The old product can lift or harbor bacteria over time. Starting fresh ensures the best adhesion and allows you to check the health of your natural nails regularly.
Why Are My Dip Nails Cracking?
Cracking usually happens for two reasons: either the layers were applied too thin, or the top coat wasn’t properly activated. Ensure you are applying enough layers (usually 3-4 dips total) to build structure. Also, make sure you let the activator dry completely before filing or applying the top coat.
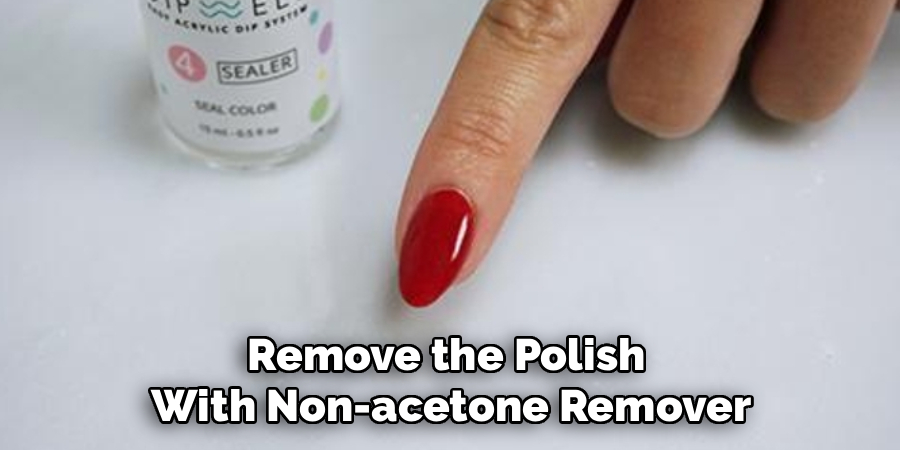
Can I Use Regular Polish With Dip Powder?
Yes, you can use regular nail polish over a clear dip powder base if you want the strength of dip but the color flexibility of polish. Simply apply the clear dip steps, activate, buff, and then apply regular polish on top. Remove the polish with non-acetone remover to change colors.
Conclusion
Mastering the art of the home manicure takes a little practice, but the results are worth the effort. By following these instructions, you save money and gain the freedom to change your look whenever you want. Knowing how to dip nails at home empowers you to maintain beautiful, strong hands without the salon price tag. With the right preparation and patience, you will have flawless nails that last for weeks.
One of the greatest advantages of doing your nails at home is the ability to experiment with different styles and techniques. You can try various color combinations, intricate nail art designs, or even seasonal themes without limitations. This creative freedom allows you to express your personality and adapt your manicure to any occasion. Additionally, at-home nail care lets you maintain your nail health by using products that suit your preferences and avoiding harsh chemicals often used in salons.
About the Author
Jane Hubbard is a passionate beauty expert with a wealth of experience in makeup, hair, and overall beauty techniques. After years of working as a hairdresser specialist, she followed her entrepreneurial spirit and started her own consultancy business.
Jane has always been driven by her desire to help others feel confident in their own skin, and she does this by sharing her knowledge, experiences, and practical beauty tips. Through her consultancy, she empowers individuals to embrace their unique beauty, offering tailored guidance that boosts both self-esteem and personal style.
Professional Focus
Specializes in makeup, hairstyling, and beauty consulting.
Provides personalized beauty advice, tips, and techniques to help individuals feel confident in their appearance.
Dedicated to staying up-to-date with the latest industry trends and developments.
Passionate about creating a comfortable and empowering experience for every client.
Education History
University of Craft and Design – Bachelor of Fine Arts (BFA) in Woodworking and Furniture Design
Woodworking Apprenticeships – Extensive hands-on training with skilled craftsmen to refine carpentry and furniture making techniques
Online Courses & Masterclasses – Continued education in advanced woodworking techniques, design principles, and specialized tools
Expertise:
Makeup artistry, hairstyling, and beauty consulting.
Personalized beauty techniques to enhance confidence and self-expression.
Educating clients on how to maintain their beauty routines at home.