
Carotone cream has gained significant popularity in the skincare world for its potential to brighten skin tone and reduce the appearance of dark spots, thanks to its rich formulation containing carrot oil, collagen, and sun protection agents. Many users find that while the base product is effective on its own, understanding the specific components helps in tailoring the product to individual skin needs, ensuring that you get the most out of its brightening properties without compromising skin health.

Mixing Carotone cream is often necessary for users who want to either dilute the potency of the active ingredients to prevent irritation or enhance its moisturizing capabilities by adding natural oils like almond or coconut oil. By creating a customized blend, you can adjust the texture and strength of the cream to suit your specific skin type, whether you have sensitive, dry, or oily skin, ultimately leading to a more comfortable application and potentially better, more even results over time. In this guide on how to mix carotone cream, we will explore the essential steps and considerations to keep in mind when creating your own personalized blend.
Safety Precautions Before Mixing
Before you begin the process of mixing your skincare products, safety should be your top priority to avoid any adverse reactions or contamination. First and foremost, always perform a patch test with every single ingredient you intend to use, as well as the final mixture. Apply a small amount to the inside of your wrist or behind your ear and wait at least 24 hours to check for redness, itching, or burning. Skincare is deeply personal, and ingredients that work for others might trigger allergic reactions in you.
Furthermore, ensure that your workspace is impeccably clean. Sterilize all bowls, spoons, and containers with rubbing alcohol or boiling water to prevent the introduction of bacteria into your cream. Bacterial growth can not only spoil your mixture quickly but can also cause severe skin infections or breakouts. Finally, wear gloves during the mixing process to keep your hands’ natural oils and germs away from the product, ensuring the longevity and purity of your custom skincare blend.
7 Simple Step-by-step Guidelines on How to Mix Carotone Cream
Step 1: Prepare Your Workspace and Gather Necessary Tools
The first step in mixing Carotone cream successfully is setting up a clean, organized, and dedicated environment for the task. You should start by clearing a flat surface, such as a table or countertop, and wiping it down with a disinfectant to remove any dust or potential contaminants. Gather all the necessary tools you will need, which typically include a clean mixing bowl (glass or ceramic is preferred over plastic as they are easier to sterilize), a spatula or spoon for stirring, and the empty, sterilized container where you will store your final product. Having everything within arm’s reach ensures a smooth process where you aren’t scrambling for items with sticky hands.
Once your physical space is ready, you must also prepare your mental checklist regarding the ingredients. Ensure you have your jar of Carotone cream, any additional serums, oils (like bio-oil or glycerin), or other creams you intend to mix it with. It is crucial to have these opened and ready to go. This preparation phase might seem trivial, but it is the foundation of a safe mixing process. Taking the time to organize prevents cross-contamination and ensures that you are focused entirely on getting the ratios right, rather than looking for a missing spoon. A well-prepared workspace sets the professional tone needed for creating a safe and effective skincare blend.

Step 2: Measure the Base Amount of Carotone Cream
Accurate measurement is the key to consistency, so begin by scooping out the desired amount of Carotone cream into your mixing bowl. If you are mixing a batch for the first time, it is highly advisable to start with a smaller amount rather than using the entire jar. This strategy minimizes waste if the final consistency or potency isn’t exactly what you hoped for. Use a clean, dry spatula to transfer the cream, ensuring you don’t introduce water into the original jar, as moisture is a breeding ground for bacteria. Aim for a specific ratio that you have decided on beforehand; for many, this is about half of the jar to start with.
The amount of base cream you use will dictate how much of the other ingredients you can safely add without destabilizing the formula. If you use too little base cream and too many additives, the mixture might separate or become too runny to apply effectively. Conversely, if you use too much base and not enough active additives, you might not see the enhanced results you are looking for. Take your time to smooth the cream out in the bowl, breaking down any lumps. This step ensures that the base is perfectly prepped to receive the other ingredients, facilitating a smoother, more homogeneous final product that feels luxurious on the skin.
Step 3: Add Your Chosen Carrier Oils for Moisture
Once your Carotone base is ready, it is time to enhance the moisturizing properties of the mixture by adding your chosen carrier oils. Popular choices include almond oil, coconut oil, or olive oil, which help to buffer the strength of the brightening agents and provide deep hydration. Pour the oil slowly into the bowl with the cream. A general guideline is to add about one teaspoon of oil for every two tablespoons of cream, but this can be adjusted based on how dry your skin is. These oils act as a vehicle, helping the active ingredients penetrate the skin more effectively while simultaneously repairing the skin barrier.
As you add the oil, you need to be mindful of the texture you are creating. If you have oily skin, you might want to use a lighter oil like jojoba or grapeseed oil and use a smaller quantity. For dry skin, heavier oils like avocado or shea butter oil work wonders. The addition of these oils not only dilutes the harshness that can sometimes be associated with brightening creams but also adds a nutrient-rich profile to your skincare regimen. By incorporating these natural emollients, you turn a simple cosmetic product into a nourishing treatment that supports skin elasticity and softness while it works on pigmentation issues.
Step 4: Incorporate Serums or Activators Cautiously
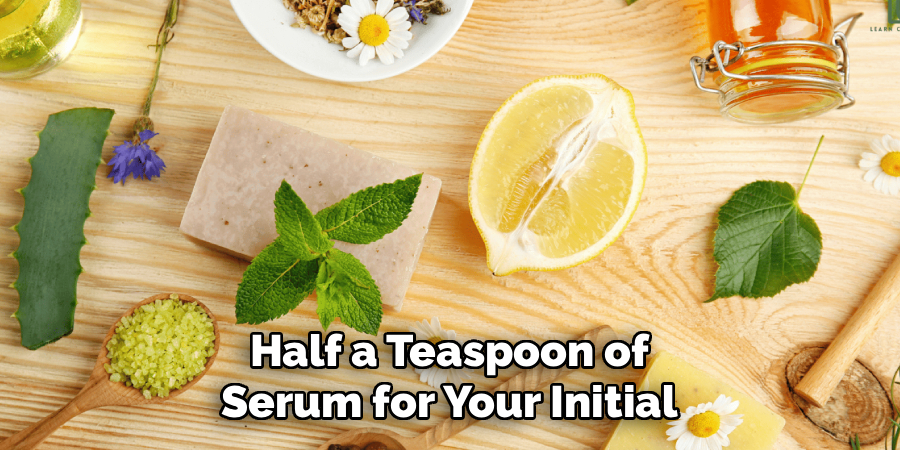
This is the most critical stage where you add potency to your mixture, typically involving a brightening serum or a specific activator like the Carotone Black Spot Corrector serum (BSC). You must add these liquids drop by drop or in very small increments. It is incredibly easy to overdo it, which can lead to a mixture that is too aggressive for the skin, potentially causing irritation or chemical burns. Start with a conservative amount—perhaps half a teaspoon of serum for your initial batch—and mix it thoroughly before deciding if you need more.
The goal here is synergy, not saturation. You want the serum to boost the effectiveness of the cream without overwhelming it. While you are pouring, observe how the cream accepts the liquid. Some creams can only hold so much liquid before the emulsion breaks and the oil separates from the water. By adding the serum slowly, you maintain the structural integrity of the cream. This careful incorporation ensures that every scoop of your final product has an even distribution of the active ingredients, preventing “hot spots” in the jar that could damage your skin.
Step 5: Mix Thoroughly to Ensure a Homogeneous Blend
Now that all your ingredients—the base cream, the carrier oils, and the active serums—are in the bowl, the physical work begins. You need to mix the concoction vigorously and thoroughly. Use your spatula or even a small hand mixer if you are making a larger batch, to whip the ingredients together. You are looking for a completely uniform color and texture. There should be no streaks of oil, no blobs of unmixed serum, and no lumps of the original cream visible.
This process takes more time than you might expect; spend at least 5 to 10 minutes stirring. The friction and movement help to emulsify the ingredients, binding the oils and water-based components together. A well-mixed cream is safer because it ensures consistent application. If you rush this step, you risk applying pure serum to one part of your face and just oil to another. The final consistency should be smooth, creamy, and lush. If it looks curdled, you may need to whip it faster or you may have added incompatible ingredients, but thorough mixing is usually the solution to texture issues.
Step 6: Transfer to a Sterile Storage Container
Once you are satisfied with the consistency and uniformity of your mixture, it is time to package it. Do not simply return it to the original Carotone jar unless you have used the entire contents and the jar is empty and clean. Ideally, use a dark-colored glass jar or an opaque plastic container to protect the active ingredients from light degradation. Spoon the mixture carefully into the container, tapping it gently on the counter periodically to settle the cream and remove any air pockets. Air pockets can lead to oxidation, which reduces the effectiveness of the product.
Make sure you leave a little bit of space at the top of the jar; do not fill it to the absolute brim. This prevents the cream from spilling over when you screw the lid on. Clean the rim of the jar with a paper towel to ensure a tight seal. A proper seal keeps out moisture, bacteria, and air, all of which are enemies of skincare stability. This step completes the physical creation of your product, transforming your raw ingredients into a professional-looking, customized skincare solution ready for your daily routine.
Step 7: Label and Date Your Custom Mixture
The final step, which is often overlooked but vitally important, is labeling your creation. Take a permanent marker or a label maker and clearly write the contents of the jar and, most importantly, the date it was mixed. Since you have introduced new ingredients and exposed the product to air, the preservatives in the original cream may be compromised, altering the shelf life. Knowing exactly when you made it helps you track how long it has been in use and reminds you when it might be time to discard it.
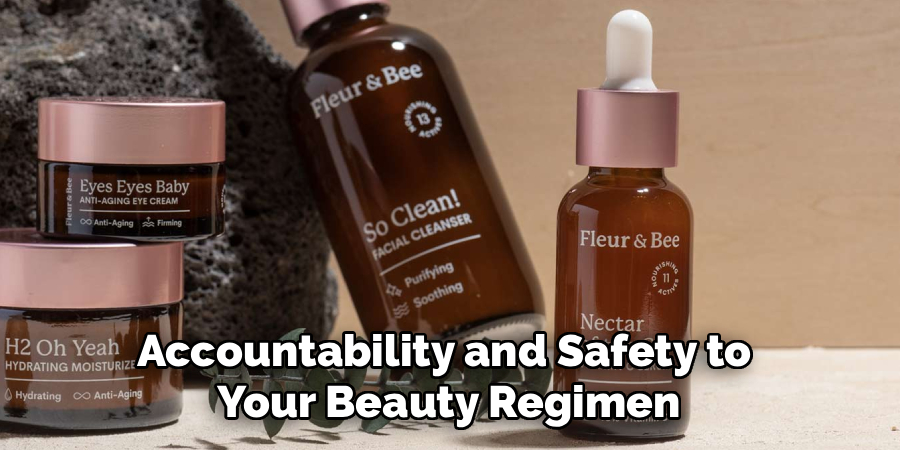
In addition to the date, list the specific ingredients you added. For example, write “Carotone + Almond Oil + BSC Serum.” This is helpful for two reasons: firstly, if you have a fantastic result, you will want to know exactly how to recreate the recipe. Secondly, if you have a bad reaction, you will know exactly what was in the mixture, so you can identify the culprit. This record-keeping aspect turns your skincare mixing from a random experiment into a controlled, safe, and repeatable process. It adds a layer of accountability and safety to your beauty regimen.
Following these steps on how to mix carotone cream can help you create a customized skincare routine that is tailored to your individual needs. Experimenting with different ingredients and ratios can also lead to exciting discoveries and improved results.
Application Tips
For the best results, always apply your mixed Carotone cream to freshly cleansed and damp skin, which enhances absorption. Use a small, pea-sized amount for your entire face, gently massaging it in upward, circular motions until fully absorbed. It is crucial to use this mixture primarily at night because the active ingredients can make your skin sensitive to sunlight.
If you must use it during the day, following up with a high SPF sunscreen is absolutely non-negotiable to prevent sun damage. Consistency is key, but listen to your skin; if irritation occurs, reduce frequency immediately.
Storage and Shelf Life
Proper storage is essential to maintain the efficacy and safety of your mixed cream. Store your container in a cool, dry place away from direct sunlight and heat sources, such as a bathroom windowsill or near a radiator, as heat can break down the active ingredients and cause the oils to turn rancid. A drawer or a dedicated skincare fridge is ideal.
Regarding shelf life, while the original product may last for years, a DIY mixture generally has a shorter lifespan. Aim to use your mixed cream within three months. If you notice any changes in color, a strange odor, or separation that doesn’t fix with stirring, discard the product immediately to avoid skin infections.
Common Mistakes to Avoid
One of the most frequent mistakes users make is “over-mixing” or adding too many active ingredients at once, known as “cocktailing” too aggressively. Mixing multiple strong acids, steroids, or lightening agents can destroy your skin barrier, leading to ochronosis or severe sensitivity. Another common error is neglecting hygiene; dipping dirty fingers into the jar introduces bacteria that degrade the product.
Always use a clean cosmetic spoon or spatula. Additionally, many people fail to patch test their new mixture, assuming that because they have used the individual ingredients before, the mix is safe. This is dangerous because chemical interactions can create new irritants. Lastly, impatience leads to overuse; applying thick layers in hopes of faster results usually leads to clogged pores and irritation rather than better skin.
Conclusion
Mixing Carotone cream allows you to customize your skincare experience, balancing the potent brightening effects of the product with the nourishing benefits of natural oils. By following the strict safety guidelines, adhering to the seven step-by-step mixing instructions on how to mix carotone cream, and avoiding common pitfalls, you can create a blend that suits your specific skin needs. Remember that skincare is a marathon, not a sprint.
Prioritize the health and integrity of your skin barrier over rapid results, and always store and label your mixtures correctly. With care and consistency, your customized Carotone blend can be a valuable addition to your beauty routine.
About the Author
Jane Hubbard is a passionate beauty expert with a wealth of experience in makeup, hair, and overall beauty techniques. After years of working as a hairdresser specialist, she followed her entrepreneurial spirit and started her own consultancy business.
Jane has always been driven by her desire to help others feel confident in their own skin, and she does this by sharing her knowledge, experiences, and practical beauty tips. Through her consultancy, she empowers individuals to embrace their unique beauty, offering tailored guidance that boosts both self-esteem and personal style.
Professional Focus
Specializes in makeup, hairstyling, and beauty consulting.
Provides personalized beauty advice, tips, and techniques to help individuals feel confident in their appearance.
Dedicated to staying up-to-date with the latest industry trends and developments.
Passionate about creating a comfortable and empowering experience for every client.
Education History
University of Craft and Design – Bachelor of Fine Arts (BFA) in Woodworking and Furniture Design
Woodworking Apprenticeships – Extensive hands-on training with skilled craftsmen to refine carpentry and furniture making techniques
Online Courses & Masterclasses – Continued education in advanced woodworking techniques, design principles, and specialized tools
Expertise:
Makeup artistry, hairstyling, and beauty consulting.
Personalized beauty techniques to enhance confidence and self-expression.
Educating clients on how to maintain their beauty routines at home.