
However, before you sweep those precious particles into the bin, take a deep breath. That shattered compact is not a lost cause. In fact, repairing broken powder products is one of the most useful and satisfying DIY skills you can master. It saves you money, reduces waste, and allows you to rescue your most beloved beauty items from an untimely demise. The process is surprisingly simple, relying on basic chemistry and tools you likely already have in your medicine cabinet. By learning the proper technique for re-pressing pigments, you can restore your makeup to its former glory, often making it look as good as new.
In this comprehensive guide, we are going to walk you through exactly how to fix pressed powder makeup using a method that is tried, tested, and trusted by makeup artists. We will cover everything from the preparation to the final drying process, ensuring you have all the knowledge needed to perform cosmetic surgery on your shattered palettes. Whether it is an eyeshadow, a blush, or a foundation powder, this technique will become your go-to solution for clumsy moments.
Why You Should Salvage Your Broken Makeup
Understanding the value of repairing your cosmetics goes beyond just saving a few dollars, though the financial benefit is undeniable. High-quality makeup is an investment. Luxury eyeshadow palettes and finely milled setting powders can cost a significant amount, and throwing them away because of a single drop feels like throwing cash directly into the landfill. By repairing the product, you extend the life of your purchase and ensure you get every penny’s worth out of the pan. It is a small act of consumer rebellion against the idea that broken things must be immediately replaced.
Your Ultimate Guide on How to Fix Pressed Powder Makeup
This process is delicate but entirely manageable for beginners. The key is patience and ensuring you have a clean workspace to prevent bacteria from entering your makeup. Follow these steps carefully to restore your favorite products.
Step 1: Gather Your Broken Makeup Pieces
The first and most crucial step in this rescue mission is to carefully gather as much of the broken product as possible. If the compact fell on a dirty floor, you will unfortunately have to discard the parts that touched the ground to avoid infection, but anything still inside the pan or on clean surfaces is salvageable. Place your compact on a clean, flat surface covered with a towel or newspaper to catch any fallout.
You will need a few specific tools: a bottle of 70% isopropyl alcohol (rubbing alcohol), a small metal spatula or a spoon, a dropper or pipette, plastic wrap, and some clean paper towels. Ensuring your hands and tools are sanitized before you begin is vital because you are introducing moisture to the product, which can be a breeding ground for bacteria if you are not careful. Treat this like a minor medical procedure for your cosmetics.
Step 2: Crush the Remaining Powder into a Fine Dust
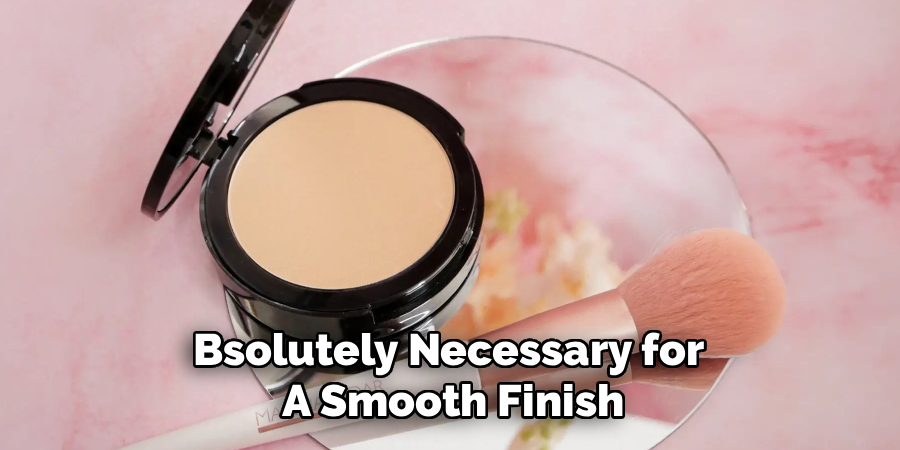
This step often feels counterintuitive and even a little painful, but it is absolutely necessary for a smooth finish. You must break the makeup even further to fix it. Take your metal spatula, the back of a spoon, or even a toothpick, and begin to smash the remaining chunks of powder in the pan.
You want to pulverize the product until it is a fine, loose dust with no visible lumps or shards. If you leave large chunks, the reconstituted makeup will be uneven and likely to break again. For a cleaner process, you can cover the open compact with a piece of plastic wrap and crush the powder through the plastic. This keeps the dust contained and prevents it from flying all over your workspace. Your goal here is a consistent, sand-like texture throughout the entire pan.
Step 3: Add Rubbing Alcohol to Create a Paste
Now comes the chemistry. You need to turn that loose dust into a malleable paste. Using a dropper or a spoon, slowly add the isopropyl alcohol to the crushed powder. Start with just a few drops at a time—you can always add more, but you cannot take it out. As you add the liquid, mix it gently with your spatula. You are looking for a specific consistency: it should look and feel somewhat like peanut butter or thick frosting.
If it is too runny, it will take days to dry; if it is too dry, it will crumble immediately. Mastering how to fix pressed powder makeup relies heavily on getting this ratio right. The alcohol acts as a temporary binder that allows the particles to adhere to one another before vanishing as it dries. Be sure to mix thoroughly so that every grain of powder is saturated.
Step 4: Smooth and Level the Surface
Once you have achieved the correct paste-like consistency, it is time to reshape the product. Using the back of your spoon or your spatula, begin to spread the mixture evenly across the pan. Try to get it as level as possible, pushing the product into the corners and smoothing out any major bumps or ridges. At this stage, you might notice some air bubbles trapped in the mixture.
Gently tap the bottom of the compact against the table a few times to encourage these bubbles to rise to the surface and pop. This step is important for the structural integrity of the dried powder; air pockets can create weak points where the makeup might shatter again in the future. Take your time here to make it look as aesthetically pleasing as possible, as this will be the final shape of your product.
Step 5: Press the Powder with a Clean Paper Towel
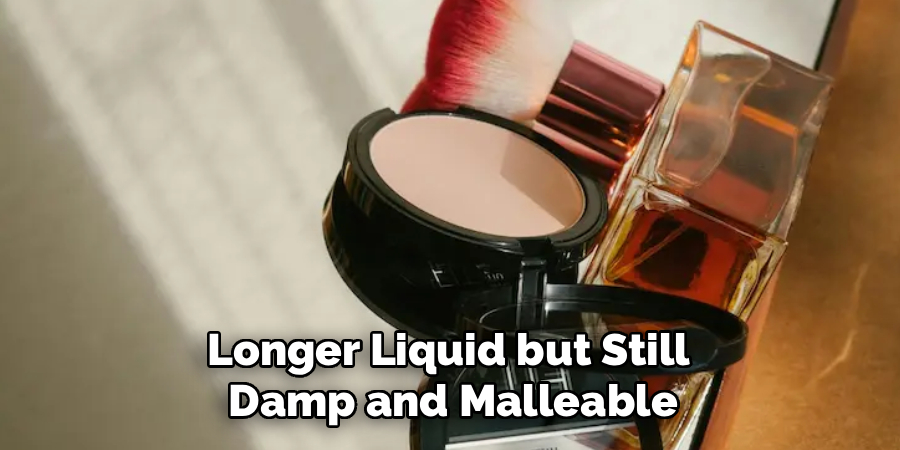
After smoothing the surface, let the product sit for about 30 minutes to an hour. You want the alcohol to partially evaporate so the mixture is no longer liquid but still damp and malleable. Now, take a clean paper towel or a piece of dry tissue and place it gently over the surface of the makeup.
Find an object that is roughly the same size as the makeup pan—like a coin, a bottle cap, or the bottom of a small glass—and press down firmly on top of the paper towel. This pressure is vital as it compacts the powder particles together tightly. The paper towel will absorb the excess alcohol that is squeezed out. Peel the towel back carefully; you will likely see a fabric pattern left on the surface, which can give it a professional, “linen-finish” look.
Step 6: Clean the Compact Edges
During the mixing and pressing process, it is almost inevitable that some of the makeup paste will have smudged onto the rim of the metal pan or the plastic casing of the compact. While this does not affect the performance of the powder, it can make your makeup bag messy and the compact difficult to close properly. Take a cotton swab or a Q-tip dipped in a little bit of rubbing alcohol and carefully clean around the edges of the pan.
Wipe away any dried residue from the mirror and the clasp mechanism. This detailing step is what separates a messy DIY job from a restoration that looks professional. When you are learning how to fix pressed powder makeup, paying attention to these small details ensures that your repaired item feels fresh and new, rather than like a salvaged wreck.
Step 7: Allow the Makeup to Dry Completely
The final step is the hardest one for many people: waiting. Although the makeup might look dry after you have pressed it, there is likely still alcohol trapped deep within the layers of the powder. You must leave the compact open and place it in a dry, well-ventilated area for at least 24 hours. Do not try to speed up the process with a hair dryer, as the intense heat can alter the pigments or cause the powder to crack.
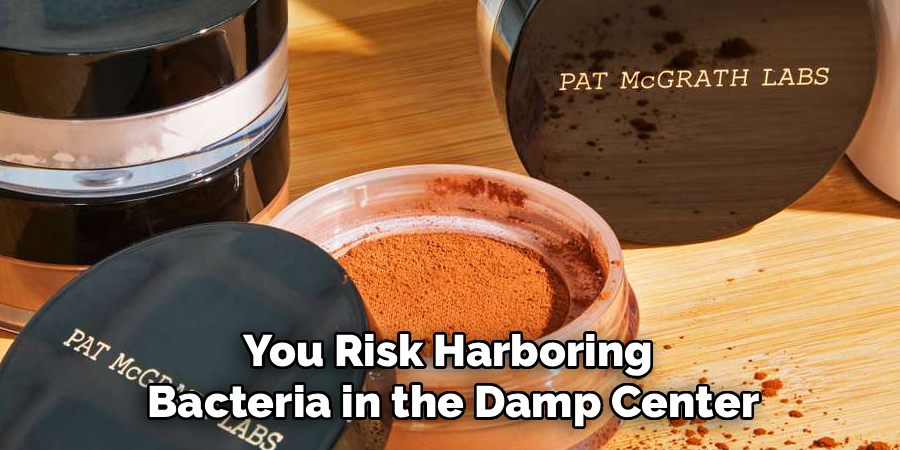
Let nature do the work. The smell of alcohol will dissipate completely once it has fully evaporated. Only when the powder is totally dry to the touch and has no lingering scent should you close the compact and return it to your makeup bag. If you use it too soon, you risk harboring bacteria in the damp center.
Frequently Asked Questions
Can I Use Water Instead of Rubbing Alcohol to Fix My Makeup?
You should strongly avoid using water to repair pressed powder makeup. Unlike high-percentage isopropyl alcohol, water does not evaporate quickly or completely. Leaving moisture trapped inside your makeup compact creates the perfect environment for mold and bacteria to grow. This can ruin the product and, more importantly, cause skin infections or breakouts when you apply it. Alcohol is effective because it sanitizes the product and then evaporates entirely, leaving only the dry pigment behind. Stick to 70% or higher rubbing alcohol for a safe and sanitary repair.
Will the Alcohol Change the Color or Texture of My Makeup?
In most cases, using rubbing alcohol will not significantly alter the color or performance of your makeup. However, some cosmetic formulas, particularly those with complex ingredients or baked powders, might experience a slight change in texture. They may feel a bit softer or more powdery than the original factory pressing. The pigment payoff usually remains the same. If you are worried about a very expensive or unique item, you might want to test the process on a small corner of the pan first to ensure the formula reacts well to the alcohol before wetting the entire product.
What Can I Do if I Have Sensitive or Dry Skin and Cannot Use Alcohol?
If your skin is extremely sensitive to alcohol, or if you just prefer not to use it, you can try using a specialized makeup binding spray or a micellar water that contains preserving agents. However, be aware that these alternatives may not evaporate as cleanly as alcohol and could alter the formula more significantly. Another “dry” method involves crushing the powder and leaving it as a loose powder. You can transfer the crushed dust into a sifter jar and use it just like a loose setting powder or mineral foundation, completely bypassing the need for liquid binders.
Does This Method Work for Baked Cosmetics (Domed Products)?
Fixing baked cosmetics, which are originally formed as a liquid cream and then baked into a solid, is trickier than fixing standard pressed powders. The alcohol method described above will turn a baked product into a standard pressed powder, meaning it will lose its domed shape and potentially some of its unique, airy texture. While it will still be usable and pigmented, it won’t be exactly the same as it was before. If you proceed, just know that you will be flattening the dome into a regular pan shape during the pressing process.
How Long Does the Repaired Makeup Last?
Once repaired properly with alcohol and allowed to fully dry, the makeup should last just as long as it would have originally. The alcohol sanitizes the mixture during the process, which can actually help refresh the product hygienically. However, because hand-pressed makeup is rarely as tightly packed as machine-pressed makeup, it might be more fragile than a new compact. You should handle it with a bit more care, avoiding tossing it loosely into bags where it might face hard impacts. If it breaks again, you can simply repeat the process!
Conclusion
Breaking your favorite makeup compact is a frustrating rite of passage for beauty lovers, but it does not have to be the end of the road for your cosmetics. As we have explored, the process of restoring shattered powders is accessible, affordable, and incredibly effective. By taking the time to crush, mix, and re-press your products, you are not just saving money; you are engaging in a more sustainable beauty routine that values preservation over replacement.
So, the next time gravity gets the best of your bronzer or blush, do not panic. Simply grab your rubbing alcohol and a spoon, and get to work. Now that you know how to fix pressed powder makeup, you have the power to revive your collection and keep your favorite shades in rotation for years to come. It is a small skill with a big payoff, ensuring that your beauty routine remains flawless, even when accidents happen.
About the Author
Jane Hubbard is a passionate beauty expert with a wealth of experience in makeup, hair, and overall beauty techniques. After years of working as a hairdresser specialist, she followed her entrepreneurial spirit and started her own consultancy business.
Jane has always been driven by her desire to help others feel confident in their own skin, and she does this by sharing her knowledge, experiences, and practical beauty tips. Through her consultancy, she empowers individuals to embrace their unique beauty, offering tailored guidance that boosts both self-esteem and personal style.
Professional Focus
Specializes in makeup, hairstyling, and beauty consulting.
Provides personalized beauty advice, tips, and techniques to help individuals feel confident in their appearance.
Dedicated to staying up-to-date with the latest industry trends and developments.
Passionate about creating a comfortable and empowering experience for every client.
Education History
University of Craft and Design – Bachelor of Fine Arts (BFA) in Woodworking and Furniture Design
Woodworking Apprenticeships – Extensive hands-on training with skilled craftsmen to refine carpentry and furniture making techniques
Online Courses & Masterclasses – Continued education in advanced woodworking techniques, design principles, and specialized tools
Expertise:
Makeup artistry, hairstyling, and beauty consulting.
Personalized beauty techniques to enhance confidence and self-expression.
Educating clients on how to maintain their beauty routines at home.